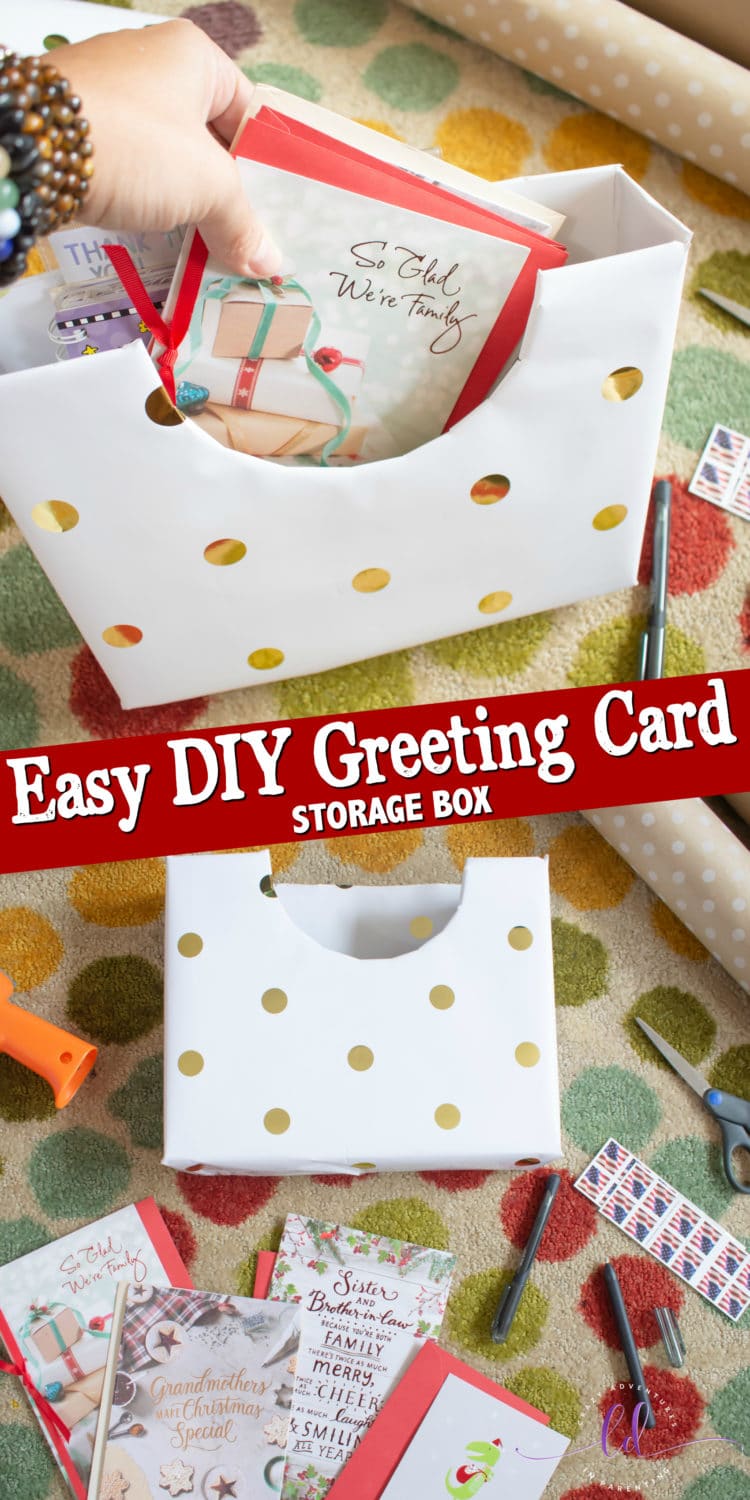
Looking for an easy way to store cards for the holiday season and beyond? Check out this easy DIY Greeting Card Storage Box tutorial for all your American Greetings cards from Safeway!
This post has been sponsored by American Greetings. All thoughts and opinions are my own.
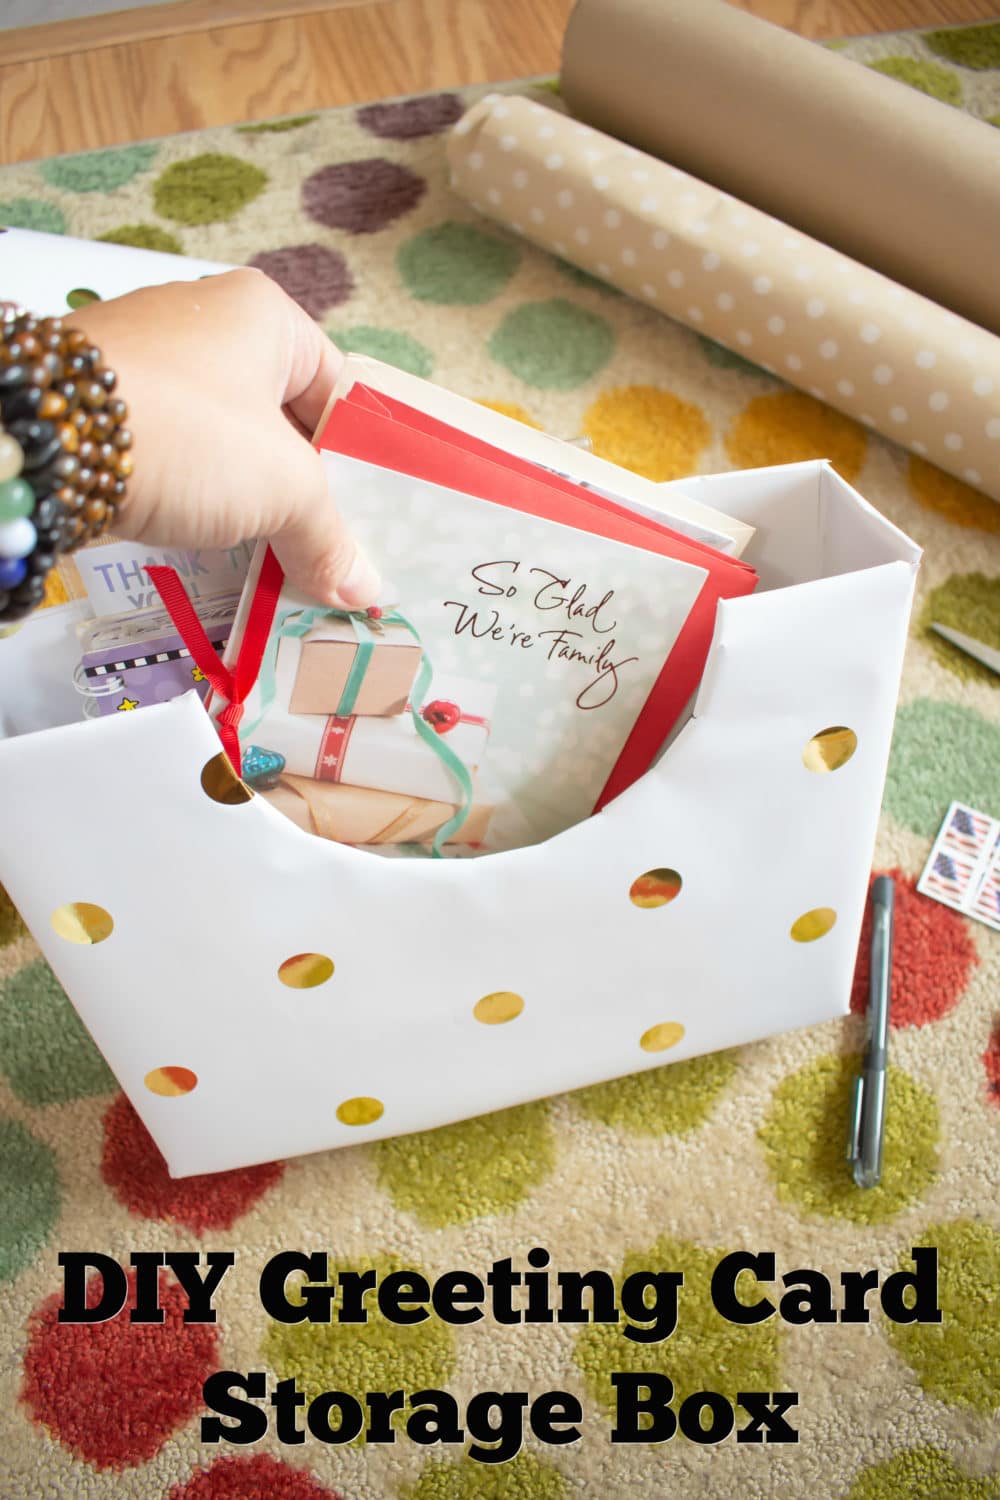
DIY Greeting Card Storage Box Tutorial
It’s that time of year again, friends! Who isn’t excited about the twinkling lights in the windows on trees, secret gifts purchased and hidden, steaming cups of hot cocoa, sneaking kisses under the mistletoe, and all the festive holiday cheer?! Every year my holiday card list gets longer and longer – and I love it! I love to get updated photos from friends and family, don’t you? It’s too much fun to stuff envelopes filled with holiday joy to be sent to loved ones near and far! I always have extra cards on hand, but my card pile was getting quite unruly. I created this DIY Greeting Card Storage Box to help me tame my extensive card collection!
Stocking up on American Greetings Cards at Safeway
I don’t know about you, but I looove stocking up on items when they go on sale – greeting cards included! Right now, Safeway has an in-store coupon offer for American Greetings cards where you buy three and save $5! Go ahead and stock up today! Then, run home and create this fun and inspired DIY Greeting Card Storage Box to hold them all together! Woohoo!! Sales like these make it easy to stock up on cards for the whole holiday season at your local Safeway!
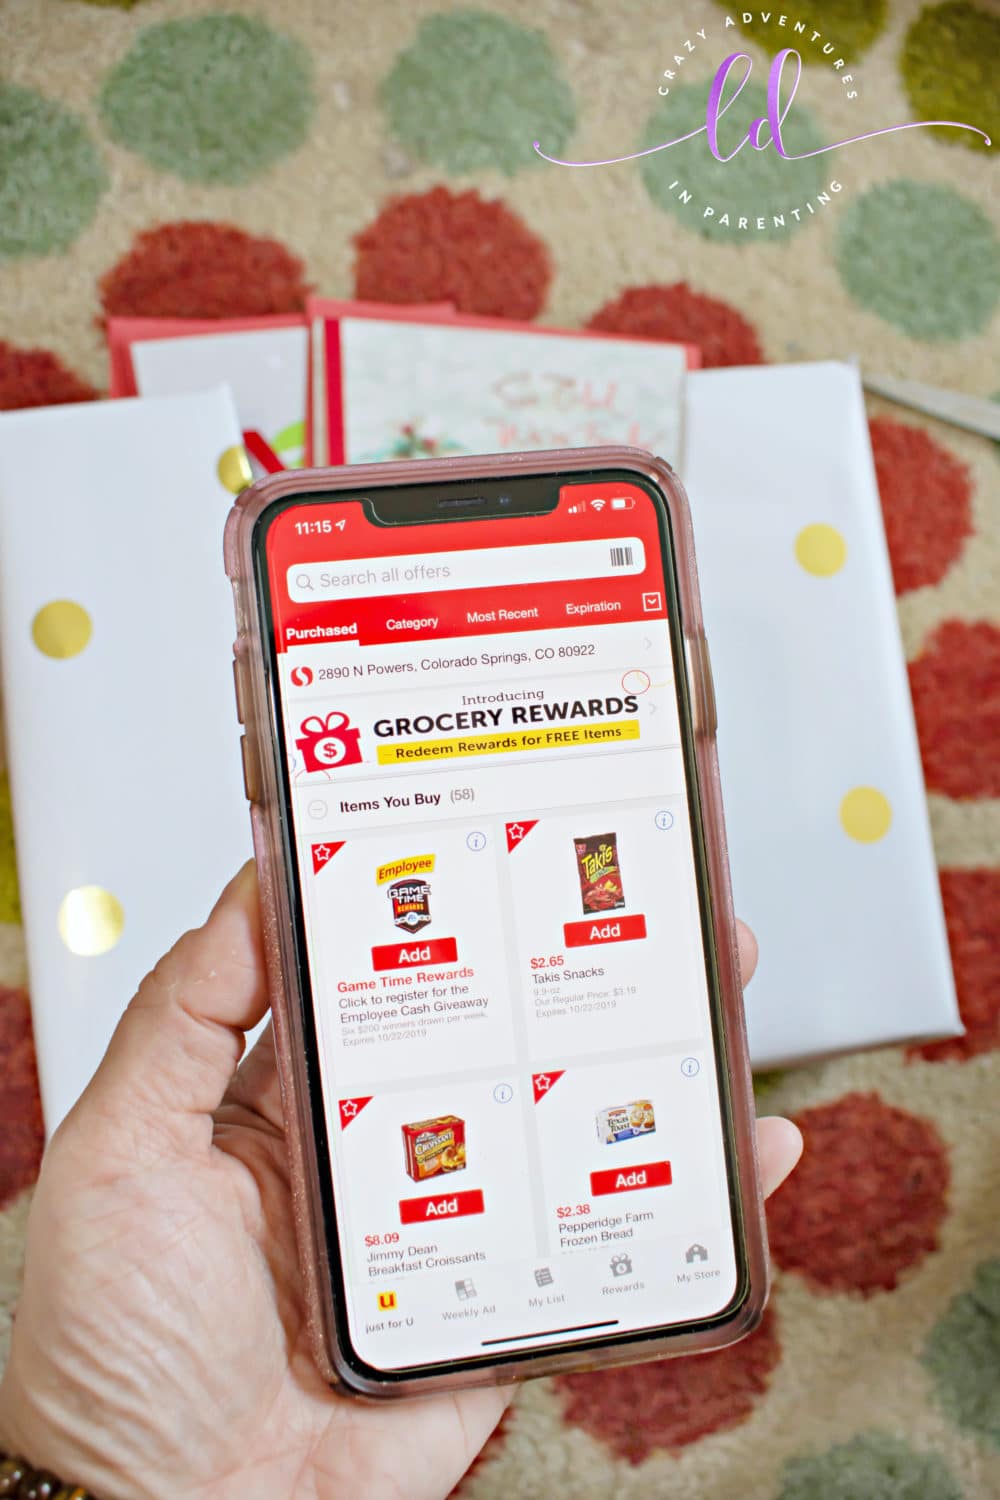
As a regular Safeway shopper, I rely heavily on the Safeway app to help me save money and stay updated on all the sales and coupons available! Be sure to download the Safeway app to keep tabs on all the awesome savings, to include this American Greetings sale at a local Safeway store near you! Visit your local Safeway to save $5 when you buy 3 American Greetings cards!
Send Joy with American Greetings Cards
I love cards, and American Greetings cards are so gorgeous and well made! I love the variety and design of the greeting cards they offer. Plus, I love how easy American Greetings makes it to find a card that captures exactly what I’d like to say! I find it’s so easy to shop at Safeway for cards of all kinds in their card aisle. If you’re looking to make someone you love smile, giving someone a greeting card is a fantastic way to send joy to your world of family, friends, neighbors, and loved ones!
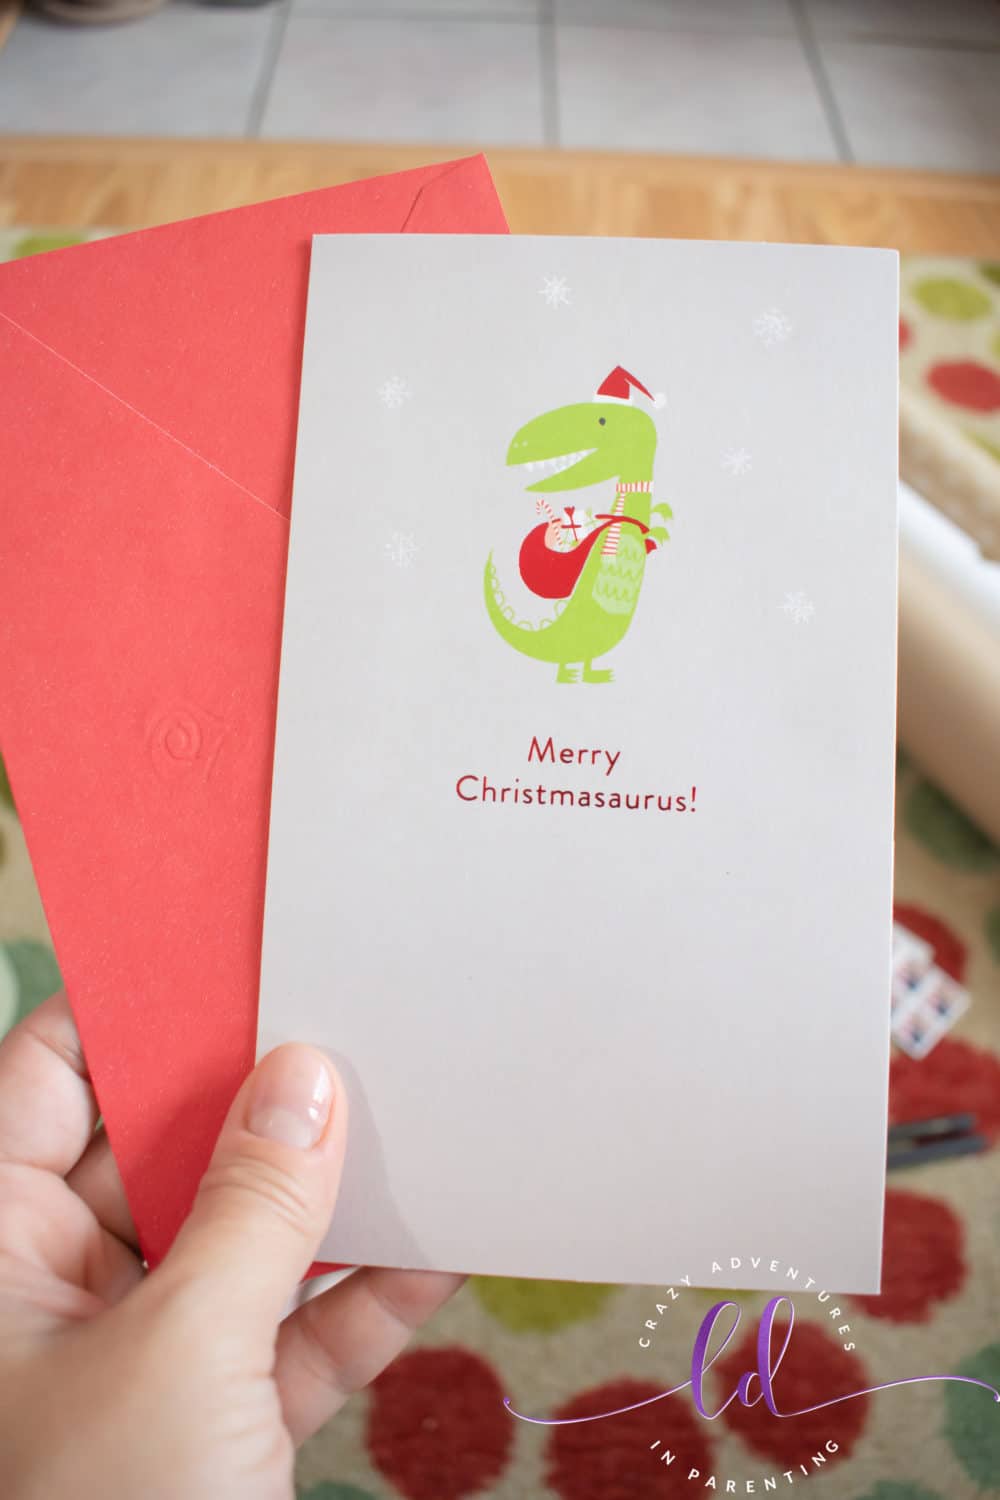
Sometimes, I get stuck on what to write inside my cards. Rest assured, American Greetings has tips on what sort of greetings to add this holiday season! Check out their tips and recommendations on what to write in your Christmas or Hanukkah cards!
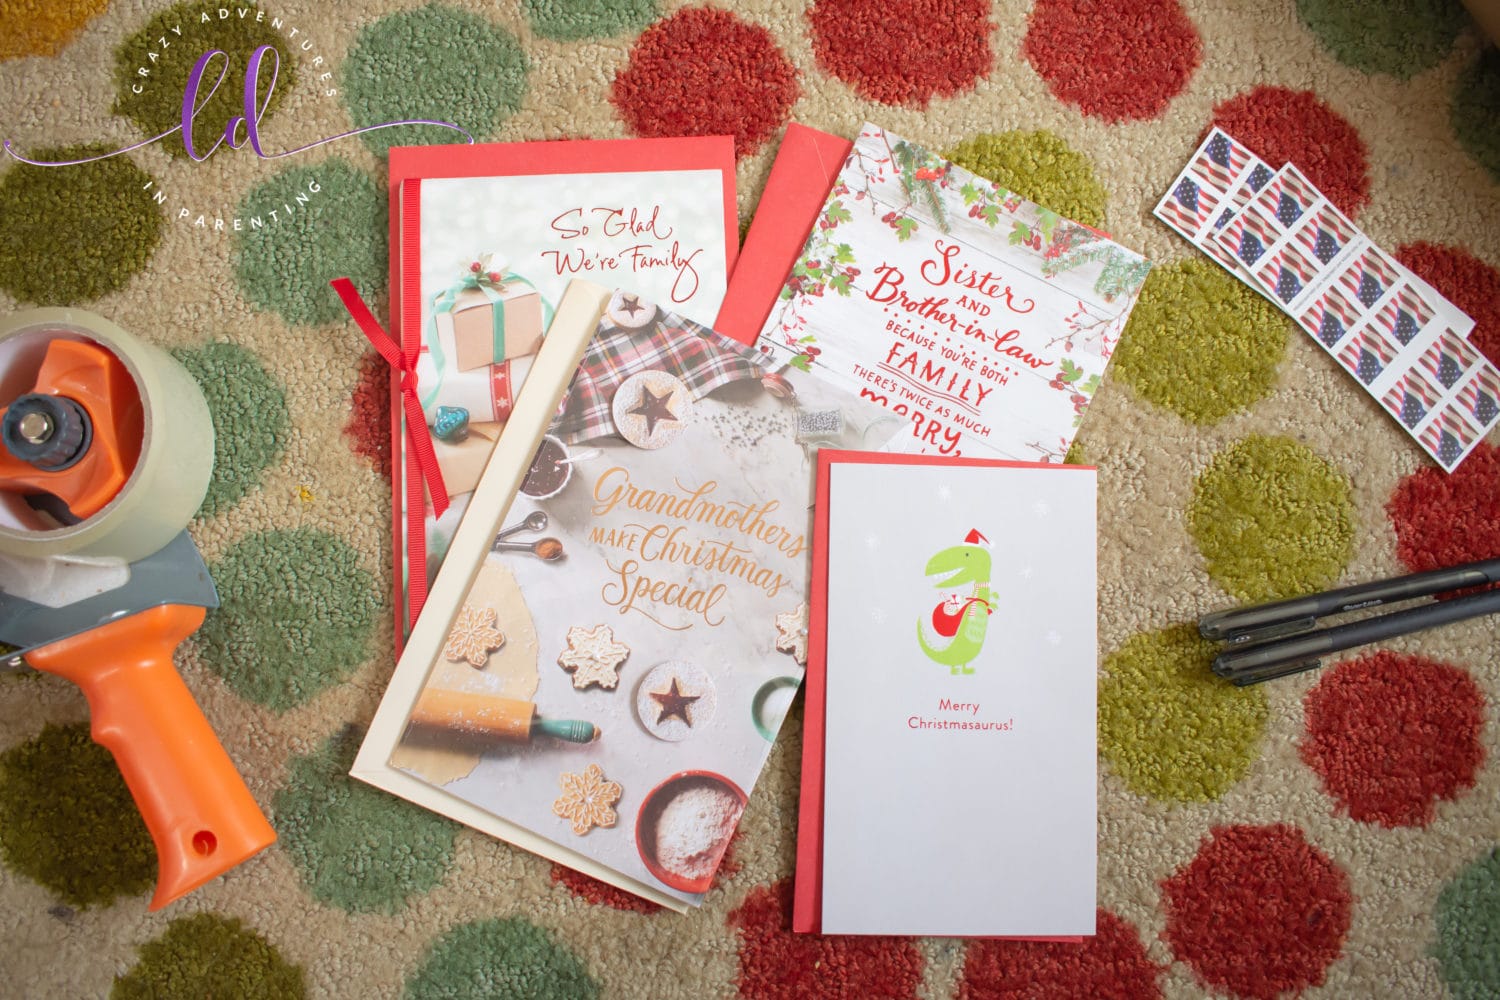
Organize Greeting Cards with This DIY Greeting Card Storage Box
I couldn’t be more thrilled to get and stay organized this holiday. Finally, a solution to my greeting card storage problem! I’m already in the holiday spirit! Gift-wrapping a box cut-to-size for this craft is a fantastic way to store my greeting cards this holiday! Feel free to choose any sort of paper or gift wrap when you make your greeting card storage box! Make it your own, and personalize your storage box! Share the fun and get the kiddos involved in this organizational craft, too!
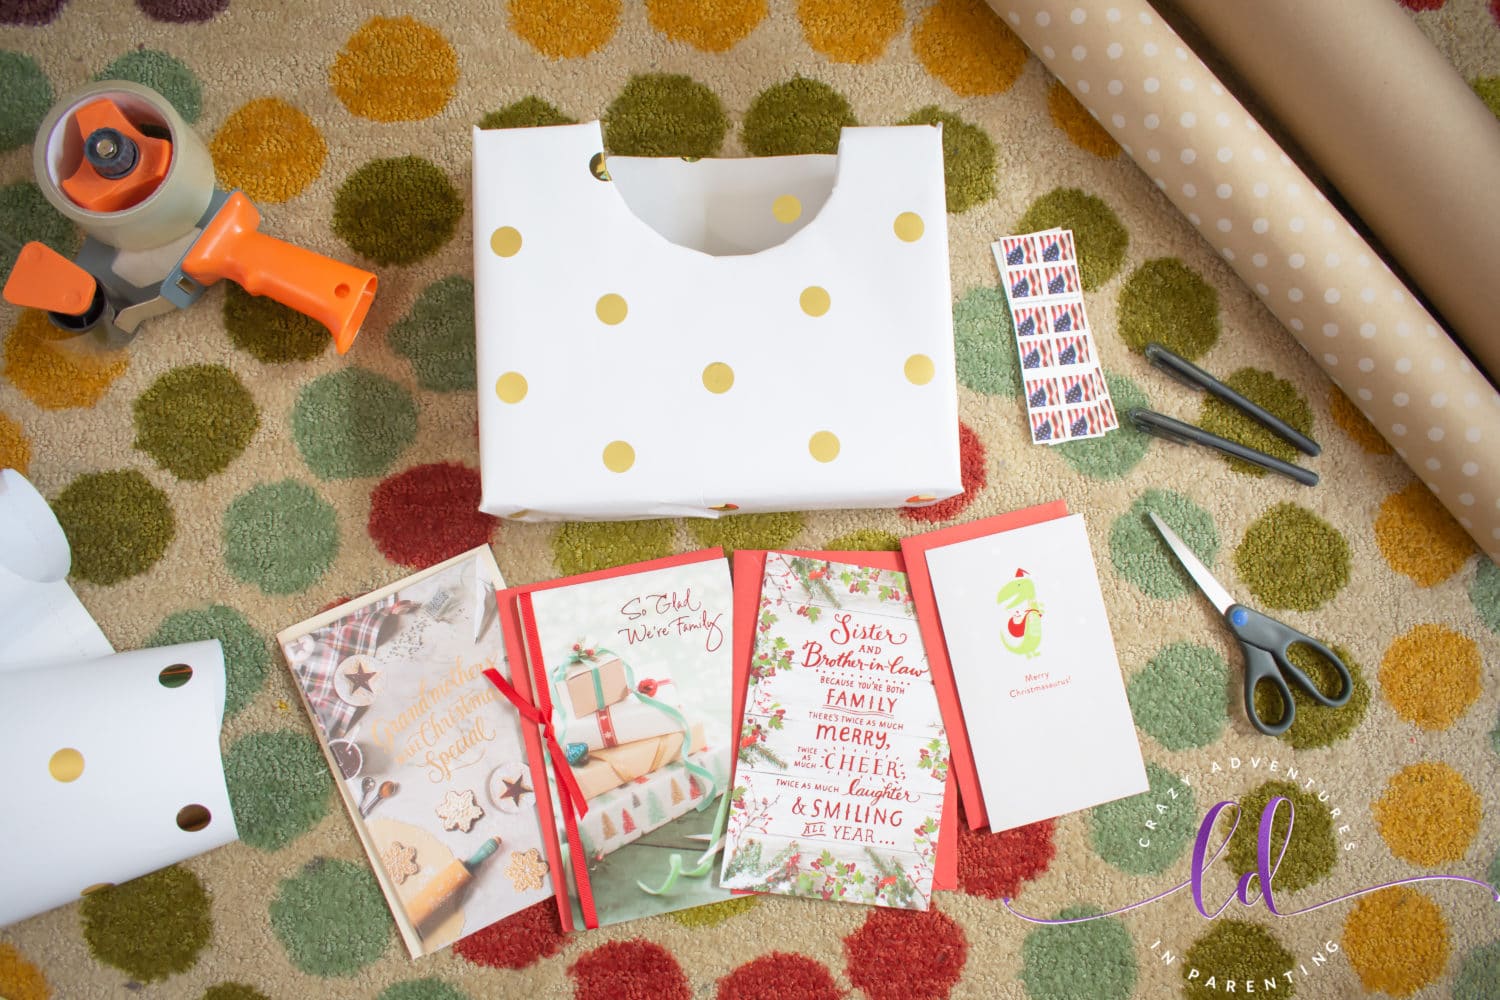
How to Make a DIY Greeting Card Storage Box
To make an easy DIY Greeting Card Storage Box, you will need to gather the following items:
- Small box (either new or used, it doesn’t matter)
- Wrapping paper or craft paper of your choice
- Tape
- Scissors
- Pen
- Cereal bowl
- Binder dividers with tabs (optional)
Items you can gather to keep or put inside the DIY Greeting Card Storage Box:
- Address book
- Stamps
- Address labels
- Thank you stickers
- American Greetings cards
- Pens
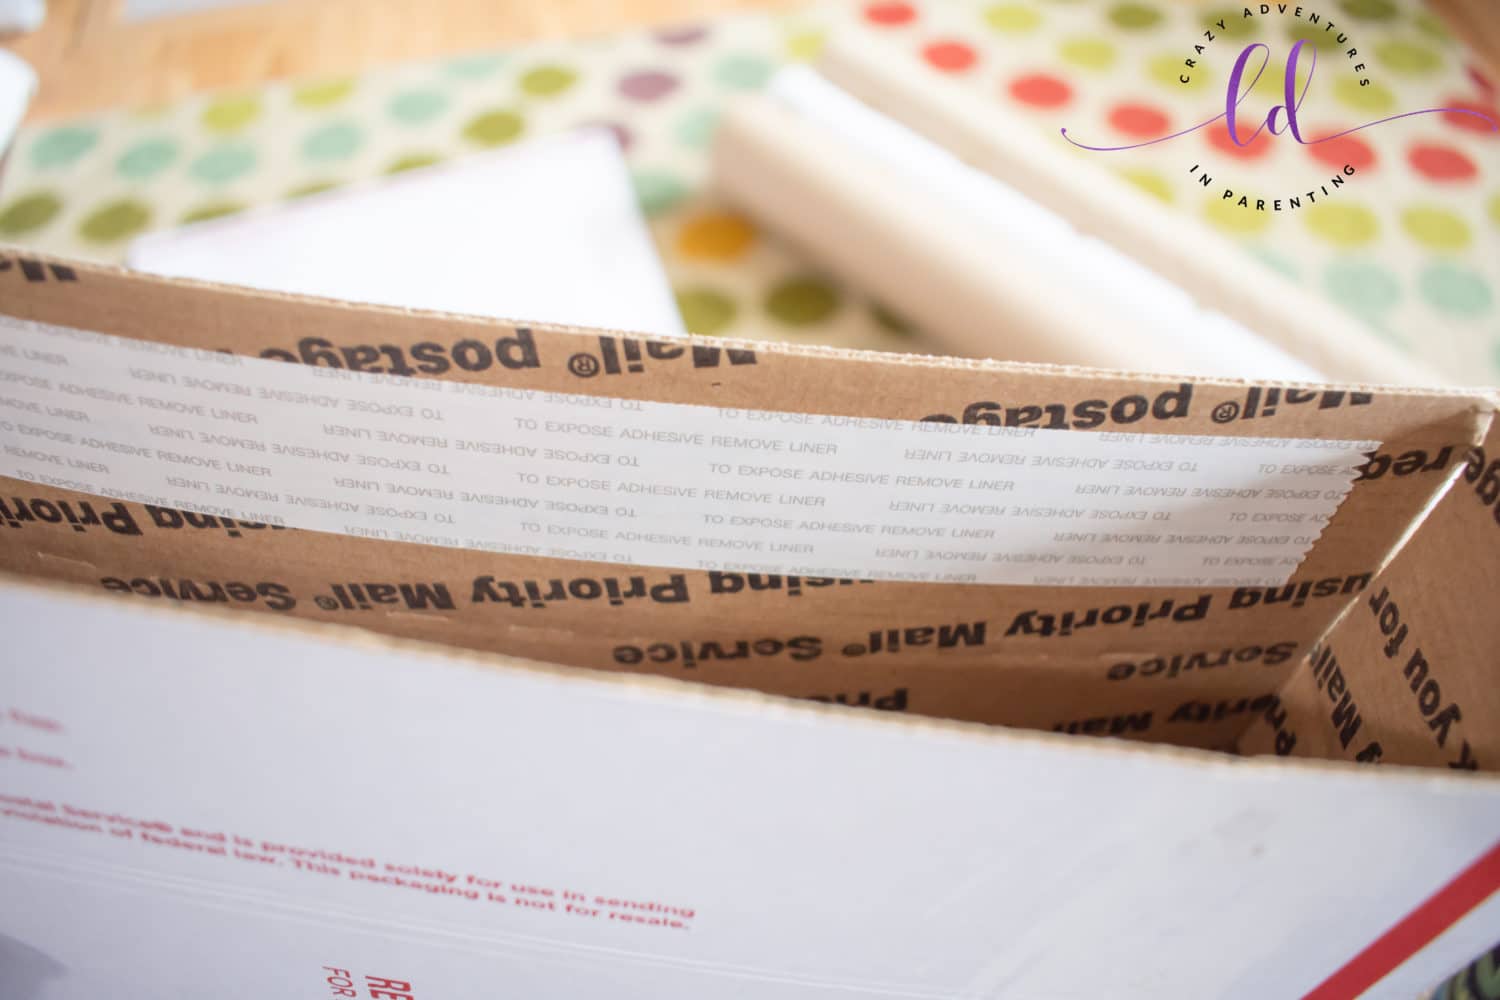
To start, gather the materials you will need and have everything handy. Find a box that is big enough to hold cards in, and feel free to reuse old shipping boxes if you’d like! (I’m all about recycling, yo!) I chose to use old post office boxes because they’re free and I have plenty! I also grabbed three different kinds of paper to wrap with, two of which were craft paper, just to see which one I liked the best. Have a good pair of sharp scissors handy for cutting through the box, too.
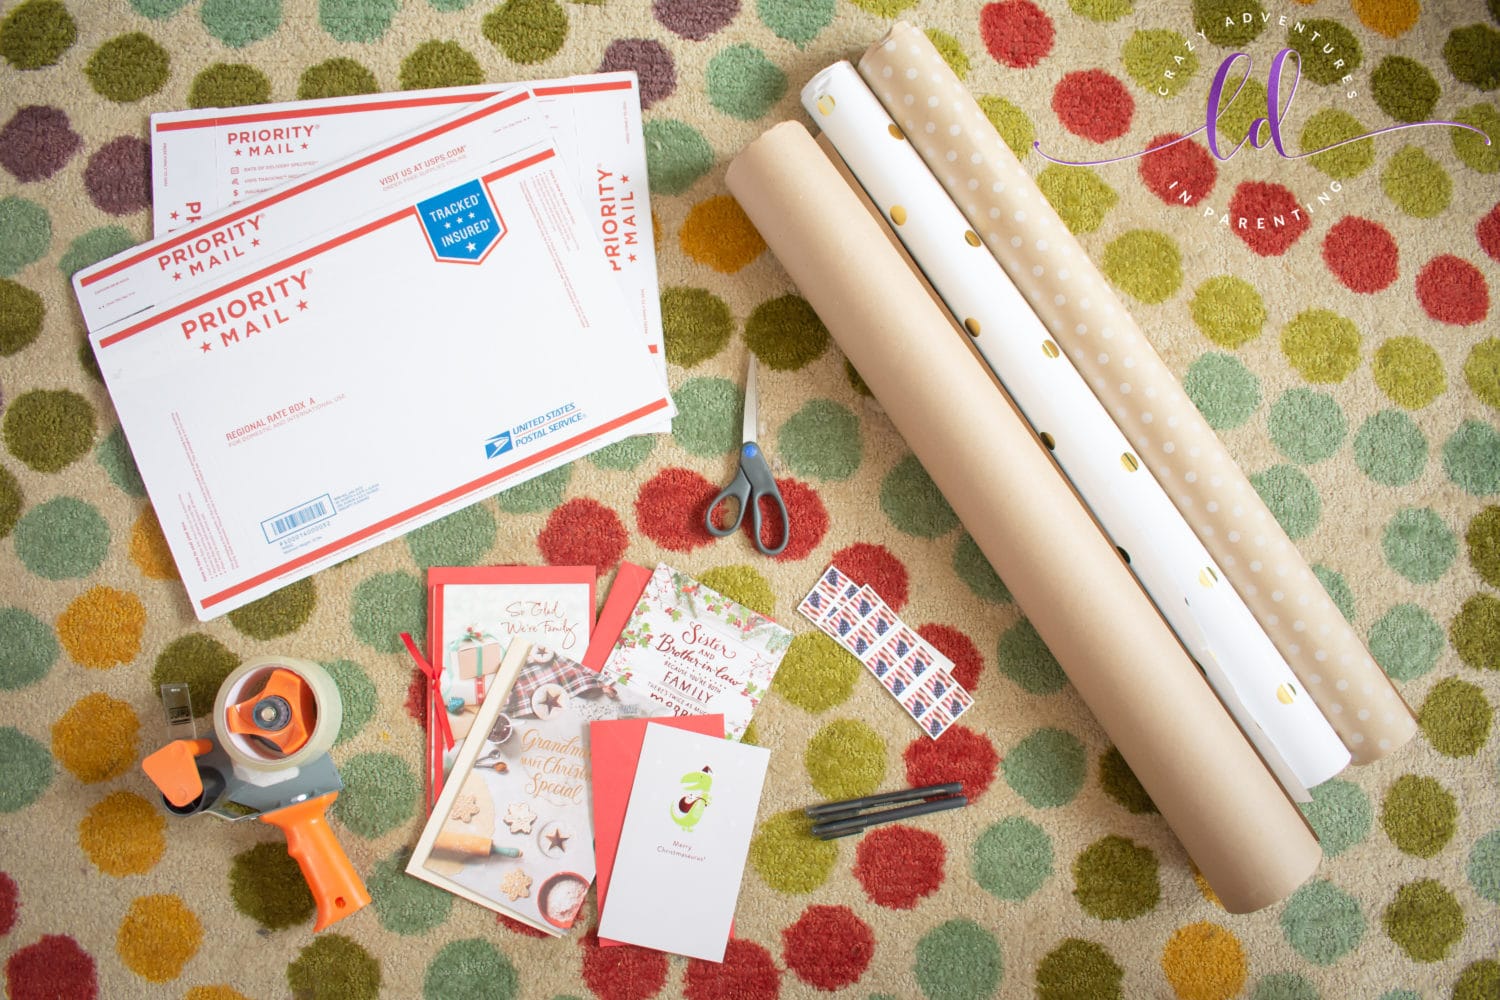
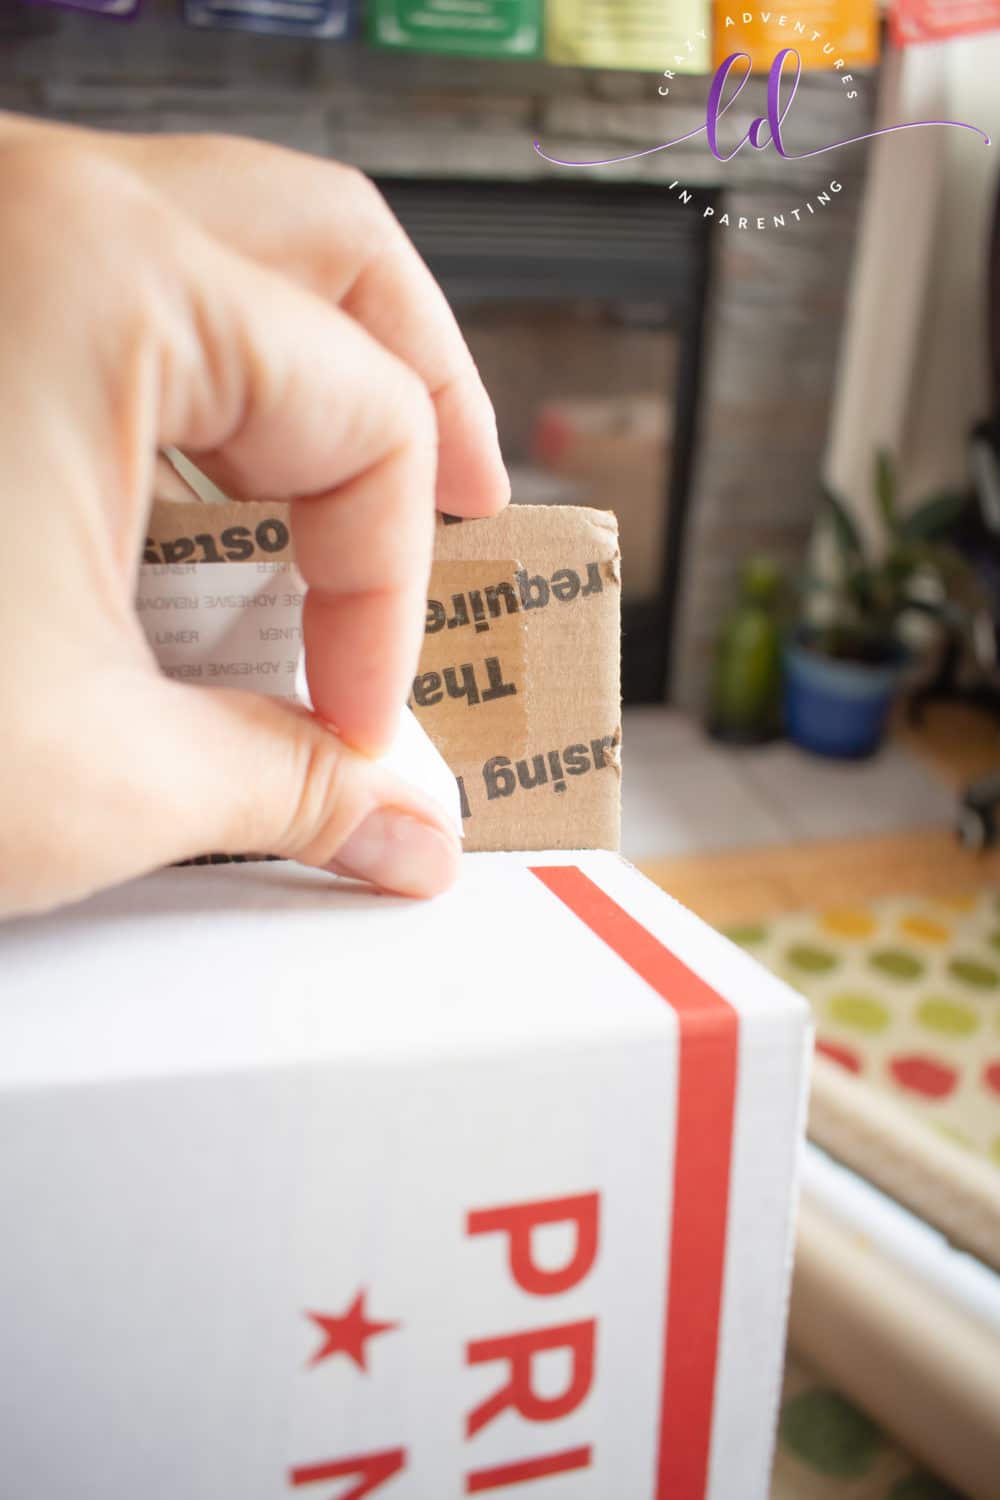
For this craft, I chose to use a postal box because a) they’re free (lol!), and b) because I’ve worked with them before in creating DIY storage boxes, and c) I’ve always loved that these boxes come with self adhesive strips, making our jobs even easier!
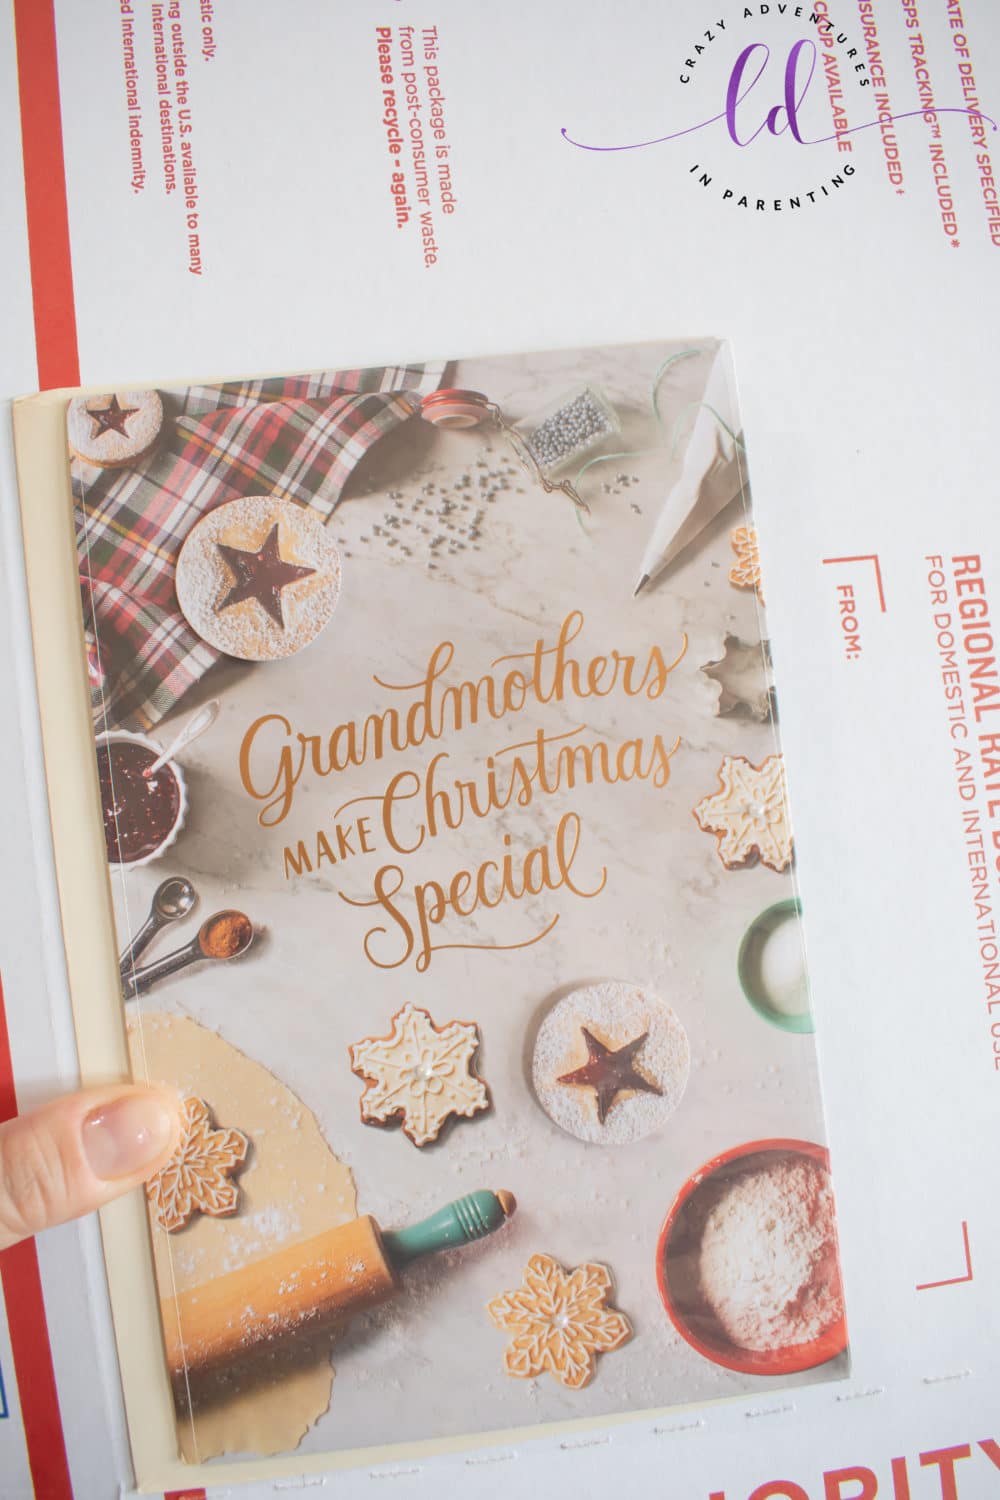
I grabbed the largest American Greetings card I had to ensure I would cut the box to fit the cards because I didn’t want the box to be too tall so that I couldn’t see the cards inside. By having it trimmed to the height of the cards, this allows you to add dividers for different holidays, too.
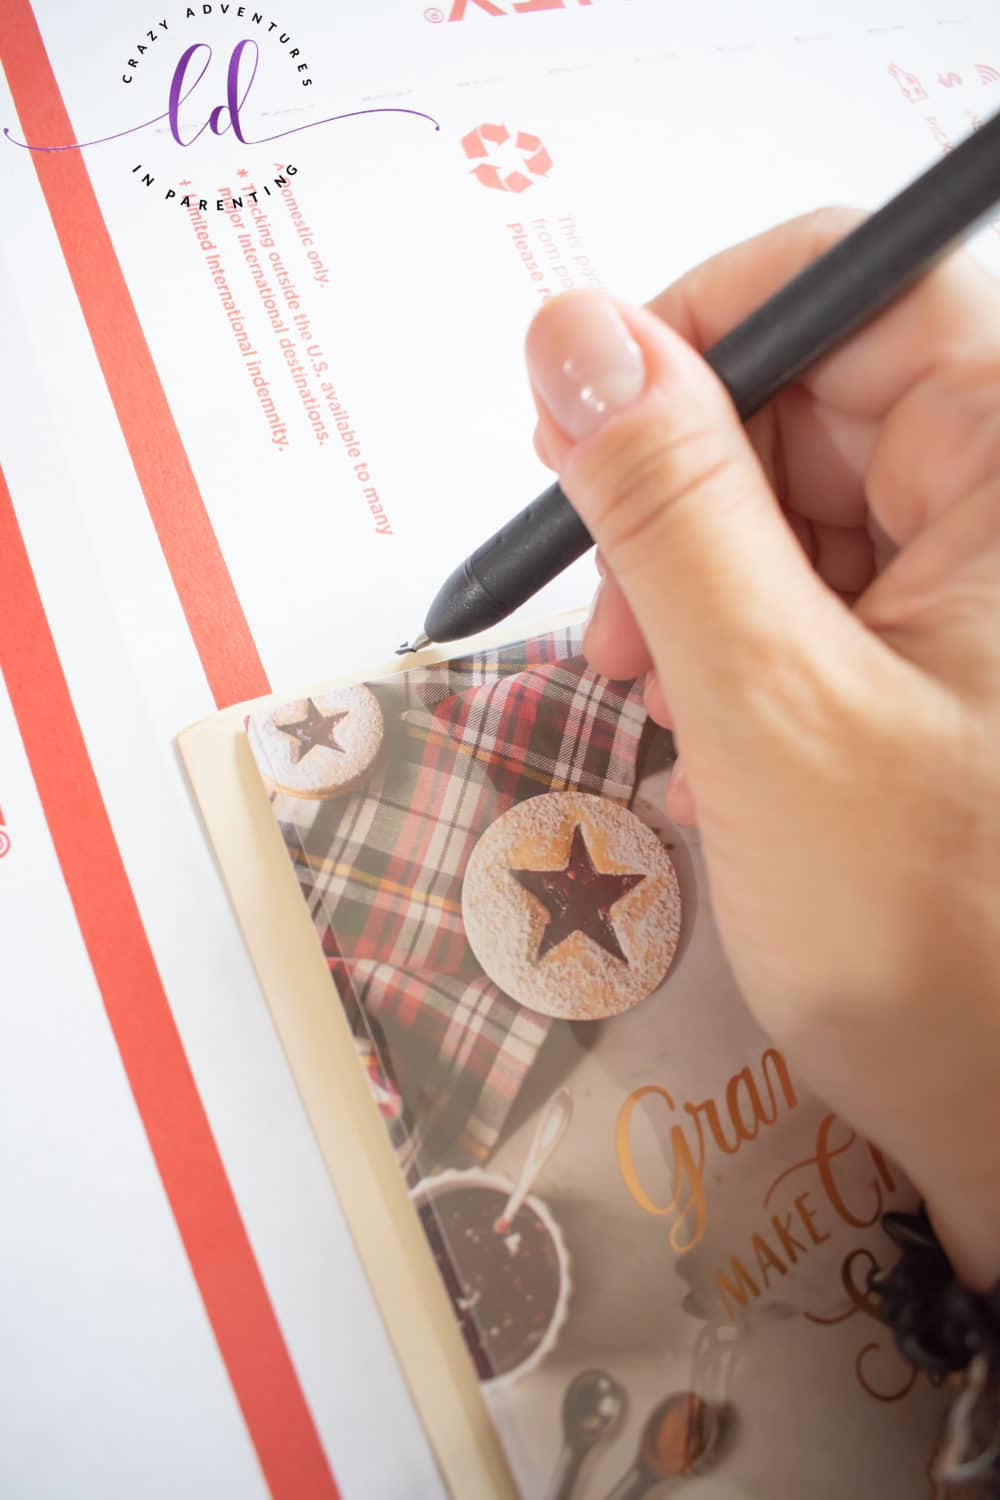
I added a little distance between the end of the card and the bottom and hiked the card up a tad too before drawing a line to mark where it fell so I could trim the box to size.
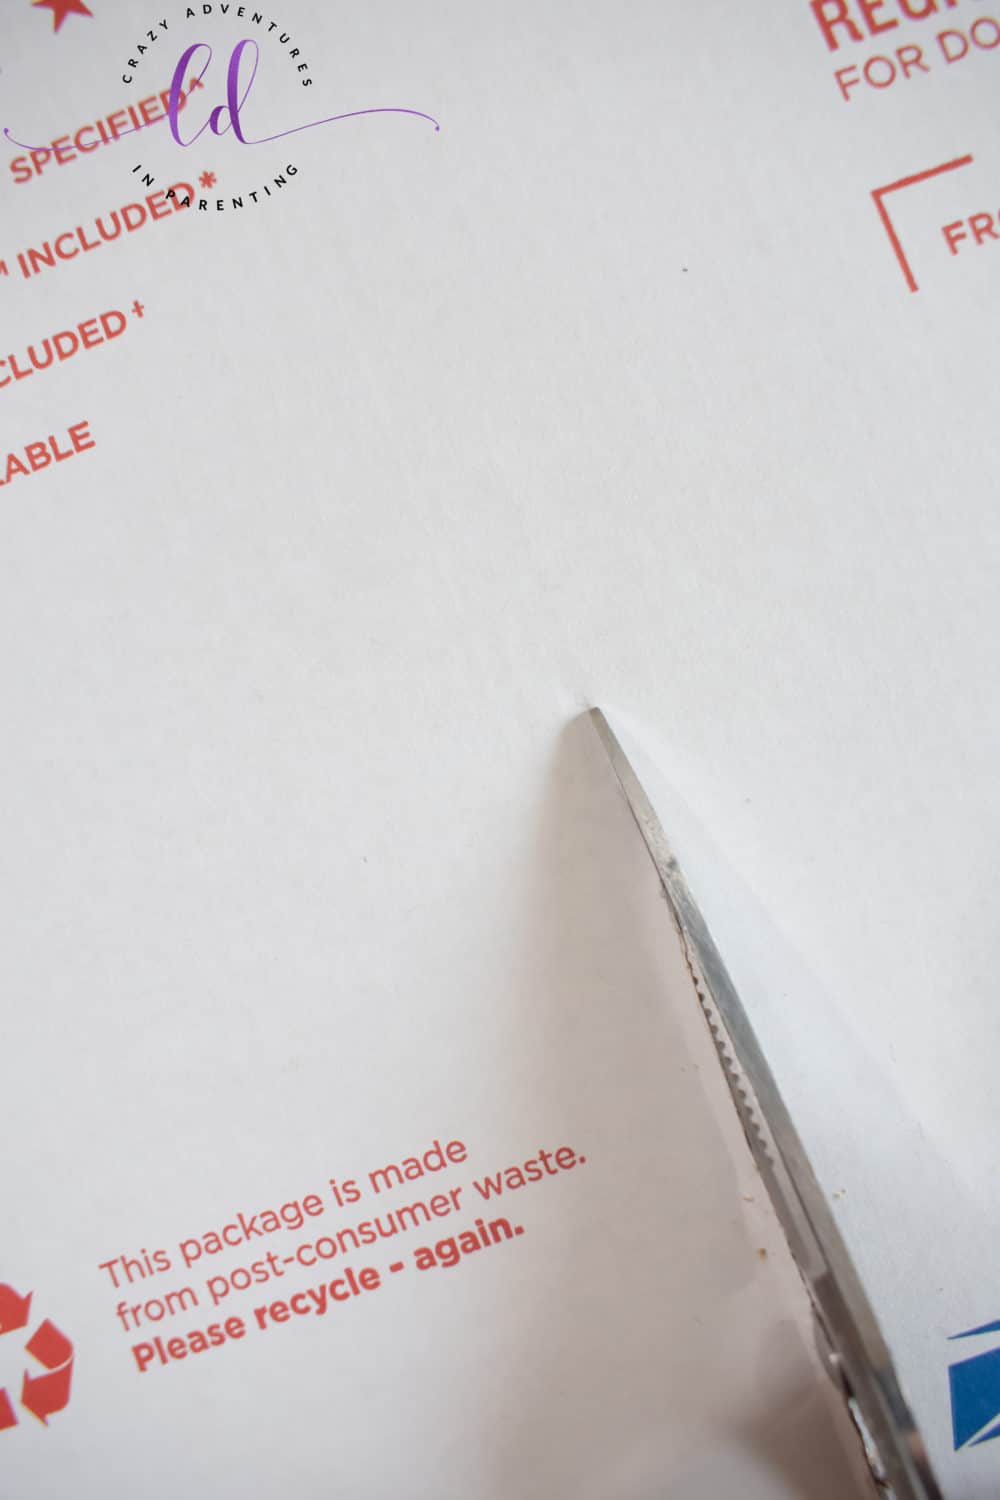
Once you mark where to cut the box, grab those sharp scissors and cut away! Cut through both sides straight across the box.
I grabbed a cereal bowl and lined up the diameter of the bowl with the box’s edge, making sure the semi-circle shape was perfectly in the middle along the edge, and used a pen to trace the circle.
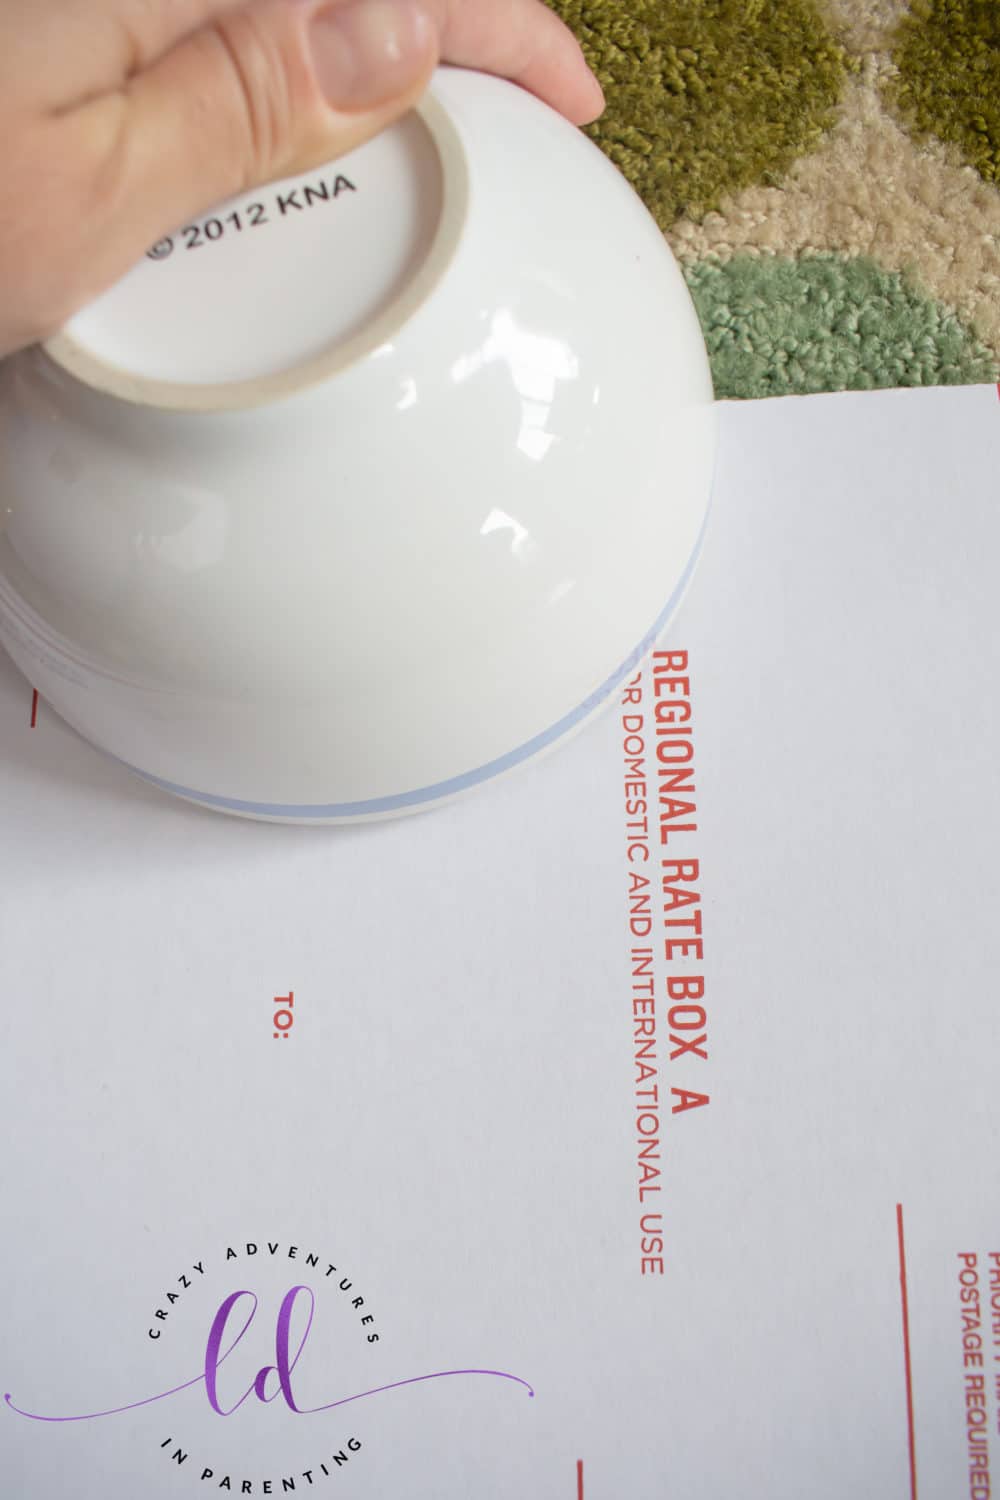
Trim the semi-circle shape carefully.
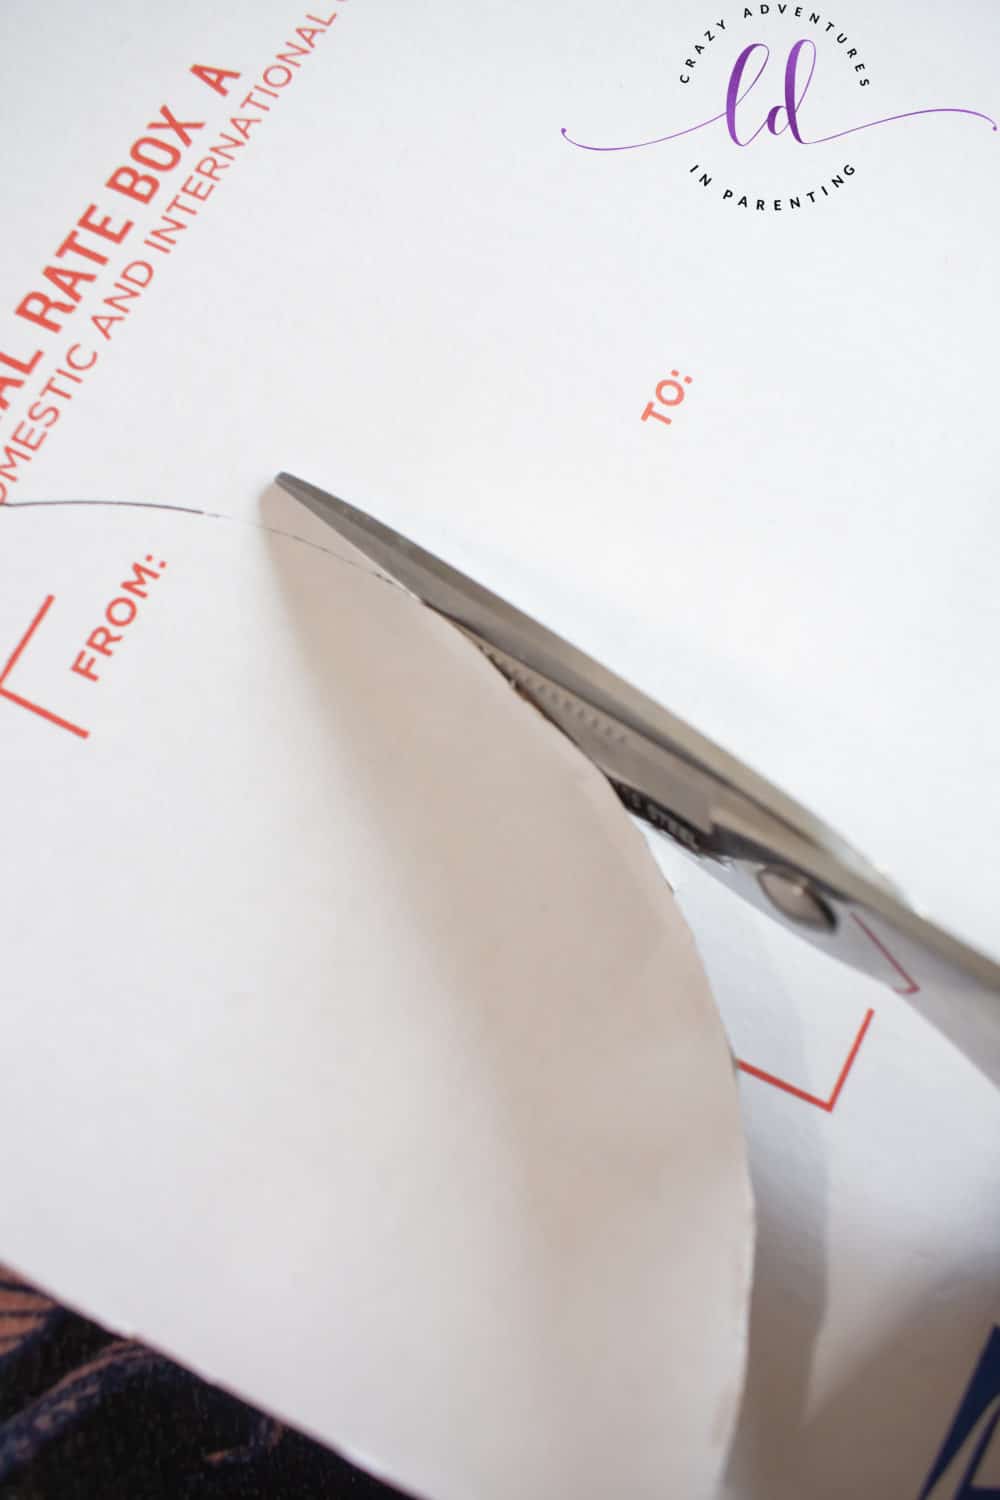
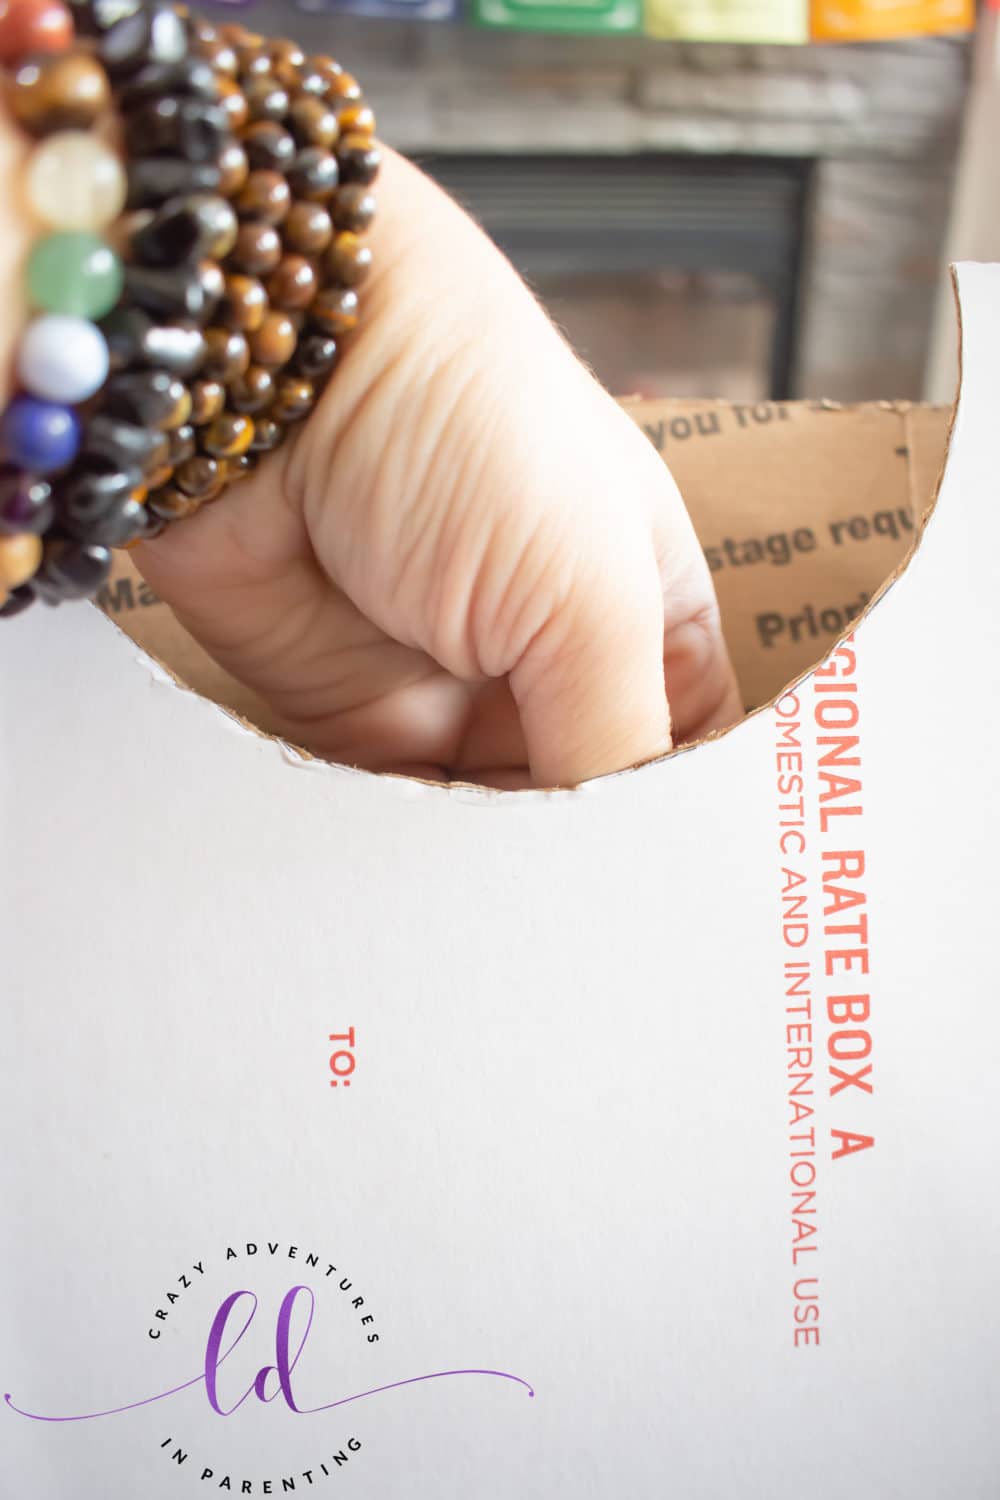
See what this shape does? It allows you to easily reach into the box, adding a little extra room for your wrist, to get to the bottom if need be. Plus, it allows you to see into the box even easier now!
If you’re using a postal box like I am, here’s where you can use the adhesive strip to seal the bottom of the box.
Now we wrap the box like a gift! I chose neutral colors so that I could use this box year round but ultimately ended up with a wrapping paper as opposed to using craft paper. The choice is yours on what you sort of paper you choose to use!
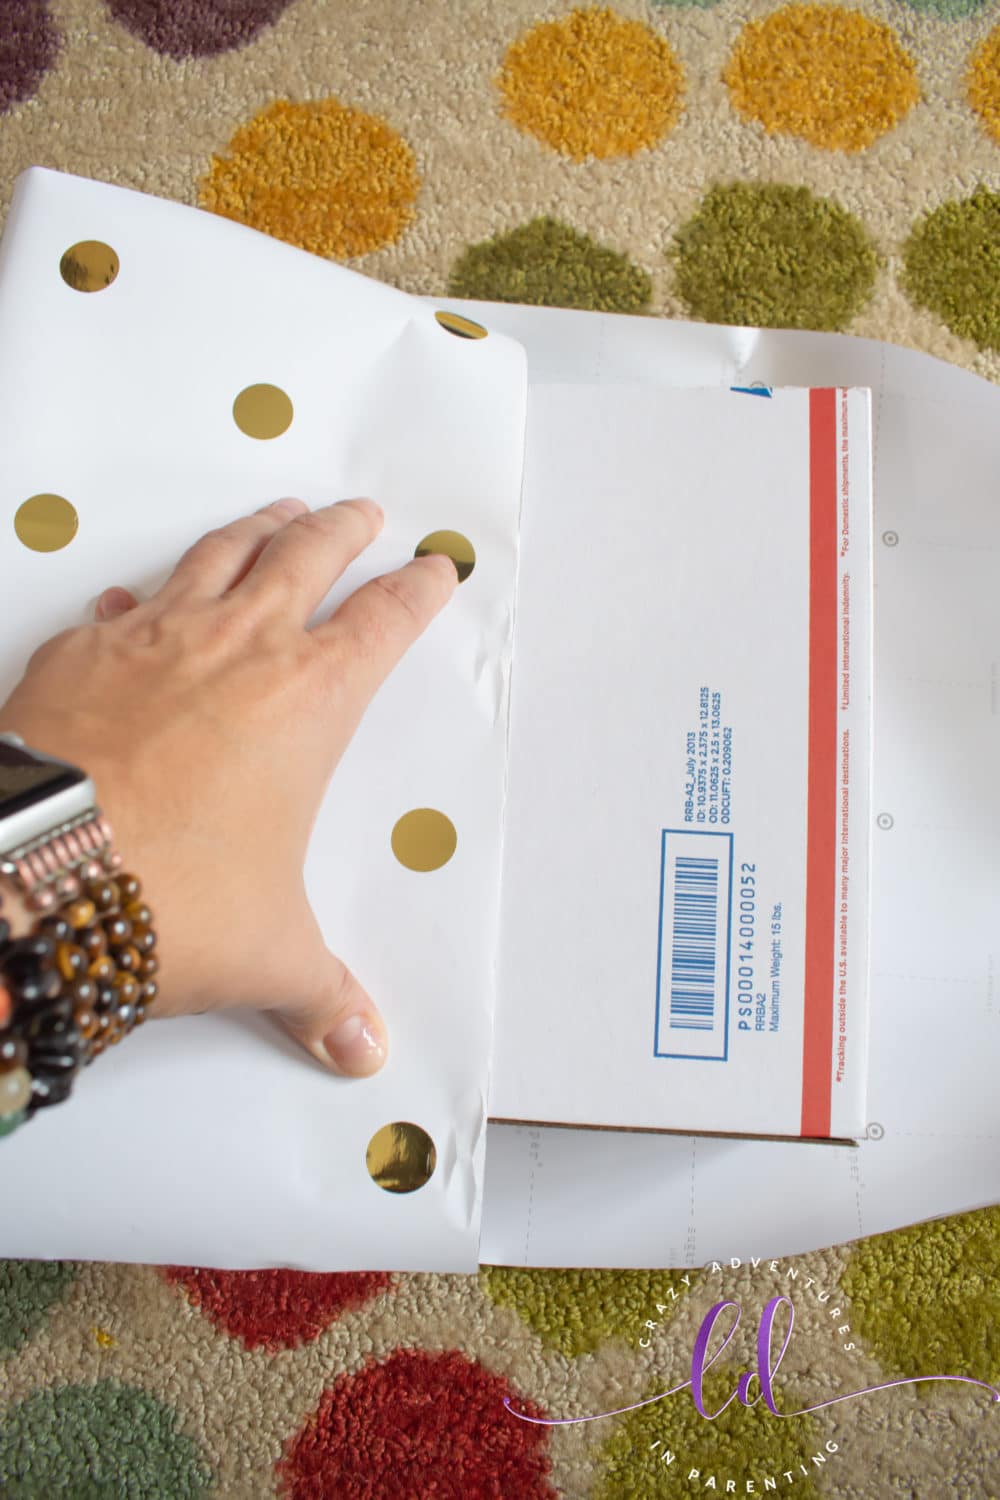
Wrap the wrapping paper around the back, then wrap the sealed bottom edge first. Nothing fancy here, just wrap as you would wrap a gift normally, and tape your paper closed. For the top open-ended edge, pinch the extra paper at each of the four corners to elongate the corners so you will know where to cut in the next step.
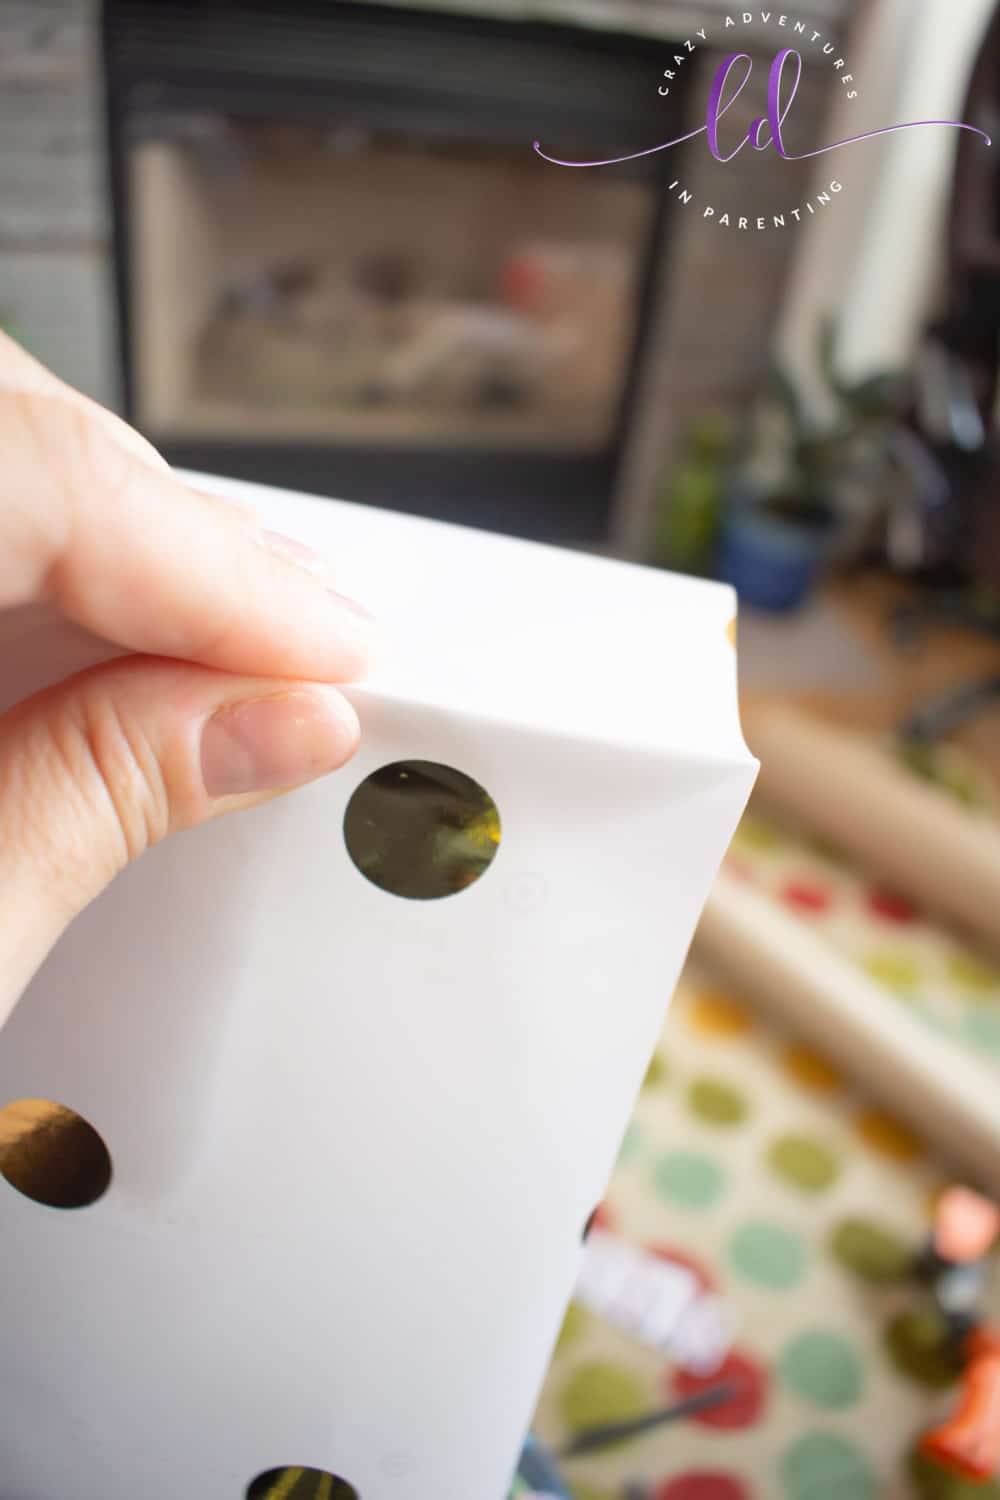
This end of the box is open-ended. This means we will need to fold the paper down into the open end of the box and to do that, we need to cut the paper along those pinched folds.
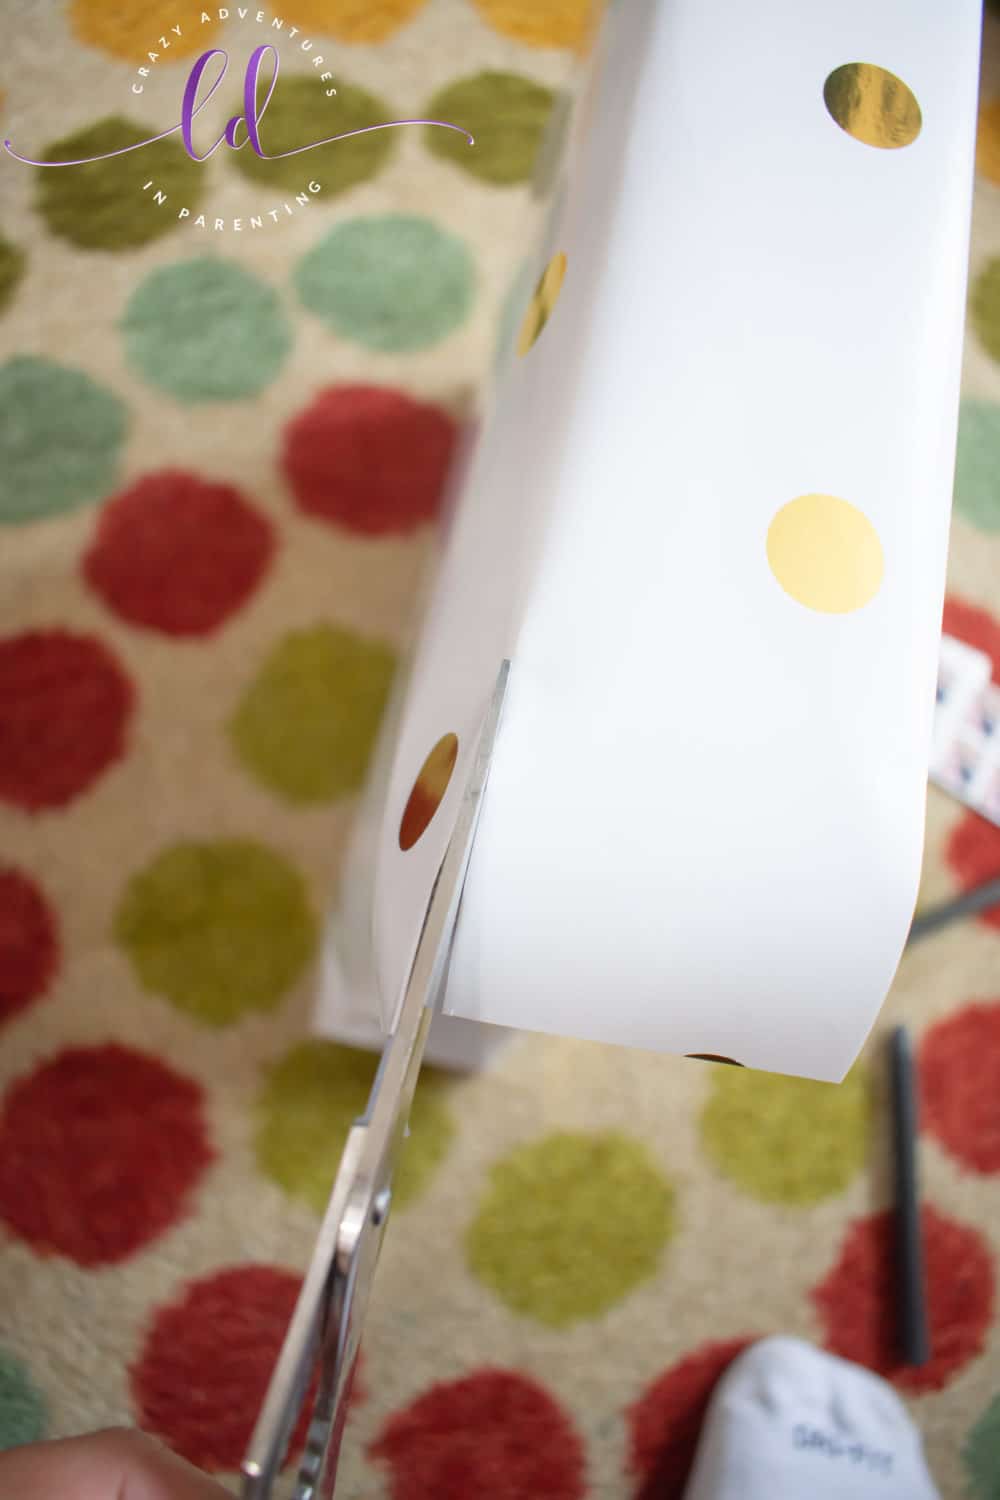
Fold down the two smaller sides and the one long backside, taping the pieces down into the box – leaving the front with the semi-circle side untucked and untaped as of yet. Because this front portion has a semi-circle, we have to be creative with cutting to get it to fold properly and evenly.
Cut right down the center of the semi-circle to the edge of the circle, and then cut triangular sections (like pie slices) into the wrapping paper, starting with one side.
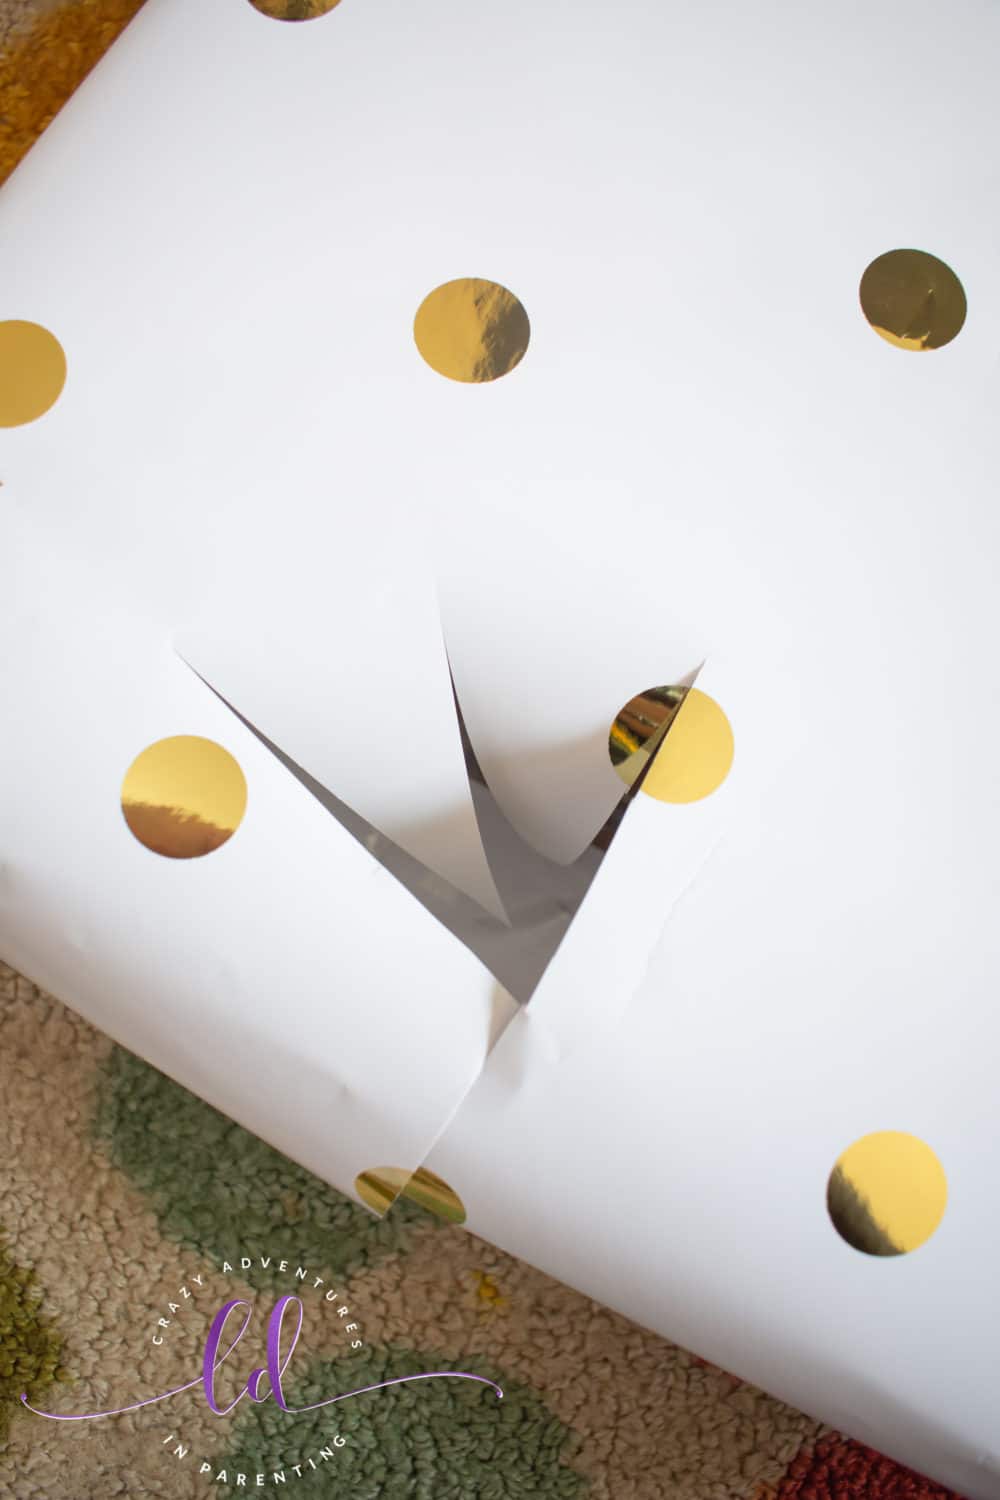
Trim away the rectangular excess at the top of the triangle section so you can fold these pieces down.
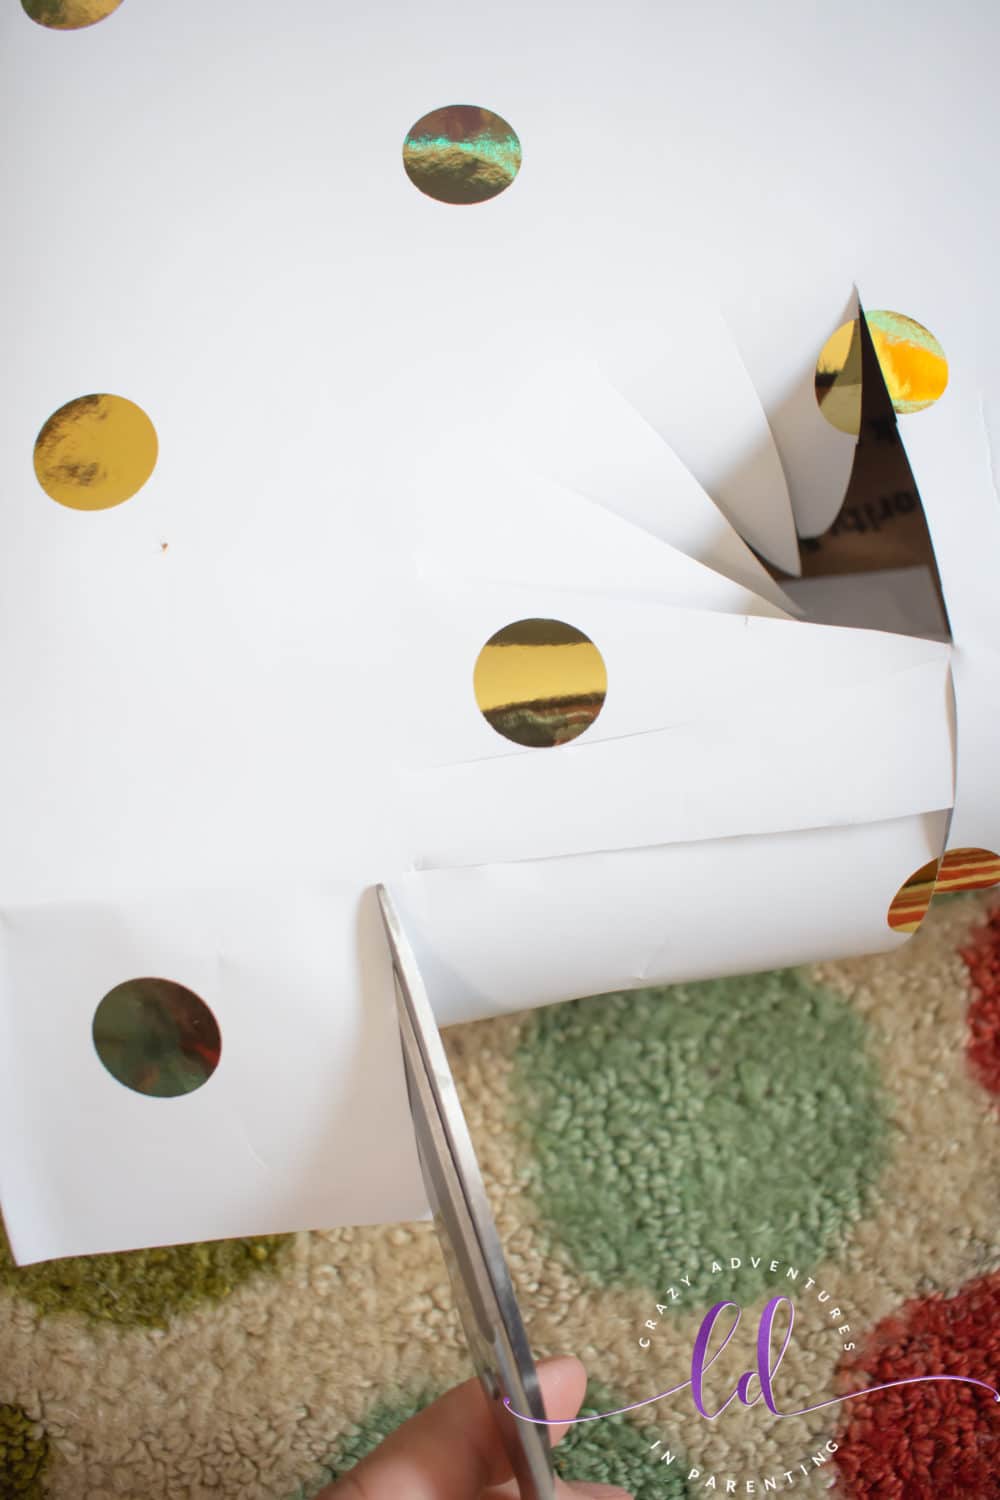
Fold down your first pieces, and tape to secure inside the box.
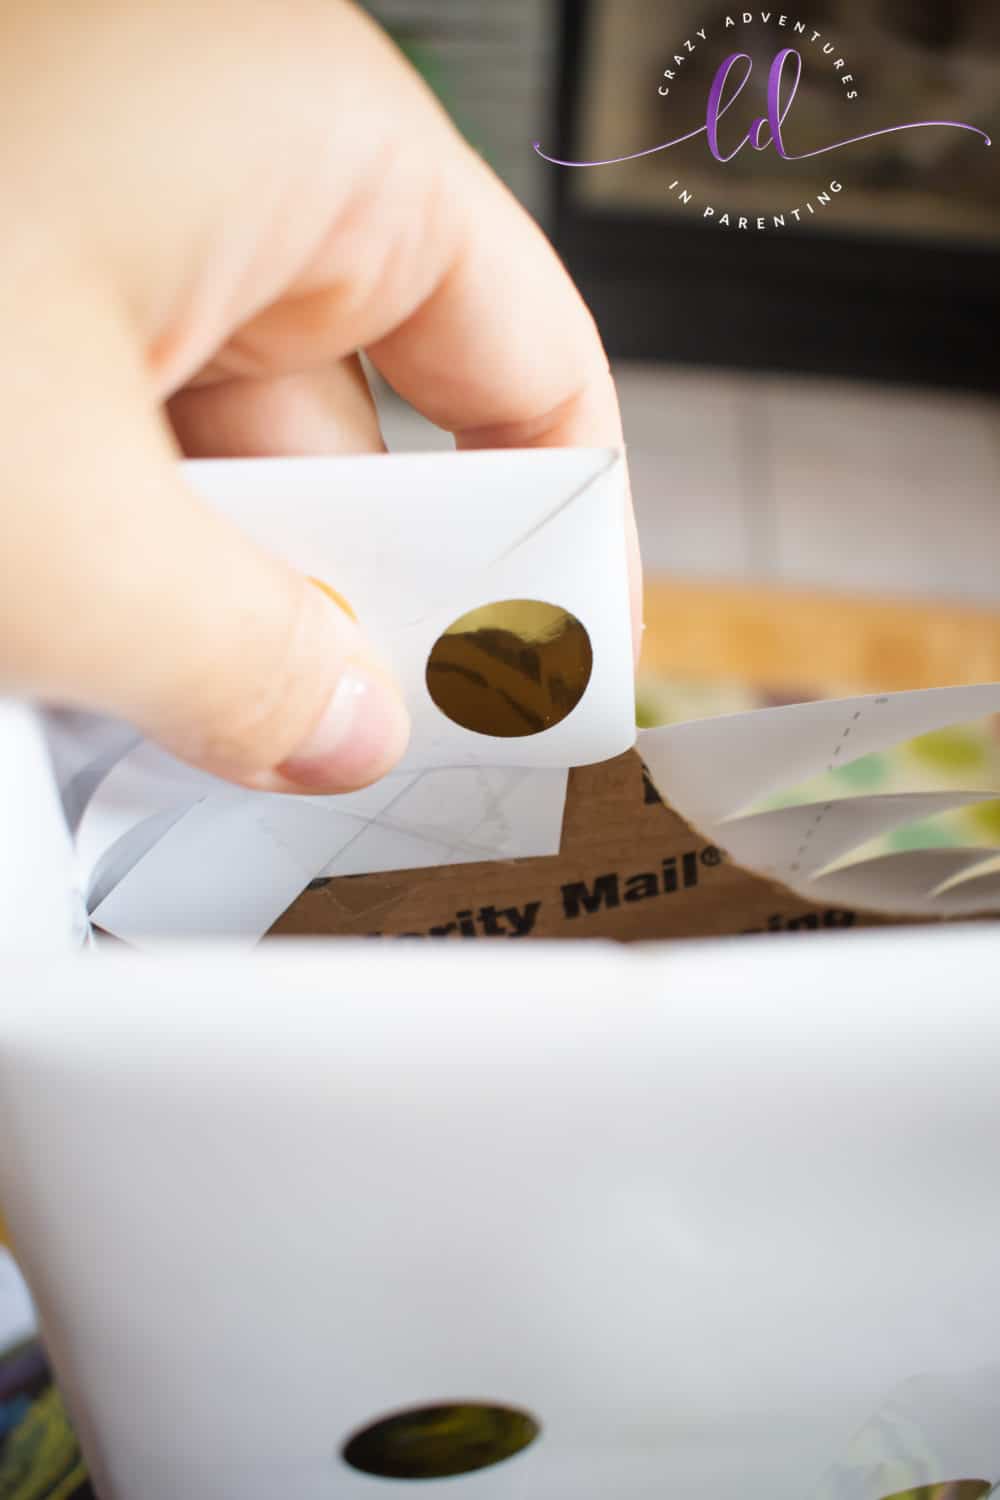
Fold one triangle at a time down into the box, and tape as you go.
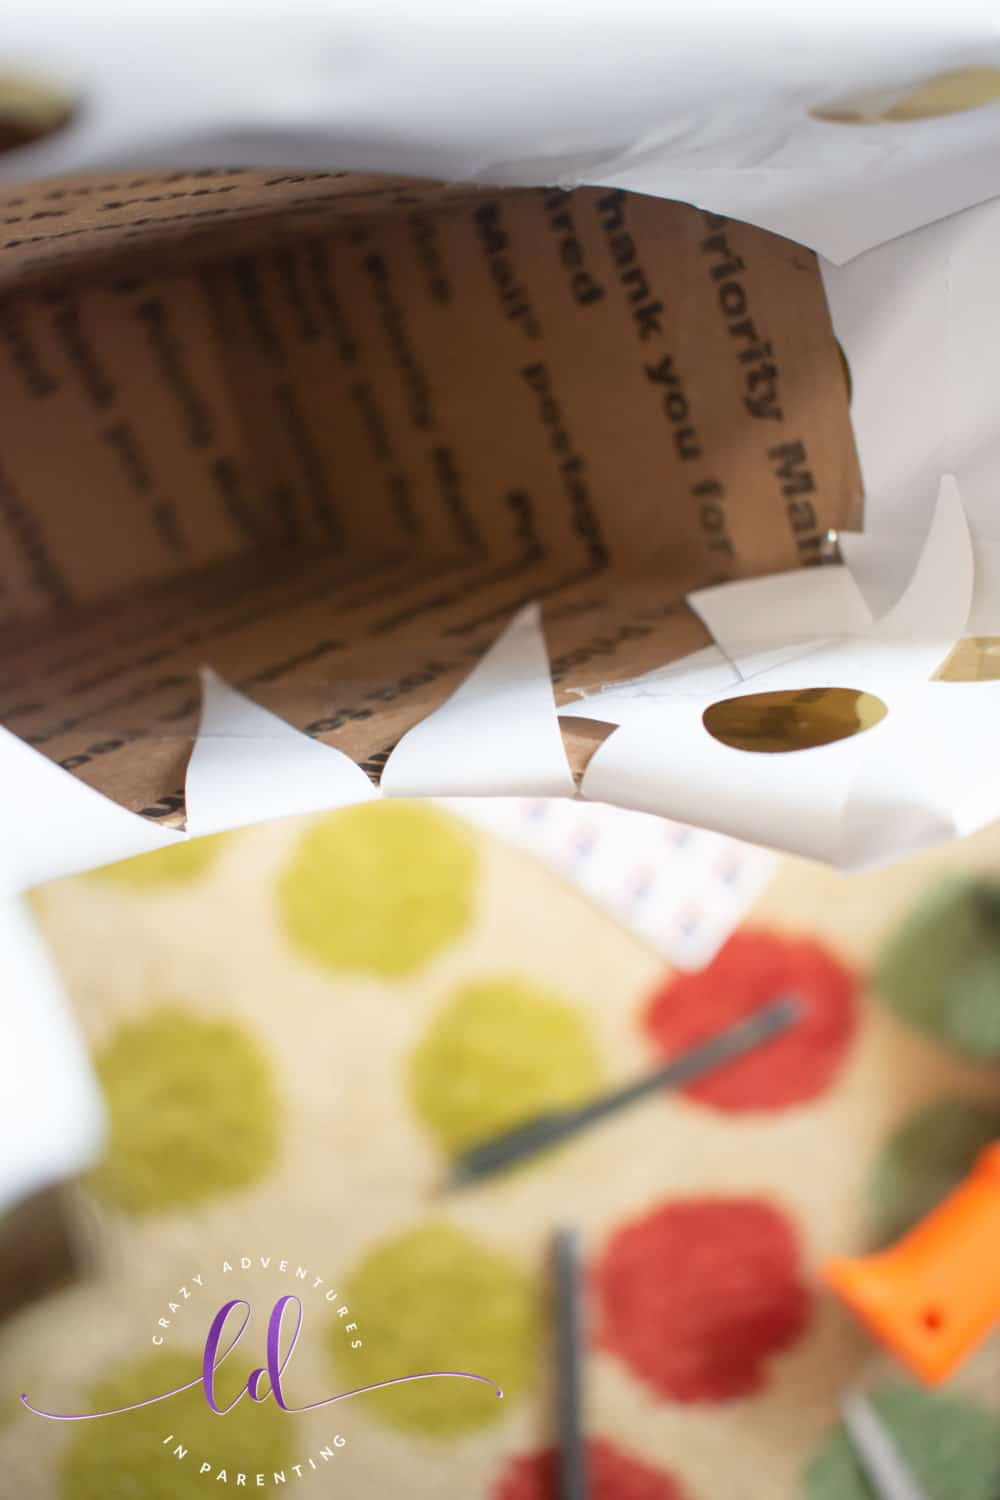
Repeat with the other side, ensuring all sections are down into the box and taped securely.
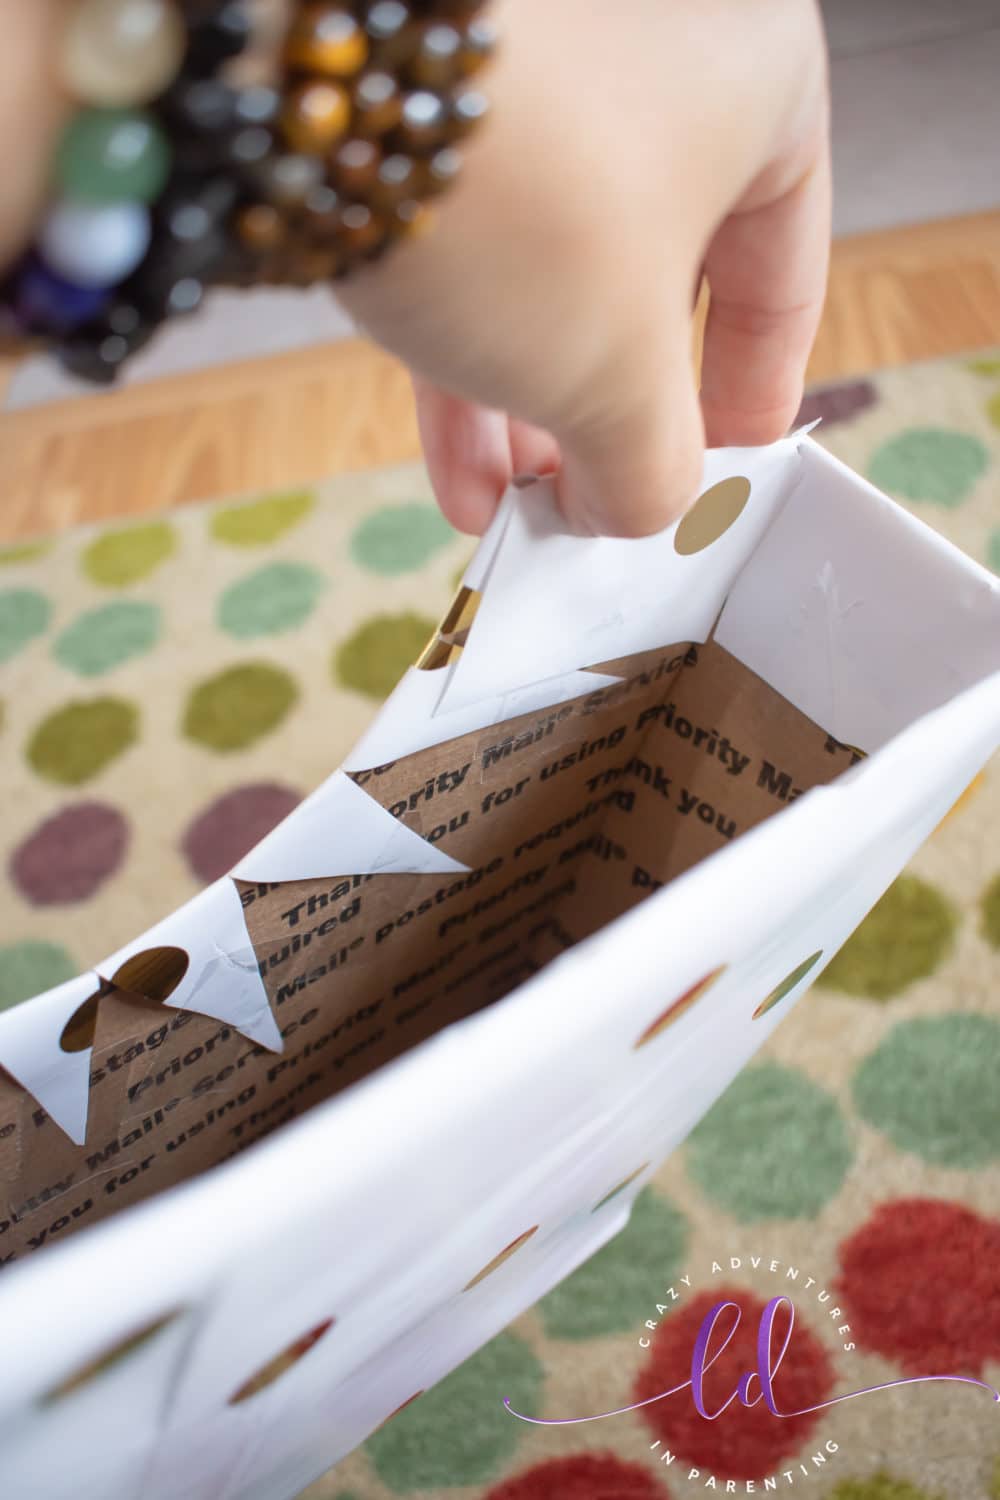
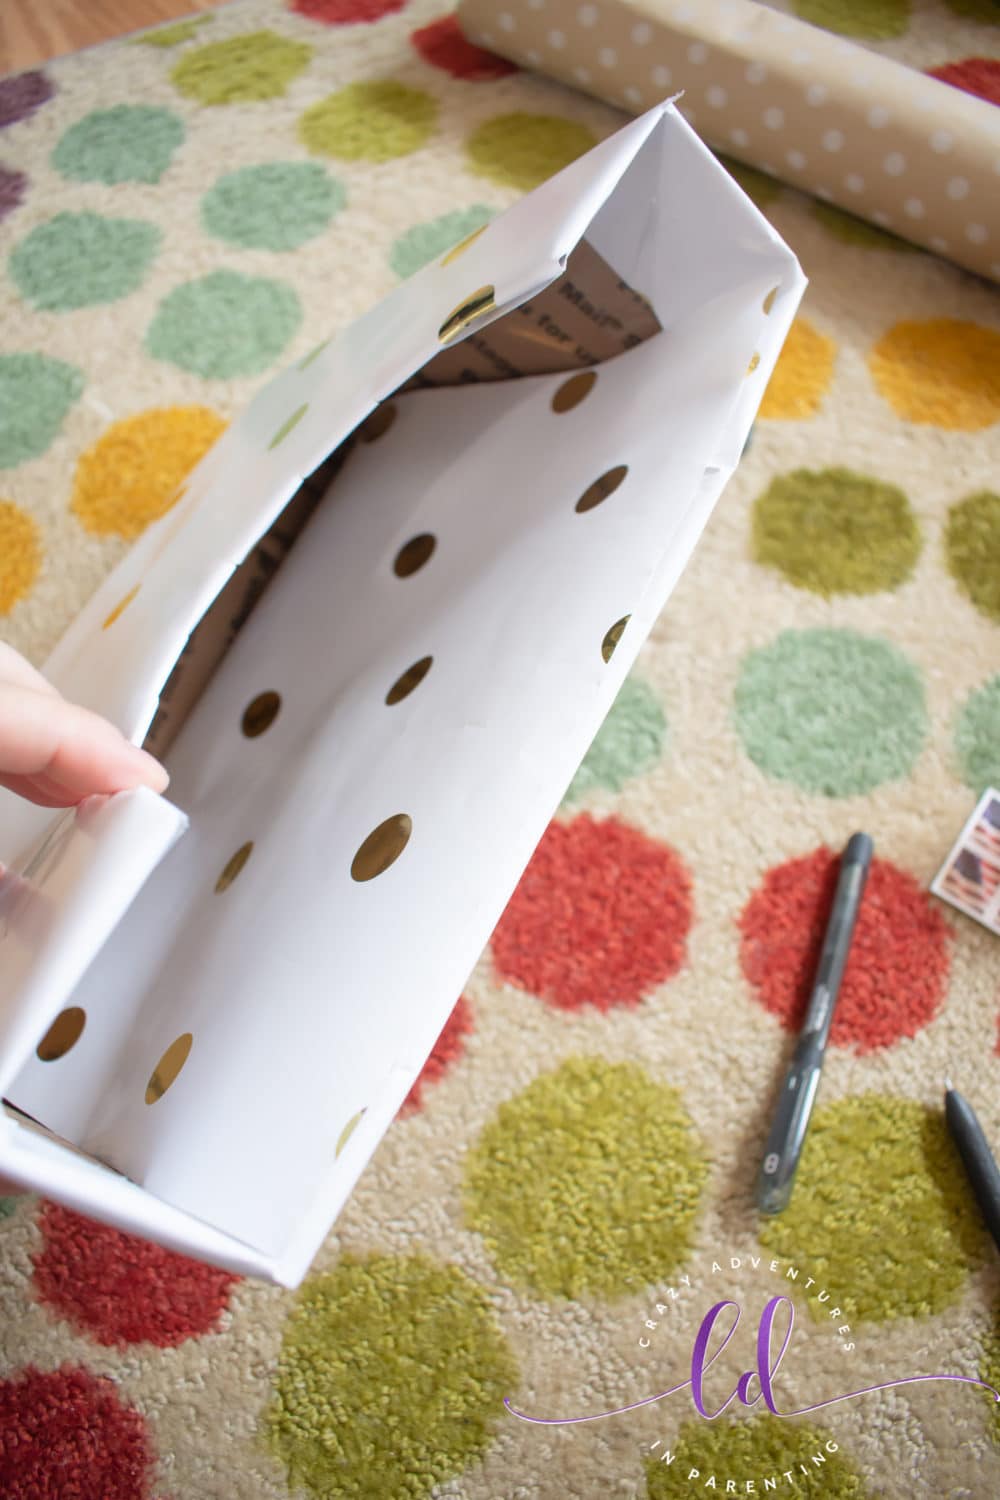
Once finished, you will want to measure and cut one final piece of wrapping paper to go into the box and cover the back part of the inside of your storage box. (You can opt to cover the rest of the inside of the box here if you’d like, but I only chose to do the back wall as the interior of the box can be seen through the semi-circular hole.)
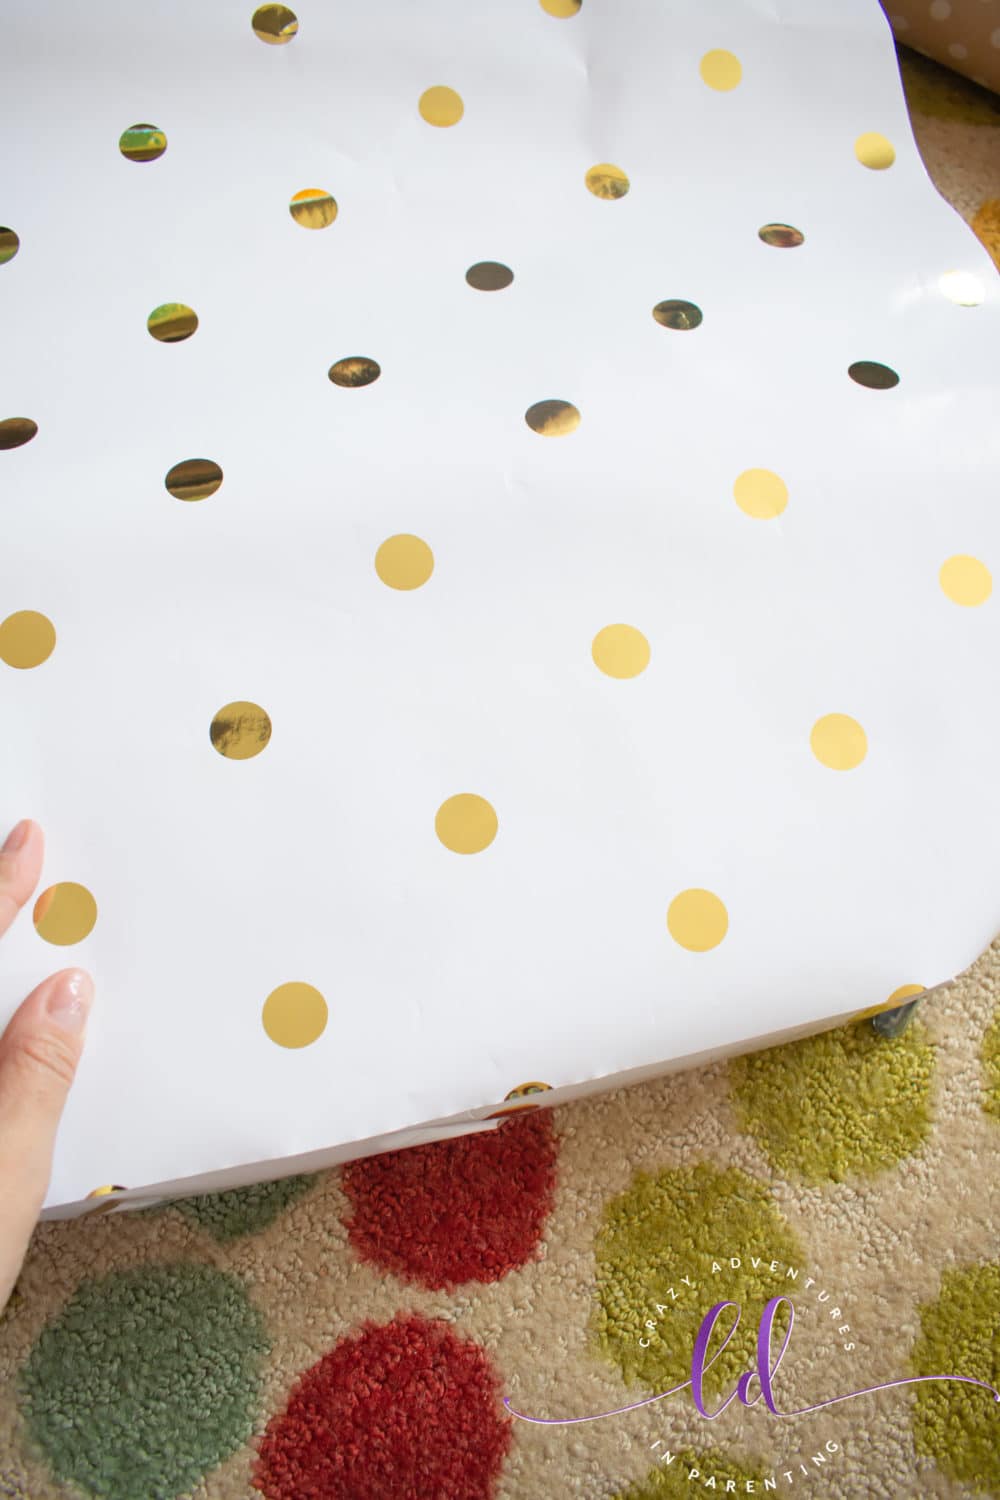
Trim the paper and tape to secure it inside the box, ensuring it fits snugly and perfectly inside the box without edges popping up. Trim if necessary at the top. I wrapped the tape sticky side out and placed it underneath the paper so that the tape didn’t show, making it look cleaner.
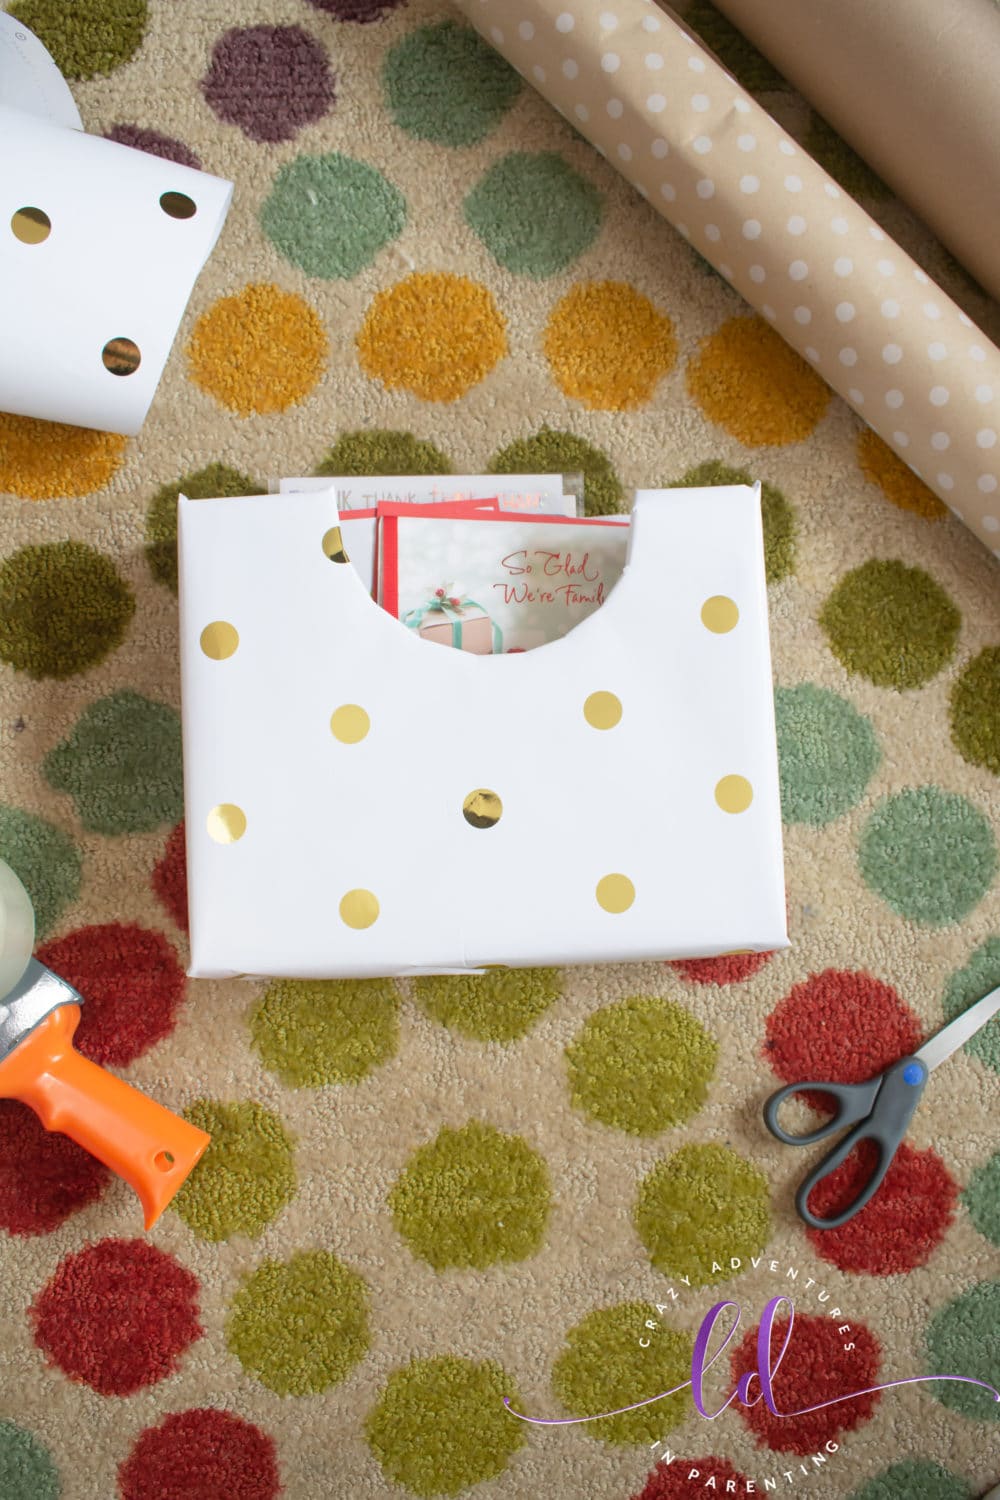
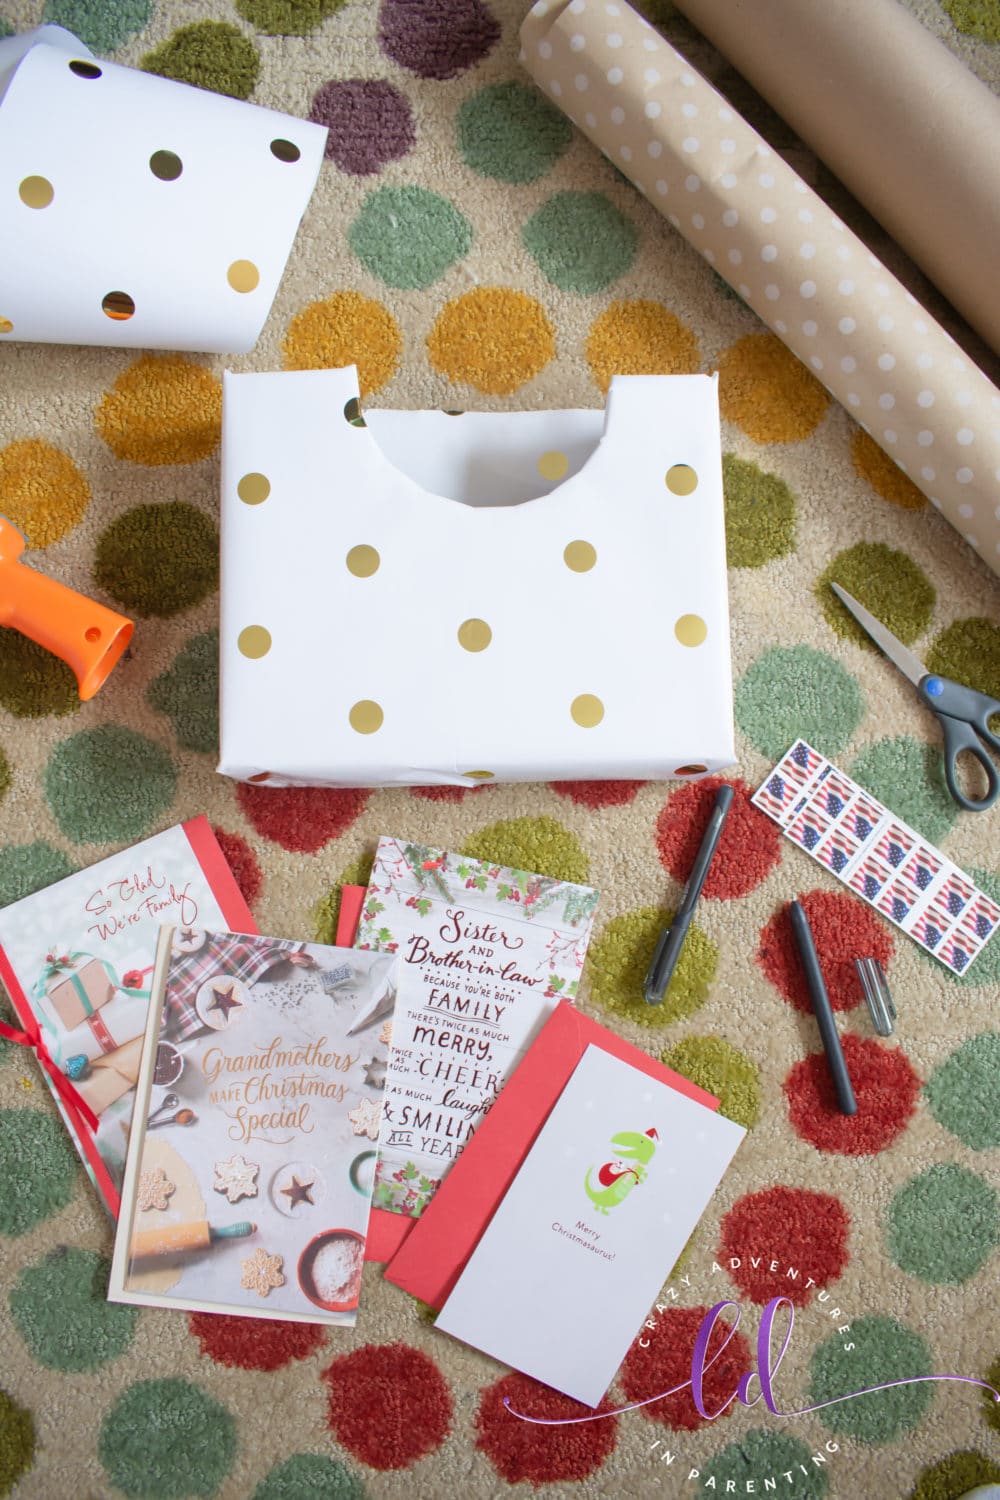
Tada, you’re done! It’s time to grab those American Greetings holiday cards and whatever else you’d like to place in the storage box.
Start stuffing your box full with cards, stamps, pens, and more!
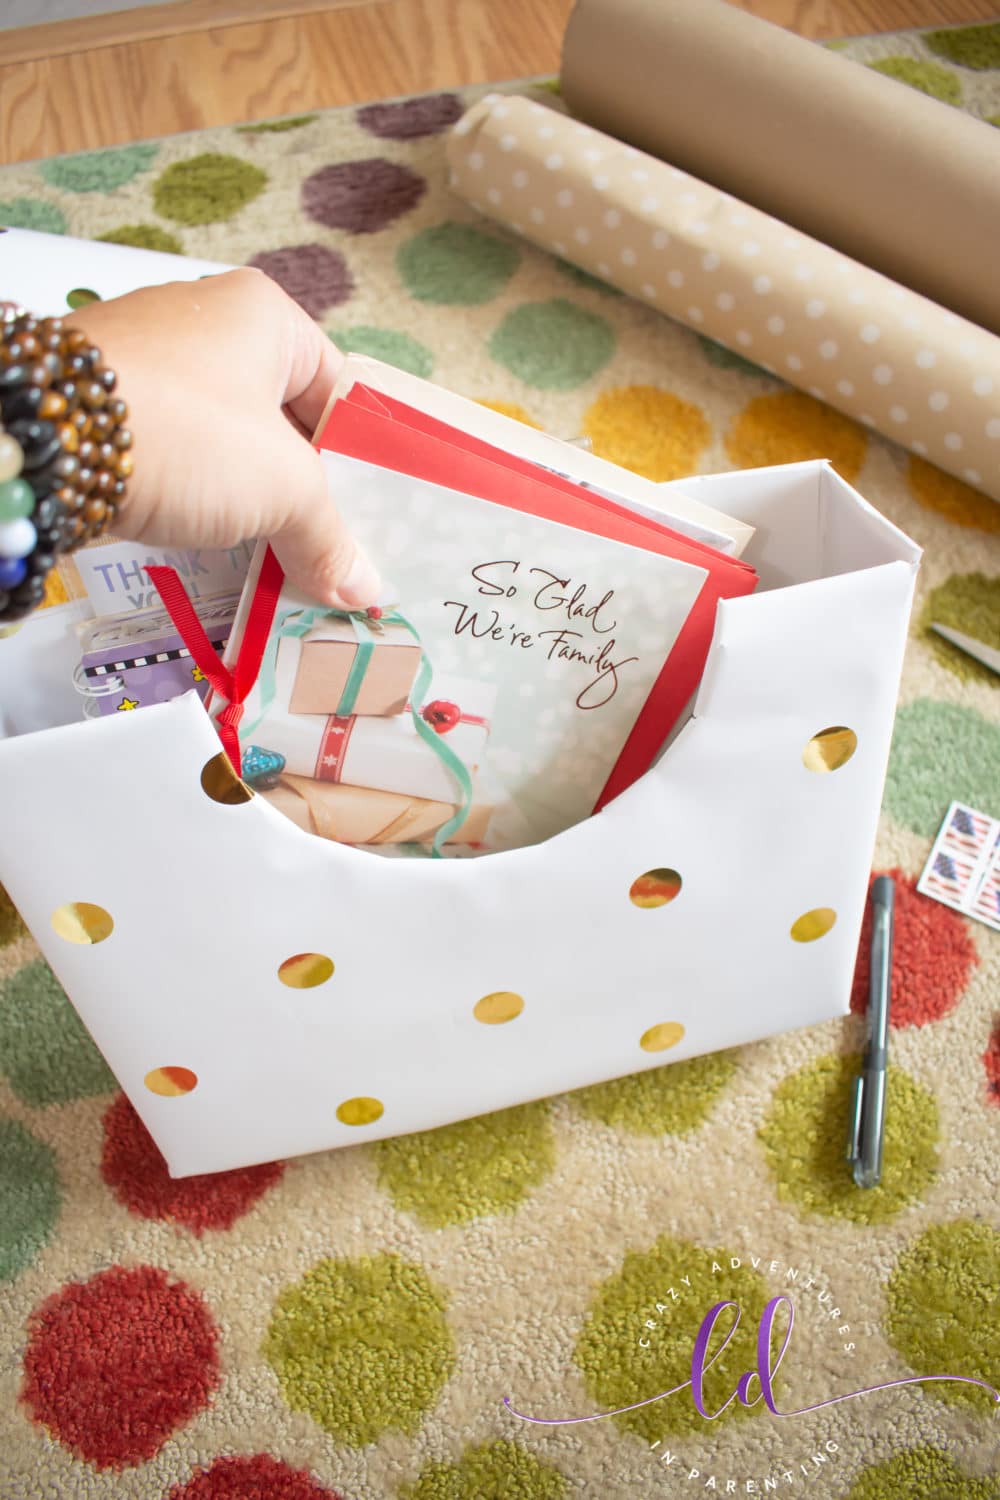
If you take a peek inside, this is what it looks like!
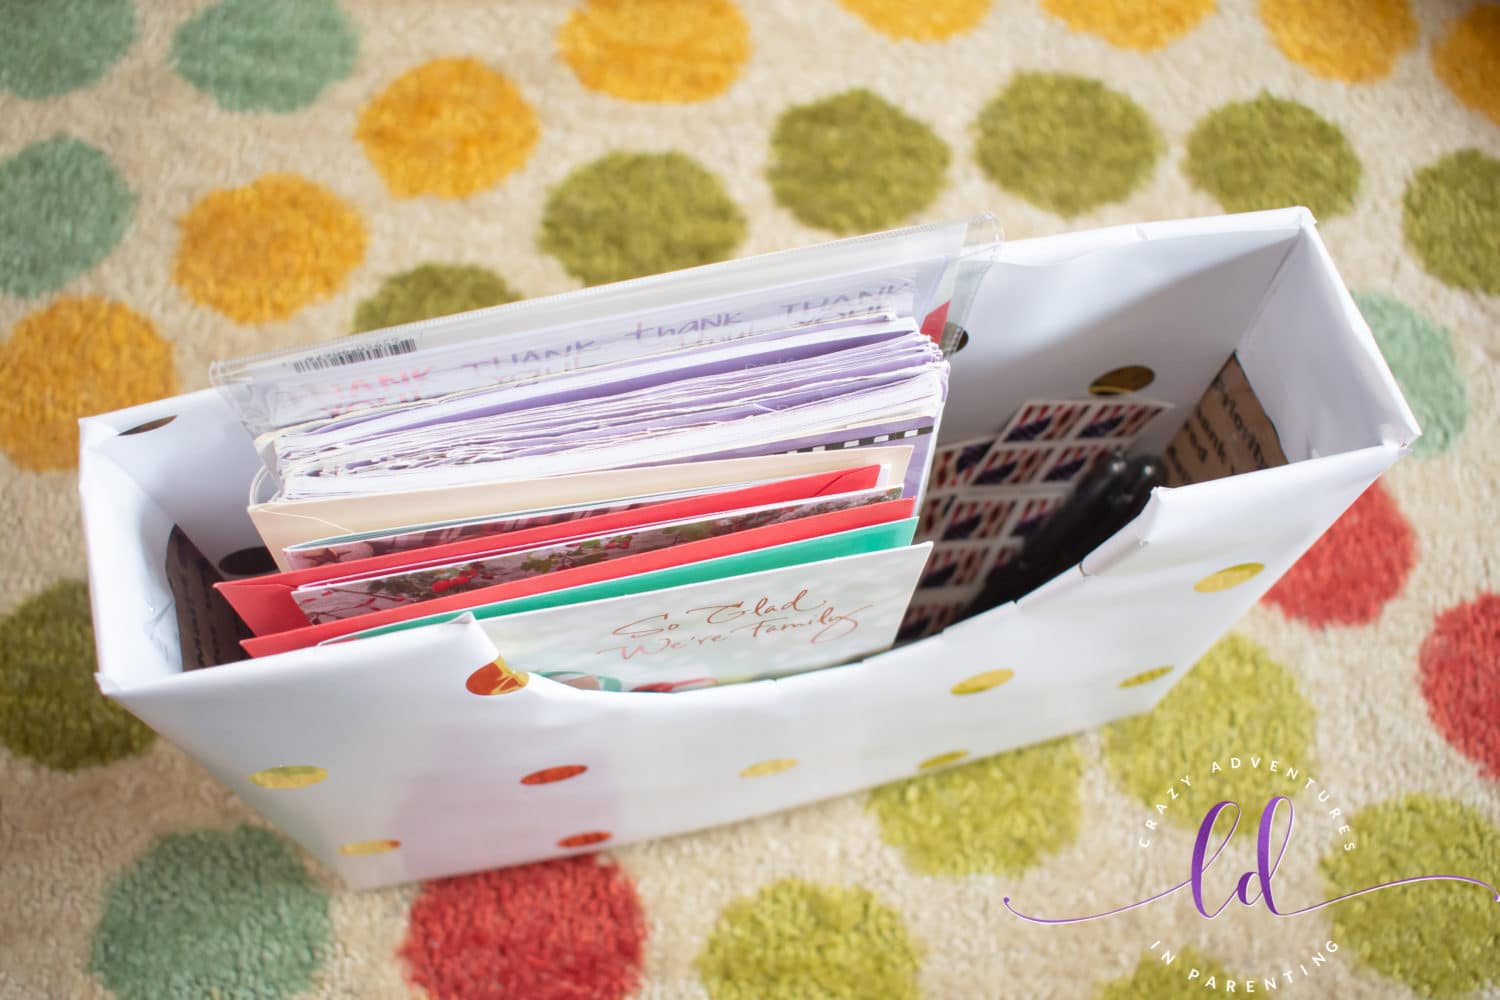
Because I am choosing to have my address book inside the box, I am not using dividers to organize by season. If you want to have it organized by season, use scissors to trim the dividers with tabs to fit inside the box and place inside.
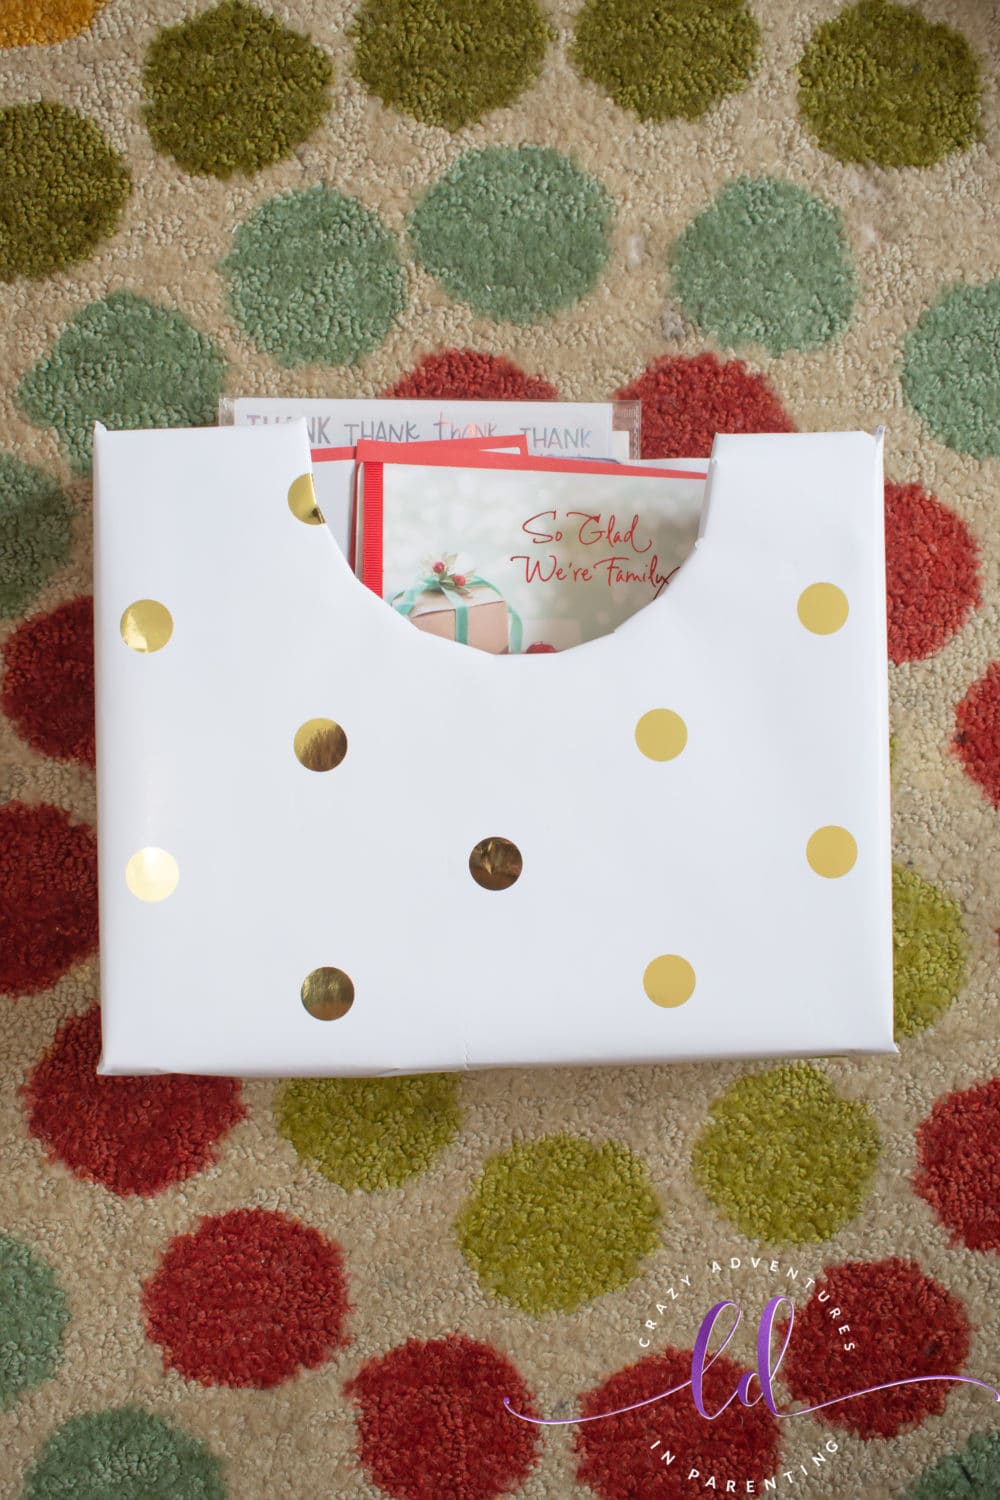
You can keep this greeting card organization box in your vehicle, alongside your desk, or wherever you feel is handy!

What will you put into your DIY Greeting Card Storage Box? Let me know in the comments; I’d love to hear what sort of plans you have in mind for yours! Be sure to save this post for later and share it easily with this graphic below! And don’t forget to stock up on American Greetings cards at Safeway!
