I will readily admit to you that, while I did make this Super Hero Costume myself, I had a little help. I didn’t make the entire thing from scratch, I went easy on myself and bought this compression shirt (or something like it if your child is smaller) for the shirt. I also used a pair of basketball shorts for the shorts, and some leggings from an old costume for under them. If you don’t have an old costume lying around, you can search out any local sporting goods store or sporting section of Walmart or Target to find “compression pants” which are tight-fitting. See? You can improvise, too. Recycling items for the costume is definitely good.
How to Make a Super Hero Costume
If you choose to “recycle” items, as I did, you will additionally need:
- At least 1-2 yards each of 3 colors of a shimmer, satin-type material
- Matching thread
- scissors
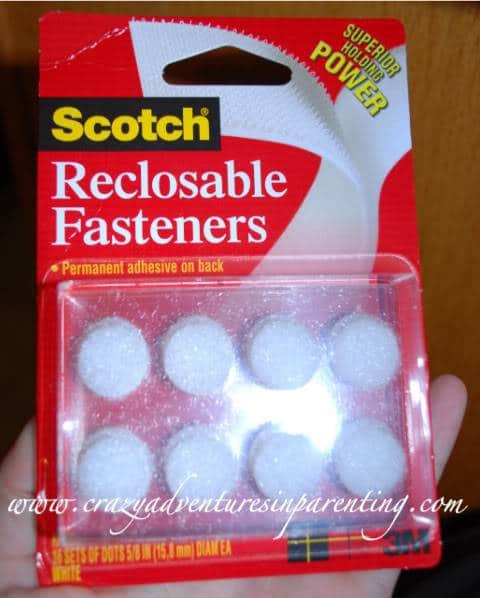
- velcro stickers (optional: matching ribbon to tie the cape instead of velcro)
- fabric marking pen or chalk
- straight pins
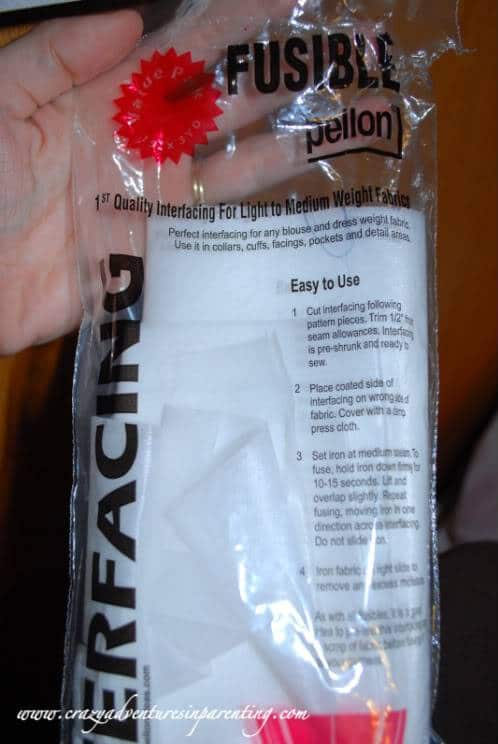
- fusible webbing (available by the bolt or in a package, see further down)
- **Please note** Please check out any additional tutorials I have given links to here, to access whether the materials above will be sufficient. Should you decide to make something using a different tutorial, those materials may not be listed above (like felt).

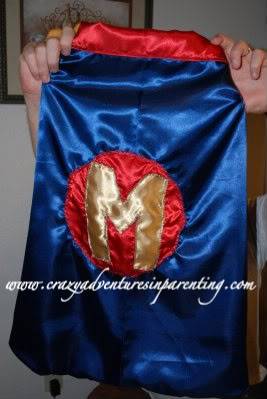
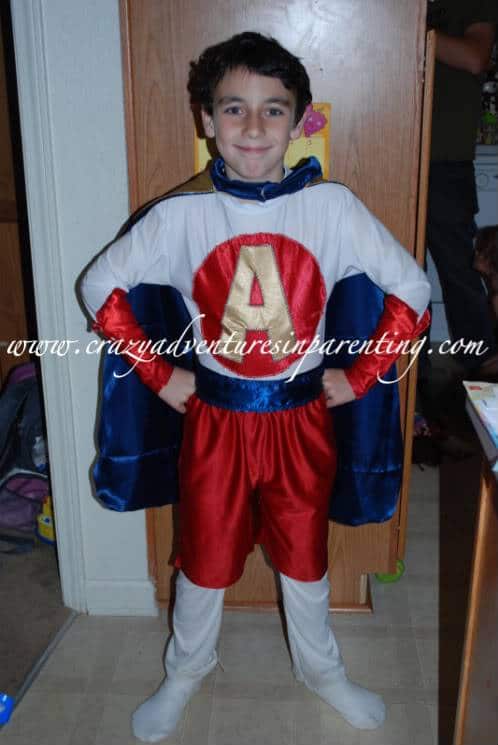
First thing you need to do is figure out how you’re going to work the contrasting colors – for my younger son, I used red on one side, blue on the other, and a gold letter. I used the contrasting fabric on the circle for each side of the cape, so if I was on the blue side of the cape, I used a red circle, with gold lettering. On the blue side, I used a red circle with gold lettering.
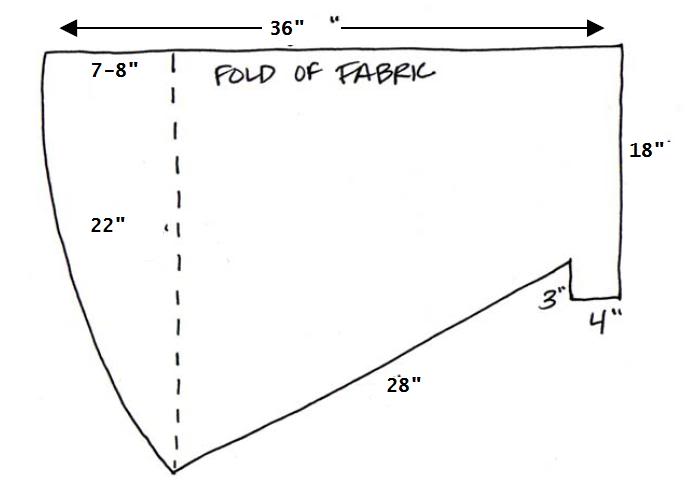
For most of my creation of the cape, I referred mostly to this tutorial from The Long Thread, but for my older son’s costume I adjusted the size (since he’s bigger than the size 2-6 that her tutorial uses). Here were my measurements for my almost-ten year old son (image modified from thelongthread.com):
I cut the cape first, afterwards I cut out the shapes for the applique. To get a perfect circle, I used a dinner plate. You cut out two circles for each side of the cape, and one circle for your shirt.
Next step is cutting out your lettering. You can choose to do all your lettering in gold, as I did with my younger son, or, if your older son likes things complicated, you can switch it up 🙂 However, just draw as perfect as you can your child’s first initial, and be sure to make it fit within the circle, but close to the edges so that it fills the area. I like it at least an 1.5 thick if not more.
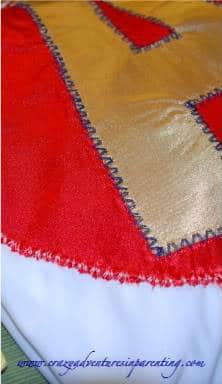
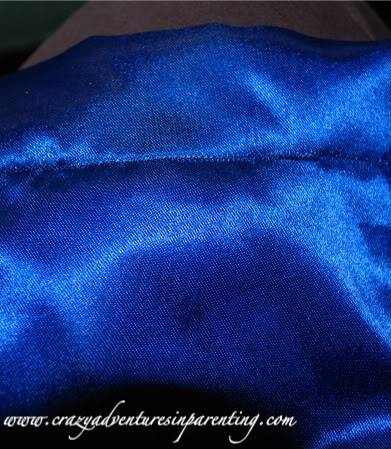
Now, here’s where I goofed with each cape each time – I didn’t use fusible webbing for the applique for their capes. This is what happens when you don’t:
I did use fusible webbing for my son’s chest, see how perfect it looks?
To apply, cut it the same shape as the pattern you are using (lay your pattern on the webbing and cut it along the edge) and iron sticky side up, so that it becomes part of the cut out and makes it stiffer, giving it more substance. I trim up the ends if, after it’s ironed, it’s sticking out a little. I can’t wait to use it to make more applique!
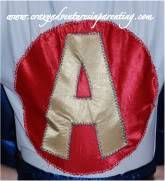
Once the fusible webbing is applied, pin the letter to the circle and stitch with the zig zag stitch with a short length and distance, so that it stays tight. Should look like this:
Once the two letters are sewn onto the circles, pin them to the center of each side of the cape on the right side (shiny side). Using the same stitch, sew the circles on.
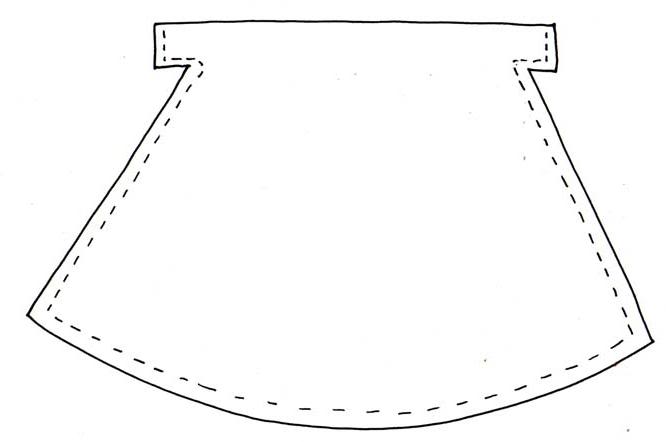
Face each of the sides to each other, so that the newly sewn letters are “kissing” (if you will), line them up properly and pin the edges – the collar, the side, the bottom, but leave the top unsewn so you can flip it right side out when finished. The following picture depicts where you should pin (image from thelongthread.com)
Sew the cape together, trim any excess fabric, and flip it right side out. To get the corners out, I used a pencil or butter knife (gently, of course).
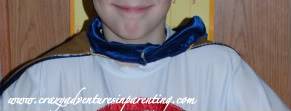
At this point, you pin the top of the cape together and sew it shut. To ensure a smooth edge, I folded the edges in, pinned it, and stitched across, so that the fold is facing out. Once sewn, flip it down onto one side of the collar halfway (doesn’t matter which) and sew it to the cape in a straight stitch across, so that it looks like this on one side:
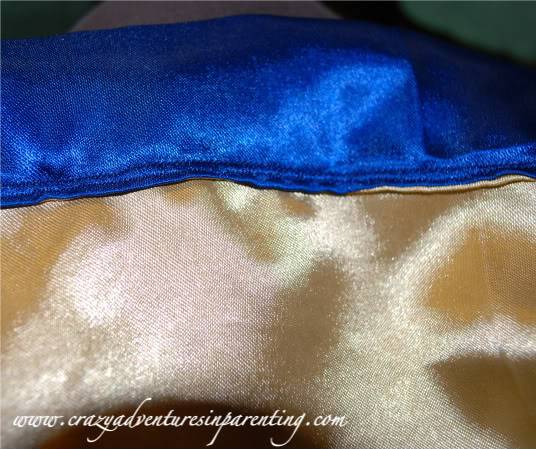
and this on the other
I stuck one of the velcro tabs on the inside, so that no one can see them when it’s closed, like this:
(You don’t have to use velcro, you can use a ribbon to go through the “loop’ we’ve created, so that the cape can be tied on. I personally feel safer using the velcro.)
Your cape is now done. See, that wasn’t too bad, was it?
Now, since you’ve already made the cape at this point and have become familiar with how to sew the applique from that, the shirt isn’t too much harder, except you’ve got the rest of the shirt to keep out of the sewing machine.
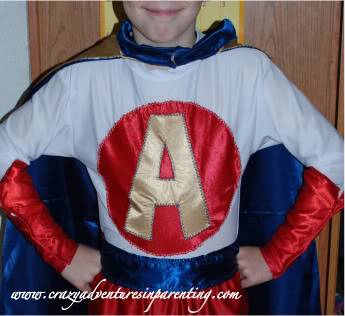
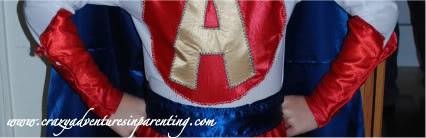
Cut out the circle and letter (if you haven’t already), apply the fusible webbing to it (if you haven’t already), pin the letter to the circle, just as you did before, and sew just as you did previously. Then pin the letter to the chest of the shirt, and be very careful when sewing to ensure you aren’t inadvertently sewing part of the shirt you don’t want sewn. It takes a bit of time and tucking, but it can be done, just be extra careful.
Once you are done, it should look like this:
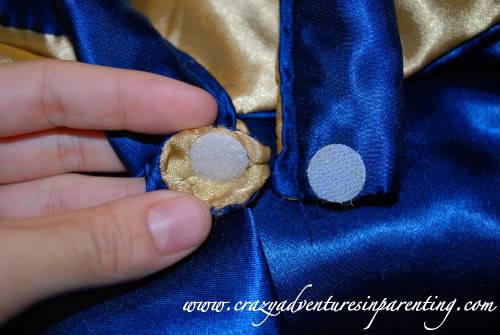
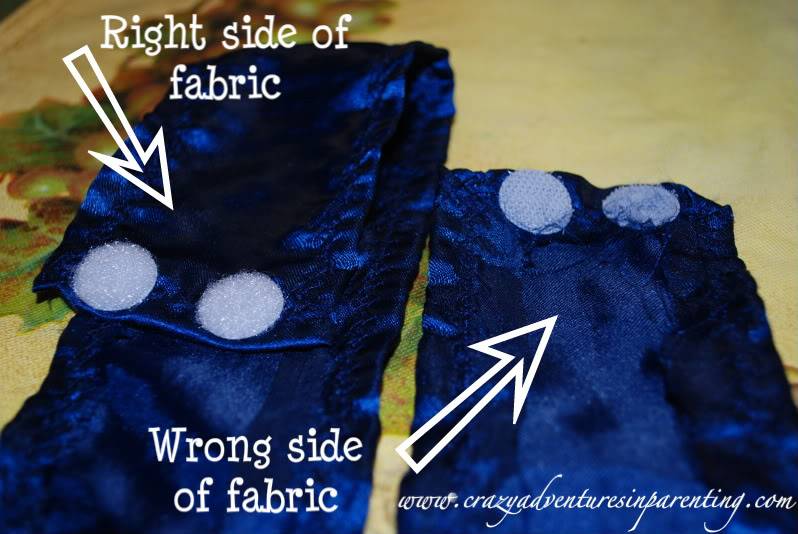
Next up, is the belt. I measured my son’s waist, added an inch or two to that number, took contrasting fabric (I used blue) and cut it out, making it about three-to-four inches thick. I then folded in and pinned the edges and proceeded to stitch them down on the wrong side of the fabric (non-shiny side). Once all sides were sewn, I added the velcro dots so that he may close it, two on the inside and two on the outside, like this:
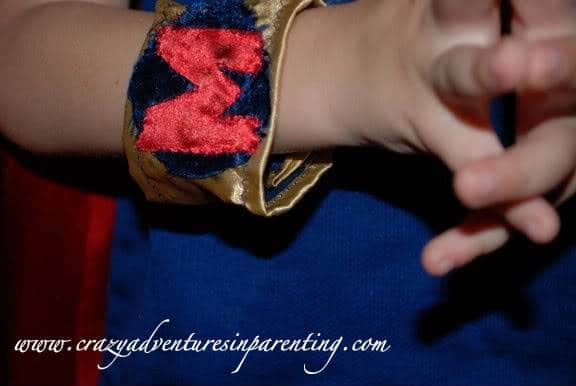
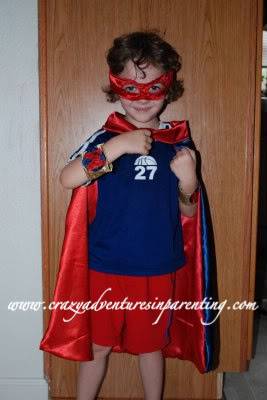
For my younger son’s costume, I made him wristlets with his name on it, like this:
I didn’t do it for my older son, he wanted plain ones that covered more of his arm, like this:
The ones with the letter on it were difficult, because they were so small, I would definitely not do those again without fusible webbing. Depending upon your son’s wrist size is what the measurements will reply upon, I’d say the circle is probably the size of a normal 8-oz cup’s opening, maybe? Use the same directions to sew on the applique for the wrists as you did above, along with stitching up the band the same way we did the belt, just (obviously) smaller. HOWEVER, if you make the wide ones like my older son’s, and you go to attach the velcro, leave the top part of it open. See? It makes it look pointy outwards, and it gives him bending room.
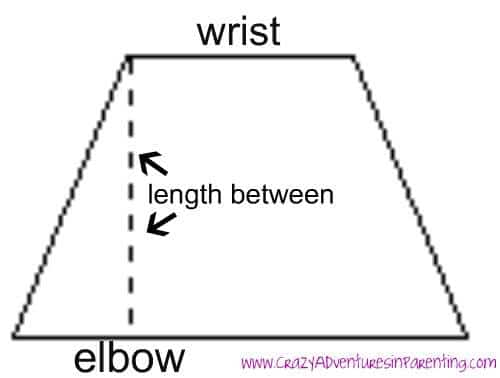
You can make it as big or as small as you want, however I recommend making it thick so that it’s easier to sew. I measured his wrist, his forearm near his elbow, the length from his elbow to his wrist, and wrote those down. I cut out the fabric, adding an inch-and-a-half each way, it will be shaped like a trapezoid, like this:
You could also, should you want harder wristlets, use this tutorial. It uses recycled toilet paper tubes!
Should you decide to do a mask, use this tutorial. Wonderful fabulous tutorial. I flubbed mine, anyway, hence why my older son didn’t have one for Halloween. But guess what he’s gonna get for Christmas???
Now, important note – I have my children hold onto the velcro tabs tightly when taking their costumes on or off. You can choose to stitch these on, but I didn’t. The glue is a good, permanent glue, but it’s the fabric pulling that has me nervous.
Another important thing to consider – to CARE for this costume, handwash only. Try to get your children to NOT get it filthy or stained, because I’m uncertain how this material might hold up to constant washes. Try having them hang it up in a closet, rather than crammed in your dress up trunk, and not wear it while eating.
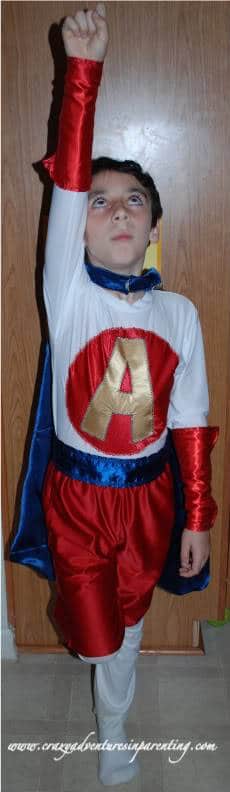
So, what do you think? Is this something you can do? Trust me when I tell you, I’m not a sewing-whiz or anything and yet I was still able to make this:
|
|
Please let me know if you decide to do this, I can’t wait to see what you create! (And feel free to come back and ask me any questions you may have, if I didn’t cover it here).
Never miss a thing! Subscribe today for all kinds of crazy parenting fun!