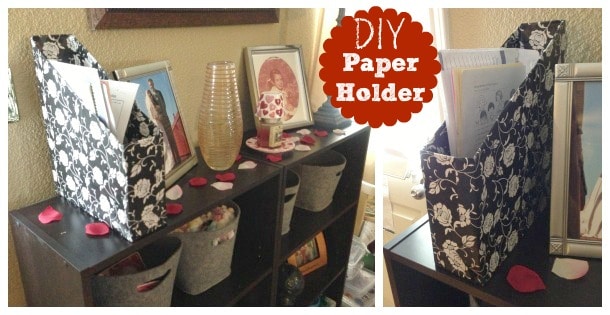
Is paper clutter taking over your life? Looking for easy storage solution to your paper clutter messes? Check out this DIY School Paper Holder tutorial with the bonus tutorial for a matching Glittery Clipboard!
This post may contain affiliate links which means we receive a small commission at no cost to you when you make a purchase. As an Amazon Associate I earn from qualifying purchases.

DIY School Paper Holder and Glittery Clipboard
Paper clutter is taking over my life! It’s mind-blowing just how much paper the kids bring home to me daily, on top of the junk mail and all the other crazy stuff kicking around.
I knew I needed a solution, particularly for the mounds of school-related paperwork that get placed onto surfaces and then scattered and thrown by Tiny Terror aka Baby V. It’s about this time I saw this pin on how to use a postal box to create a paper holder:

Easy DIY School Paper Holder
After seeing that pin and seeing how easy it was to fix my paper clutter problems, it suddenly hit me – what if I created one of these, placed it somewhere, perhaps by the door (maybe?), and asked the kids to place all of their paperwork in one of these paper holders, to be sorted through once or twice weekly, maybe?
What if I also made a clipboard for paperwork that needs to be signed, or for things that are important?
And what if I didn’t just use any clipboard, or postal box – what if I made them pretty with cutesy wrapping paper and, perhaps, glitter? YES!
Enter in the wondrous and pretty wrapping paper of awesome. Thank you, Target dollar racks.
With the many boxes from Christmas shopping, I knew I had one postal boxes of these lying around. And I knew I just HAD to create this to solve my paper dilemma.
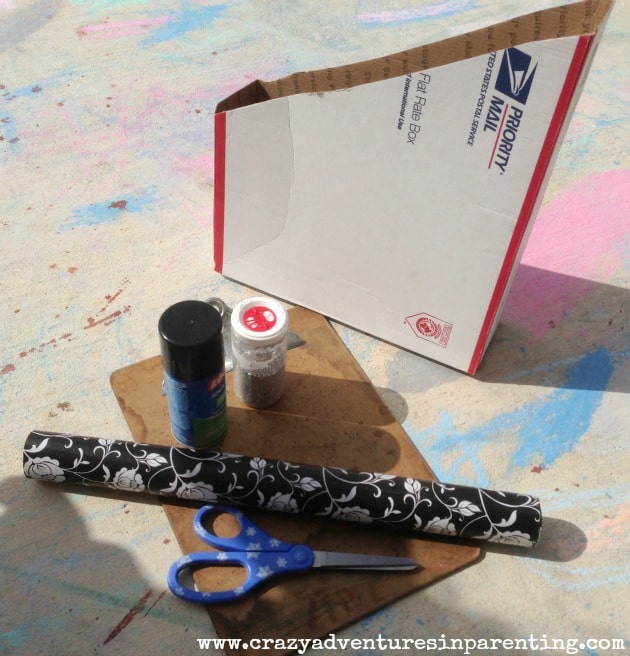
Material Needed to Make a DIY School Paper Holder
- Scissors
- Decorative gift wrap
- Spray adhesive or craft glue (I find the spray adhesive is easier)
- Postal box or similar box in the following size: 11⅝-in. x 3⅜-in. x 13⅝-in.
How to Make a DIY School Paper Holder
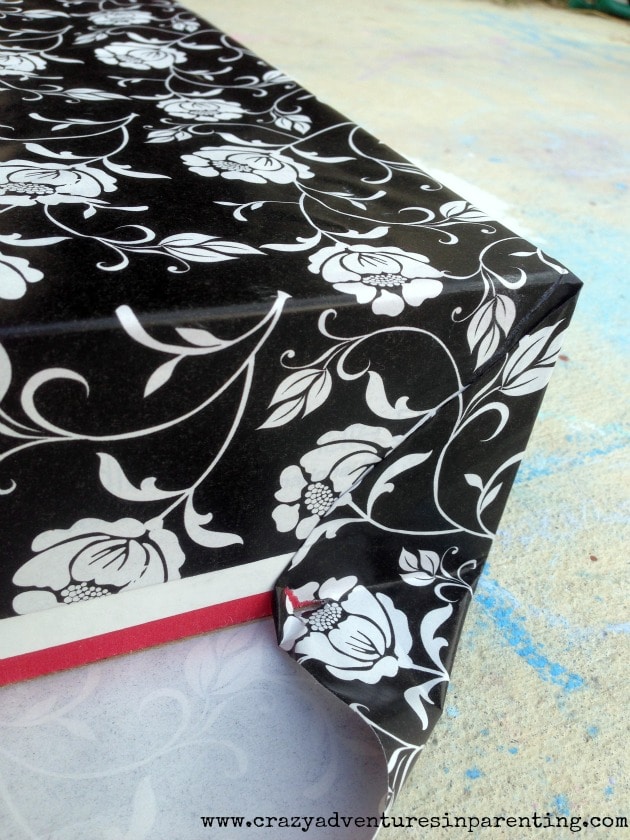
Essentially, you’re going to be “gift wrapping” the box and the clipboard, except more carefully because of the adhesive.
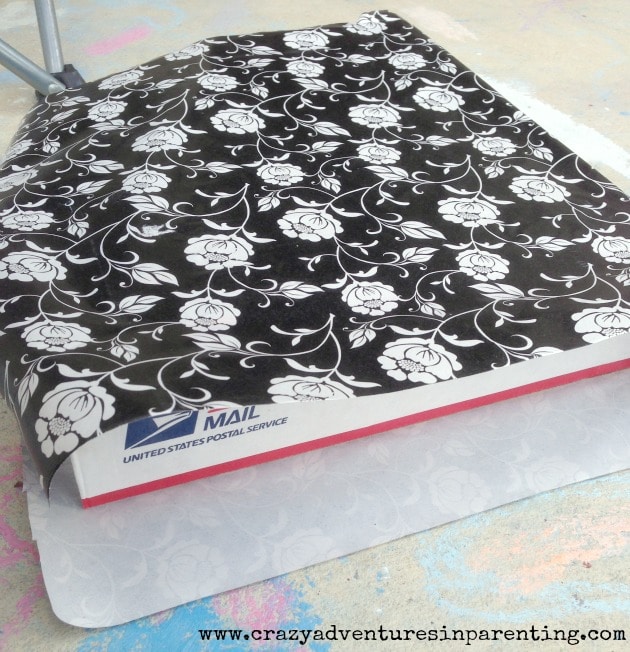
I tried to measure carefully, to be sure there wasn’t too much overlap, but just enough to fold and gift-wrap the sides neatly, like below:
I sprayed just a teeny-tiny bit of adhesive to get the corners to stay perfectly.
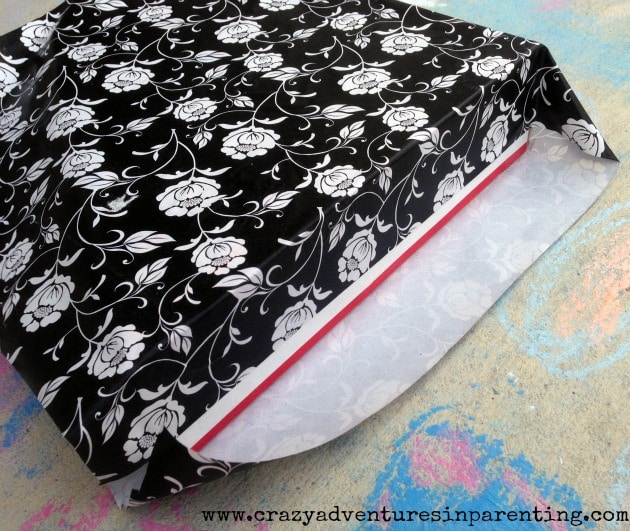
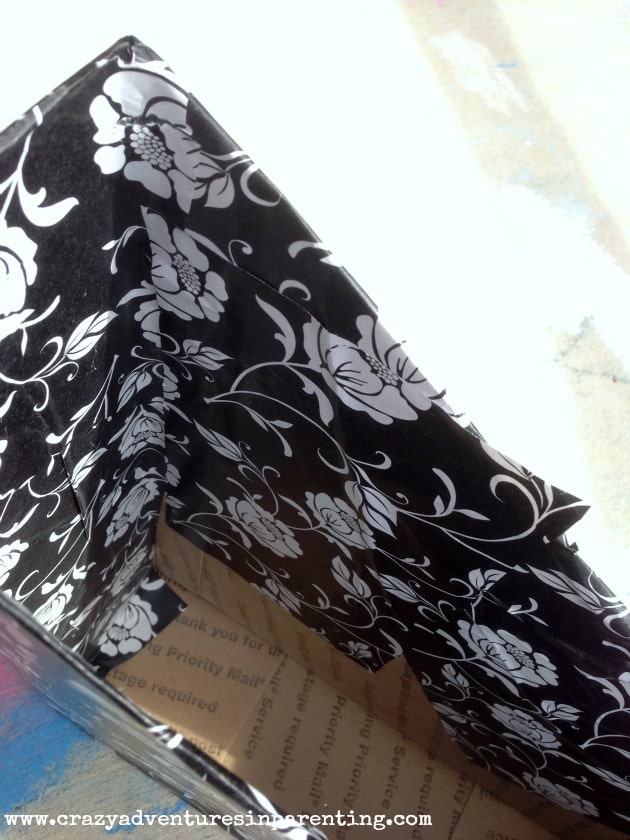
Once the bottom was wrapped up nice, I folded the remaining paper into the box, spraying the paper (and not the box) and flattened it. When folding it in, you’ll notice it’s angled, since the box is angled.
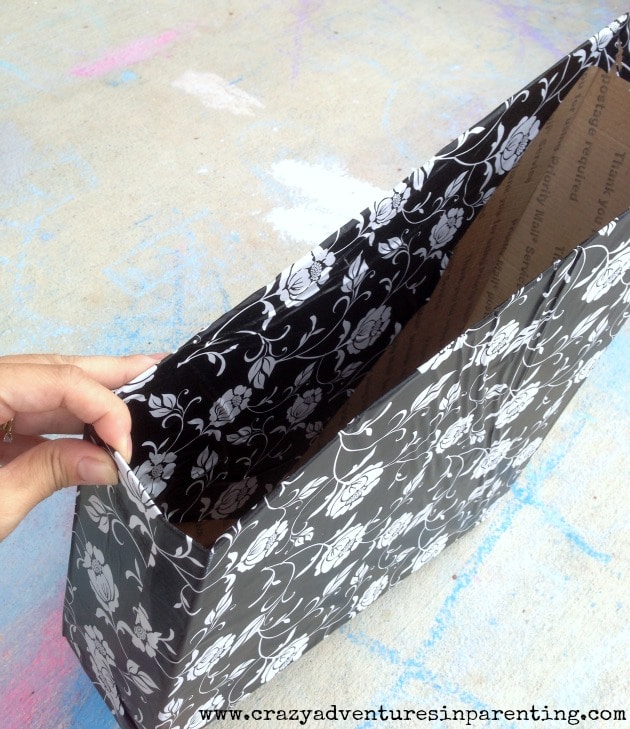
To even out the inside, I added an additional flap of paper to cover the uneven inside from the angle, and then trimmed the corner. I also didn’t paper all the way down at the bottom, but you could.
Here’s the finished product at work! See?
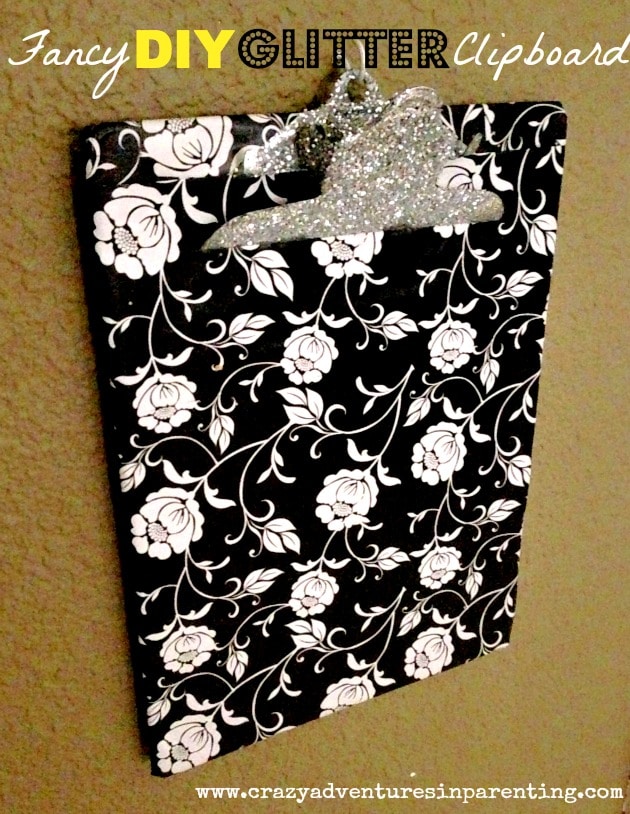
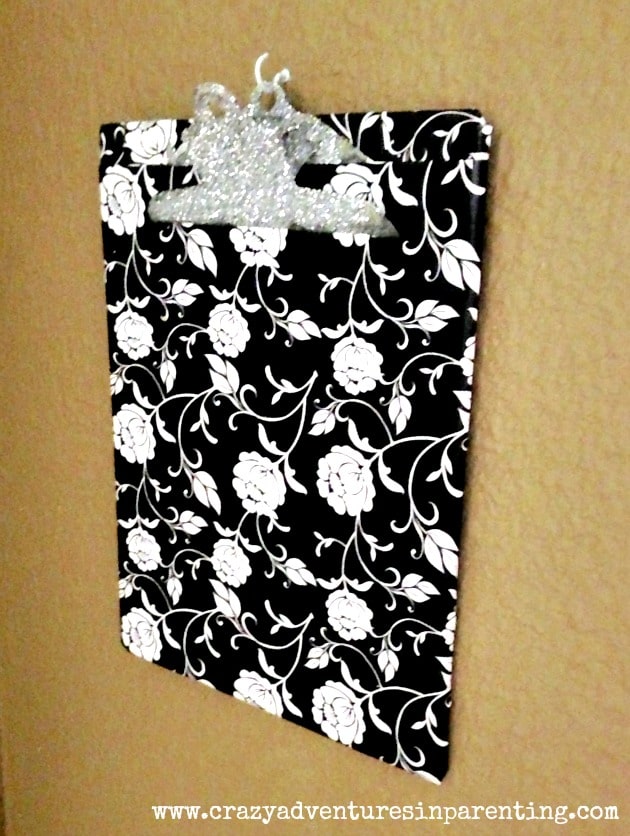
To go along with it, I wanted a clipboard for important paperwork, report cards, things that need attention right away. So I decided to make a Glittery Clipboard that matched!
Items Needed to Make a Fancy Glitter Clipboard
- Clipboard with a standard clip
- Decorative gift wrap (I chose to use the same as the DIY School Paper Box to match them)
- Spray adhesive or craft glue (I find the spray adhesive is easier)
- Glitter (I used silver, but you can use any color)
How to Make a Fancy Glitter Clipboard
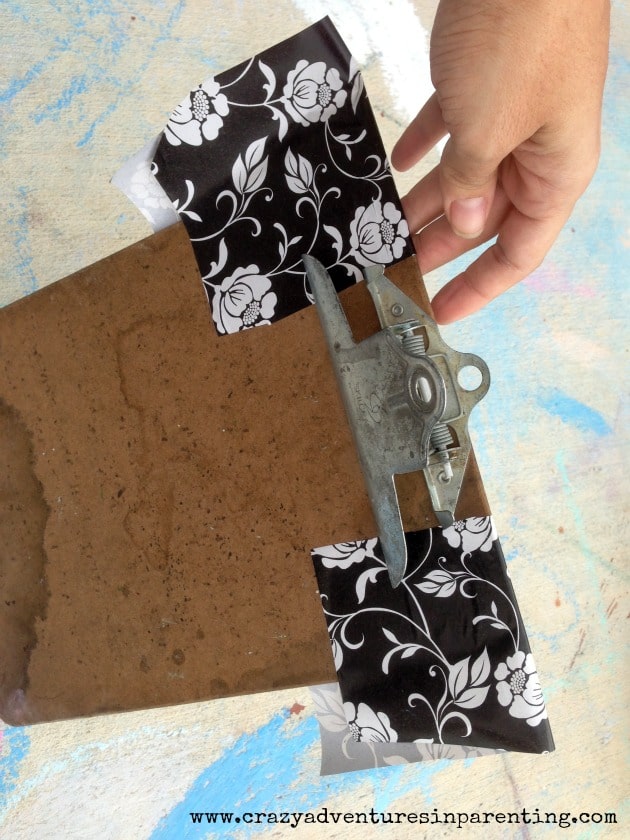
The process for the Glittery Clipboard is somewhat the same as the DIY School Papers Storage Box. Essentially I did the same thing as the paper holder – I gift wrapped the clipboard. First, I took two small pieces of gift wrap to cover the top sides where the clip is. This will cover the top portions.
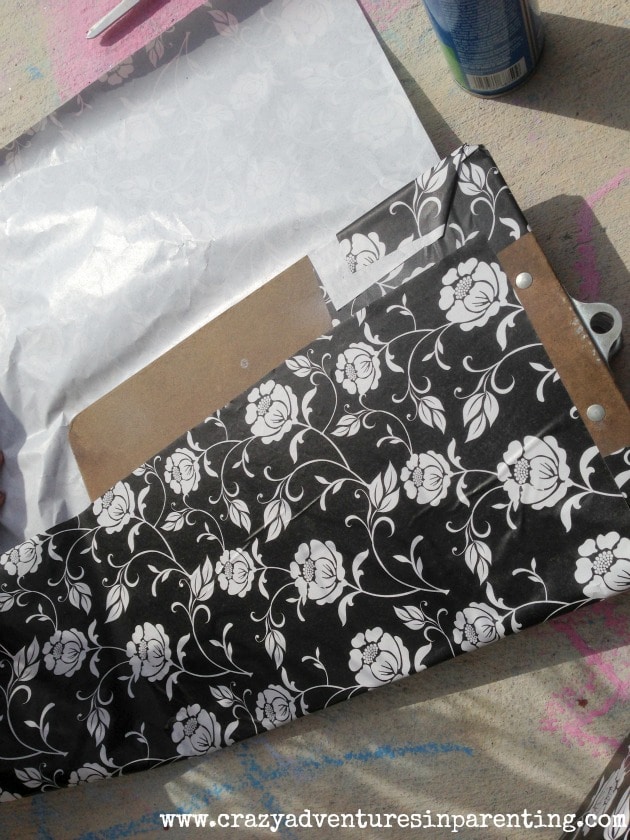
After spraying the two small pieces and folding in place, I measured the paper to go across, width-wise, covering both front and back. I sprayed, folded, and wrapped the ends up, too.
Now, here’s where I need for you to NOT do what I did – get a newspaper, wax paper, or something to protect your surface from the crazy glitter. You will have to use the spray adhesive on the metal parts to get it glittery, but you can’t control where that glitter goes (especially when your six-year-old is the one shaking it). Do as I say, not as I do 🙂
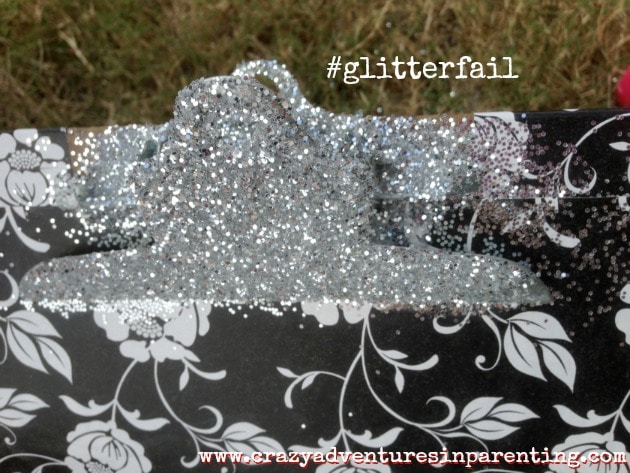
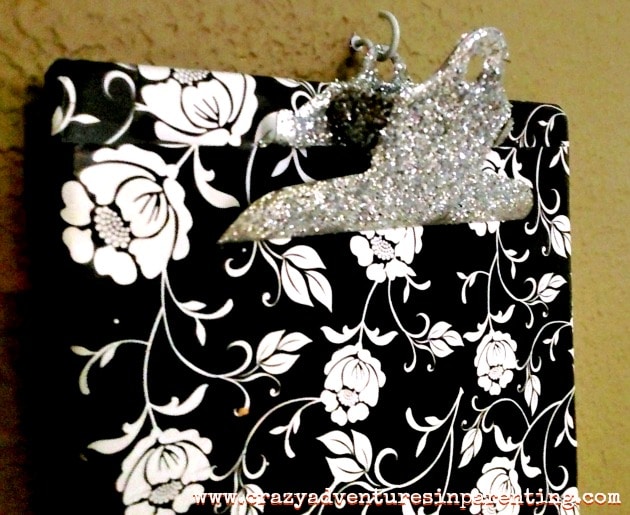
All was not lost, though – after much scraping, brushing, shaking, and hair-pulling (ahem), behold!
I love how the glitter sparkled up the old metal on the clipboard. You wouldn’t have any idea that this was old!
What do you think? Are you drowning in daily school paper clutter, too? Would something like this help you out, too?
If you love these easy DIY Paper Holder crafts as much as we do, please leave me a 5-star review below and help me share this craft on Facebook and Pinterest! If you do make this craft, I hope you’ll share that you tried it on Pinterest! I love it SO MUCH when readers share their feedback! 🙂

CRAVING MORE CRAFTS AND DELICIOUS RECIPES? Subscribe to my newsletter and follow along on Pinterest, Facebook, YouTube, and Instagram for all the latest updates!
Sign up below to receive my newsletter filled with delicious recipes, fun crafts, and family adventures straight into your inbox:

1 thought on “DIY School Paper Holder and Glittery Clipboard”