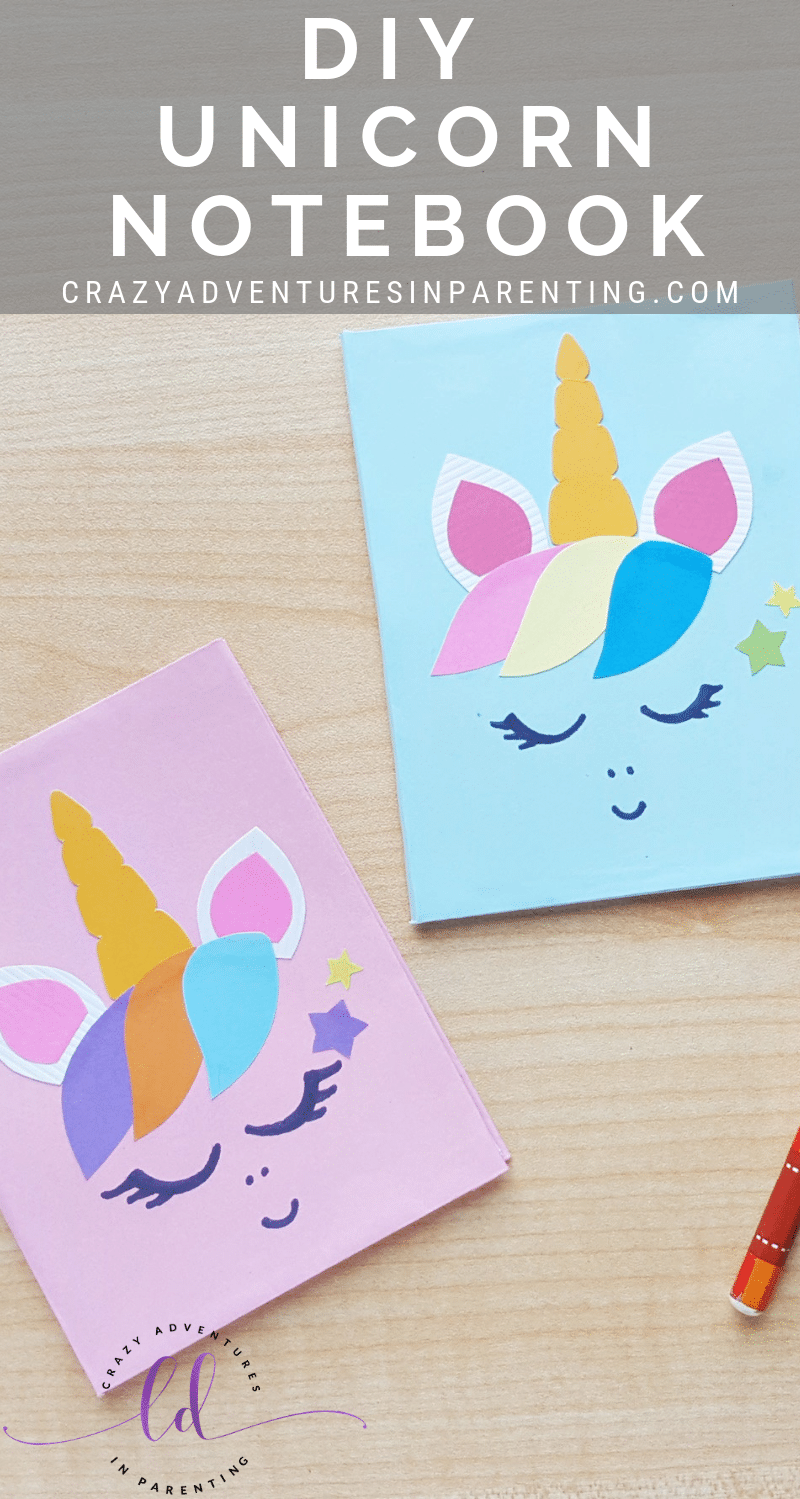
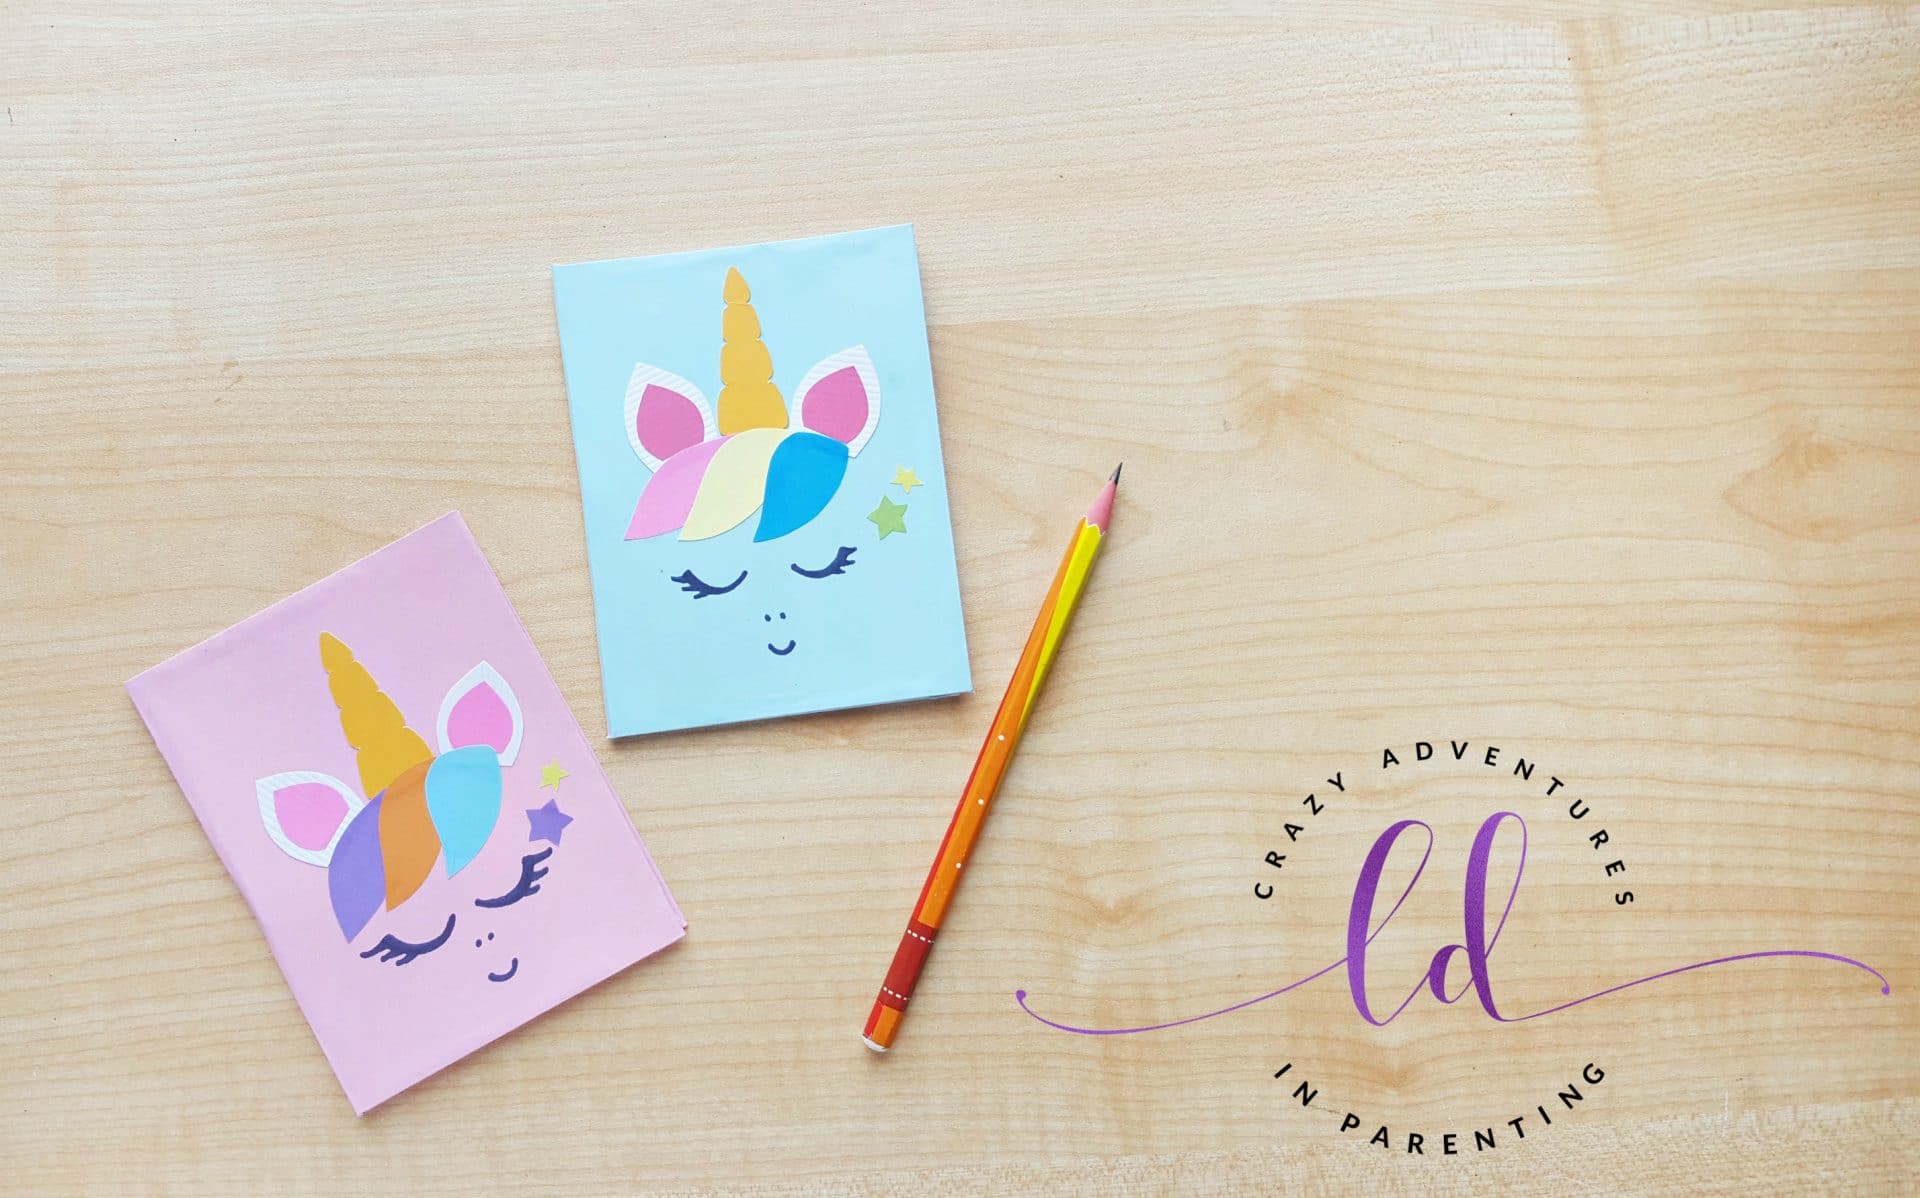
Do you want to learn how to make a unicorn notebook? Here are step-by-step instructions on how to make your own DIY unicorn notebook with this easy tutorial!
DIY Unicorn Notebook
We’ve gone a little unicorn crazy in our household. First it was a Unicorn Pancakes, then it was Unicorn Cereal Treats followed by our absolute favorite Unicorn Slime recipe. We’ve got quite a few unicorn recipes and such on our website now! I mean, why not? UNICORNS ARE AWESOME! And so is this unicorn notebook tutorial!
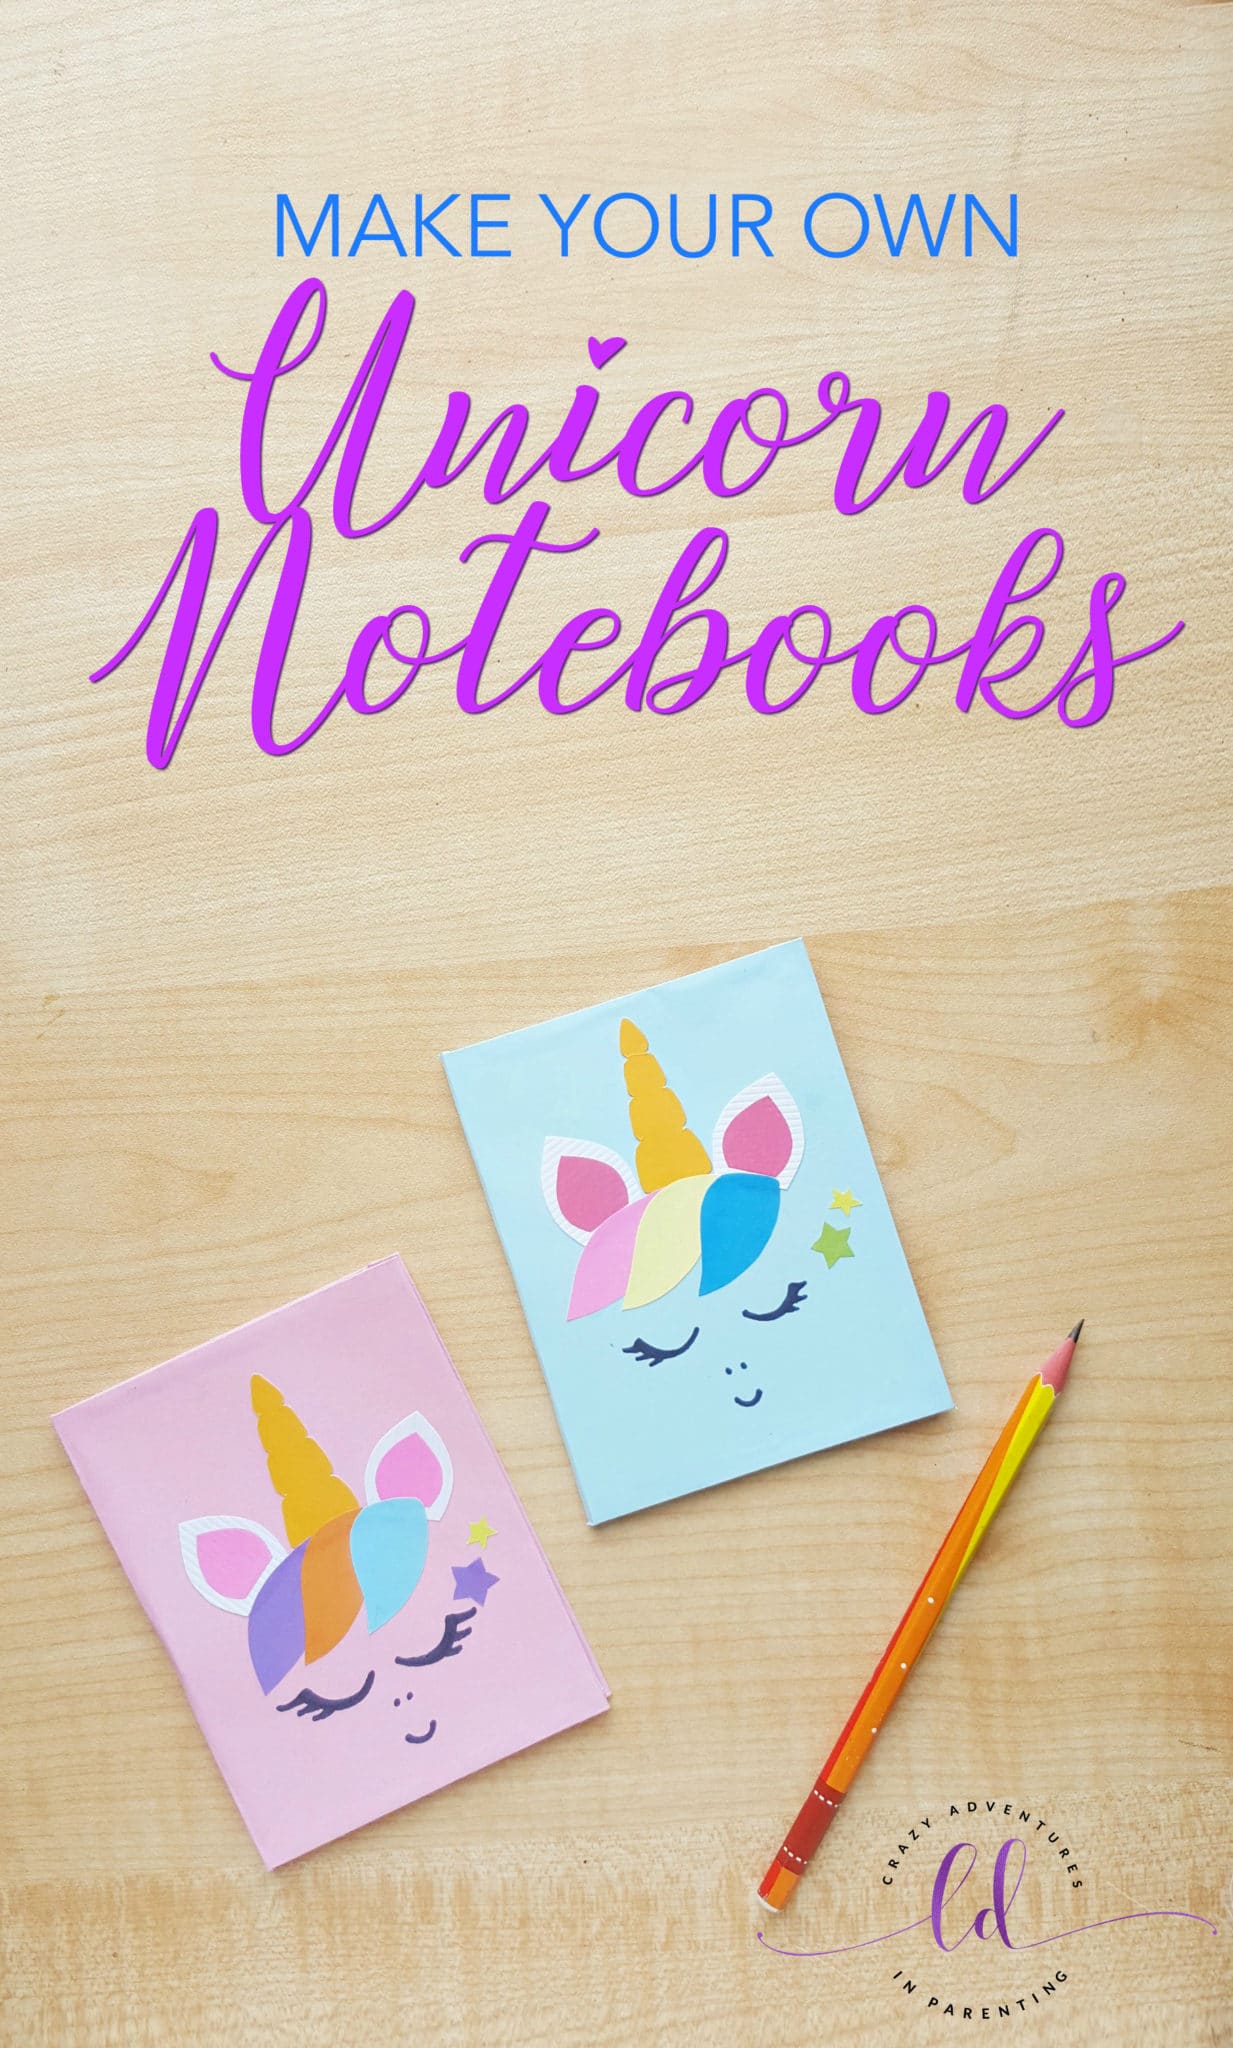
Make Your Own Unicorn Notebook
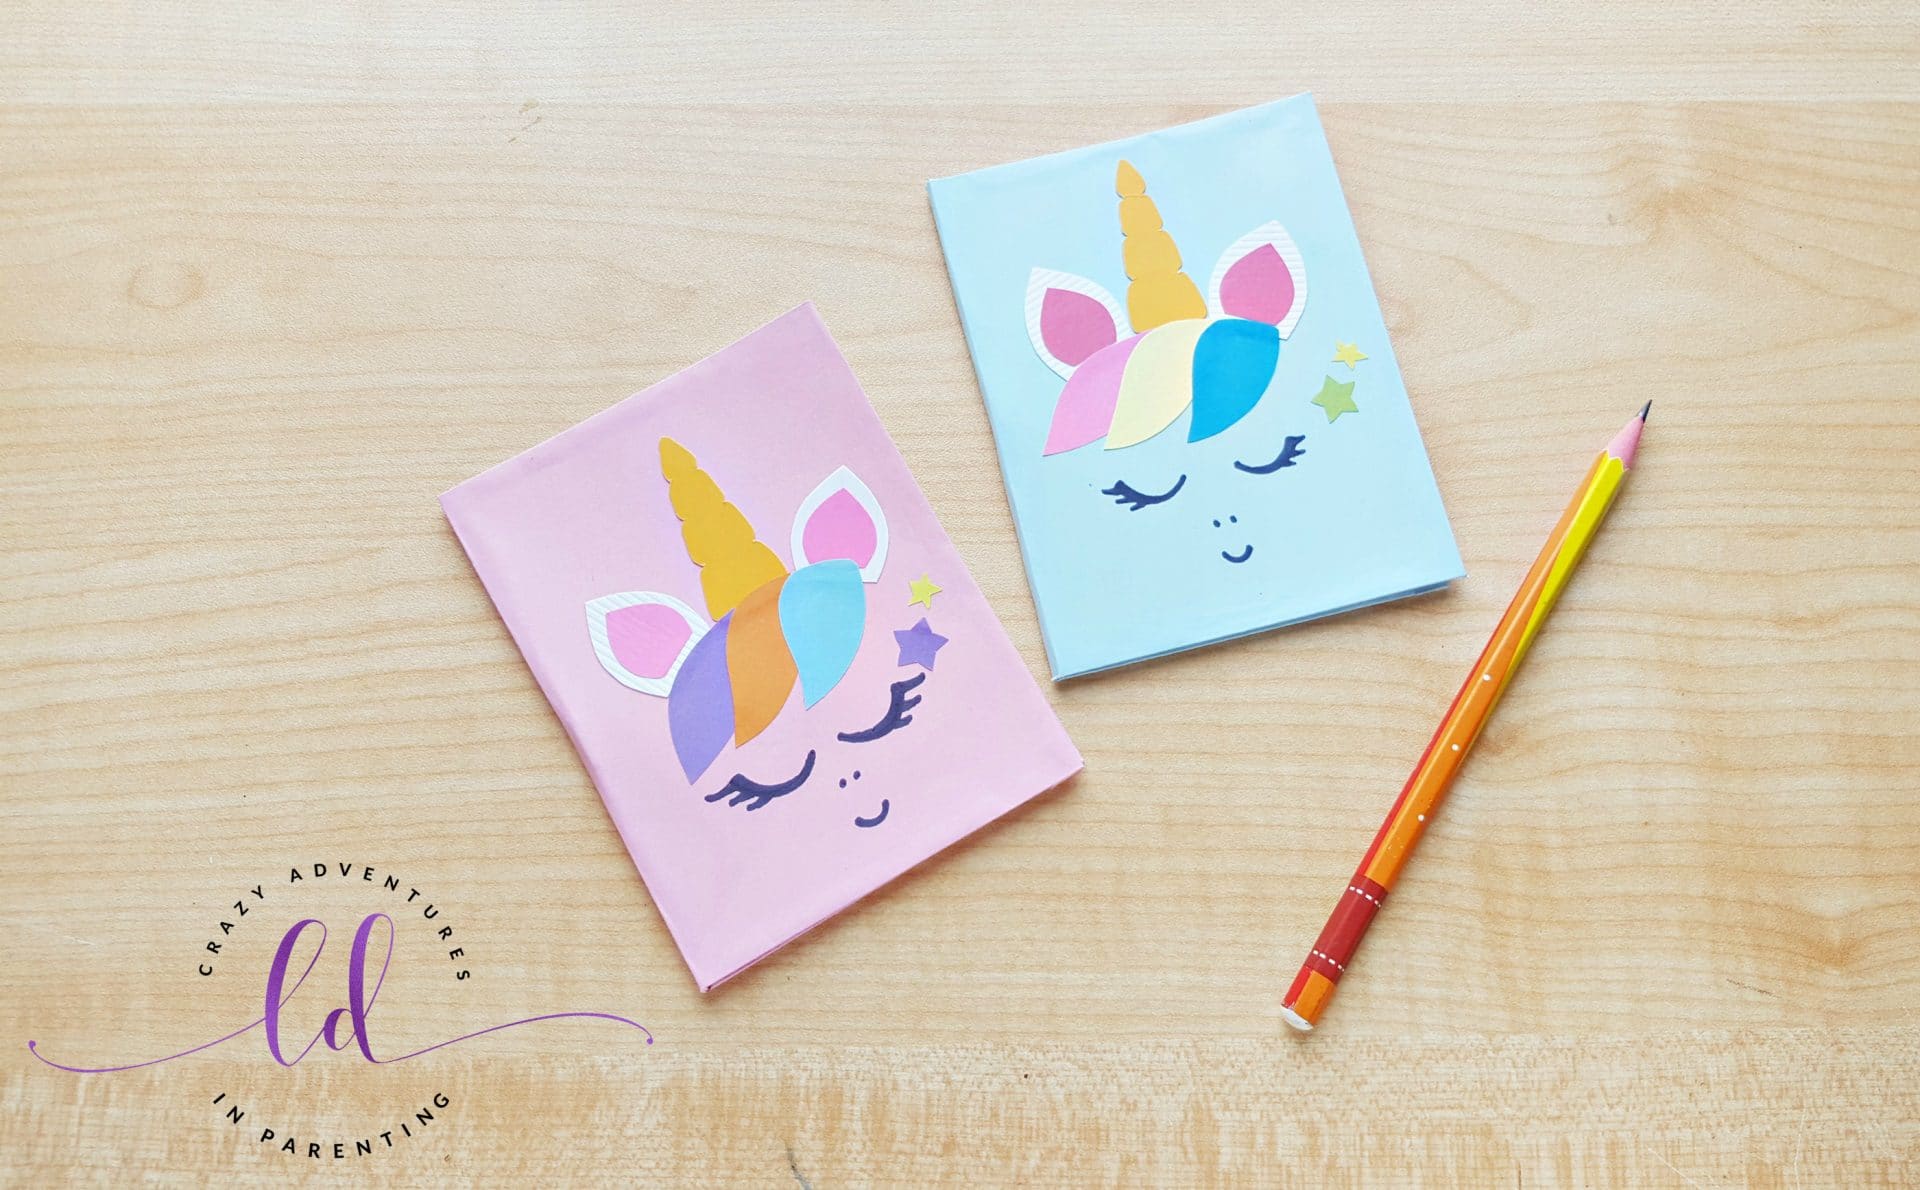
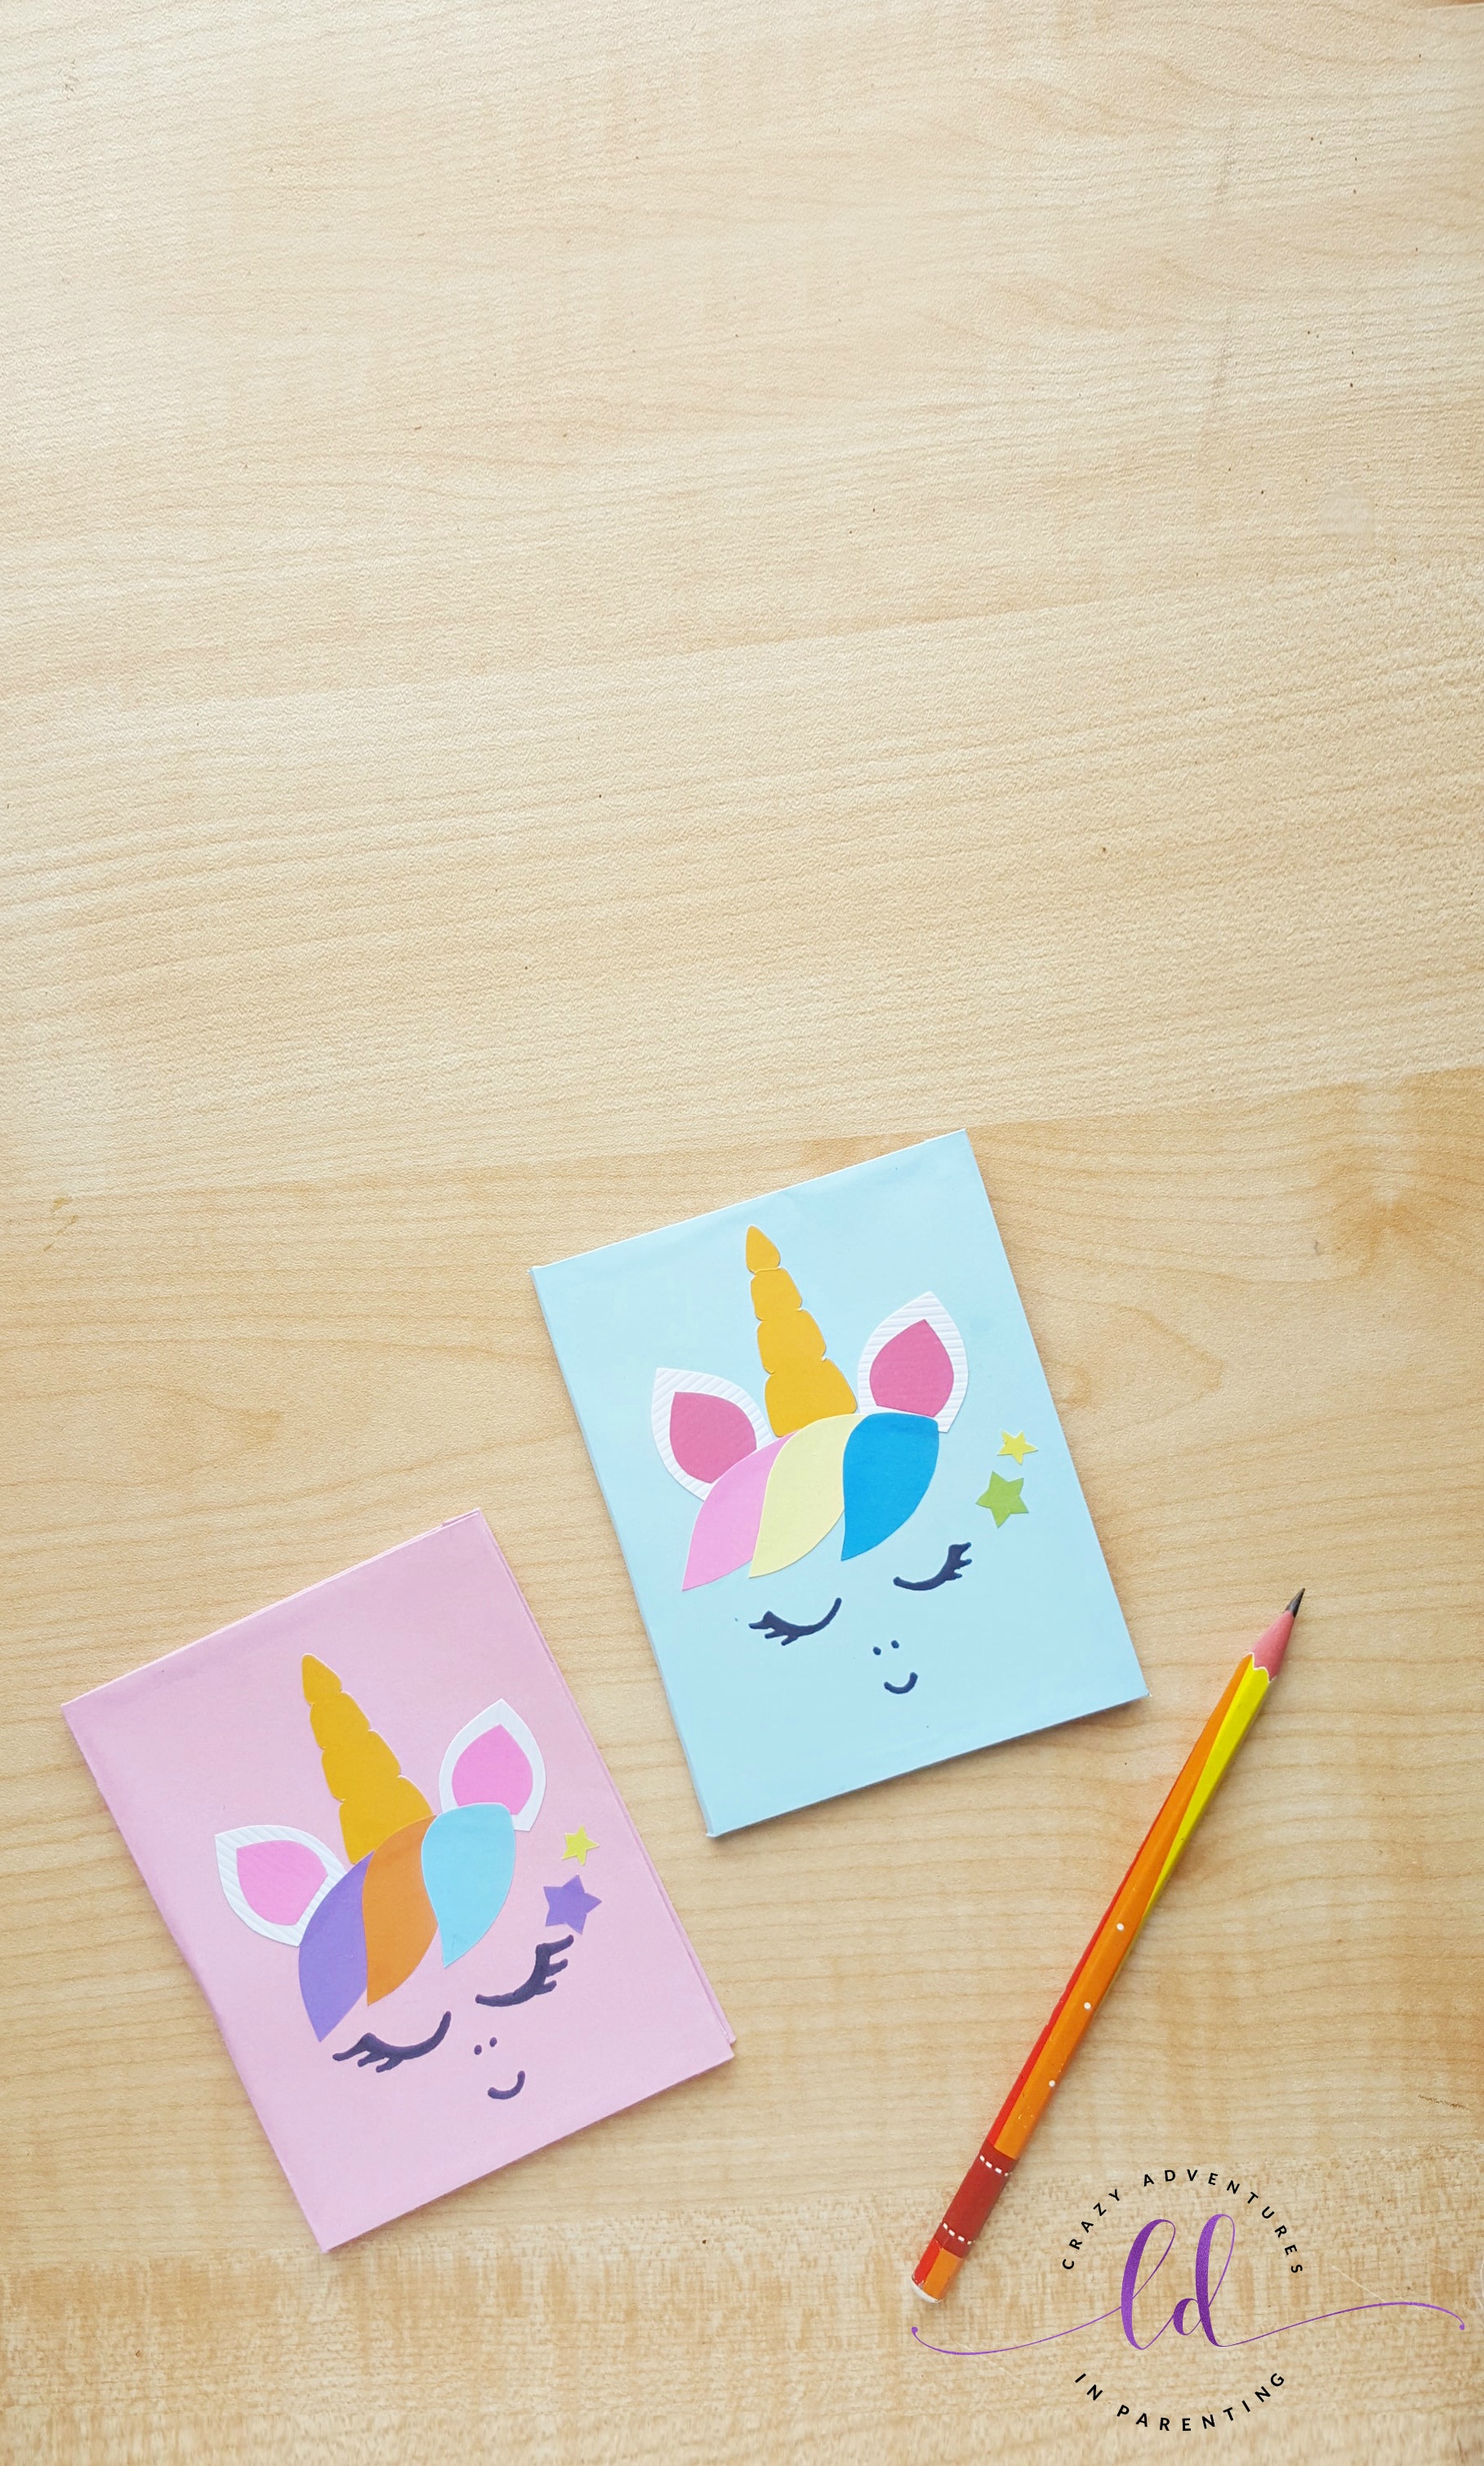
Who wouldn’t love an adorable handmade unicorn notebook like this? I mean REALLY, look at this thing! Look at those adorable unicorn eyes, hair, and horn? We absolutely love unicorns in this house, and we want unicorn EVERYTHING! If there were a unicorn house, we’d live in it!
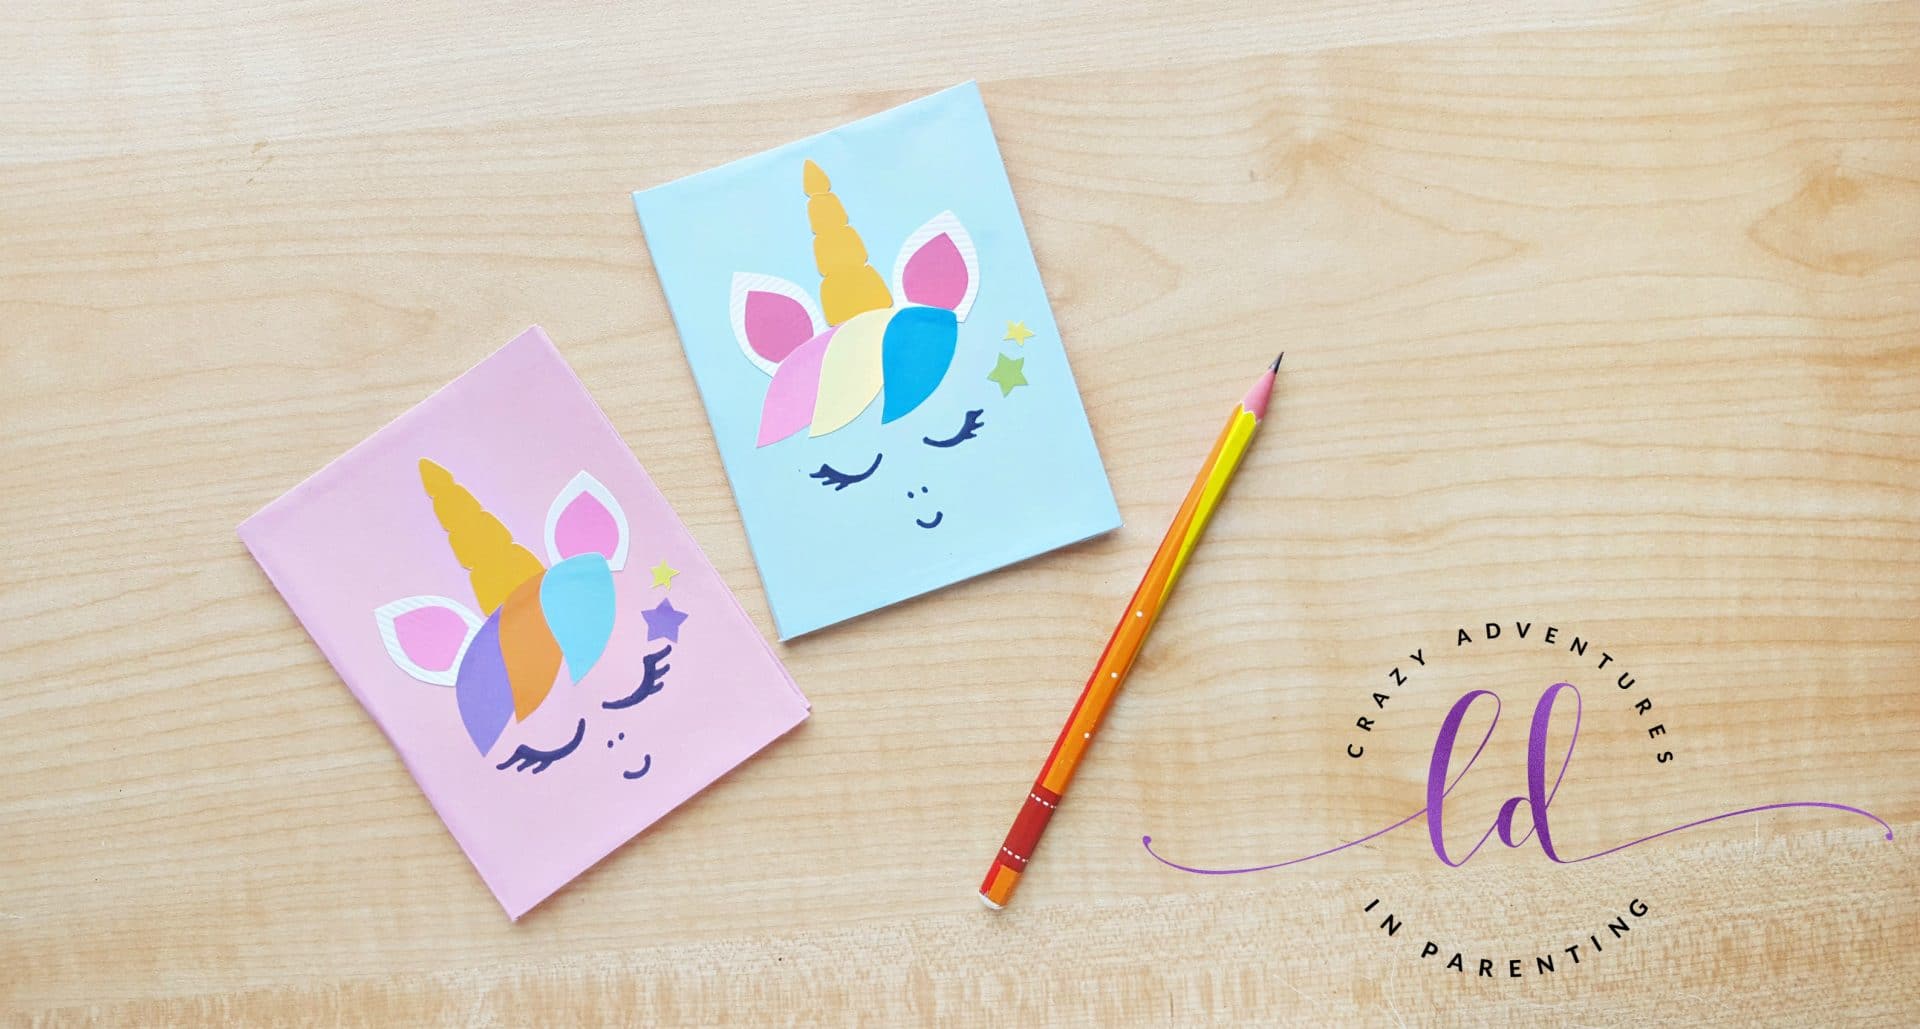
Easy DIY Unicorn Notebook Tutorial
This unicorn notebook tutorial is an easy tutorial to follow with help! There are a few steps that I would recommend parents help with, but otherwise I think this unicorn notebook is a fun and simple craft to make for kids by kids!
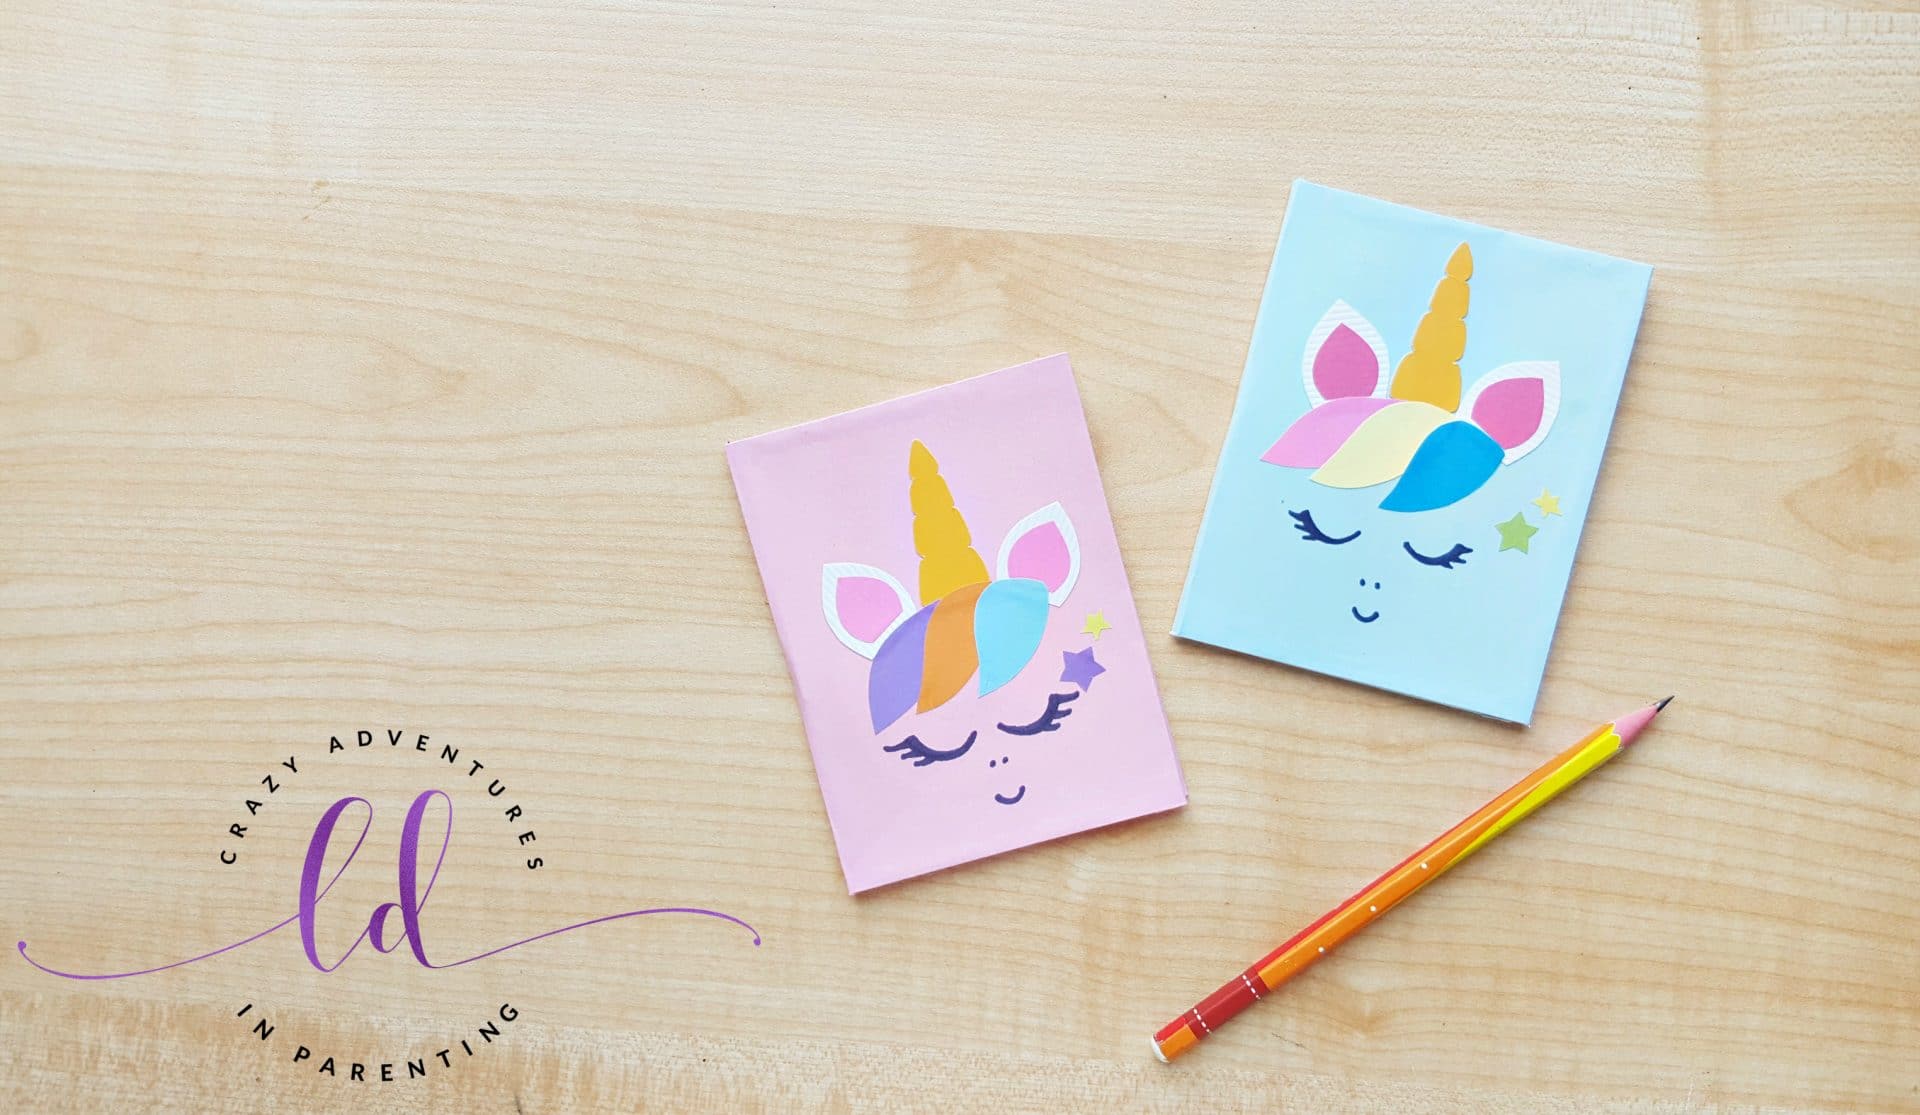
Unicorn Notebook Tutorial
Parents, I think this would also make a great handmade gift to give your children! Then when they fall in love with it, recreate it with them, you know? What an amazing memory this would make for your children to look back on after they’ve grown!
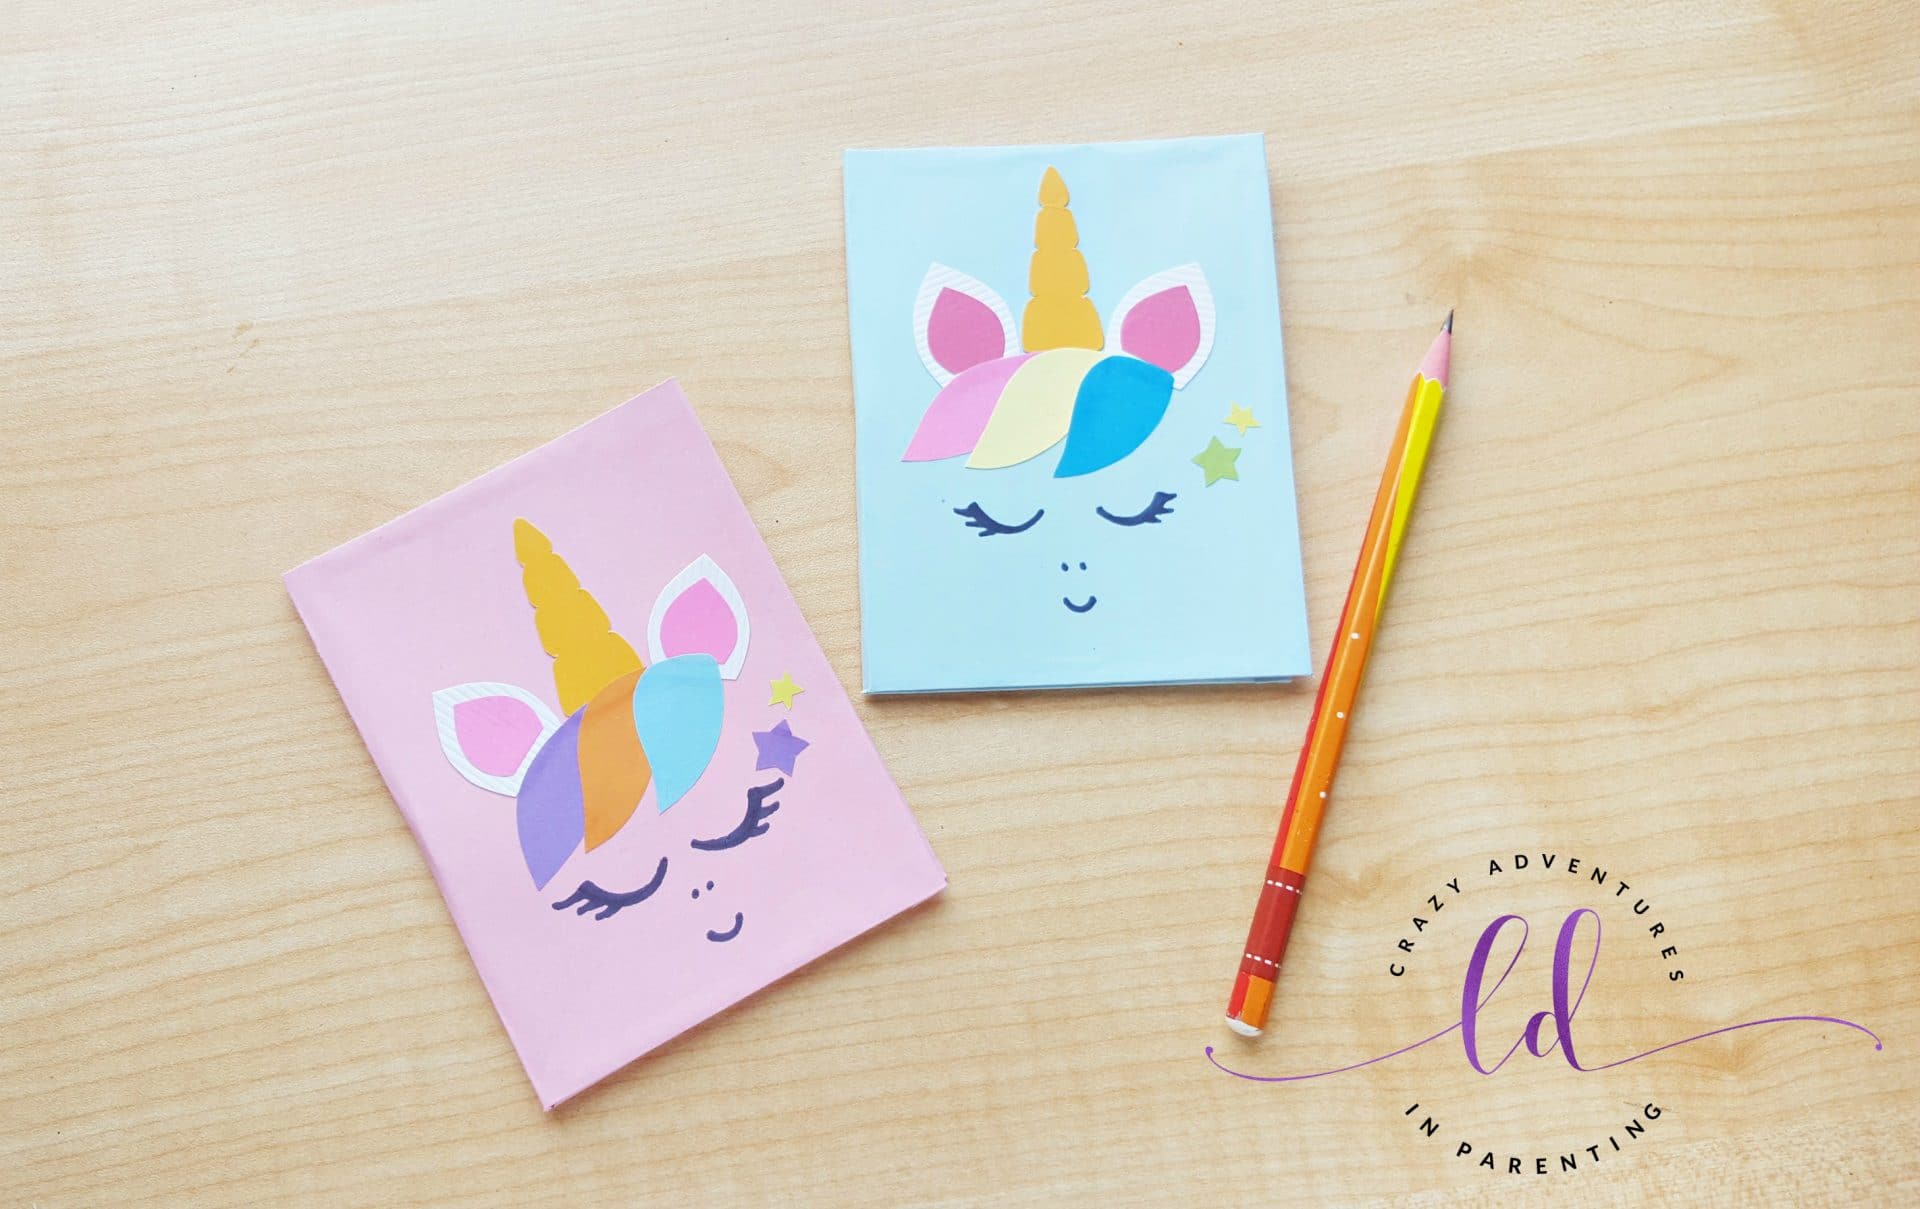
How to Make a Unicorn Notebook
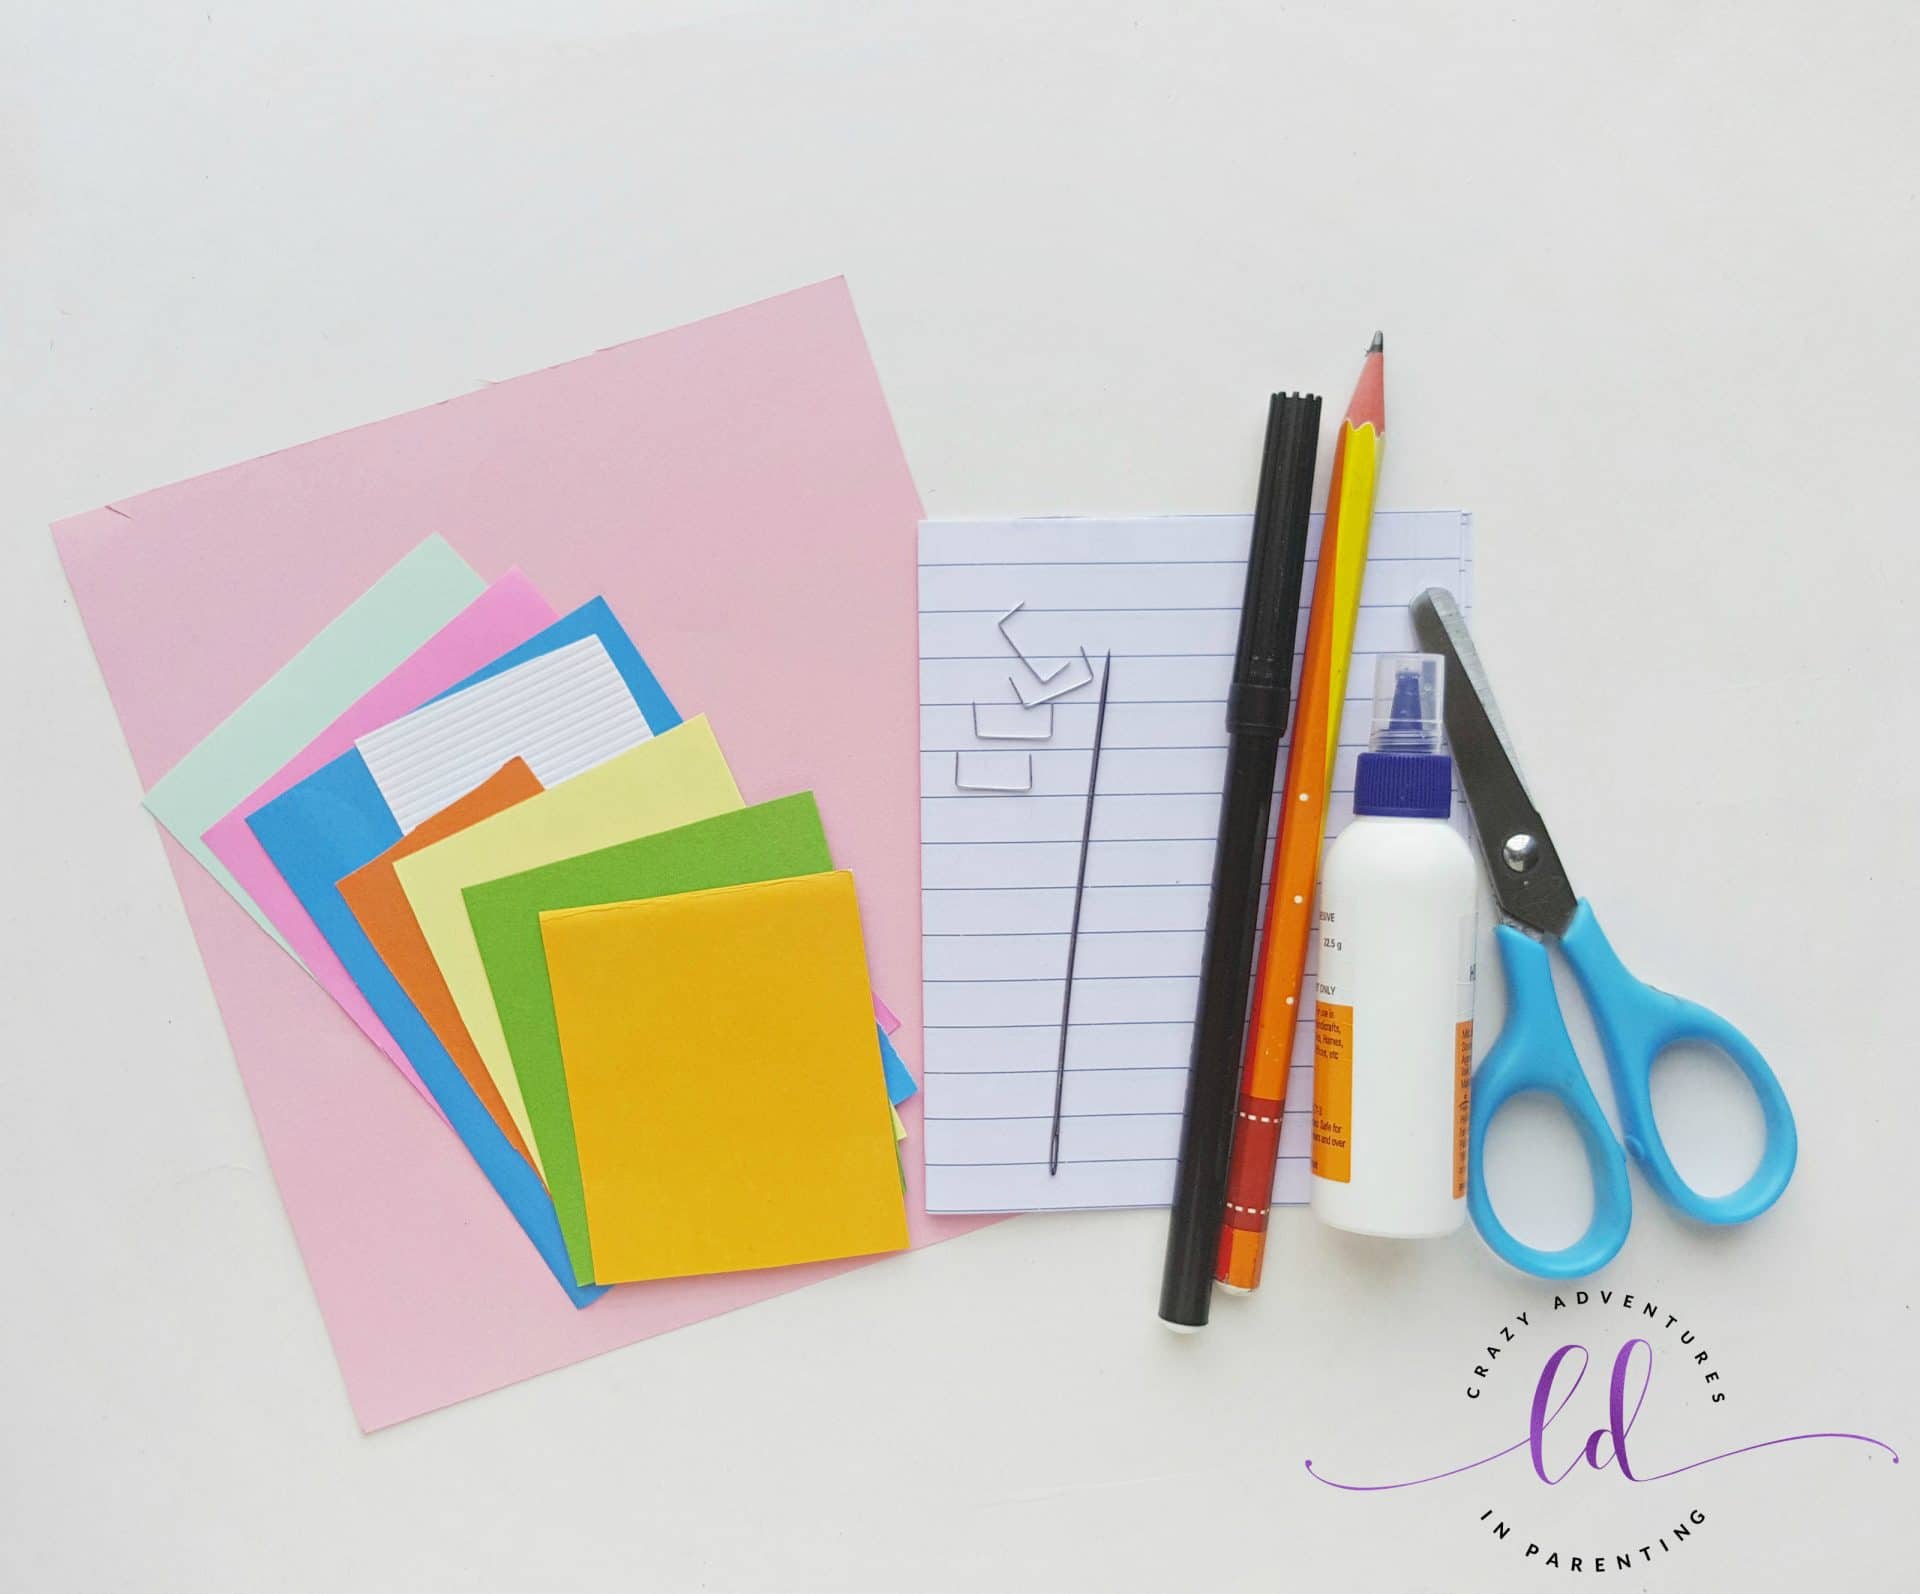
To make your Unicorn Notebook, you will need the following materials:
- Colored craft papers
- Stationary papers
- Needle
- Stapling pin
- Black marker pen
- Pencil or pen – for tracing the template
- Scissors
- Craft glue or glue stick
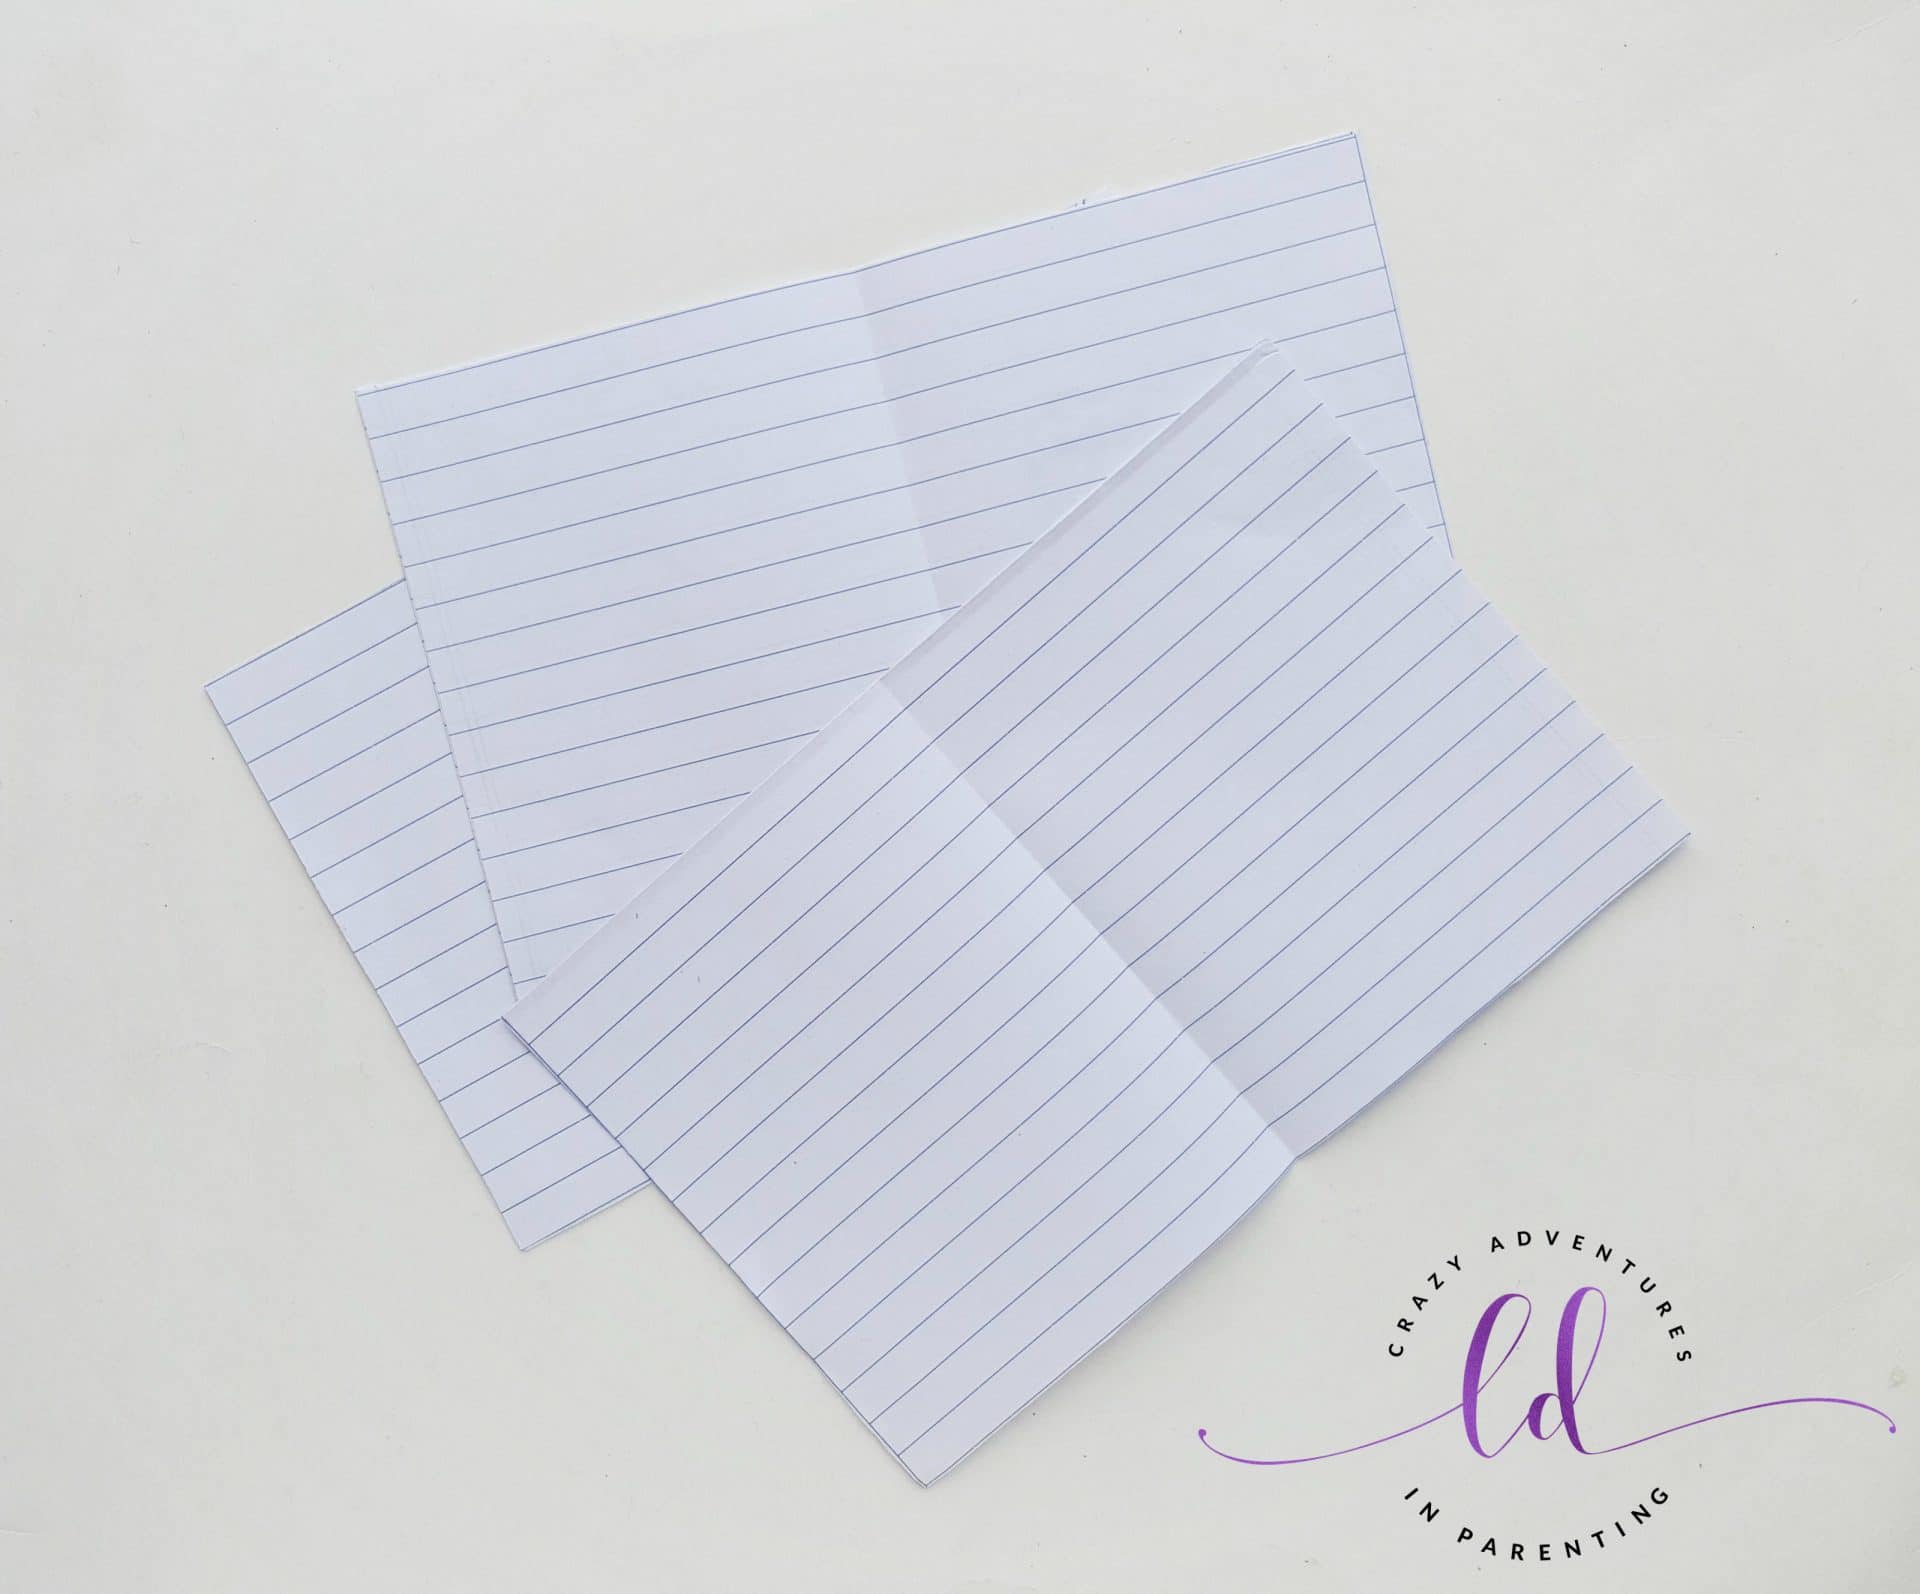
Measure and cut stationary papers into the required size (required length and twice the required width). Group 4 stationary papers together and fold them into half to create a crease along the middle line (fold widthwise).
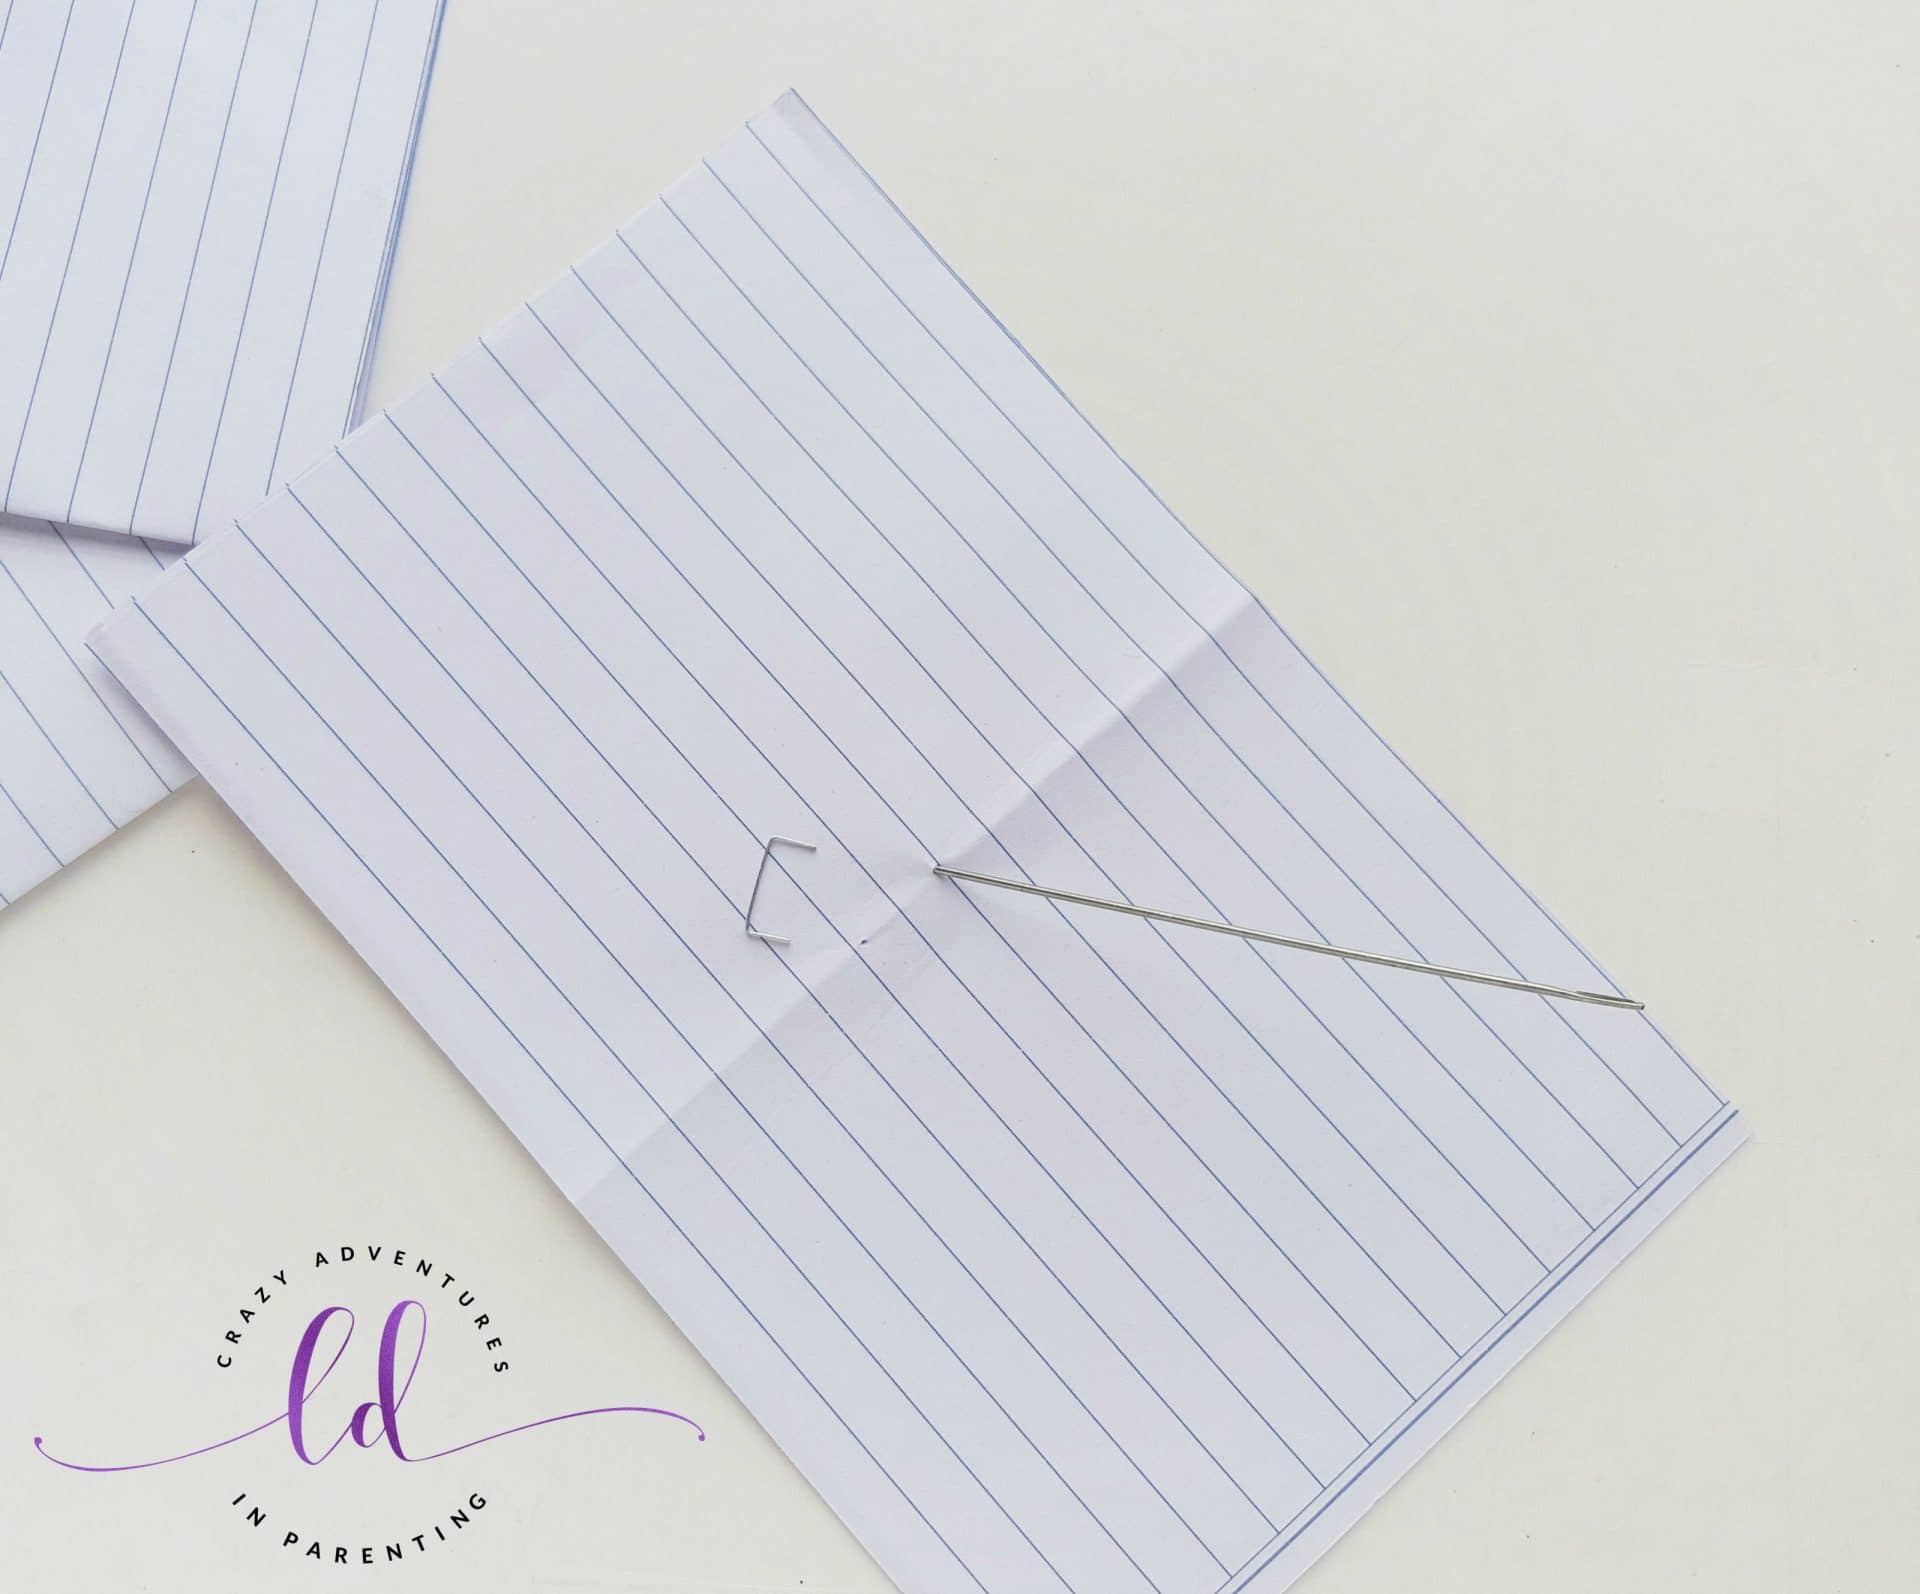
Hold all 4 papers together and use the needle to poke 2 holes on the middle part of the middle crease. The distance between the holes should be same as the length of the stapling pin.
After poking both holes take a stapling pin and insert the pins on both sides through the holes.
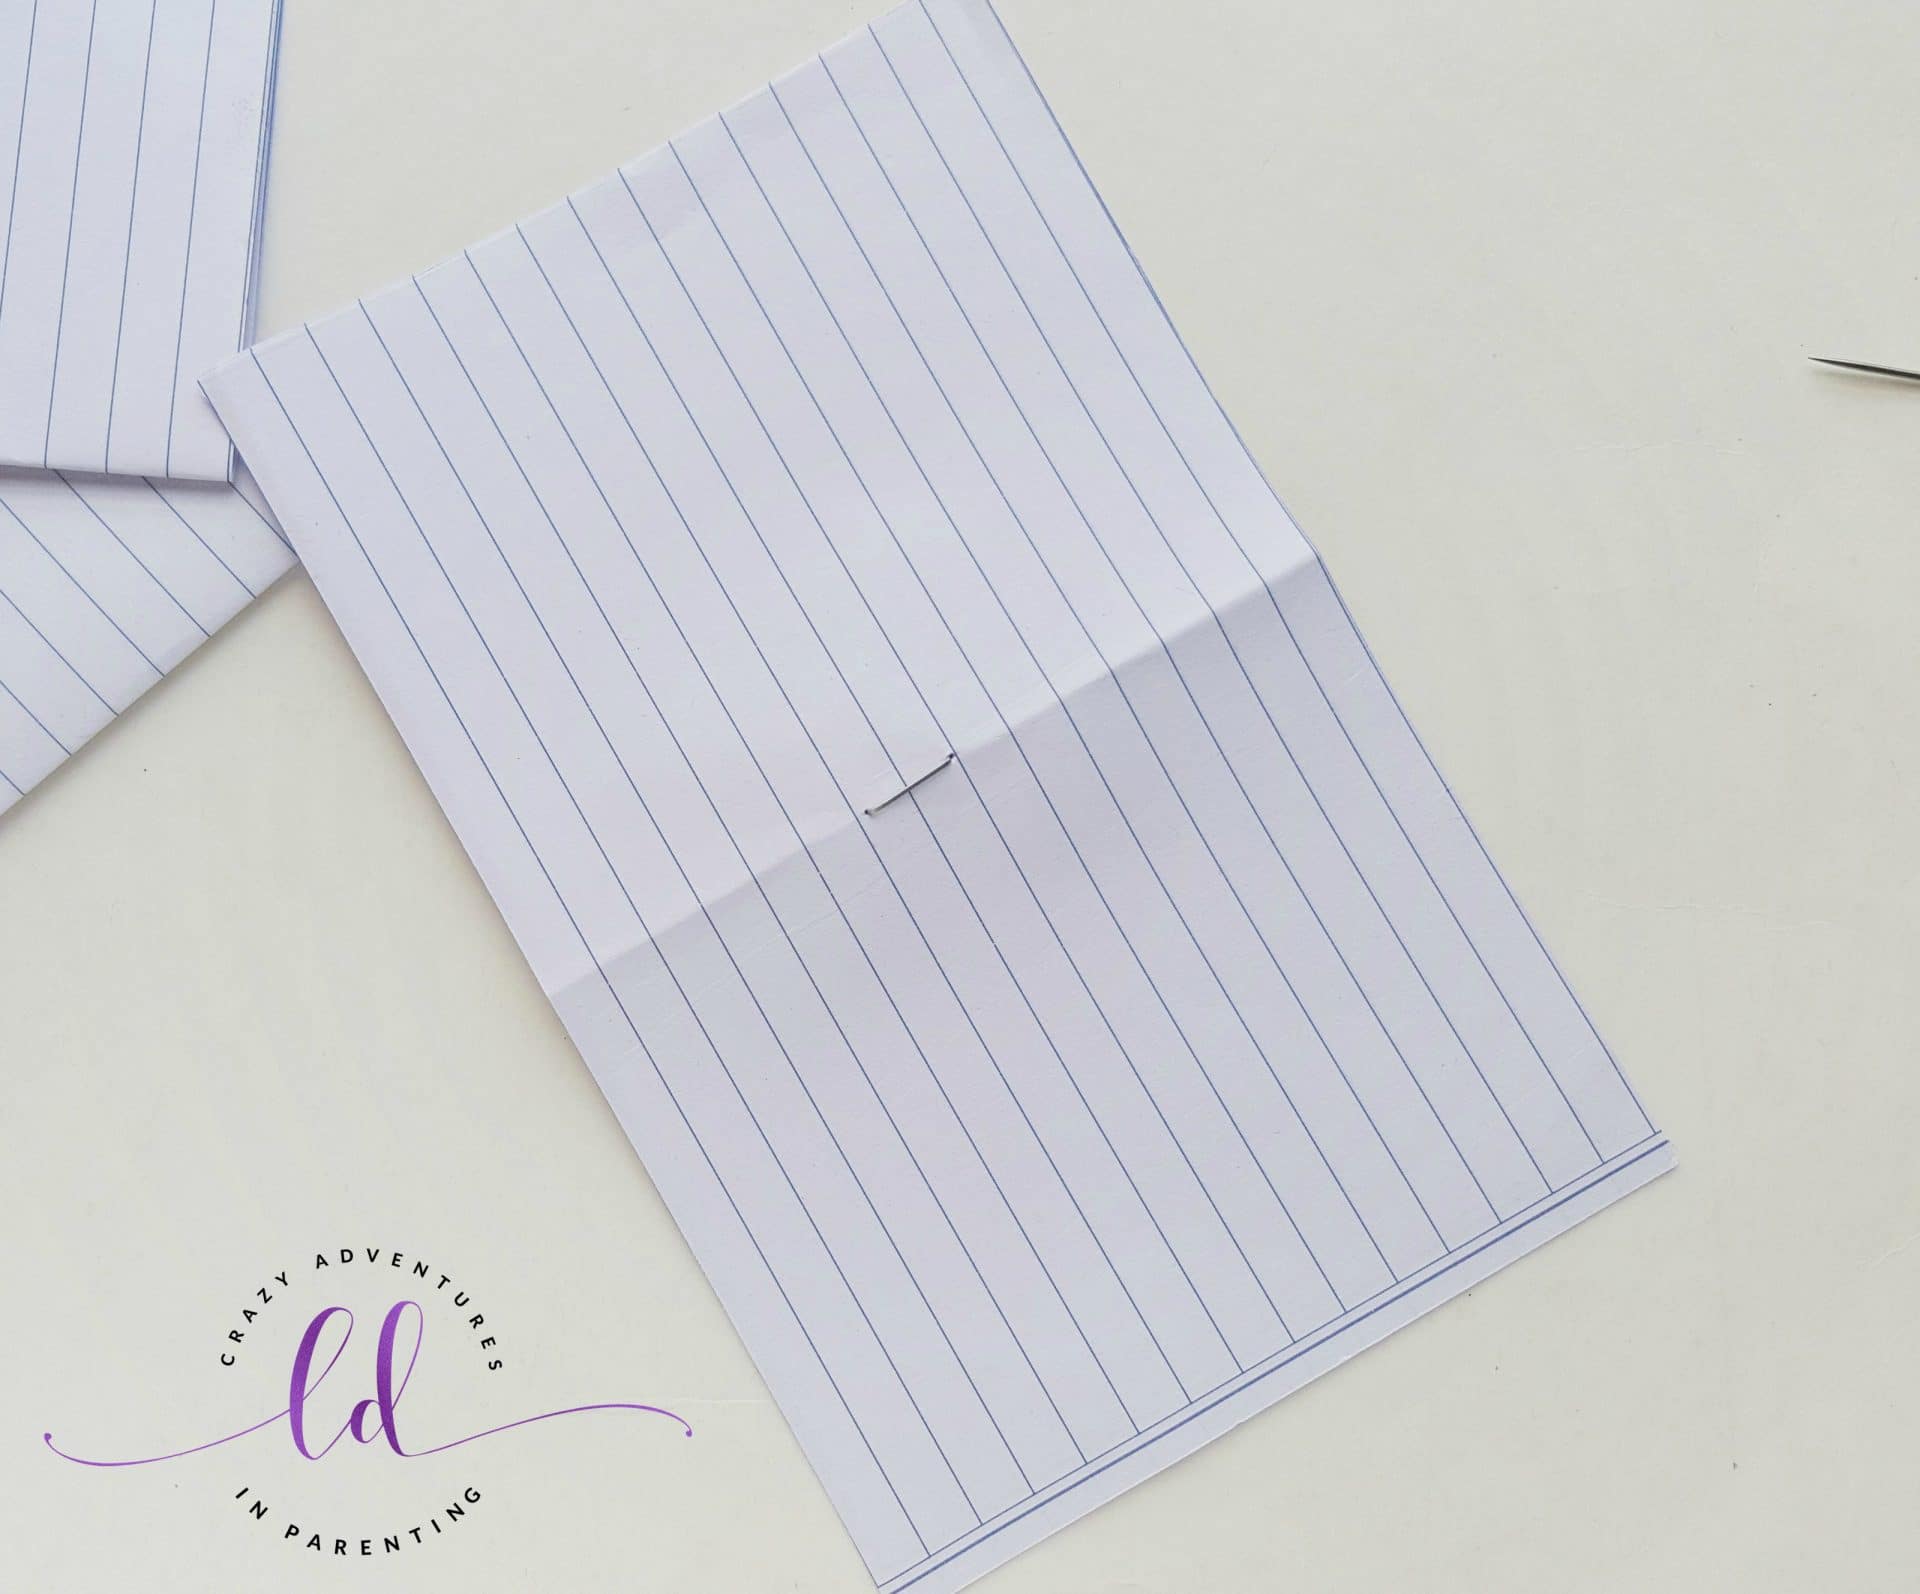
Turn the pages to the other side and flatten the pins with the papers. Similarly prepare a few more papers.
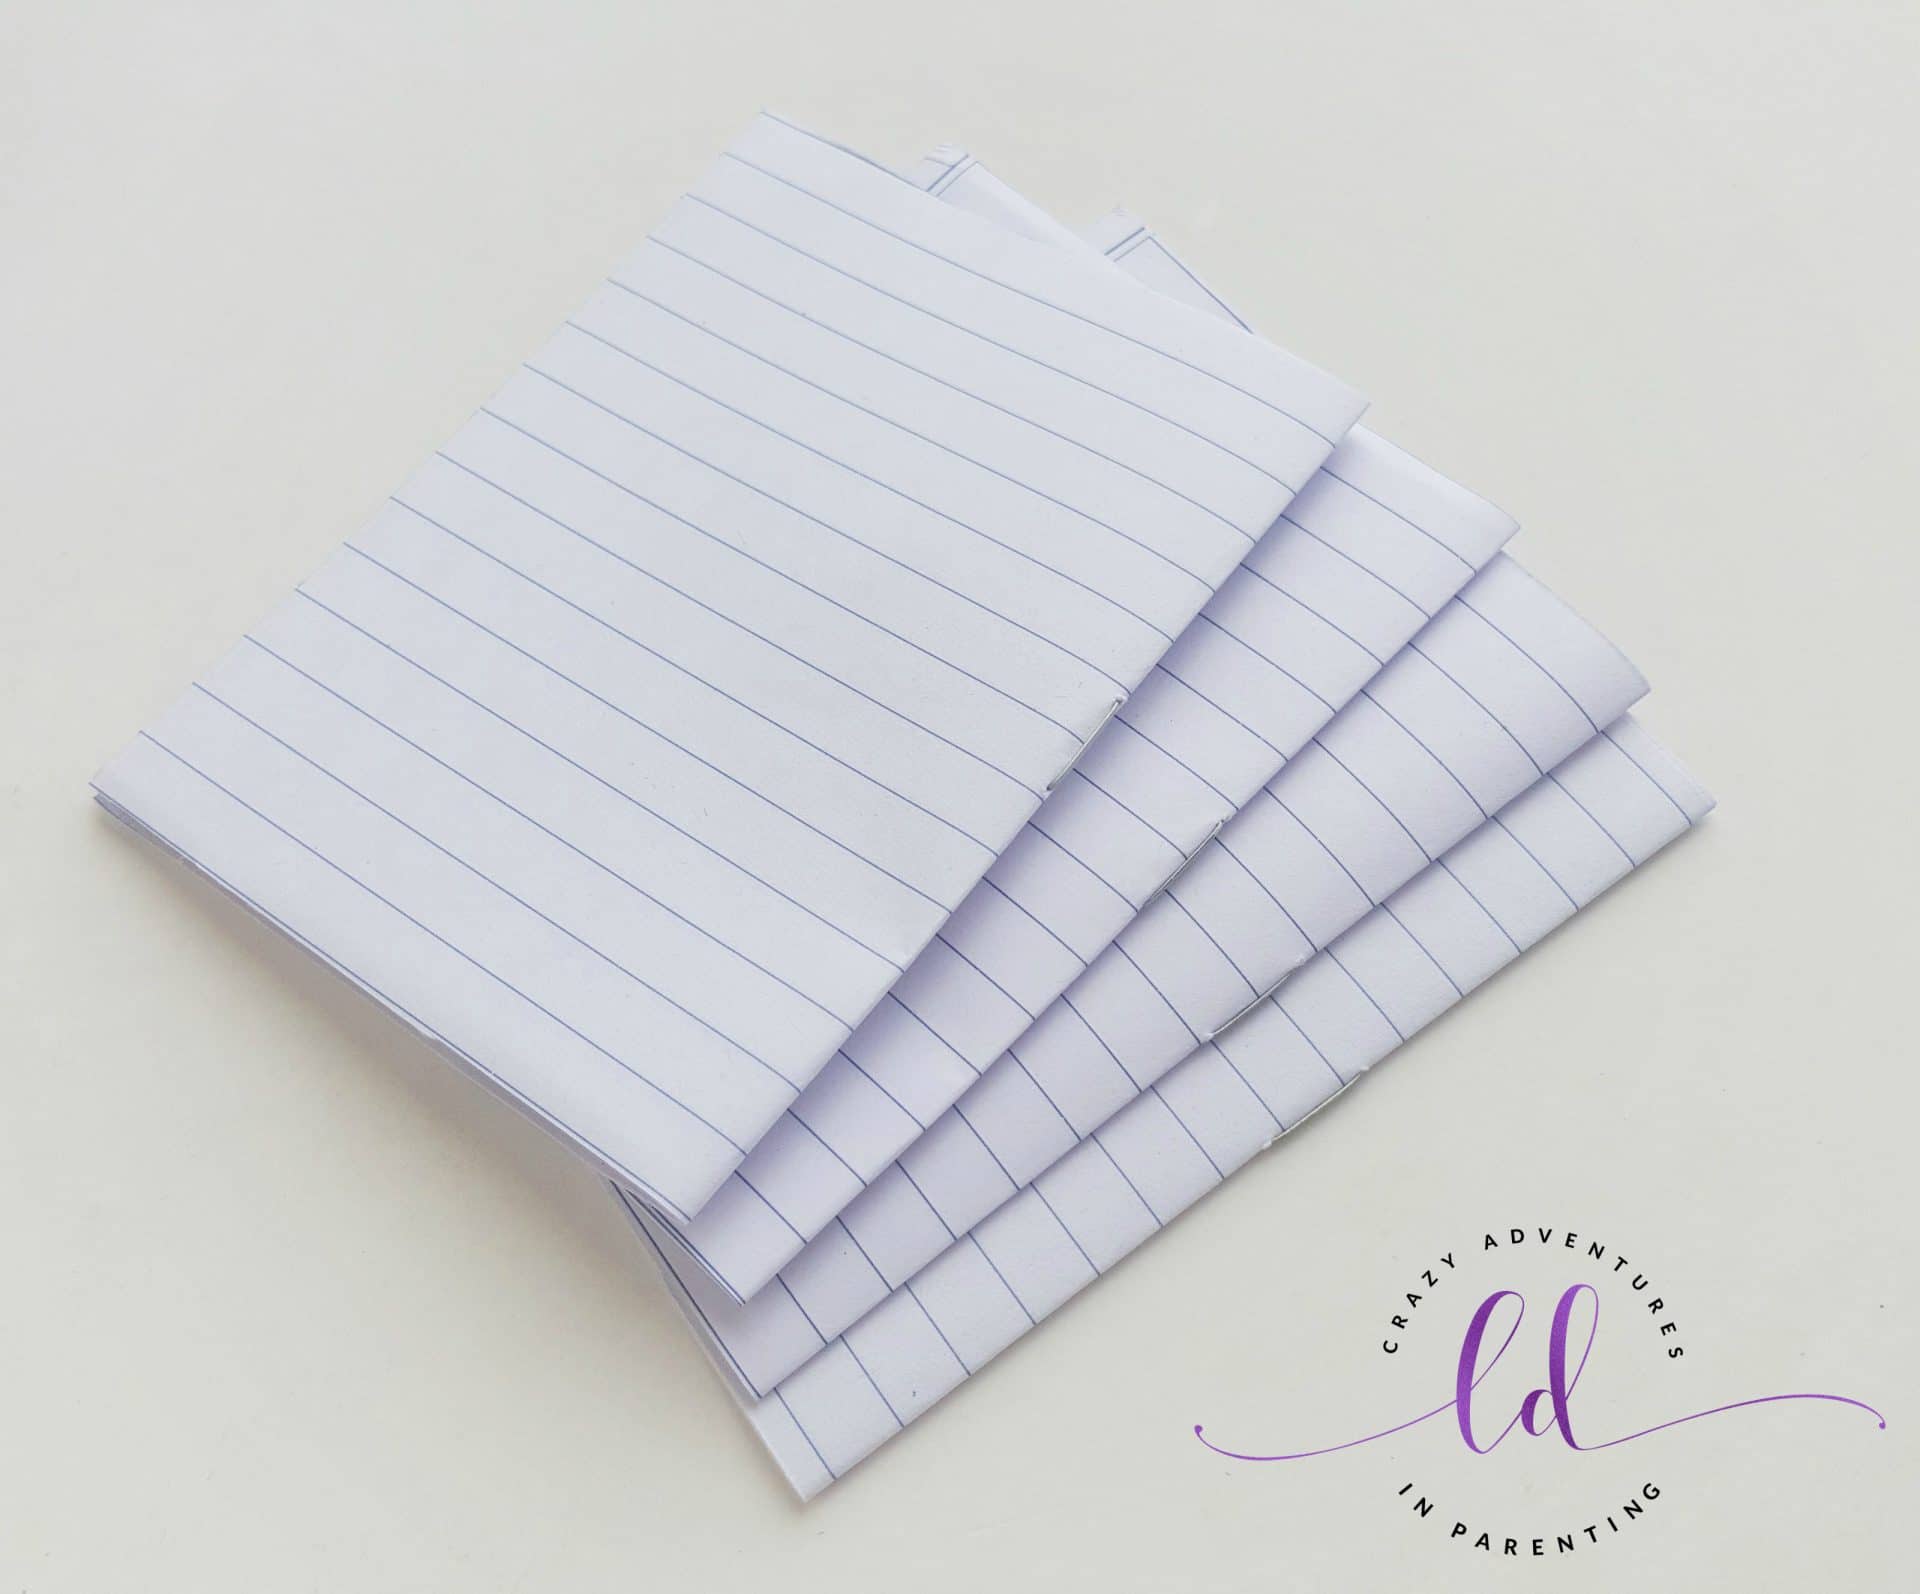
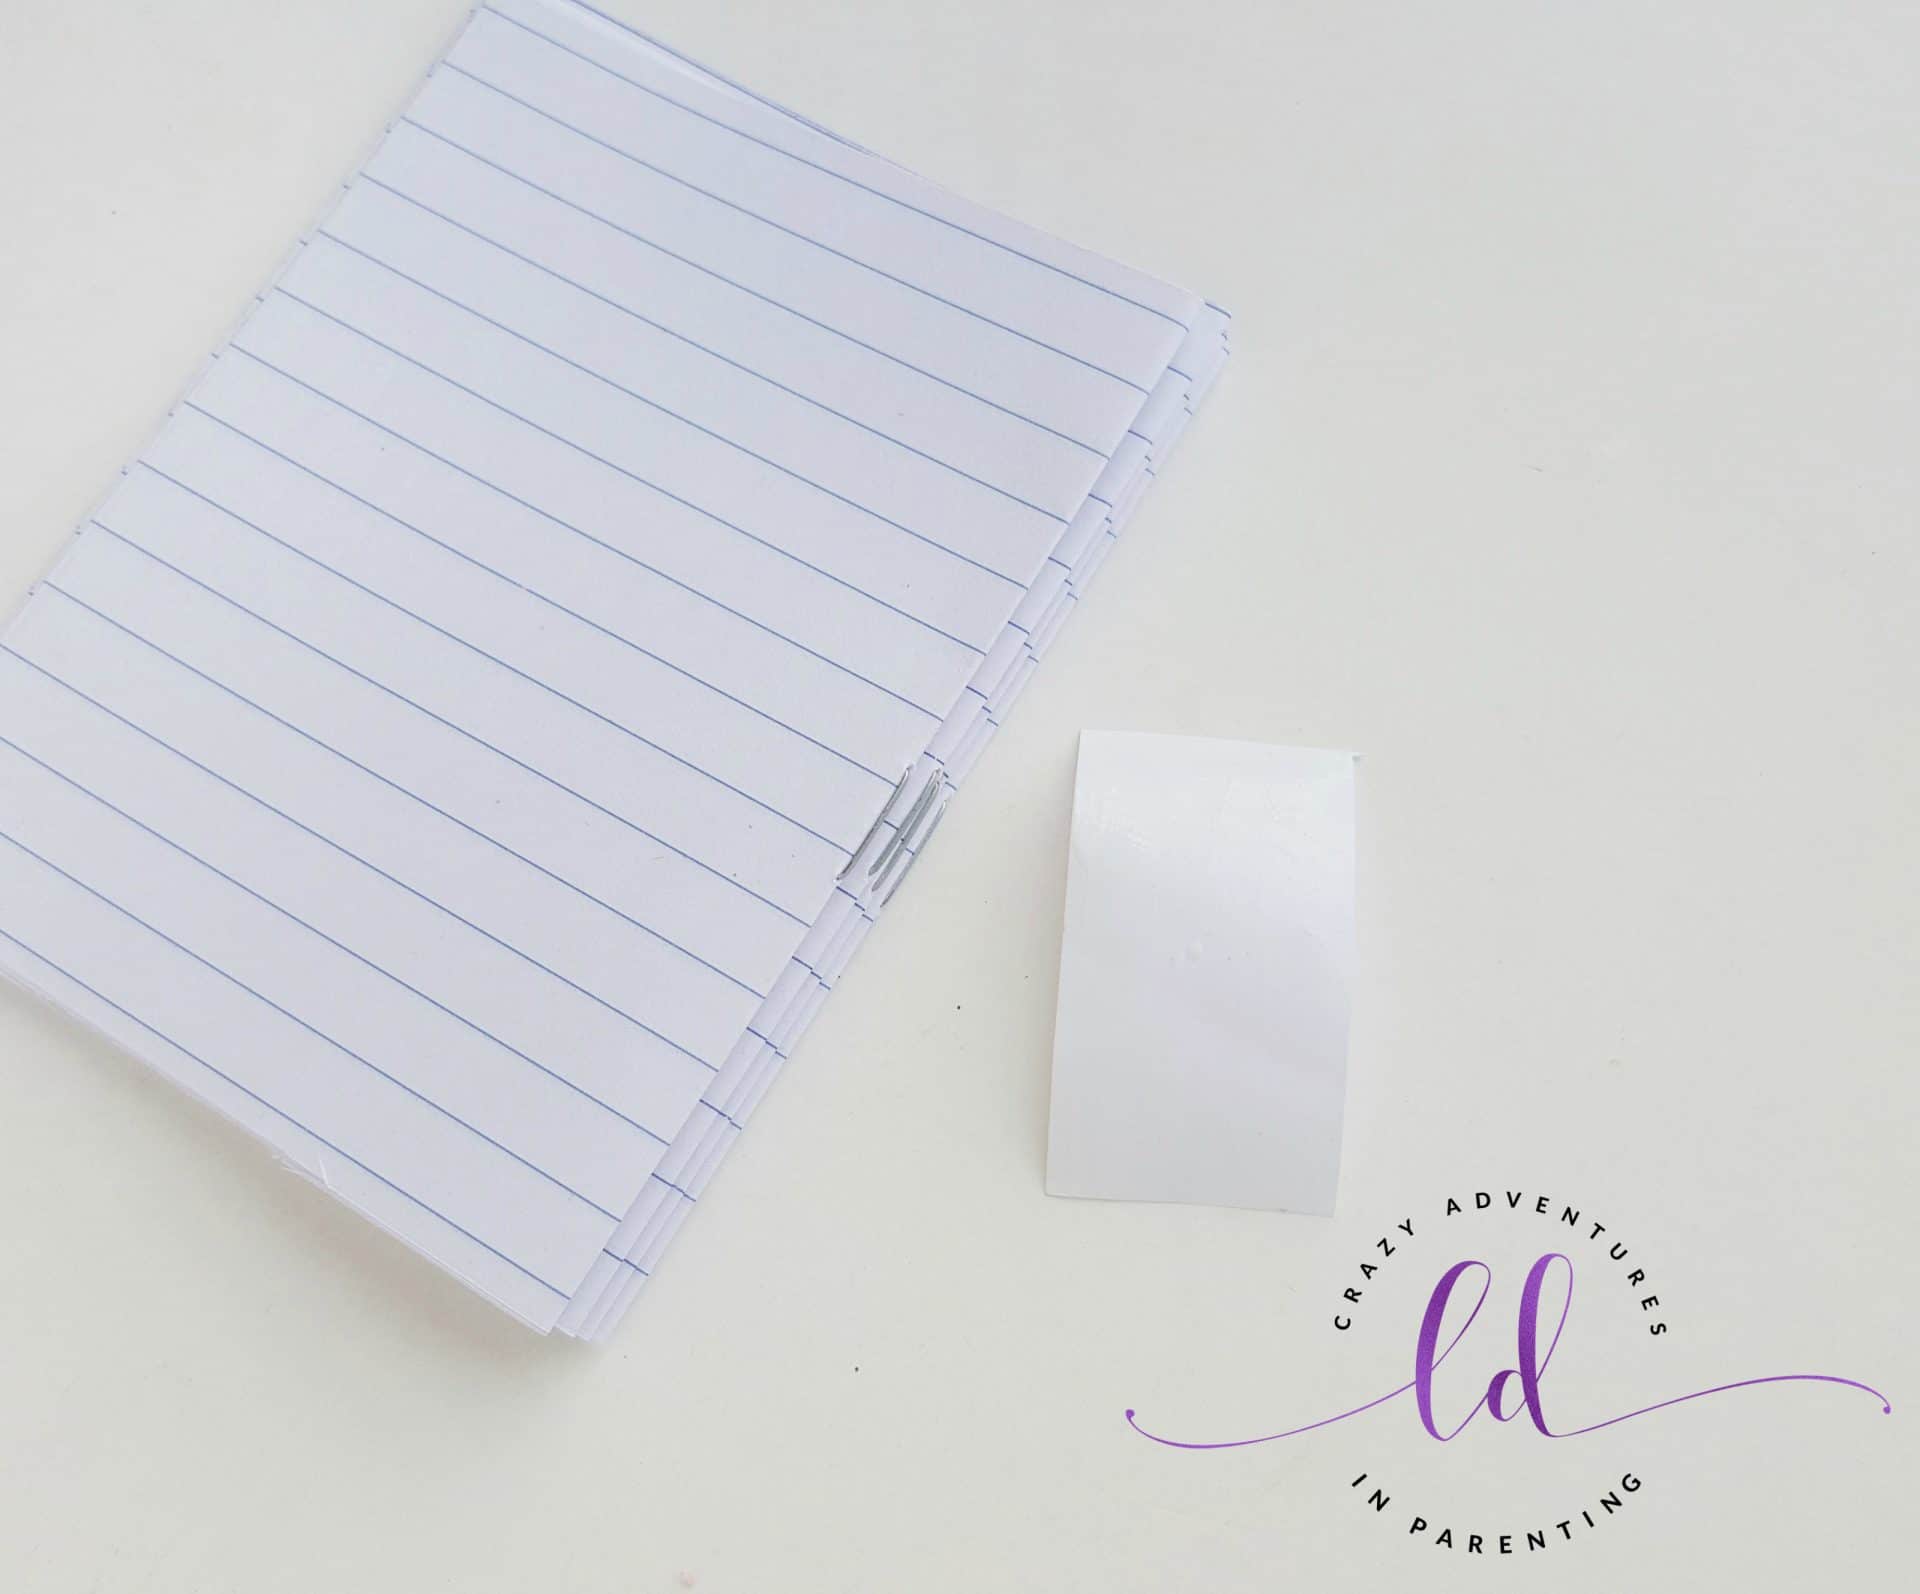
Hold the group of stapled papers together along their closed end; make sure that the end is matched nicely. Cut out a small piece of paper (about 2 x 3 inches will do; but you might need larger piece if the notebook is larger). Apply glue on any one side of the small paper.
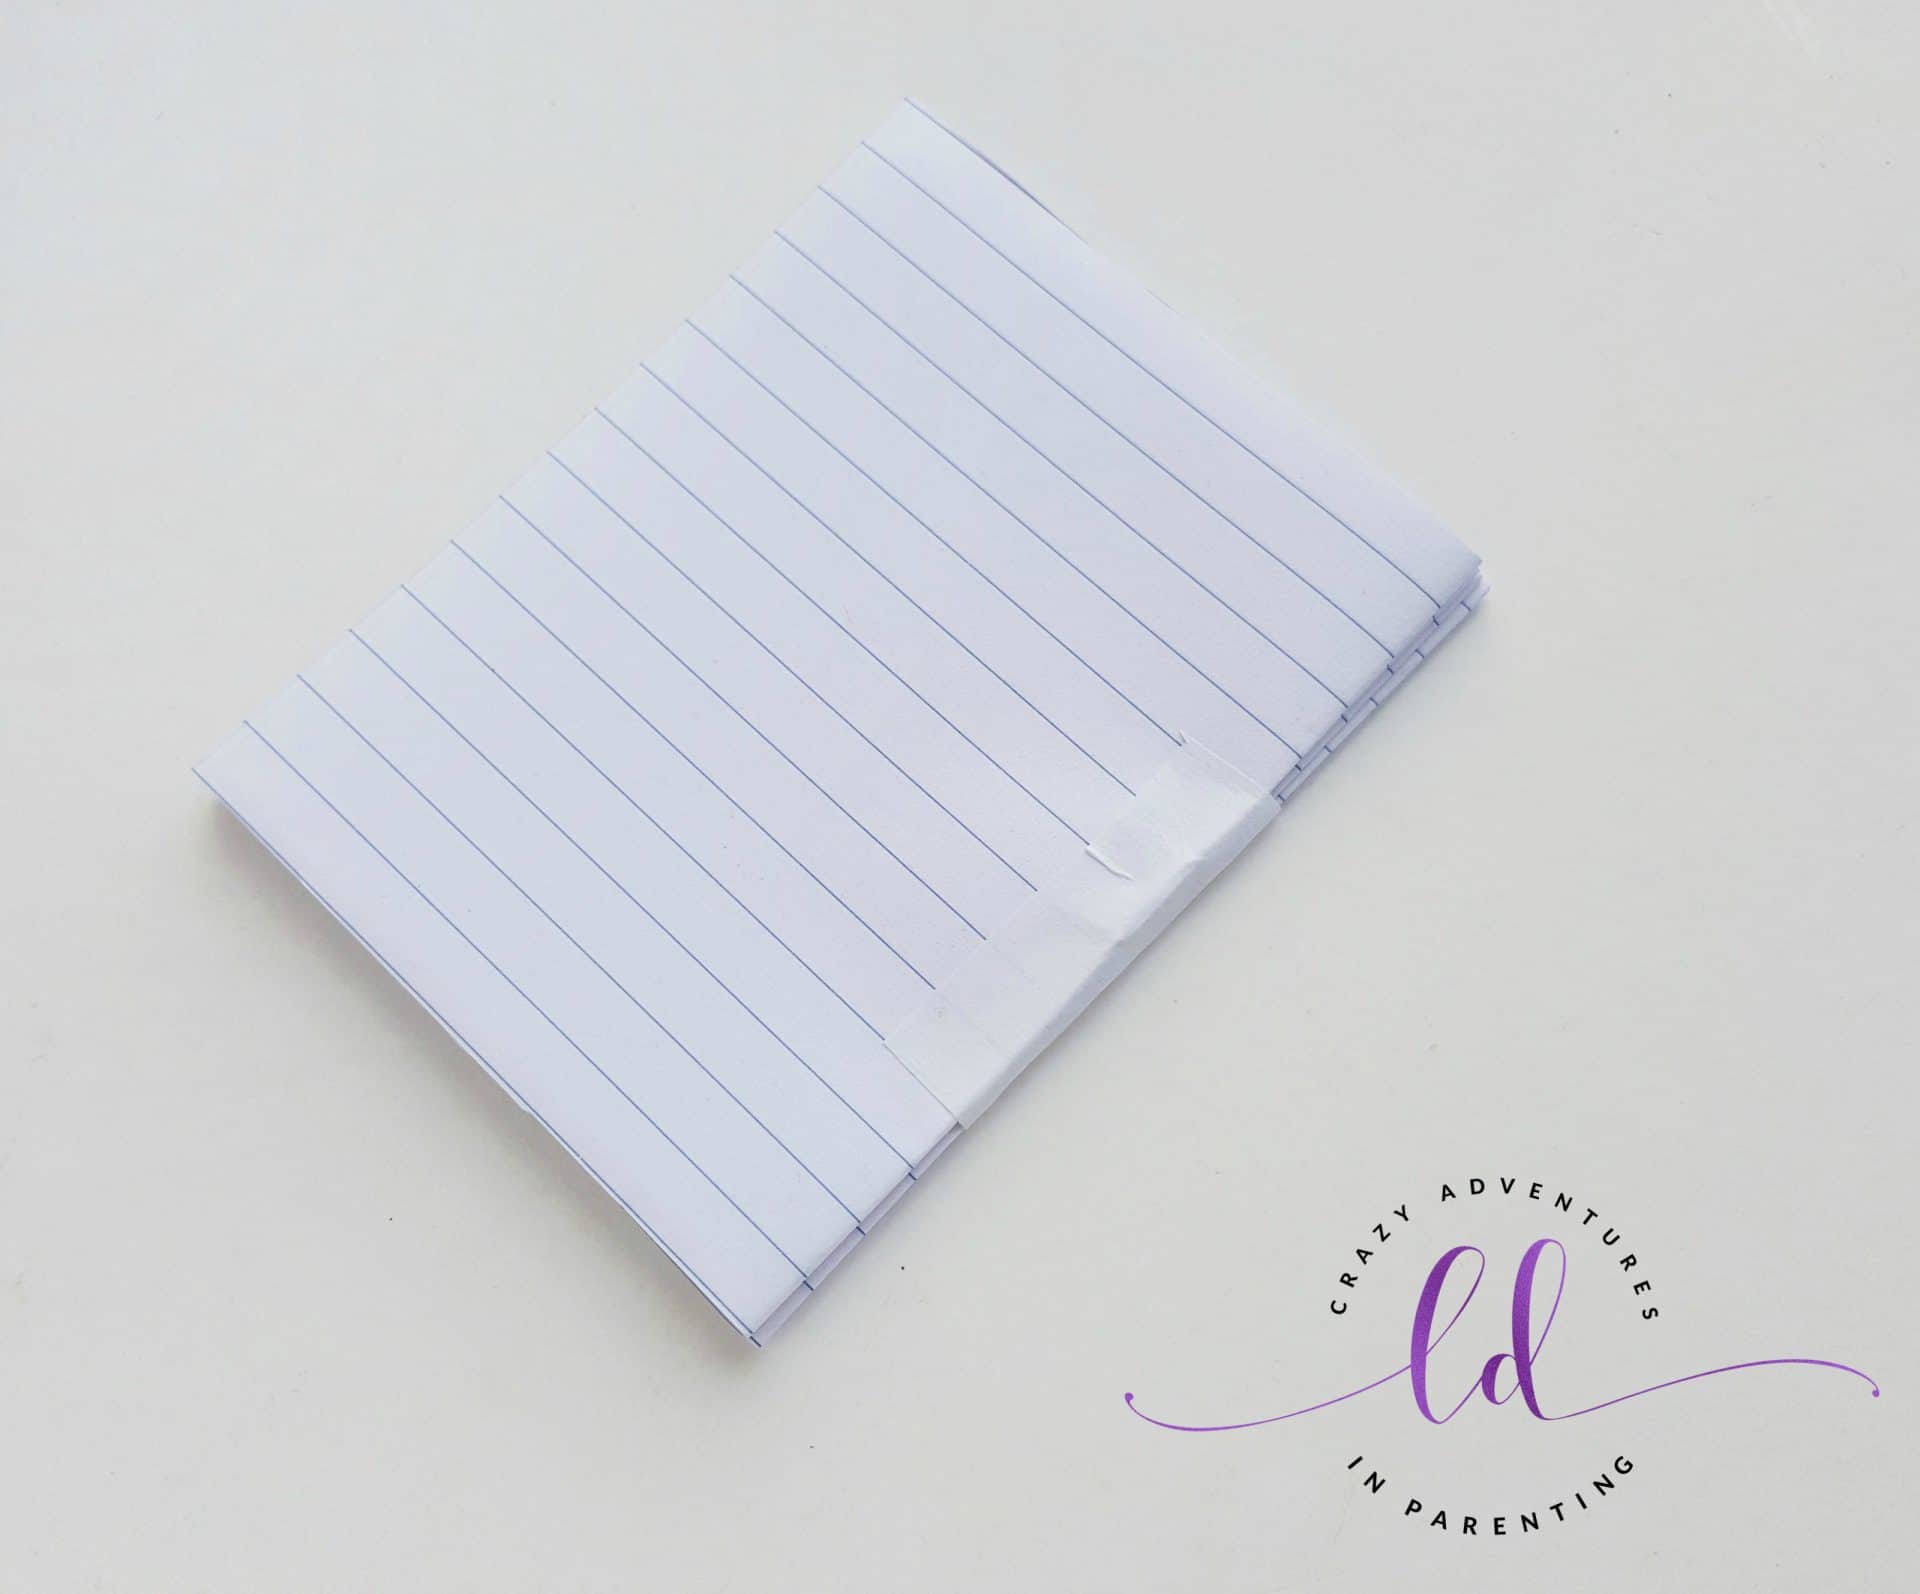
Hold the group of stapled papers together on their closed end and stick the glued paper from one end of the group of paper to the other end to secure them together. Measure the thickness of the group of papers.
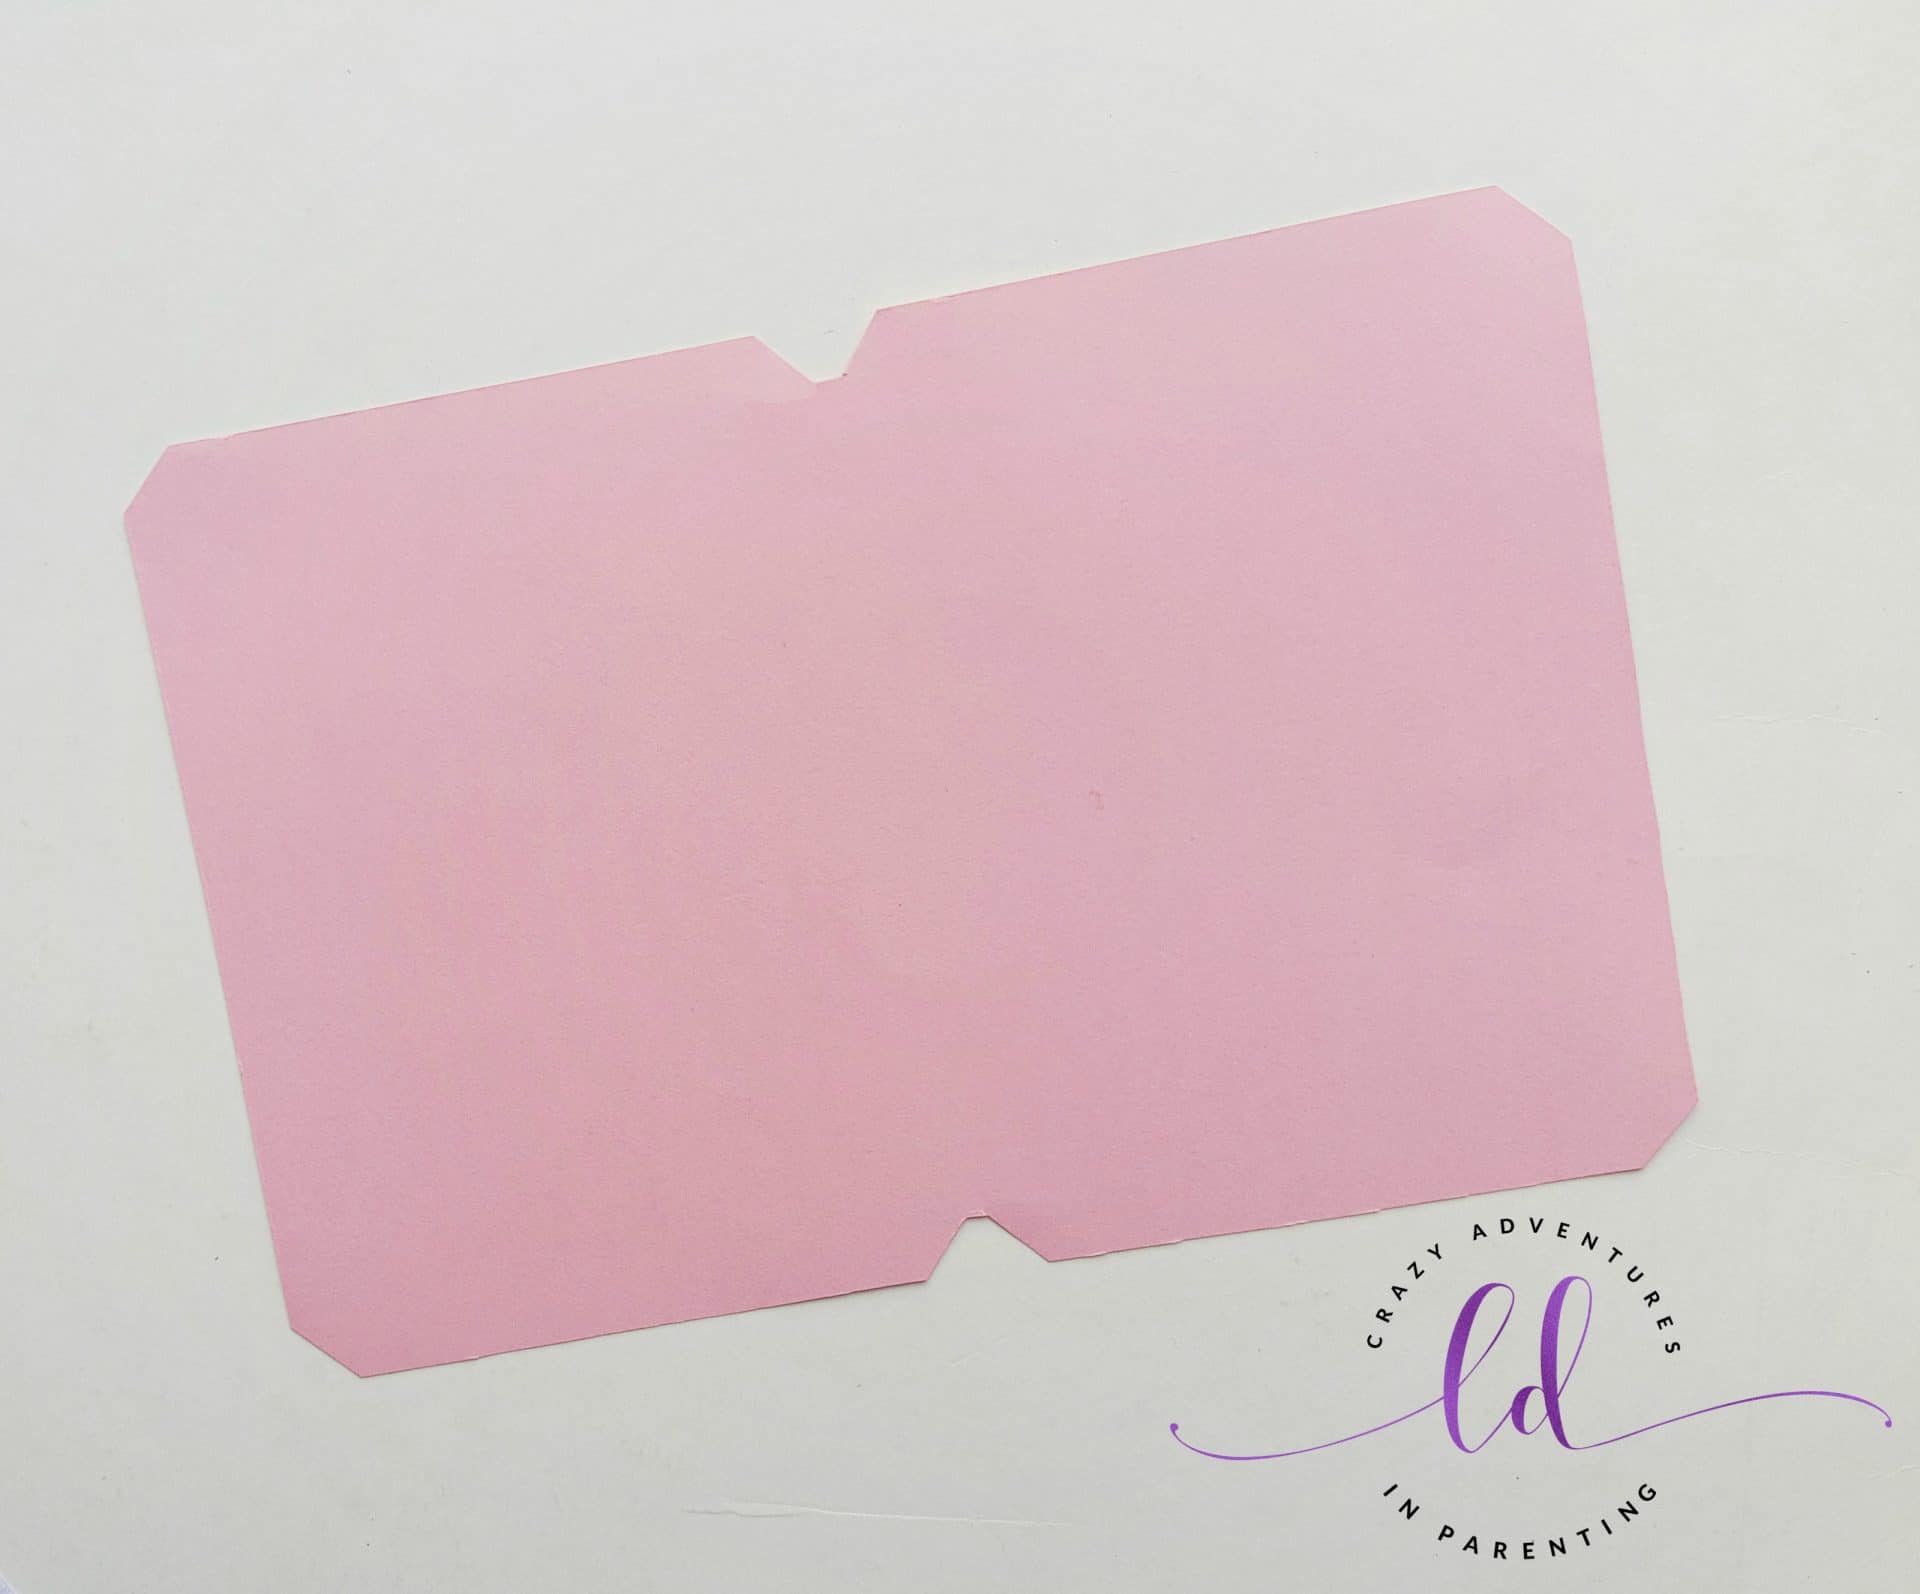
Cut out the notebook cover from cardstock paper. Add 2 cm to the length and 2 cm + (the thickness of the group of papers from previous step) cm to the width of the stationary paper measurement from step one.
Apply glue along the middle part of the cover cut out.
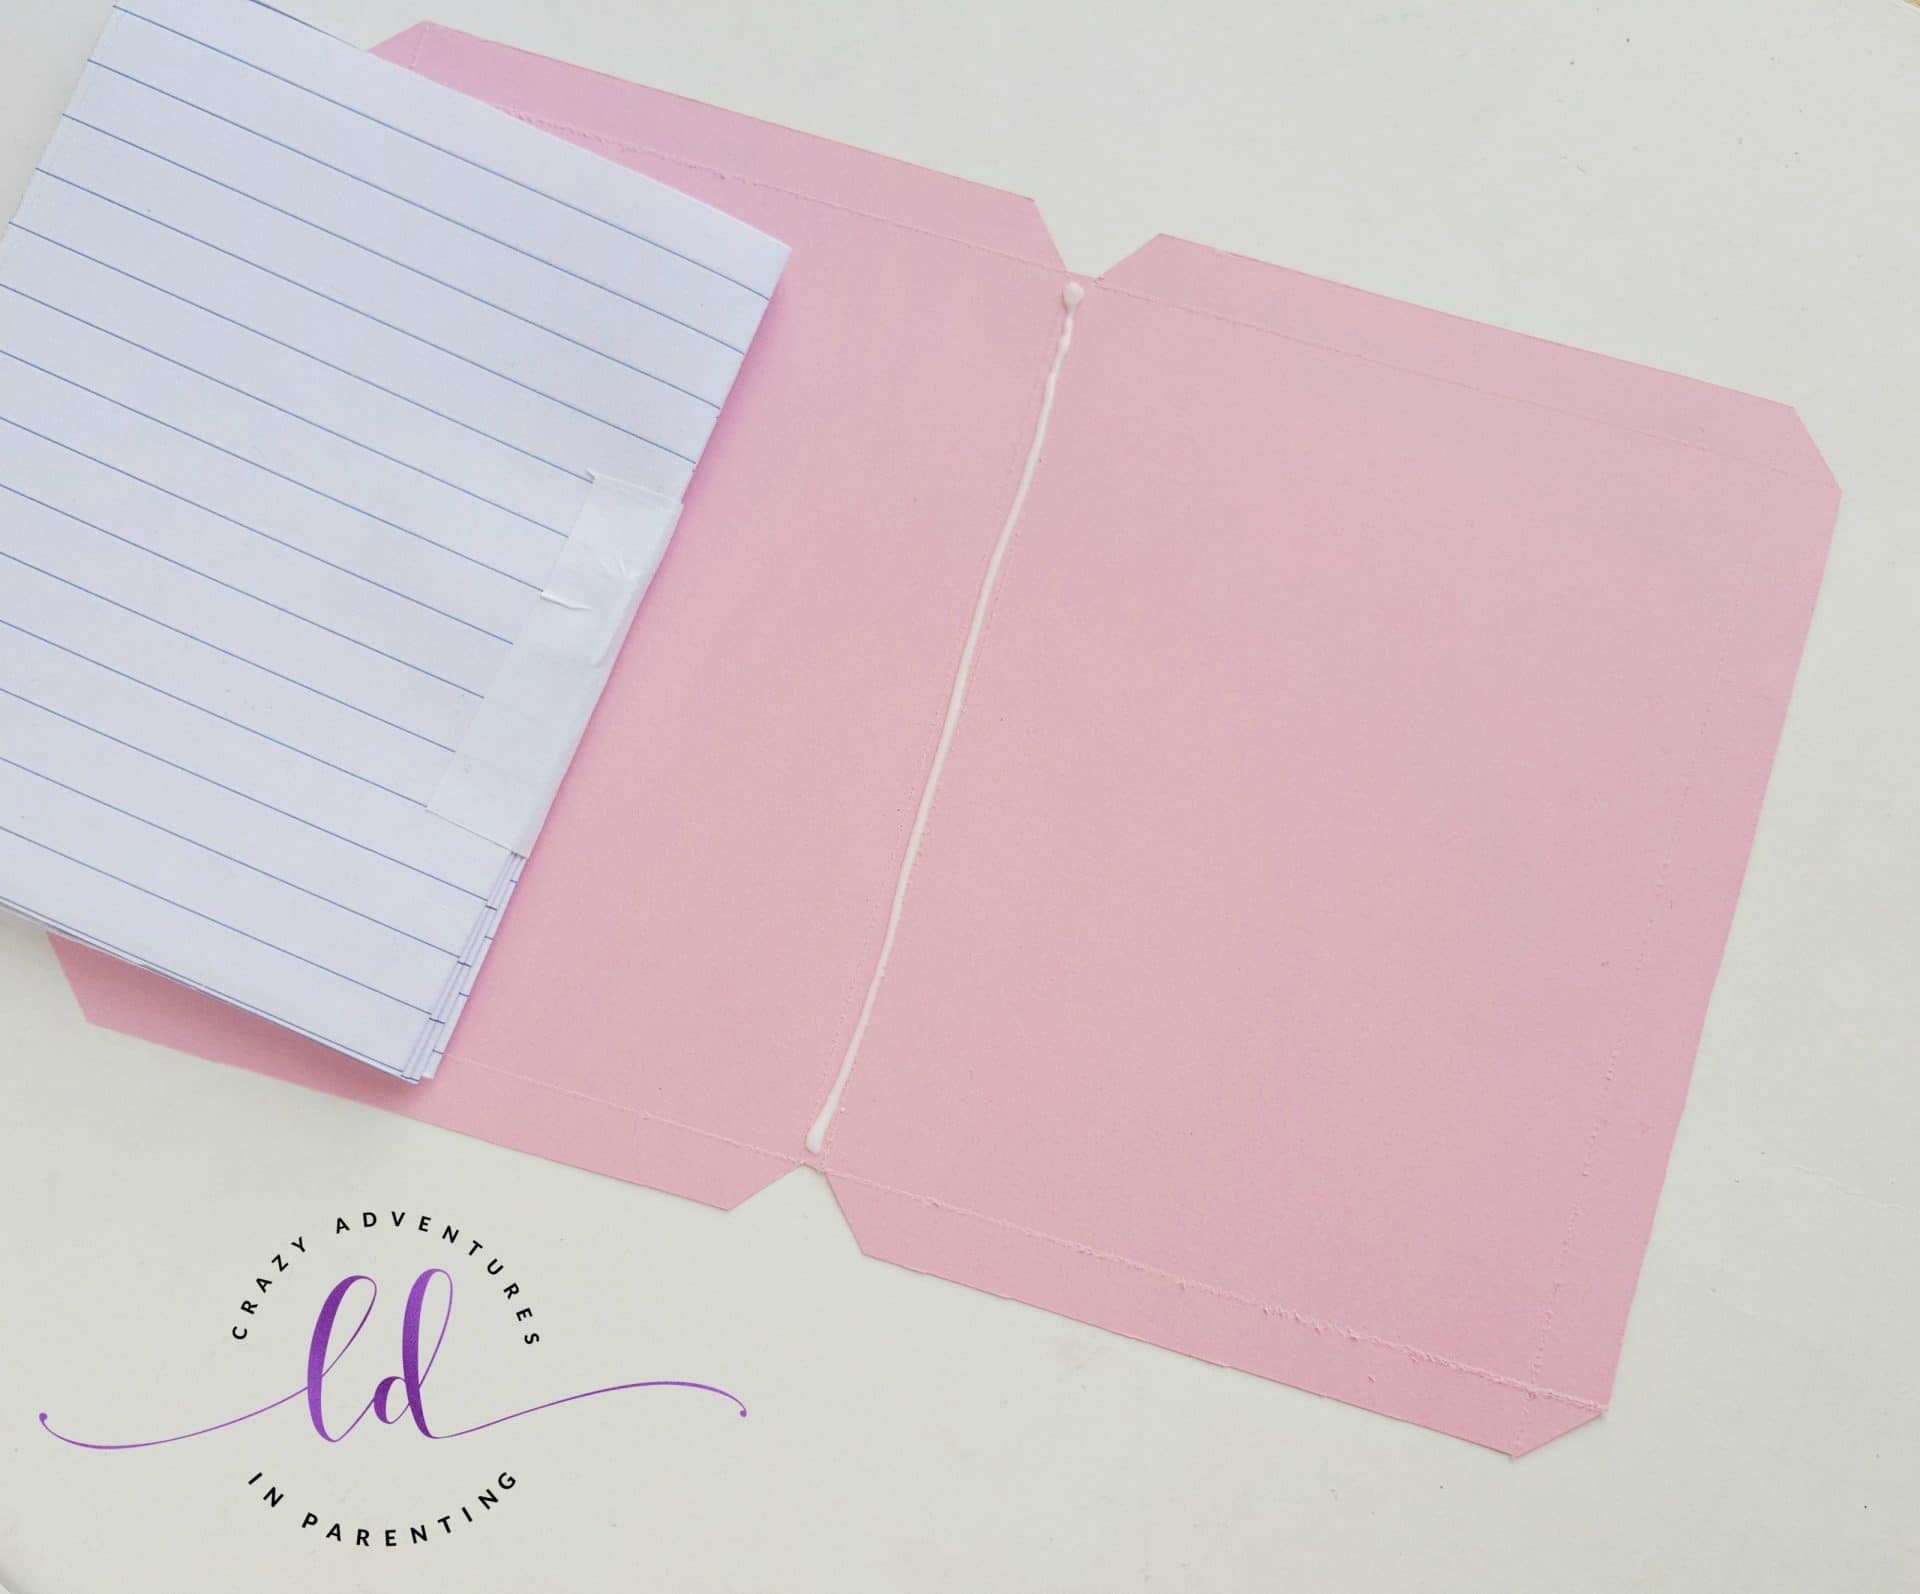
Place the closed end of the stacked papers along the glued area. Press the closed end on the glued part firmly to make sure that it is glued nicely.
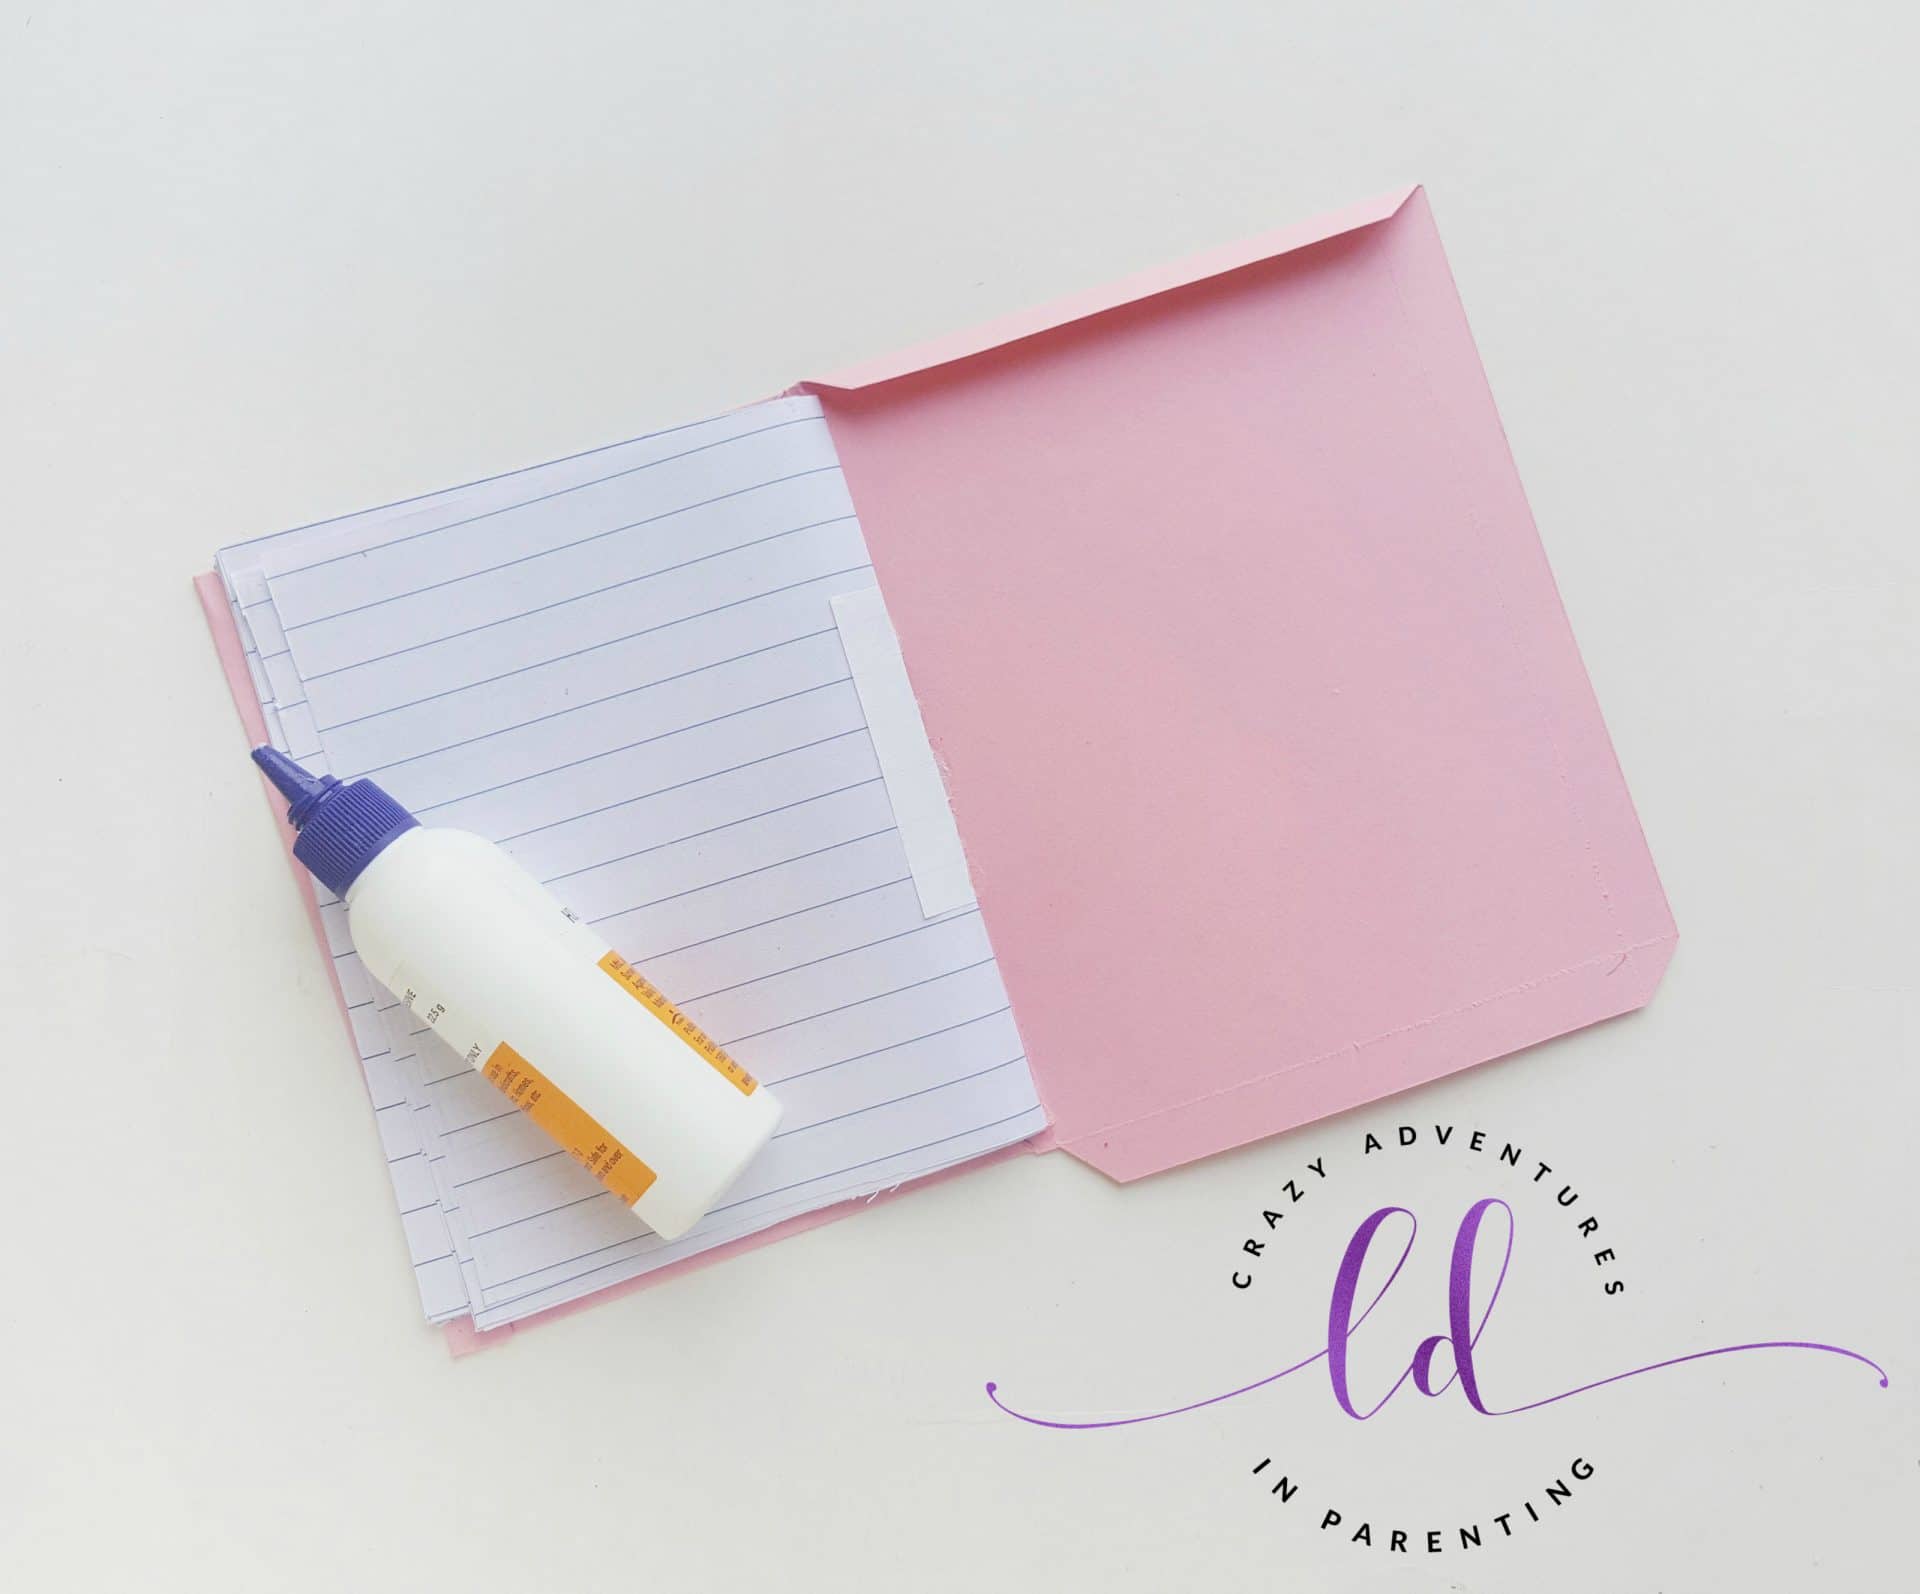
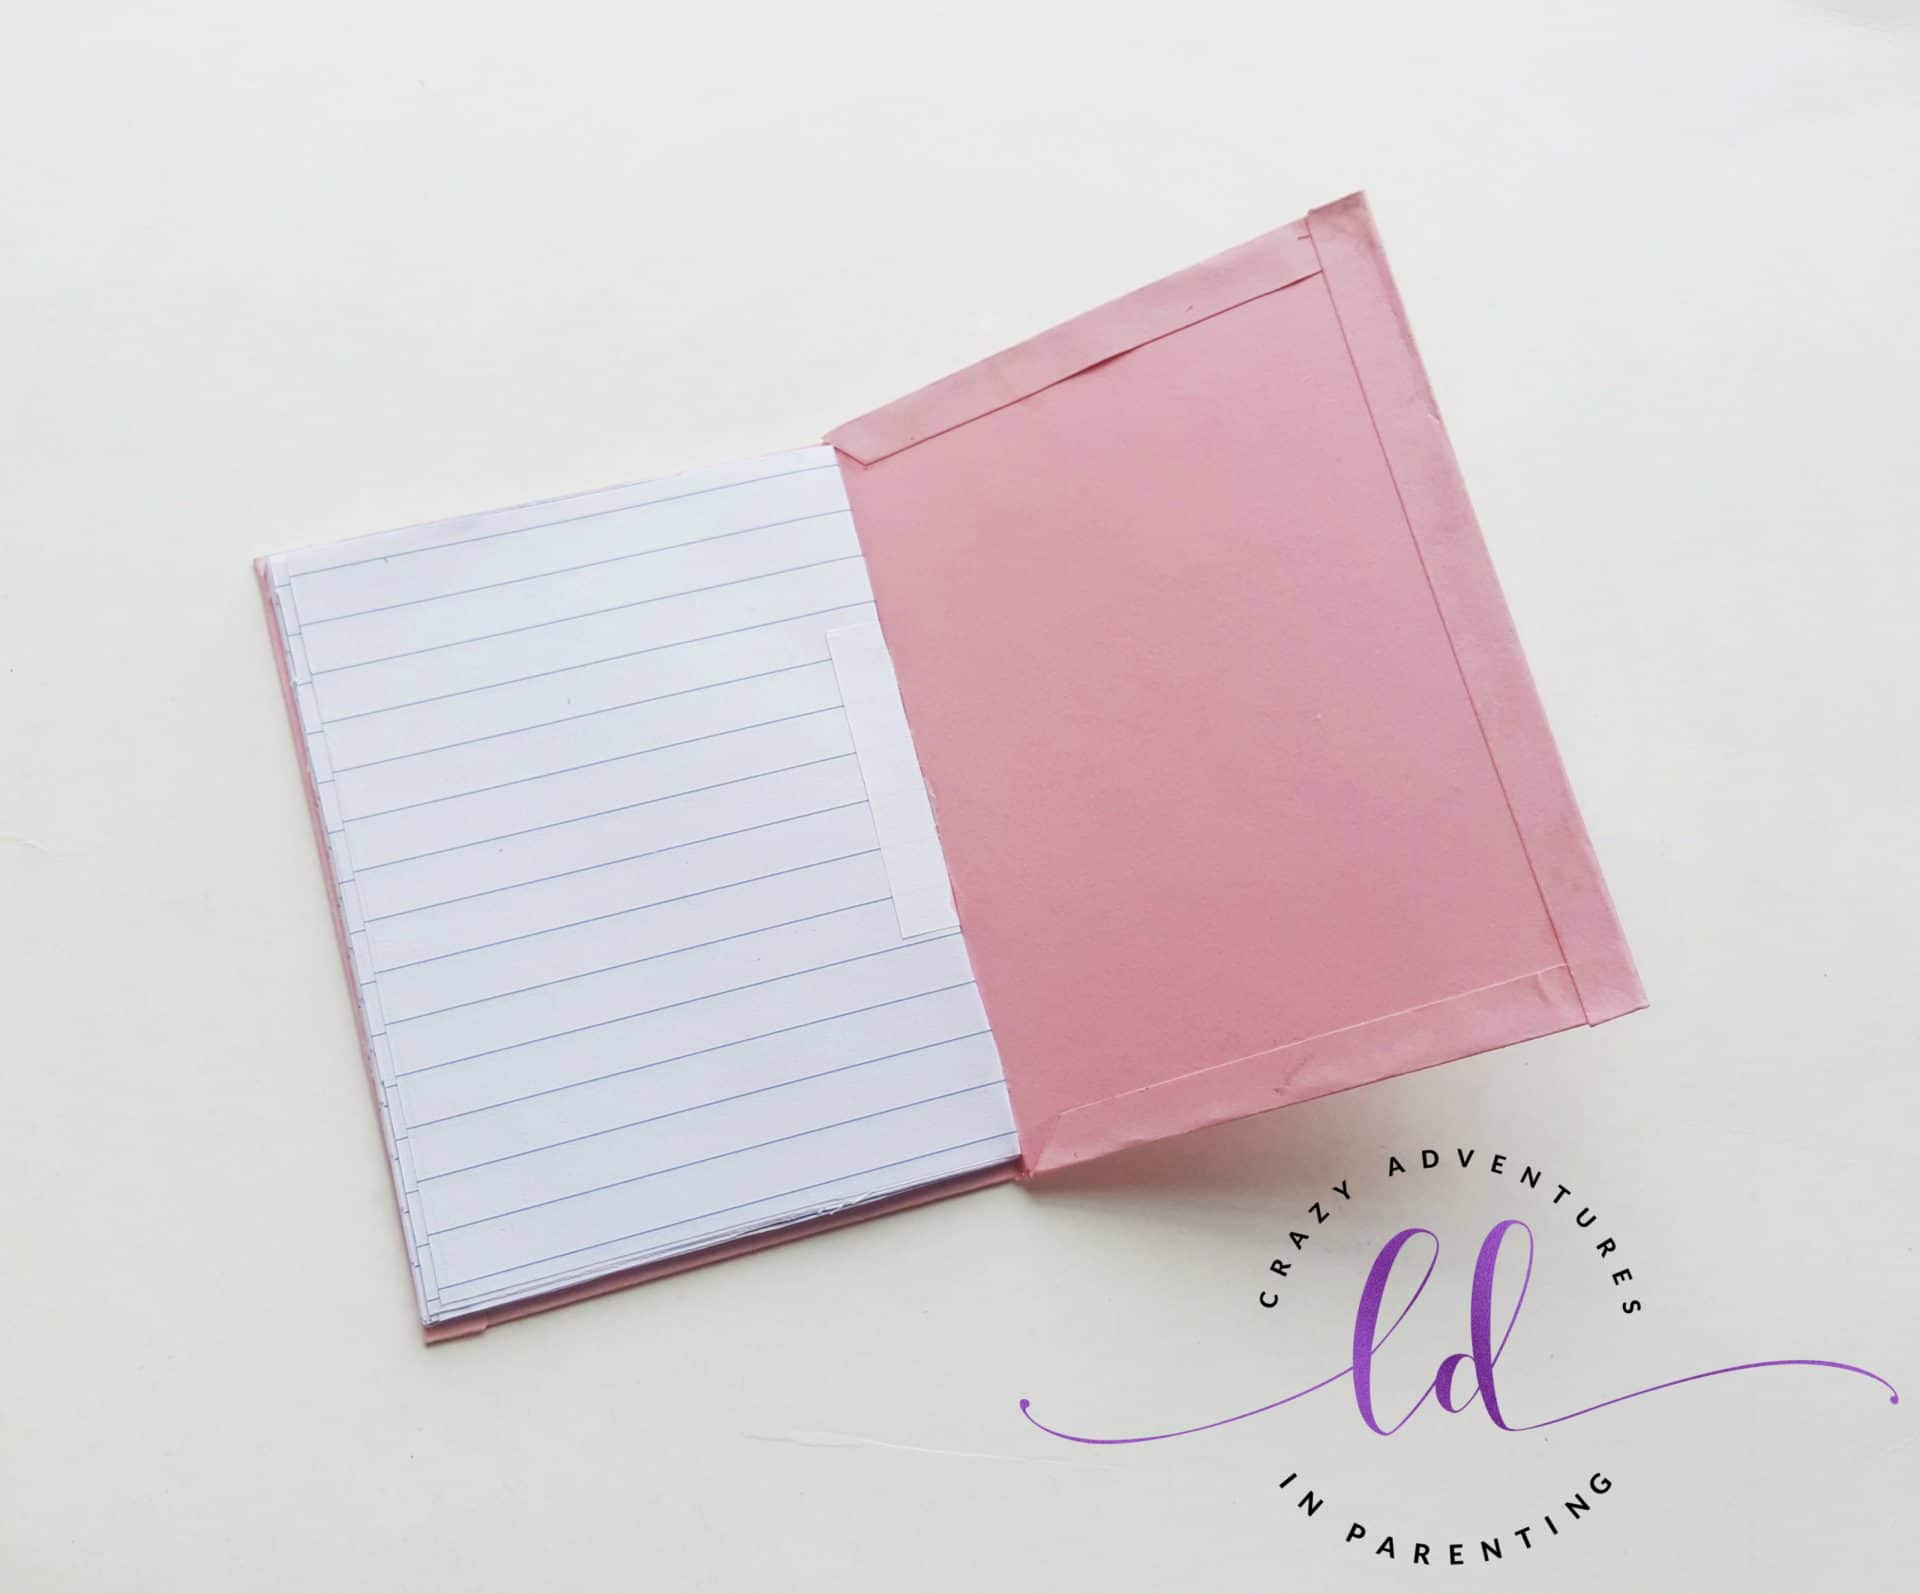
Now fold and glue the extra sides of the cover inside.
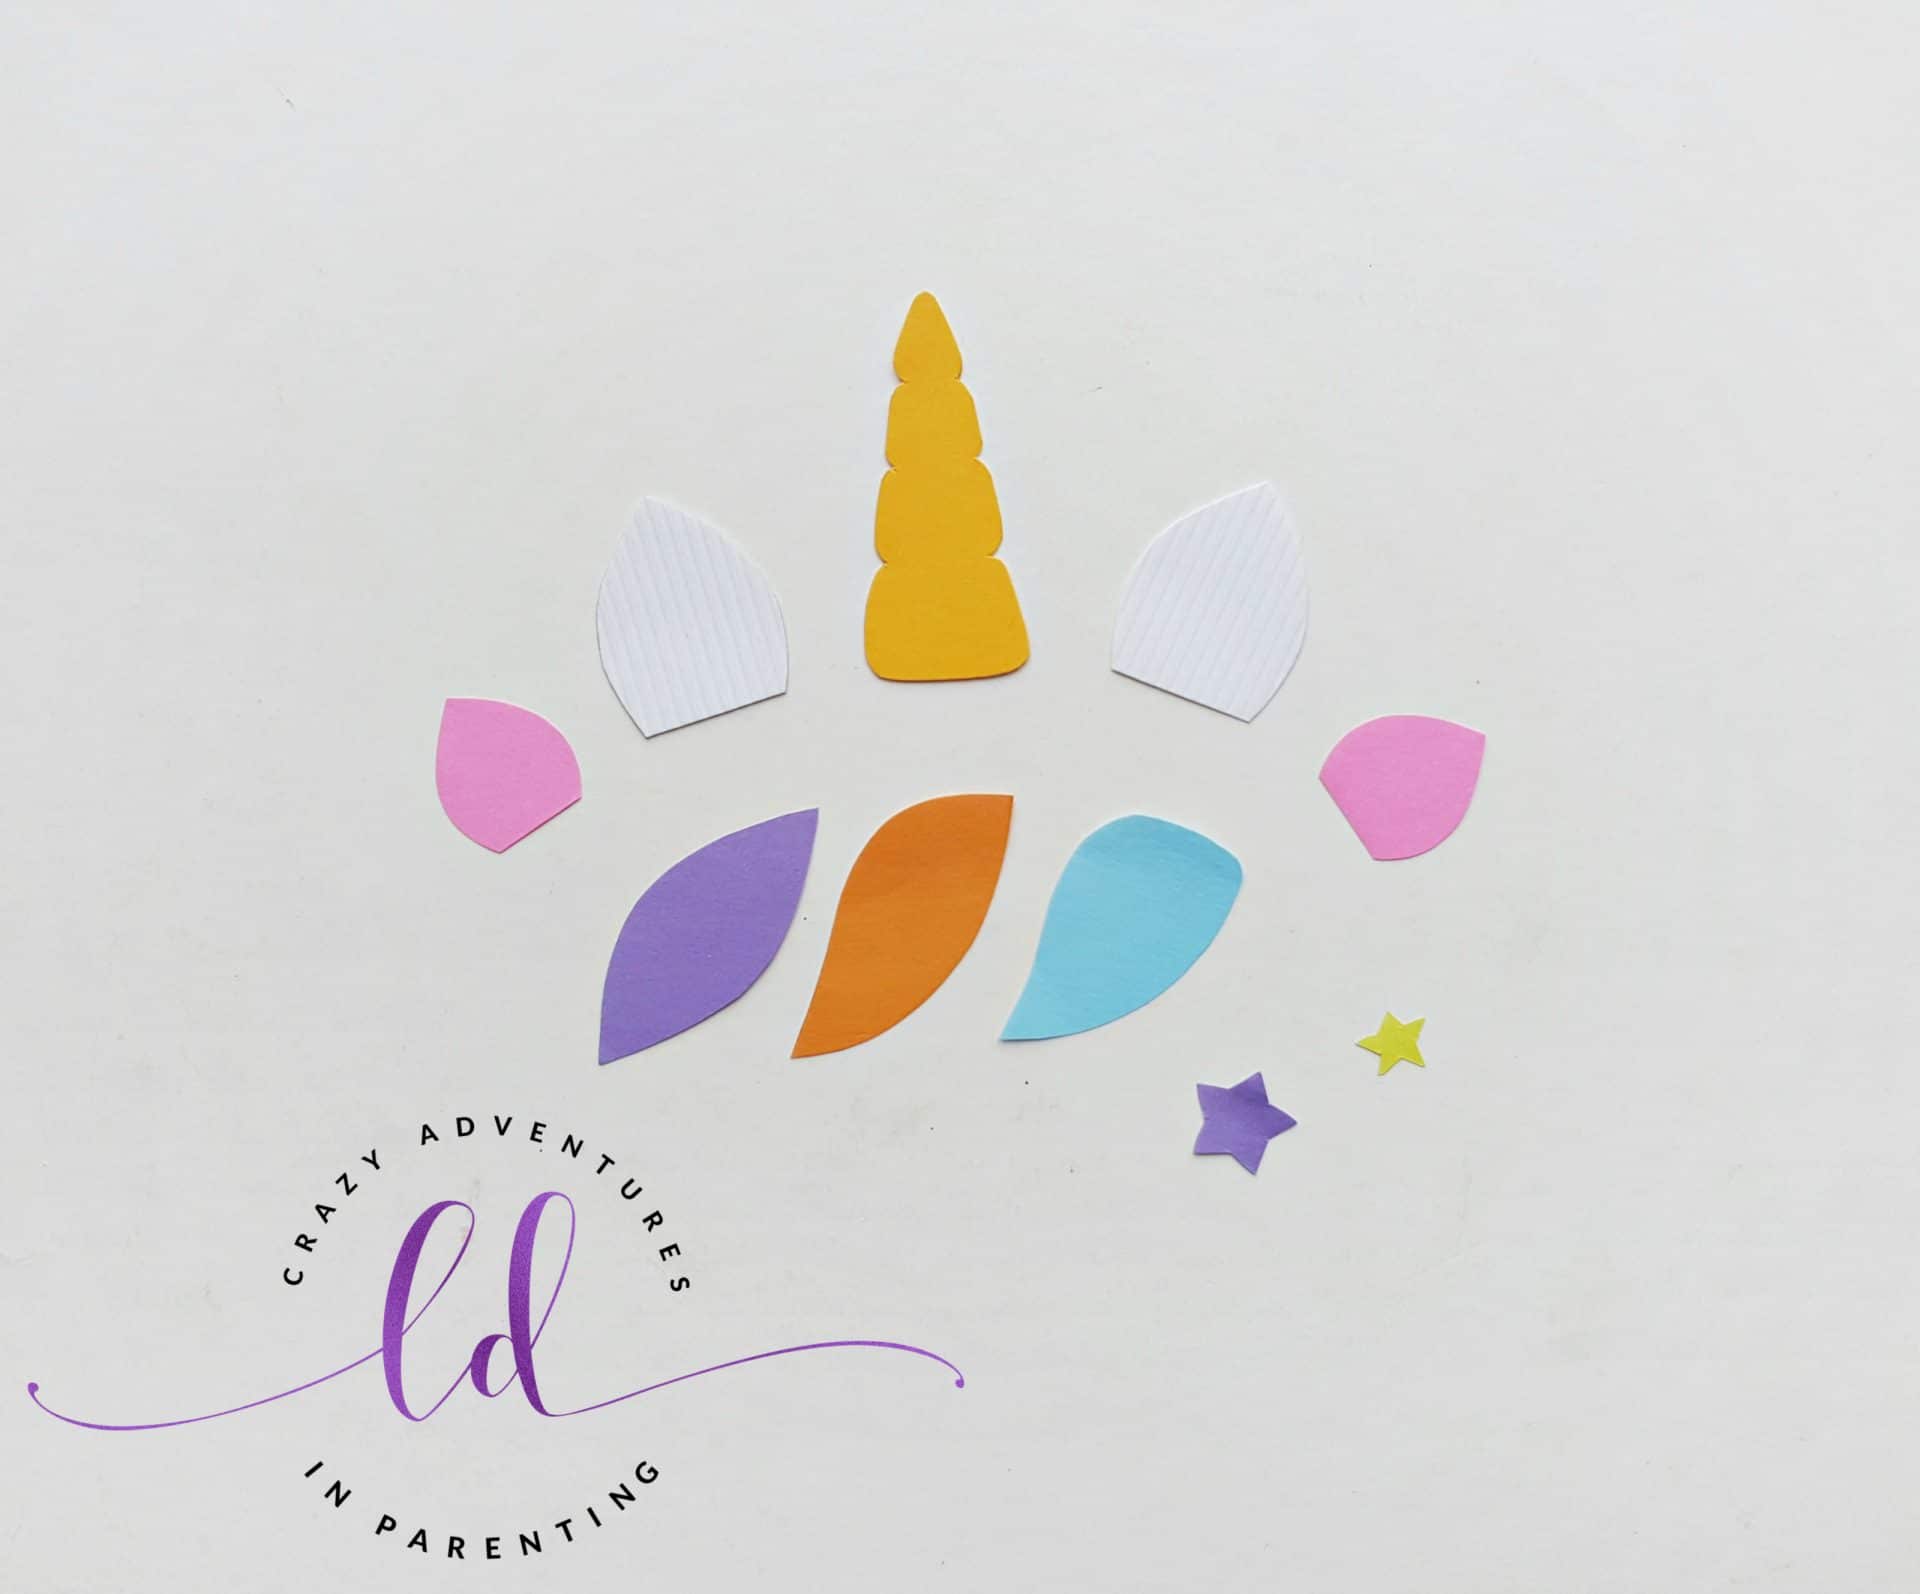
Gather colored craft papers and trace the patterns from the unicorn template on the papers. Cut out the patterns using scissors.
Glue the cut outs on the front side of the cover to create the unicorn pattern.
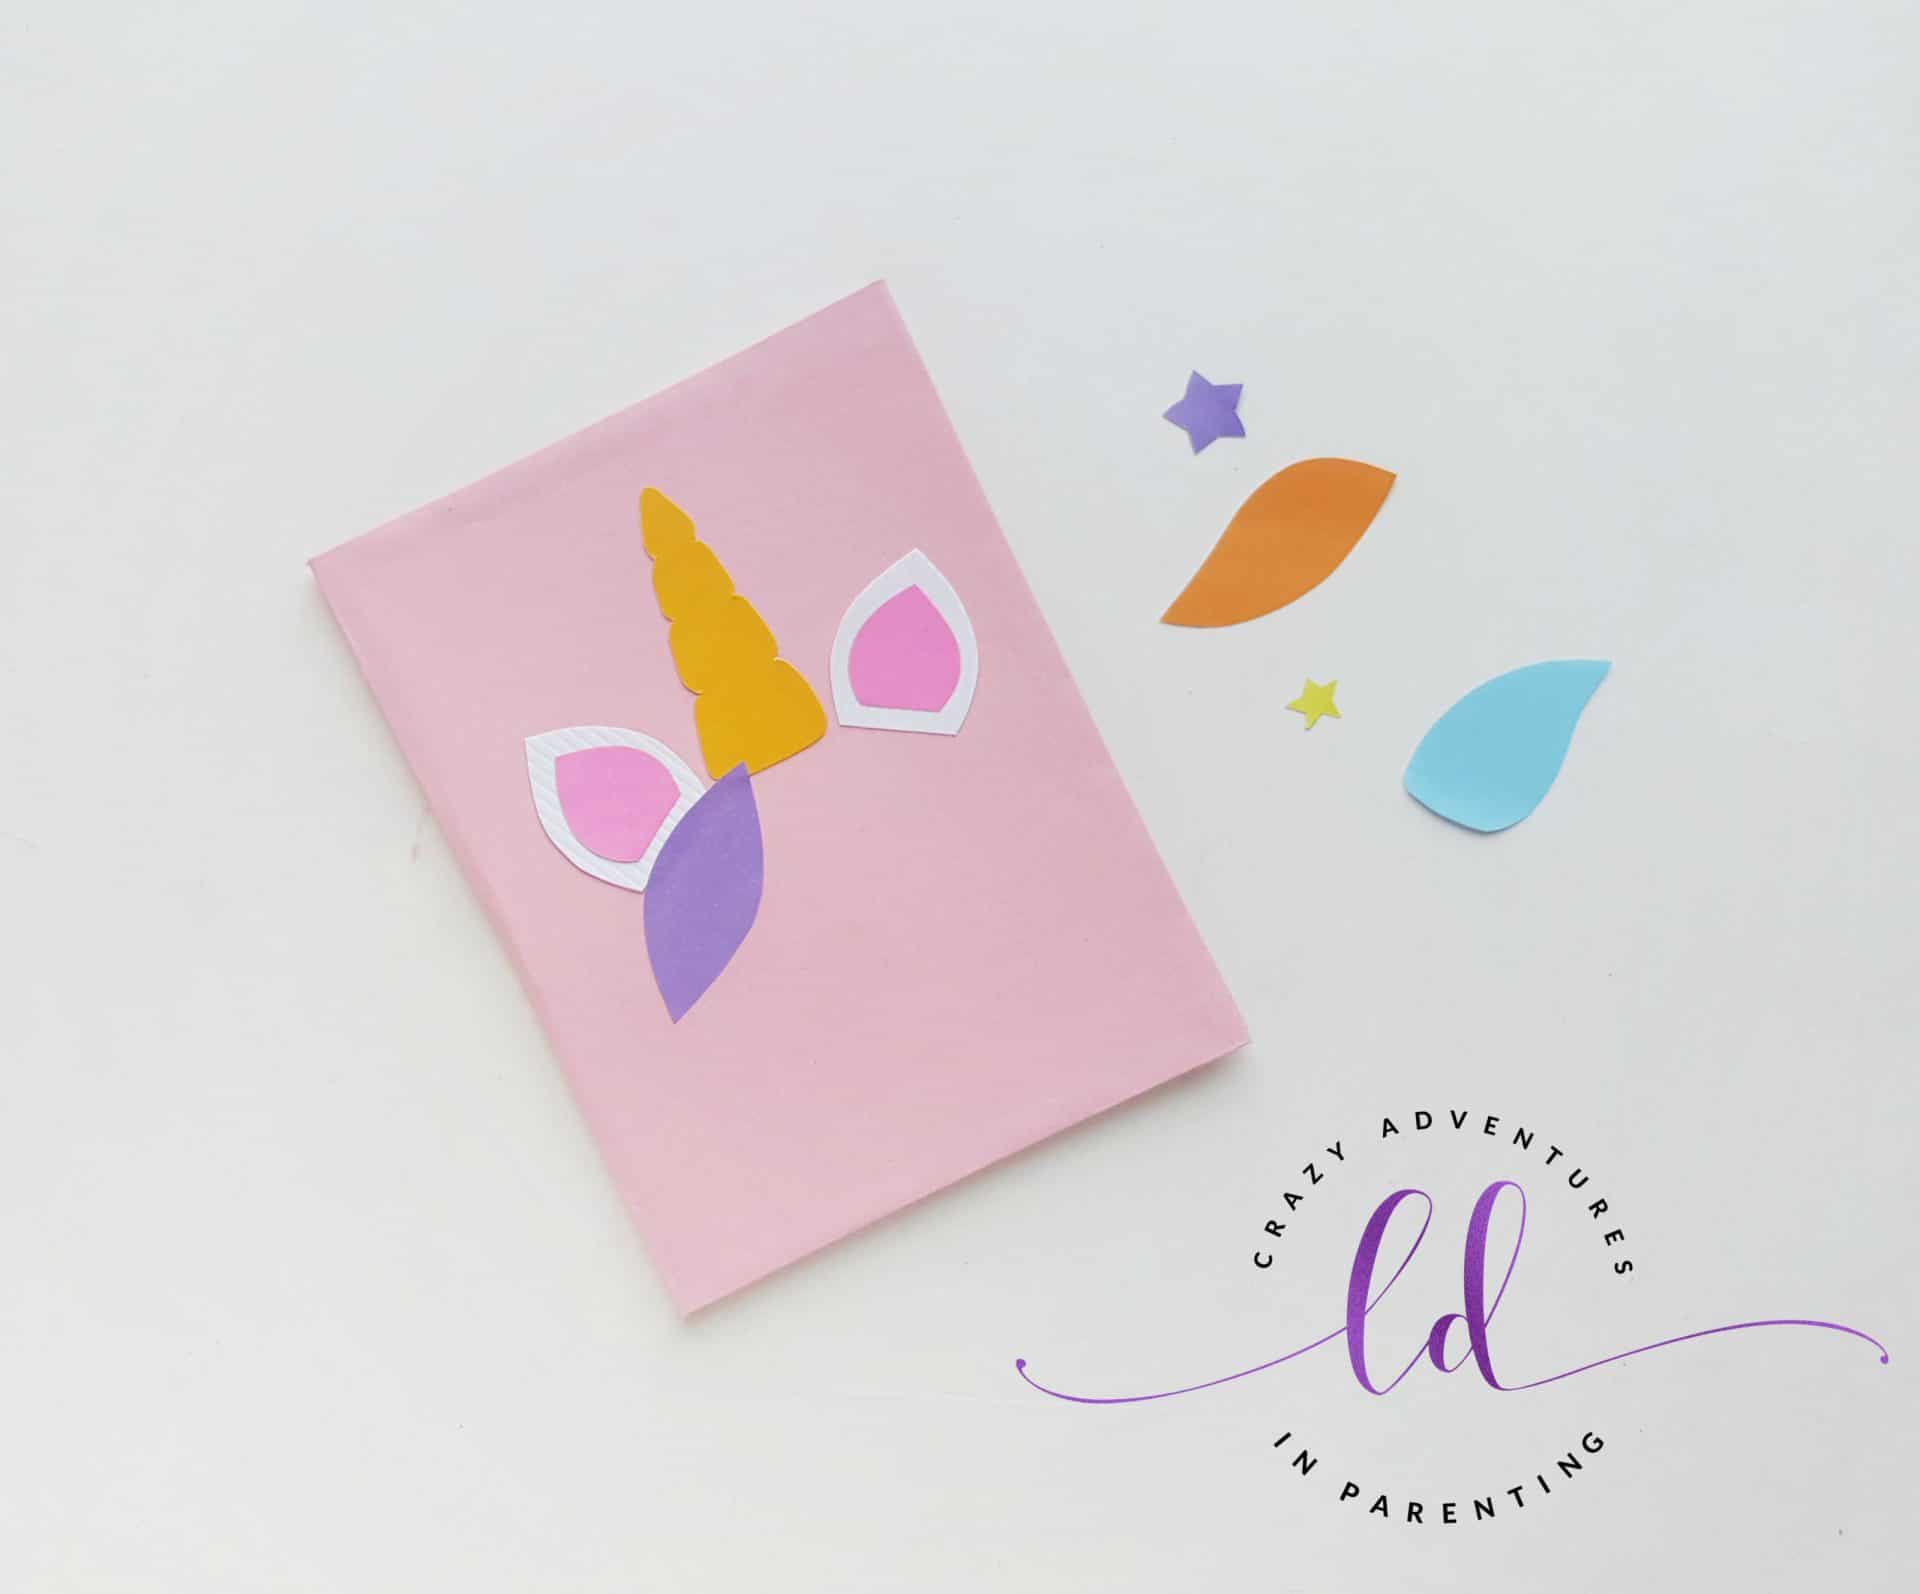
Once you are done gluing the cut outs use a pencil to draw the eyes, nose and lip of the unicorn.
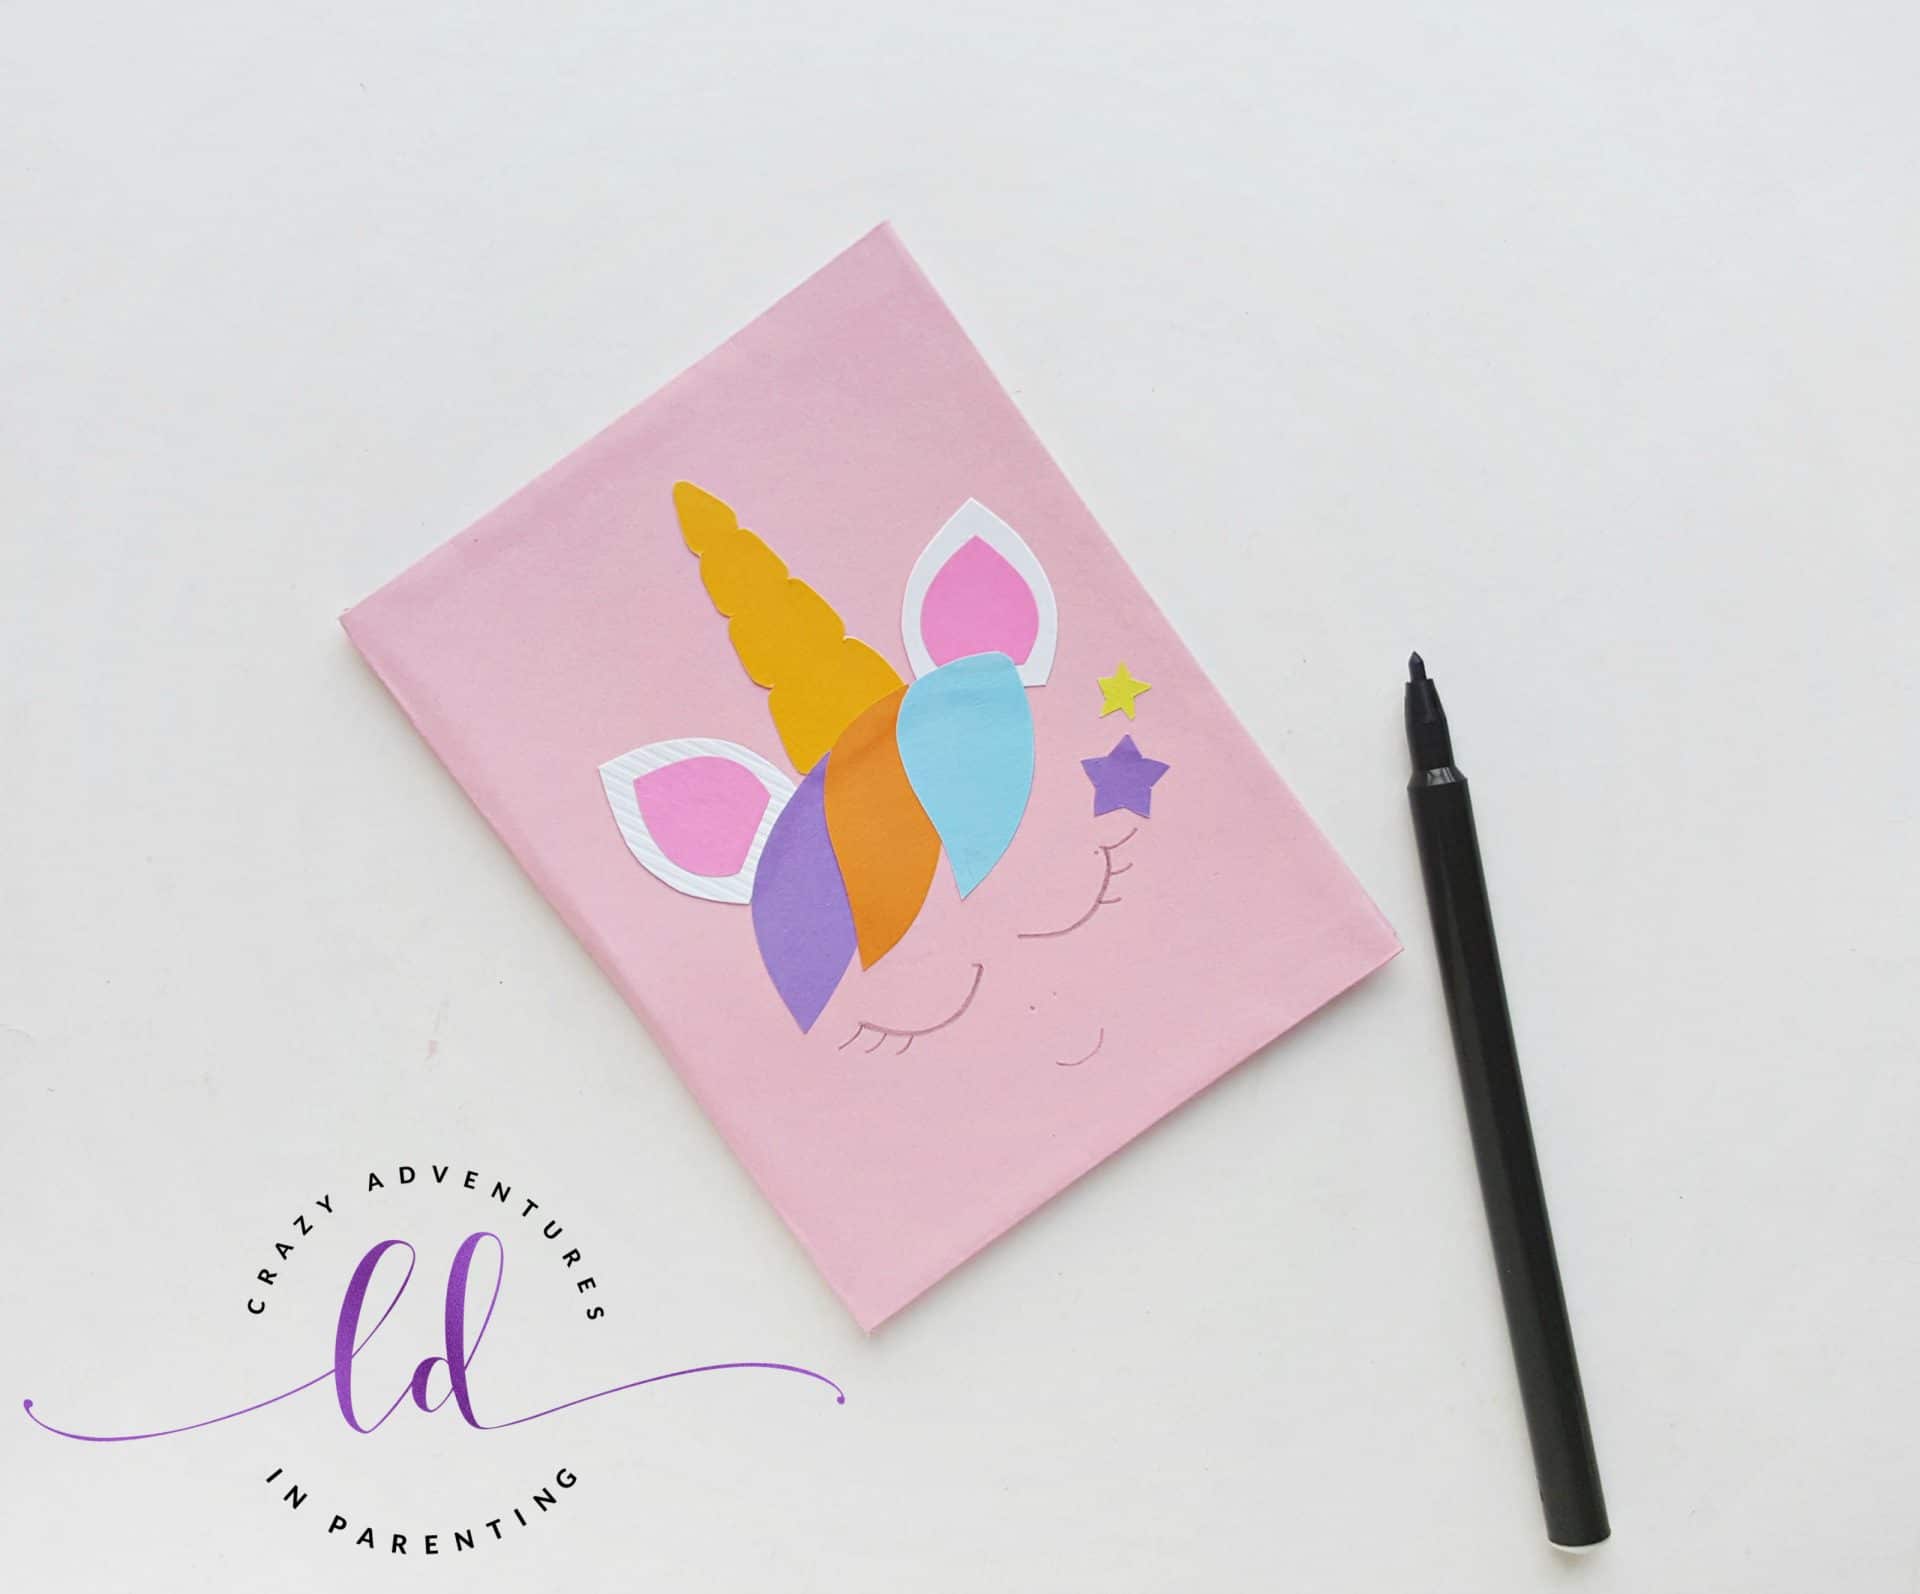
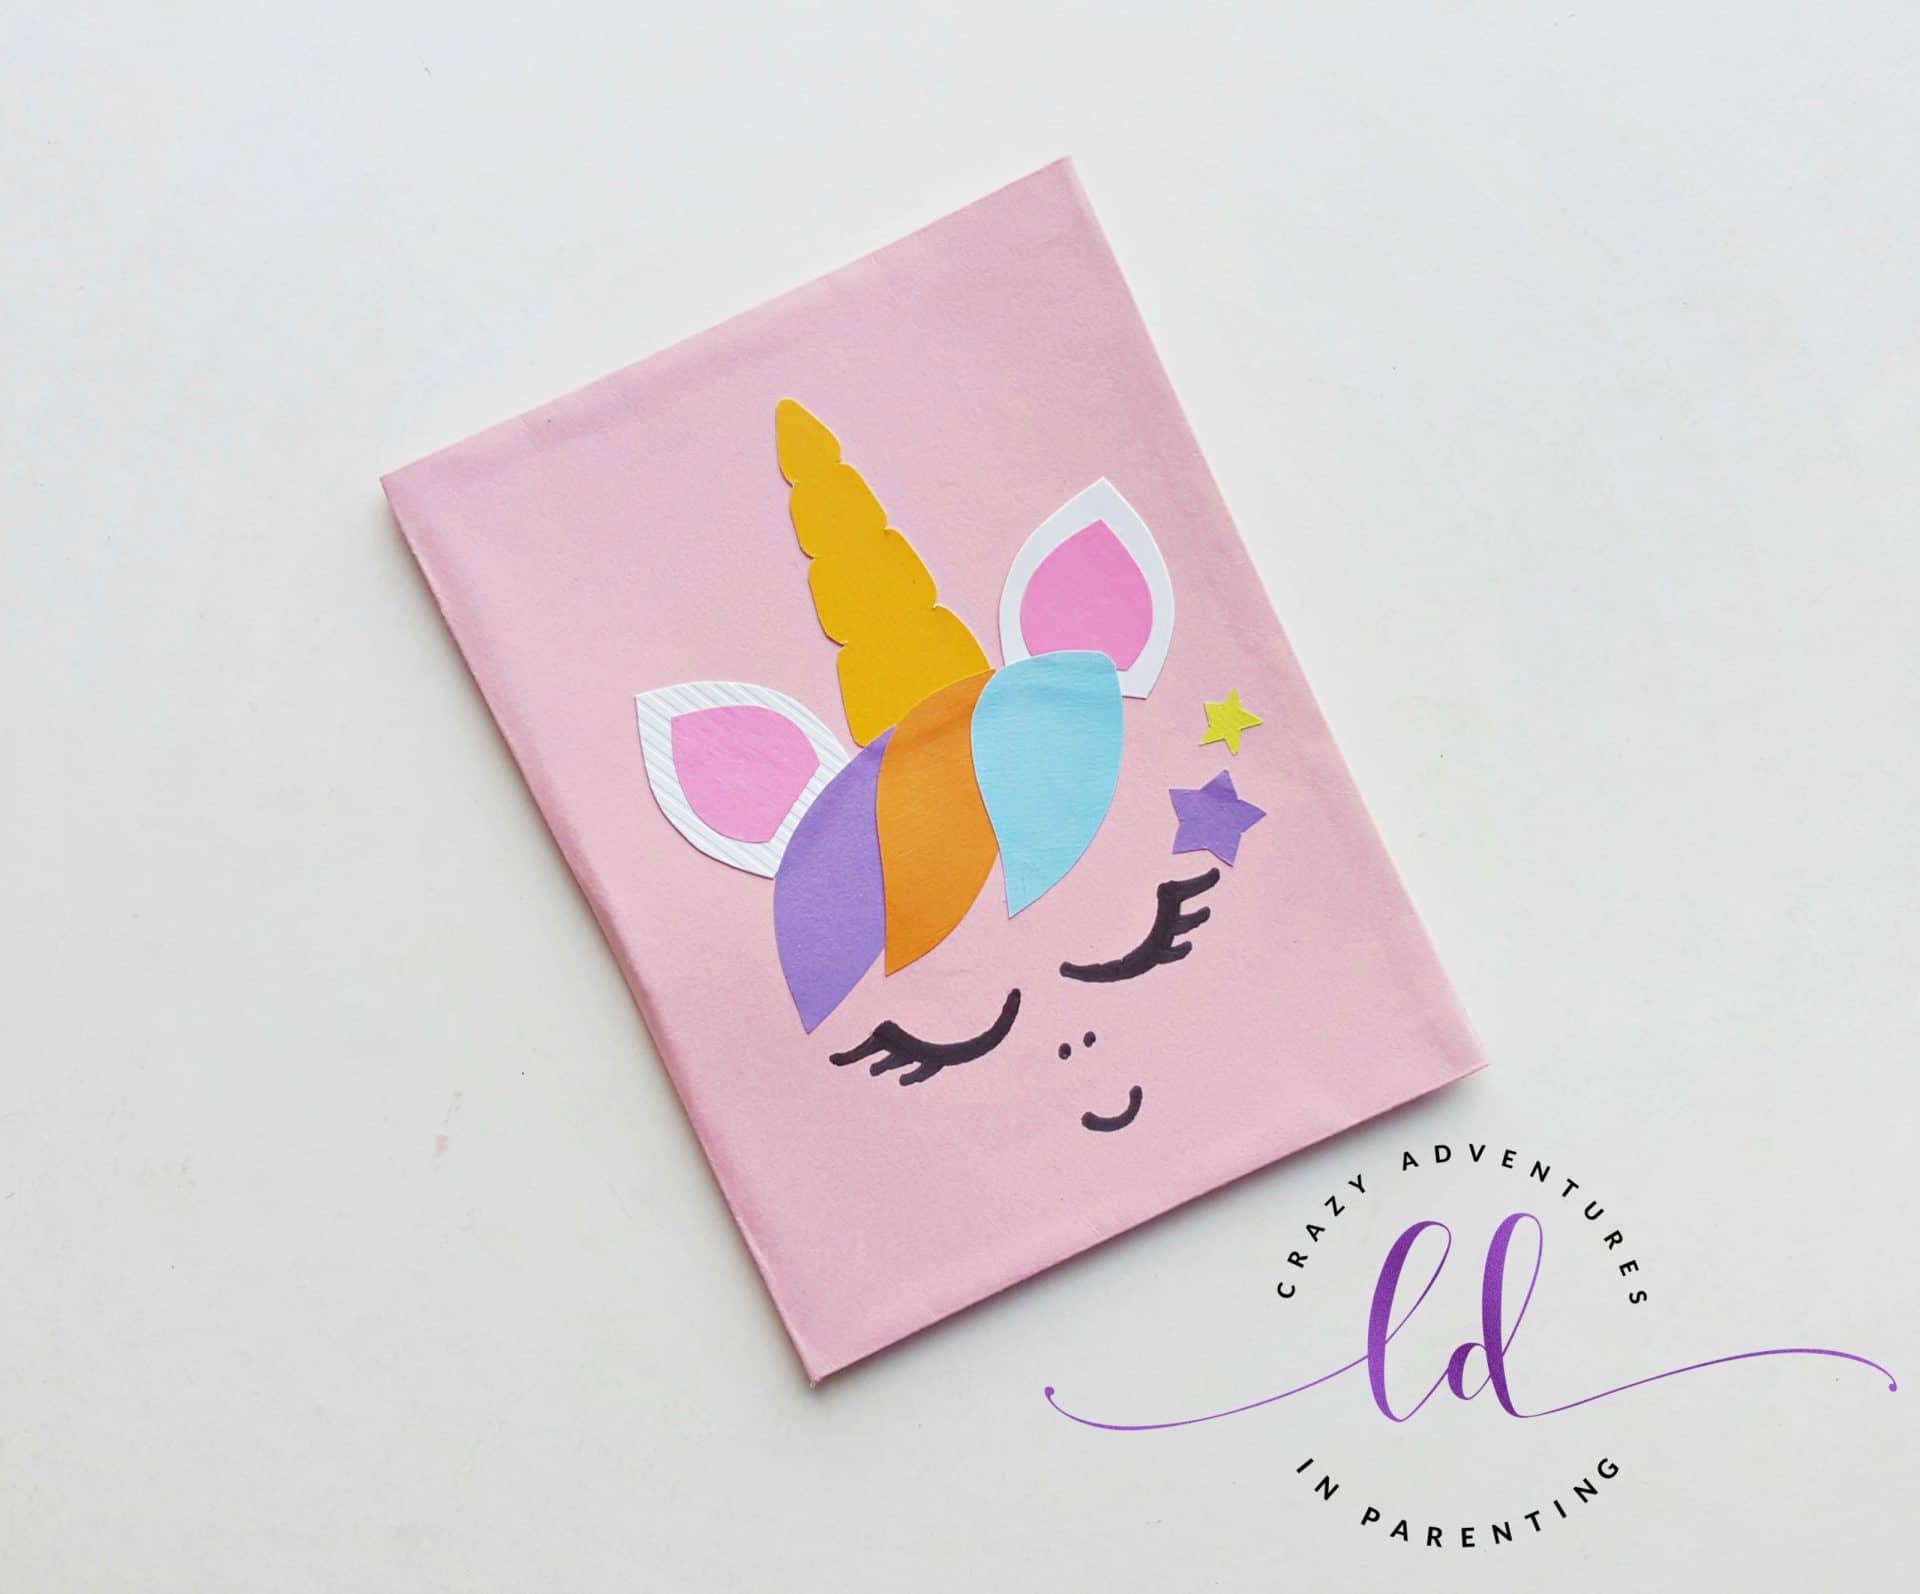
Use a black marker pen to trace along the pencil drawing. Then you’re done!
Make some for friends, for loved ones, for the holidays!
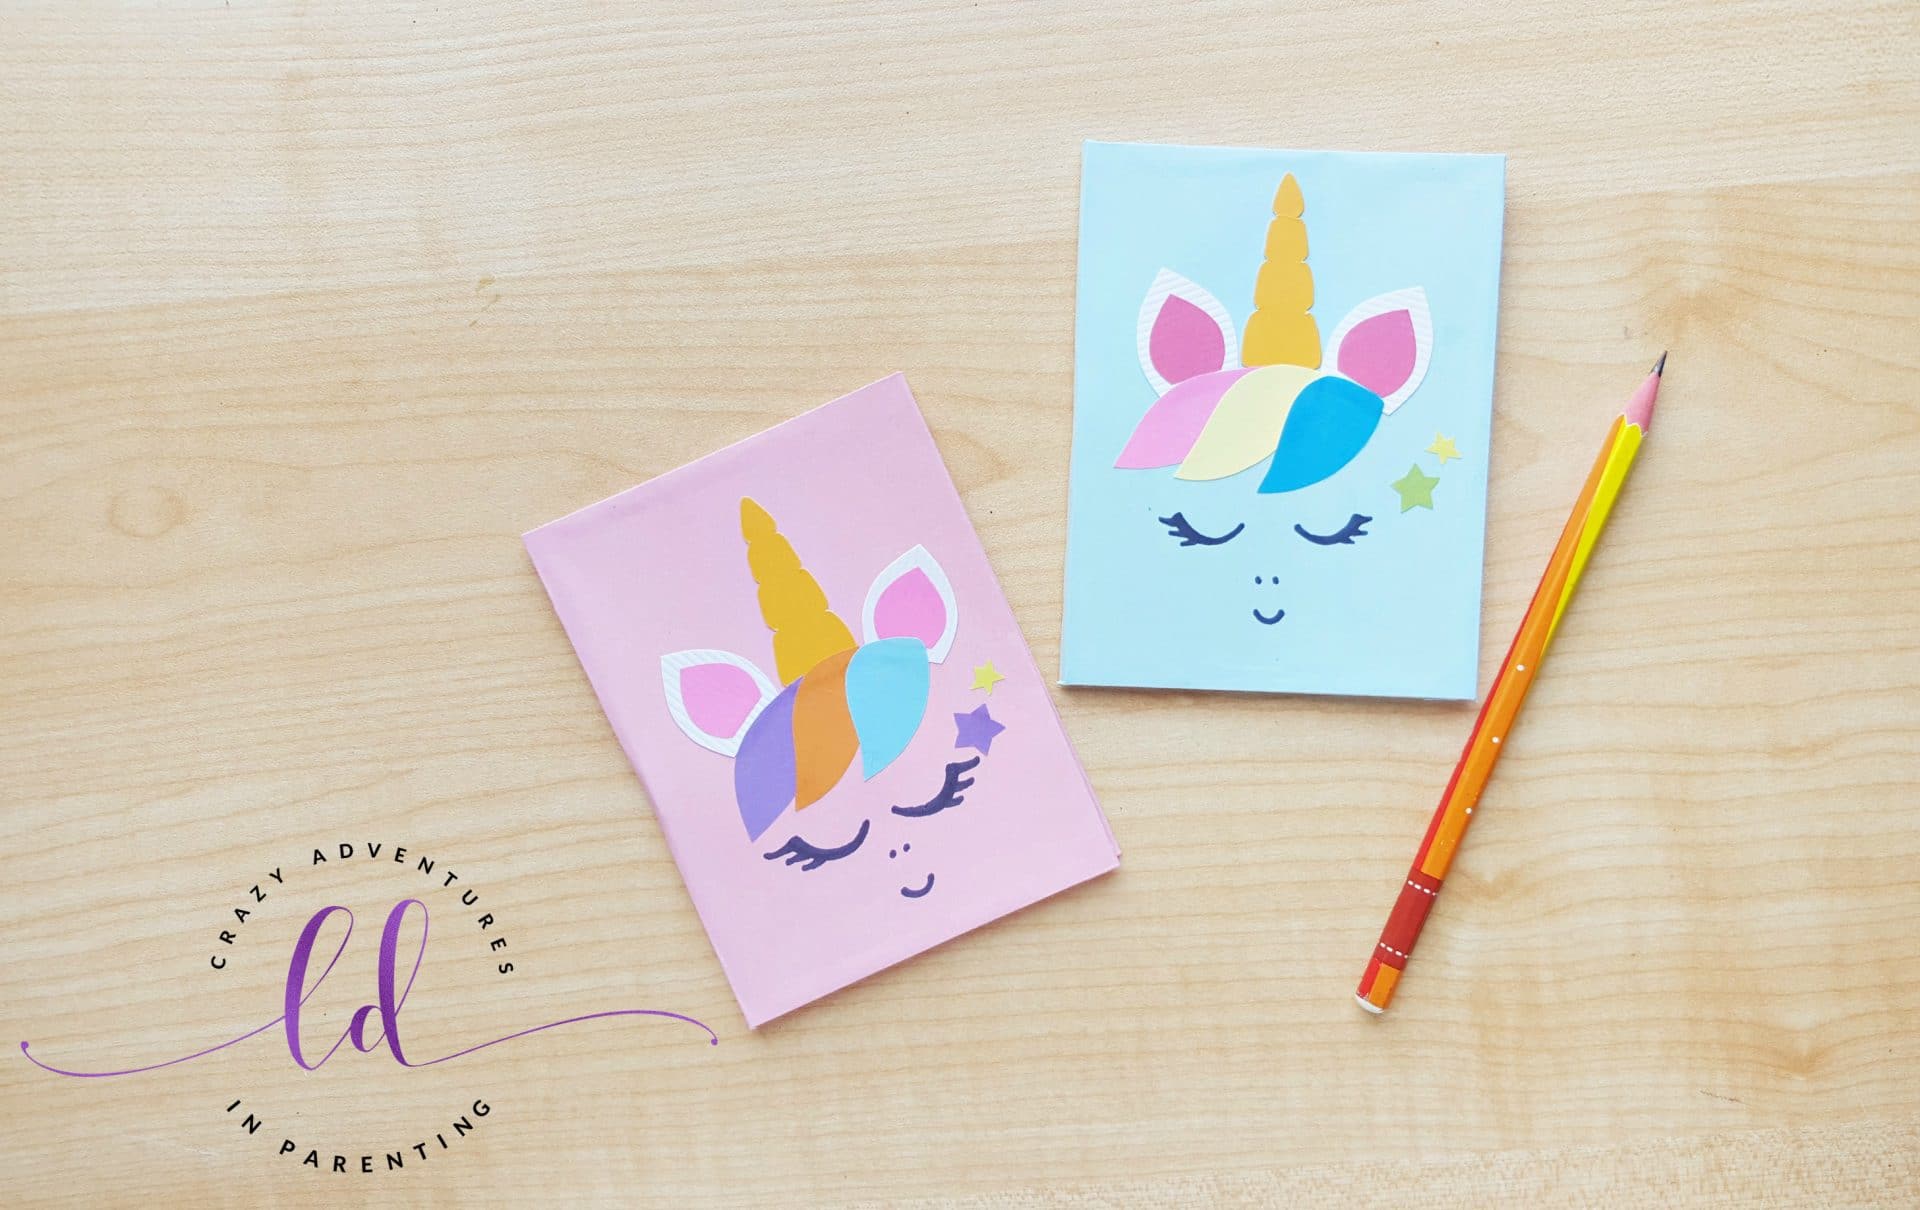
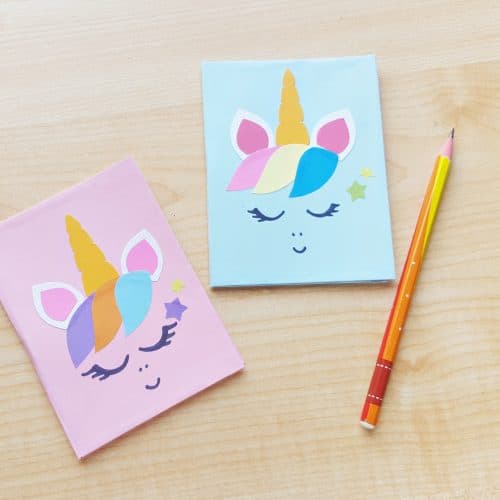
DIY Unicorn Notebook
Ingredients
- Colored craft papers
- Stationary papers
- Needle
- Stapling pin
- Black marker pen
- Pencil or pen – for tracing the template
- Scissors
- Craft glue or glue stick
Instructions
- Measure and cut stationary papers into the required size (required length and twice the required width).
- Group 4 stationary papers together and fold them into half to create a crease along the middle line (fold widthwise).
- Hold all 4 papers together and use the needle to poke 2 holes on the middle part of the middle crease. The distance between the holes should be same as the length of the stapling pin.
- After poking both holes take a stapling pin and insert the pins on both sides through the holes.
- Turn the pages to the other side and flatten the pins with the papers. Similarly prepare a few more papers.
- Hold the group of stapled papers together along their closed end; make sure that the end is matched nicely.
- Cut out a small piece of paper (about 2 x 3 inches will do; but you might need larger piece if the notebook is larger).
- Apply glue on any one side of the small paper.
- Hold the group of stapled papers together on their closed end and stick the glued paper from one end of the group of paper to the other end to secure them together. Measure the thickness of the group of papers.
- Cut out the notebook cover from cardstock paper. Add 2 cm to the length and 2 cm + (the thickness of the group of papers from previous step) cm to the width of the stationary paper measurement from step one.
- Apply glue along the middle part of the cover cut out.
- Place the closed end of the stacked papers along the glued area. Press the closed end on the glued part firmly to make sure that it is glued nicely.
- Now fold and glue the extra sides of the cover inside.
- Gather colored craft papers and trace the patterns from the given template on the papers. Cut out the patterns using scissors.
- Glue the cut outs on the front side of the cover to create the unicorn pattern.
- Once you are done gluing the cut outs use a pencil to draw the eyes, nose and lip of the unicorn.
- Use a black marker pen to trace along the pencil drawing.
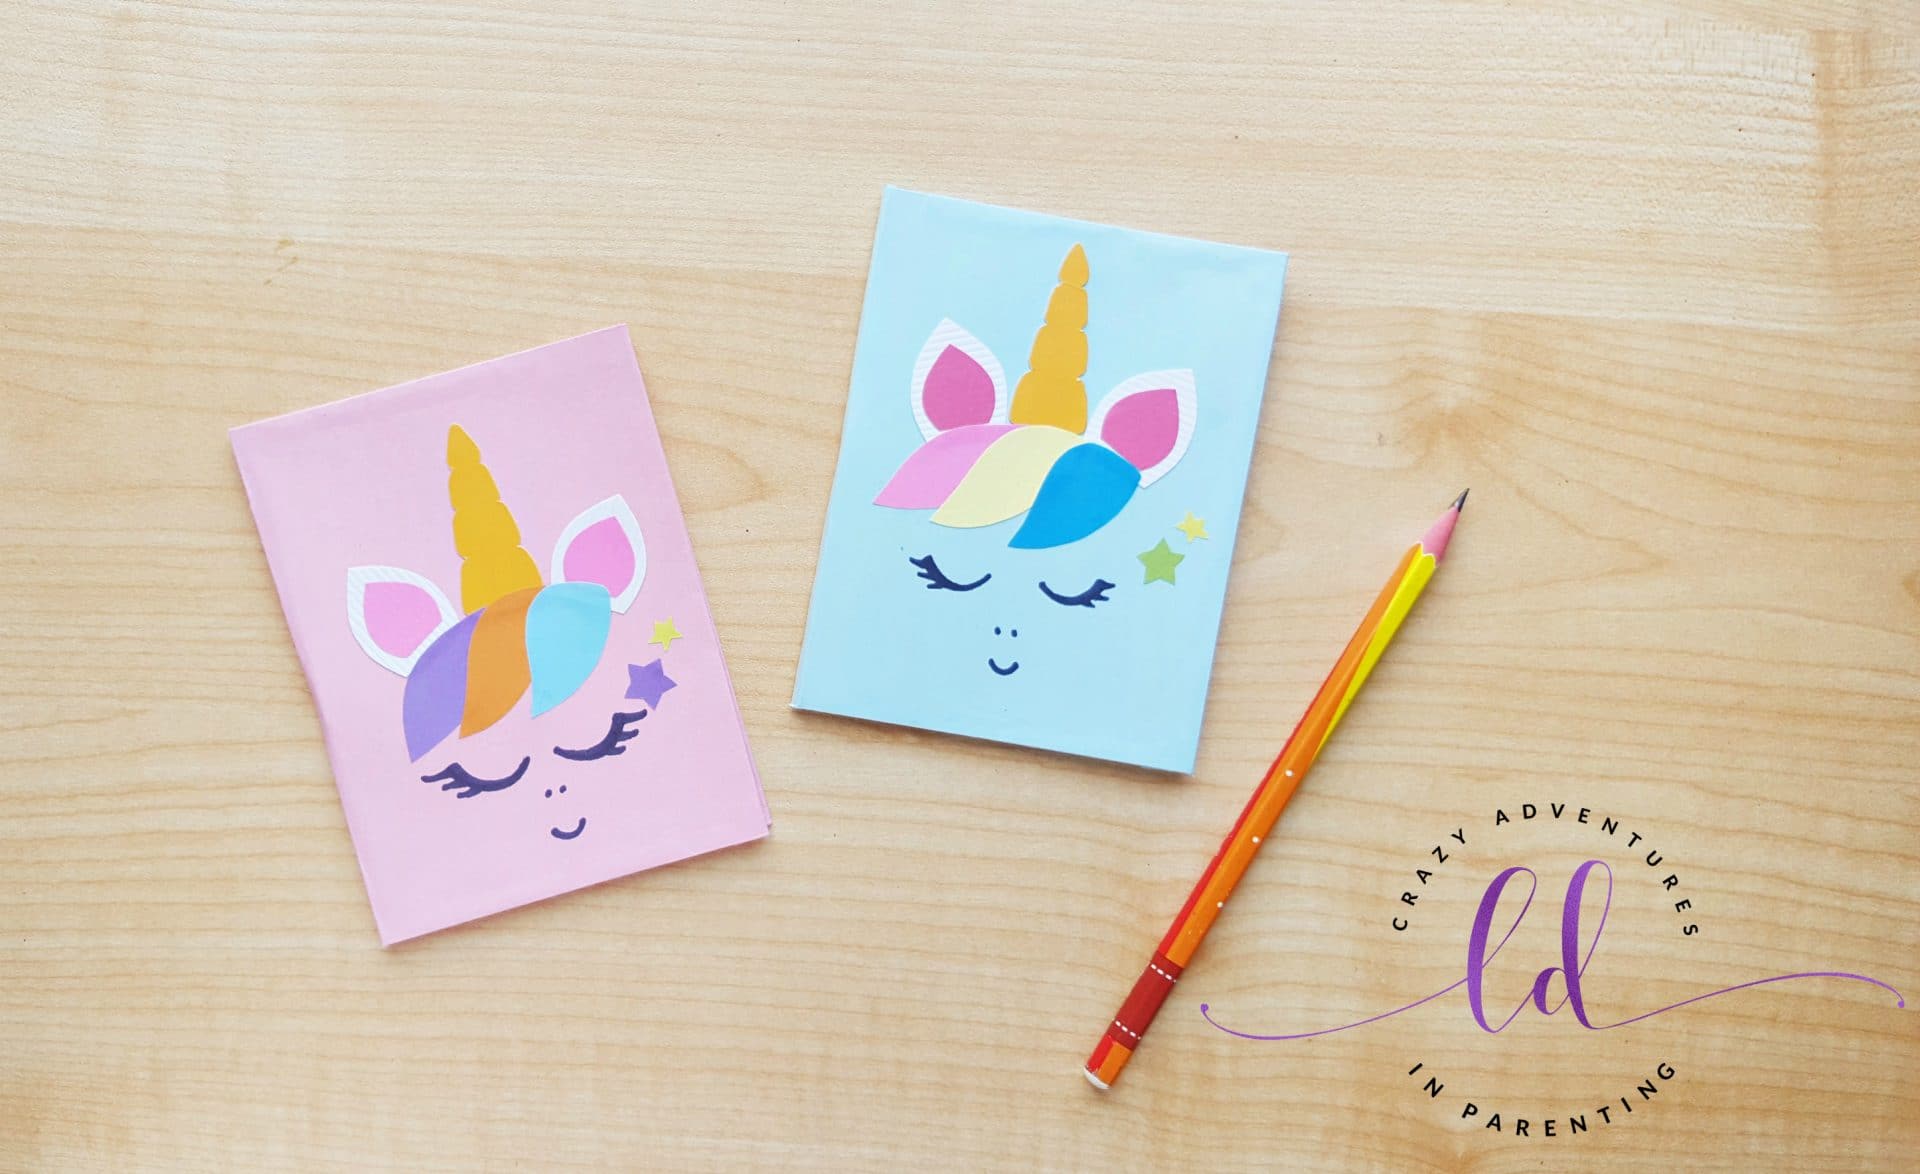
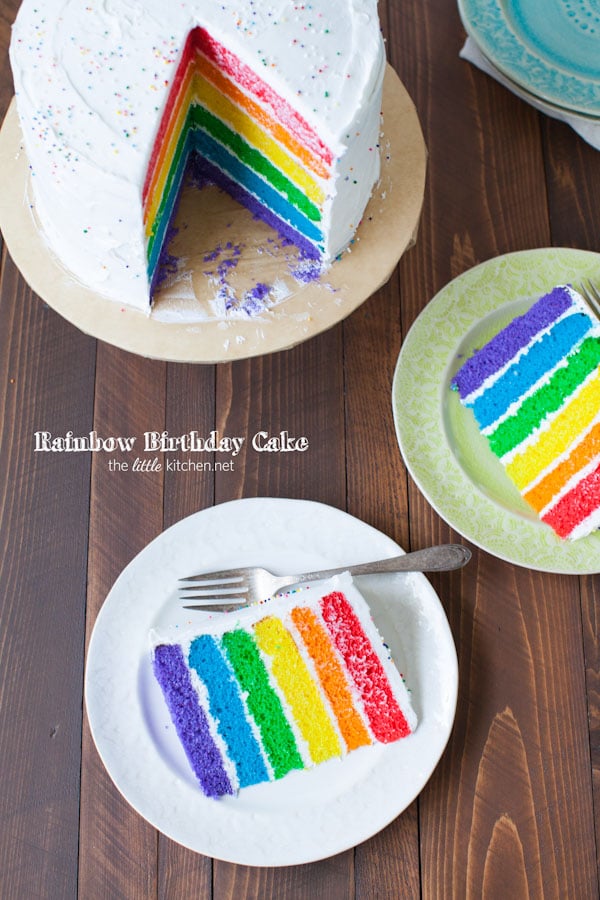
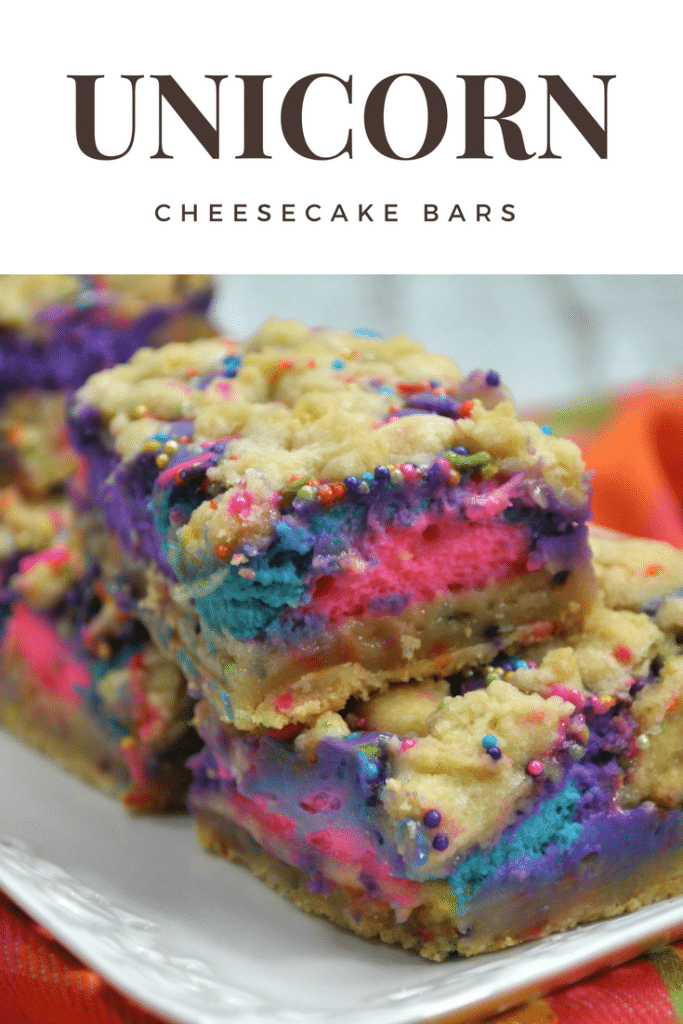
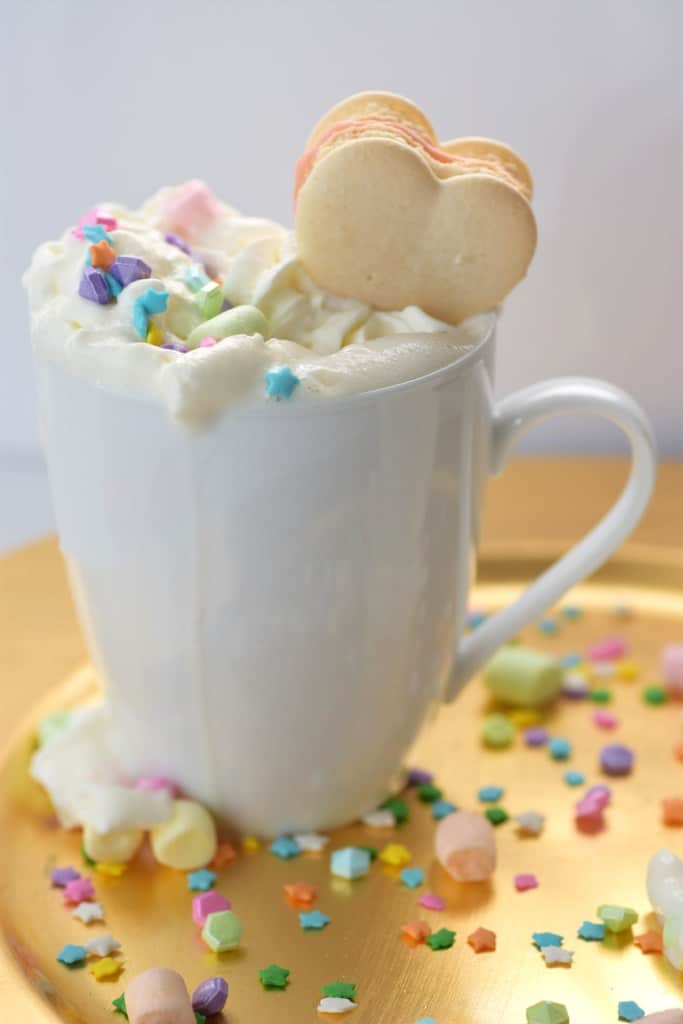
What do you think? Do you know a unicorn lover who is going to simply ADORE these handmade unicorn notebooks? Let me know what you think in the comments! And be sure to check out my other unicorn posts as well as a few of my friends unicorn posts, like this Unicorn Hot Cocoa recipe, Unicorn Cheesecake Bars, or this gorgeous unicorn worthy Rainbow cake!


