Easy and fool-proof Elsa Frozen Cupcakes tutorial made with vanilla cupcakes, ready-made fondant, and candy melts! Excellent birthday party idea for kids! Just in time for Frozen 2!
This post may contain affiliate links which means we receive a small commission at no cost to you when you make a purchase. As an Amazon Associate I earn from qualifying purchases.
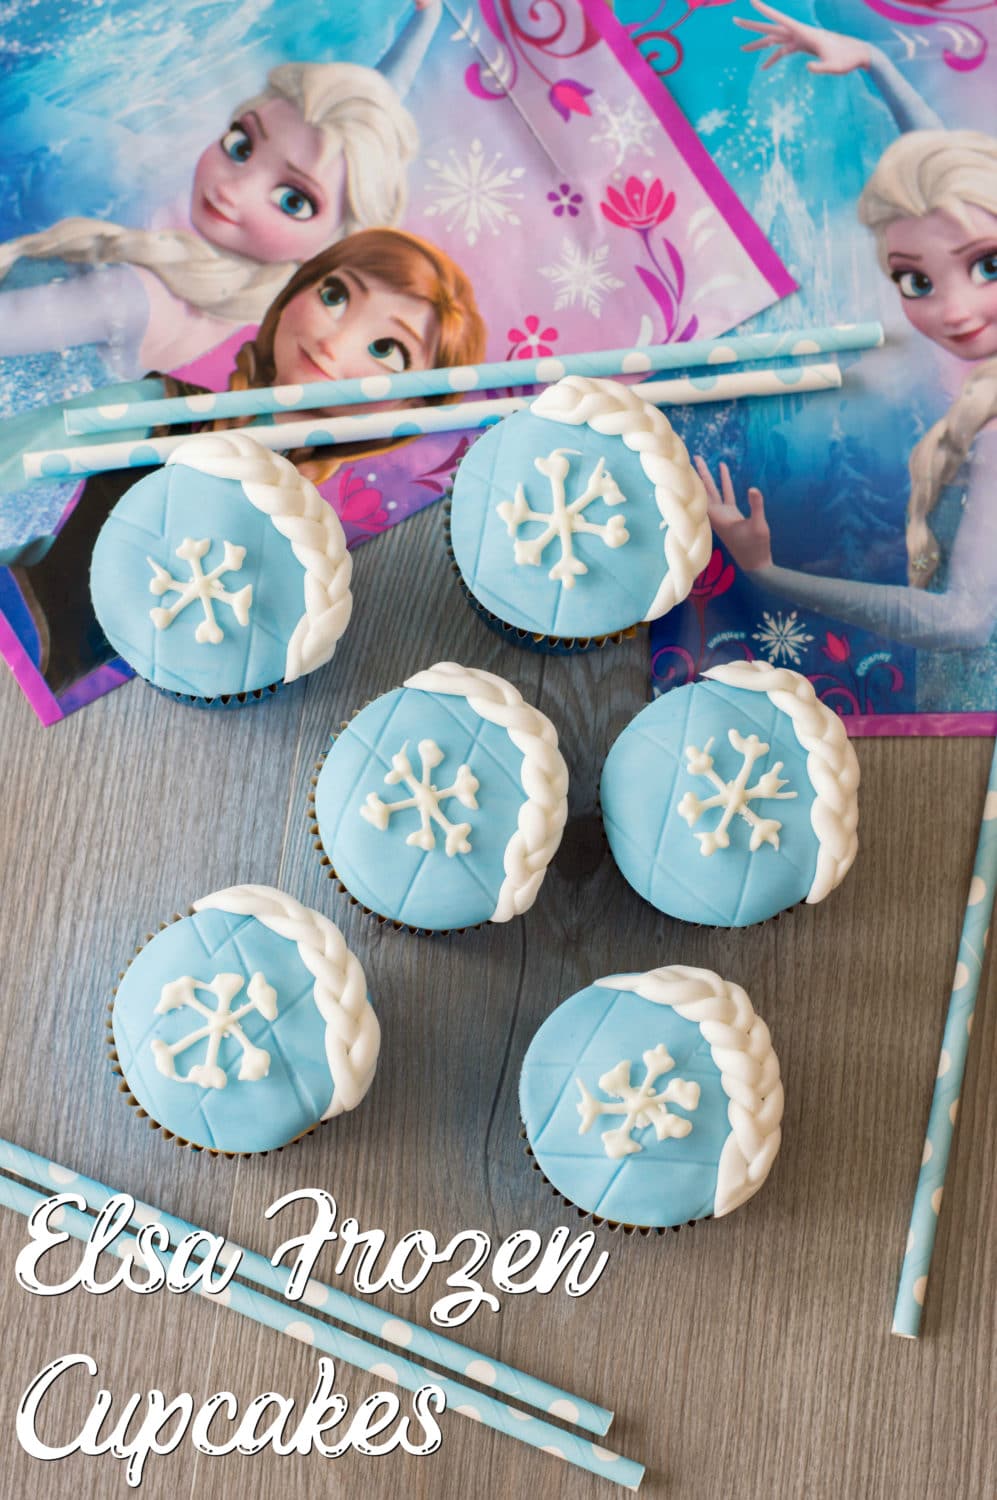
Easy Elsa Frozen Cupcakes Recipe
My daughter loves the movie Frozen with all her heart. I feel like it’s so symbolic of her babyhood and early childhood, she grew up with these adorable Frozen characters, costumes, songs, and toys. Of the two sisters, Elsa has always been her favorite.
We had no idea what we were in for when we saw the movie for the first time. We all fell immediately in love, and have yet to stop. We’ve shared Frozen printables, created Frozen slime, and we’ve hard at work on creating a Frozen Rice Krispies Treats recipe to be shared here soon!
Where Can I Find The Actual Recipe Card?
If you’d rather skip all of my cupcake decorating tips, important information for this recipe, and similar recipe ideas – and get straight to the easy Elsa Frozen Cupcakes recipe, just scroll down to the bottom, where you’ll find a printable recipe card.
Shop Kitchen Tools to Make Elsa Frozen Cupcakes
- Large bowl for mixing your cupcake batter
- Baking sheet with wax paper to create the candy melt snowflakes
- Electric mixer or stand mixer
- Cupcake/muffin pan with either paper muffin liners or silicone liners to create the cupcakes. If you want to stick with the Frozen theme though, check out these blue ombre disposable cupcake liners, these blue snowflake liners, or these falling snow liners – all are absolutely adorable and would look great showcasing these Frozen cupcakes!
- Wire cooling rack to cool down the cupcakes fully before decorating so the icing doesn’t slide off
Tips on How to Make Elsa Frozen Cupcakes
- You can use store-made vanilla cupcakes for this recipe, and just decorate these adorable Elsa Frozen Cupcakes, or use your favorite vanilla cupcake recipe or a great tasting boxed mix.
- We used ready-made fondant for this recipe to make it as easy to decorate as possible.
- Be sure to use a sharp paring knife to help cut the braided fondant.
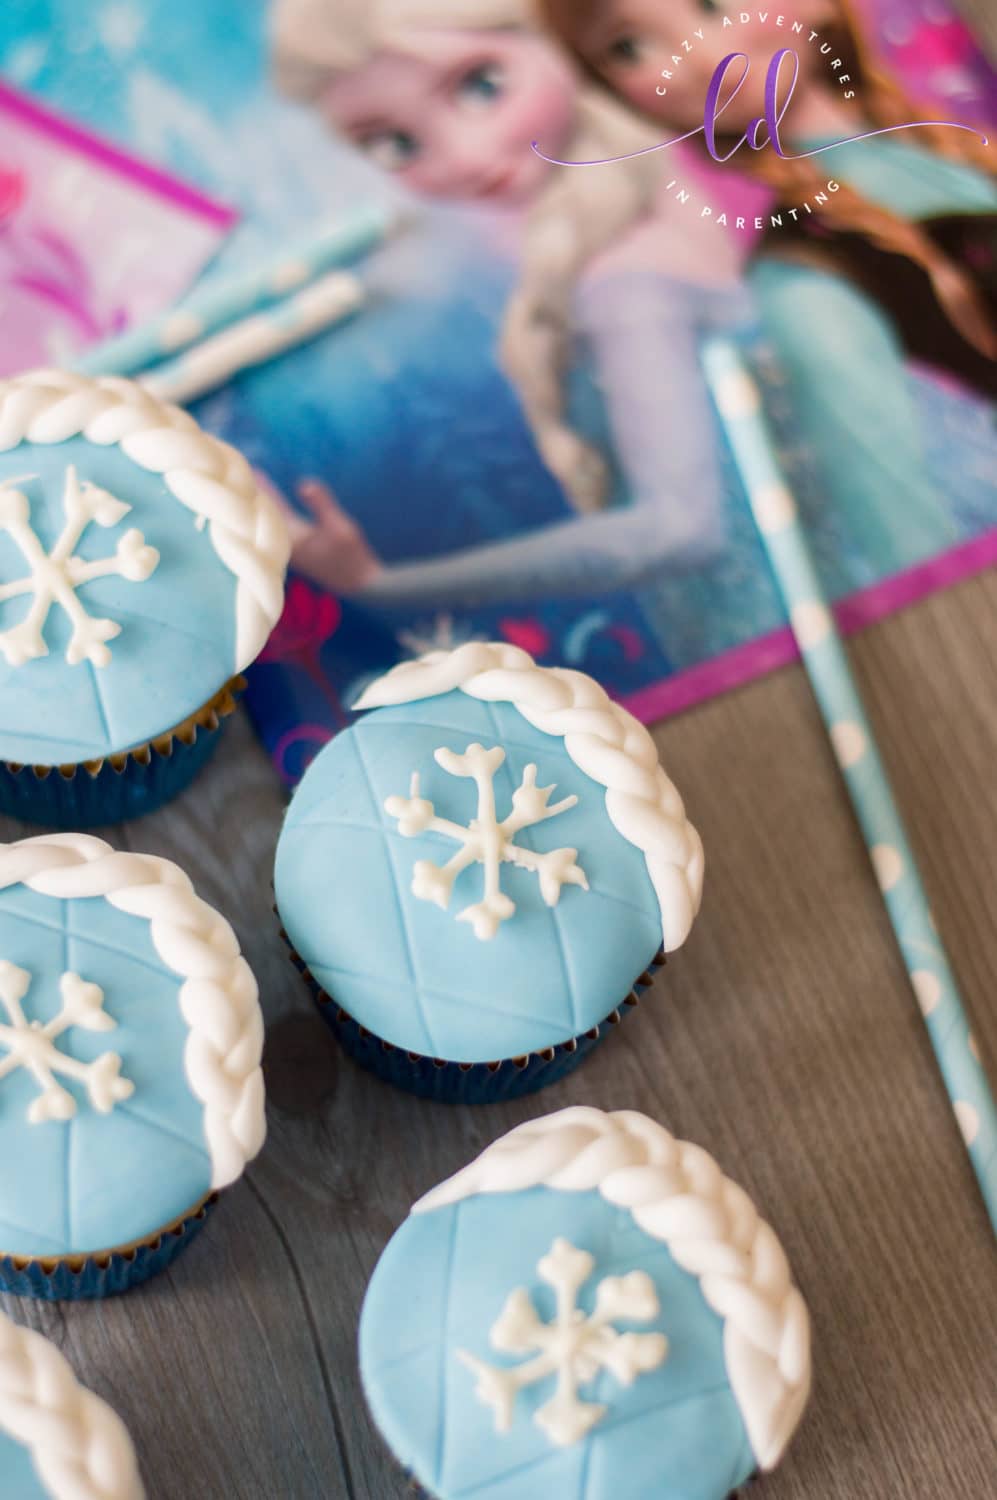
Shop Decorating Tools Needed to Make Elsa Frozen Cupcakes
- Circular cookie cutter, about 2.5 inches in diameter to cut out the perfect circle of fondant
- Fondant embosser is the tool you will use to create the quilted look on the fondant
- Offset spatula is useful in decorating cupcakes with frosting
- Rolling pin to roll out the fondant
- Wilton decorating mat helps you have a clean work surface when working with fondant and decorating cupcakes, cakes, and other treats
- Microwave-safe bowl to melt the candy melts to create the snowflakes
- Piping bag will help you pipe out the melted candy for the snowflakes
- Paring knife to trim the braided fondant
- Toothpick to help apply frosting if needed
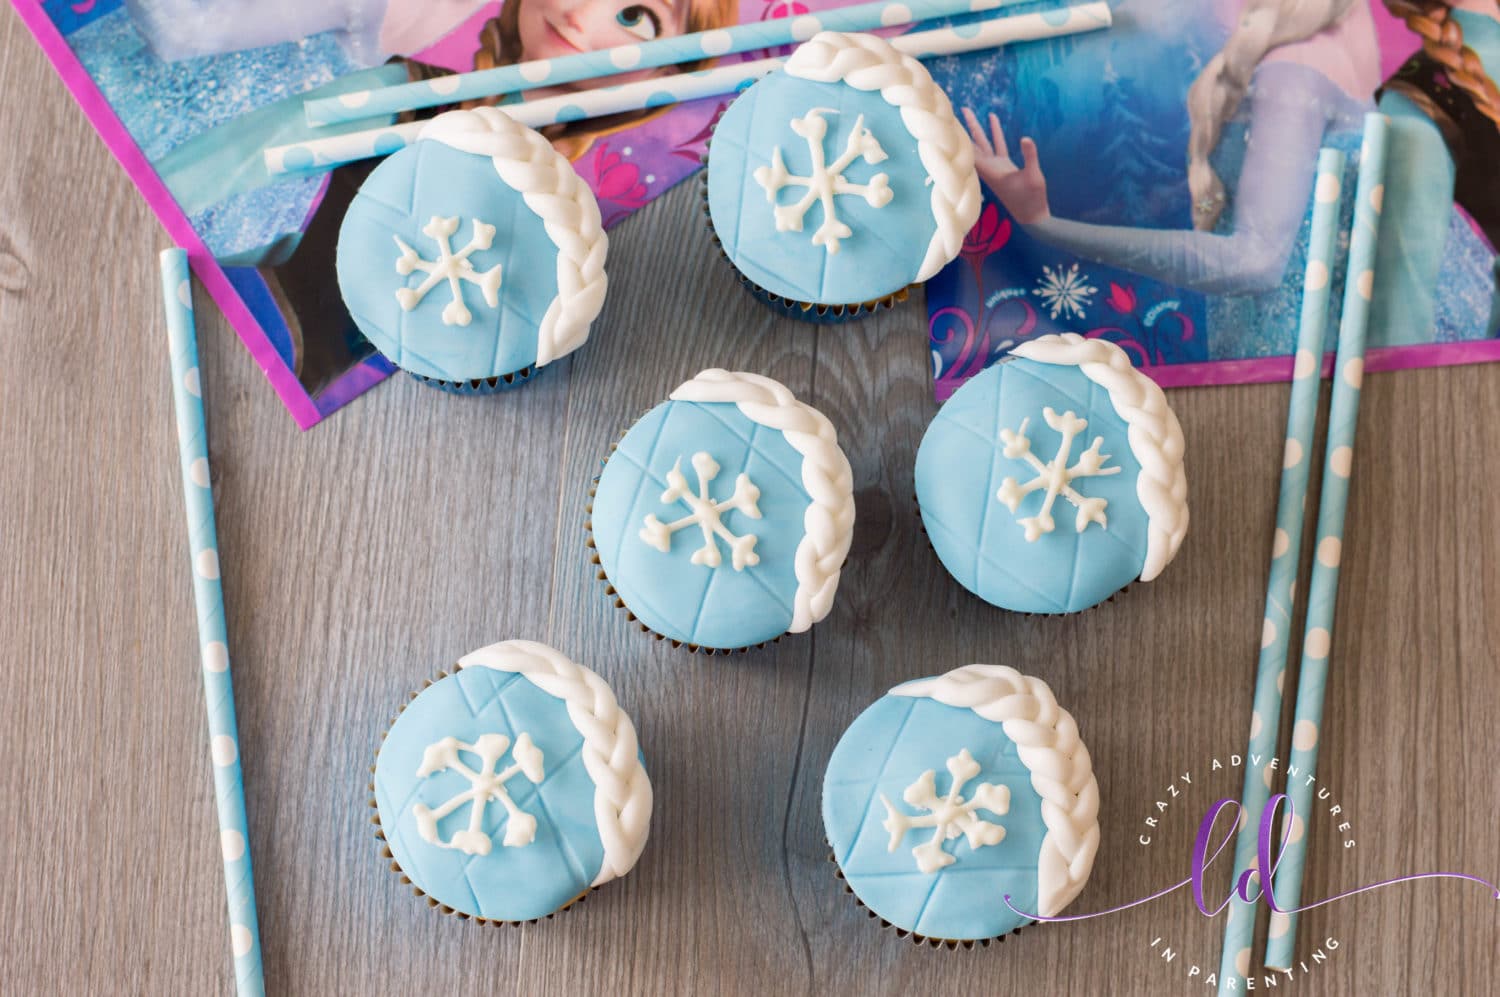
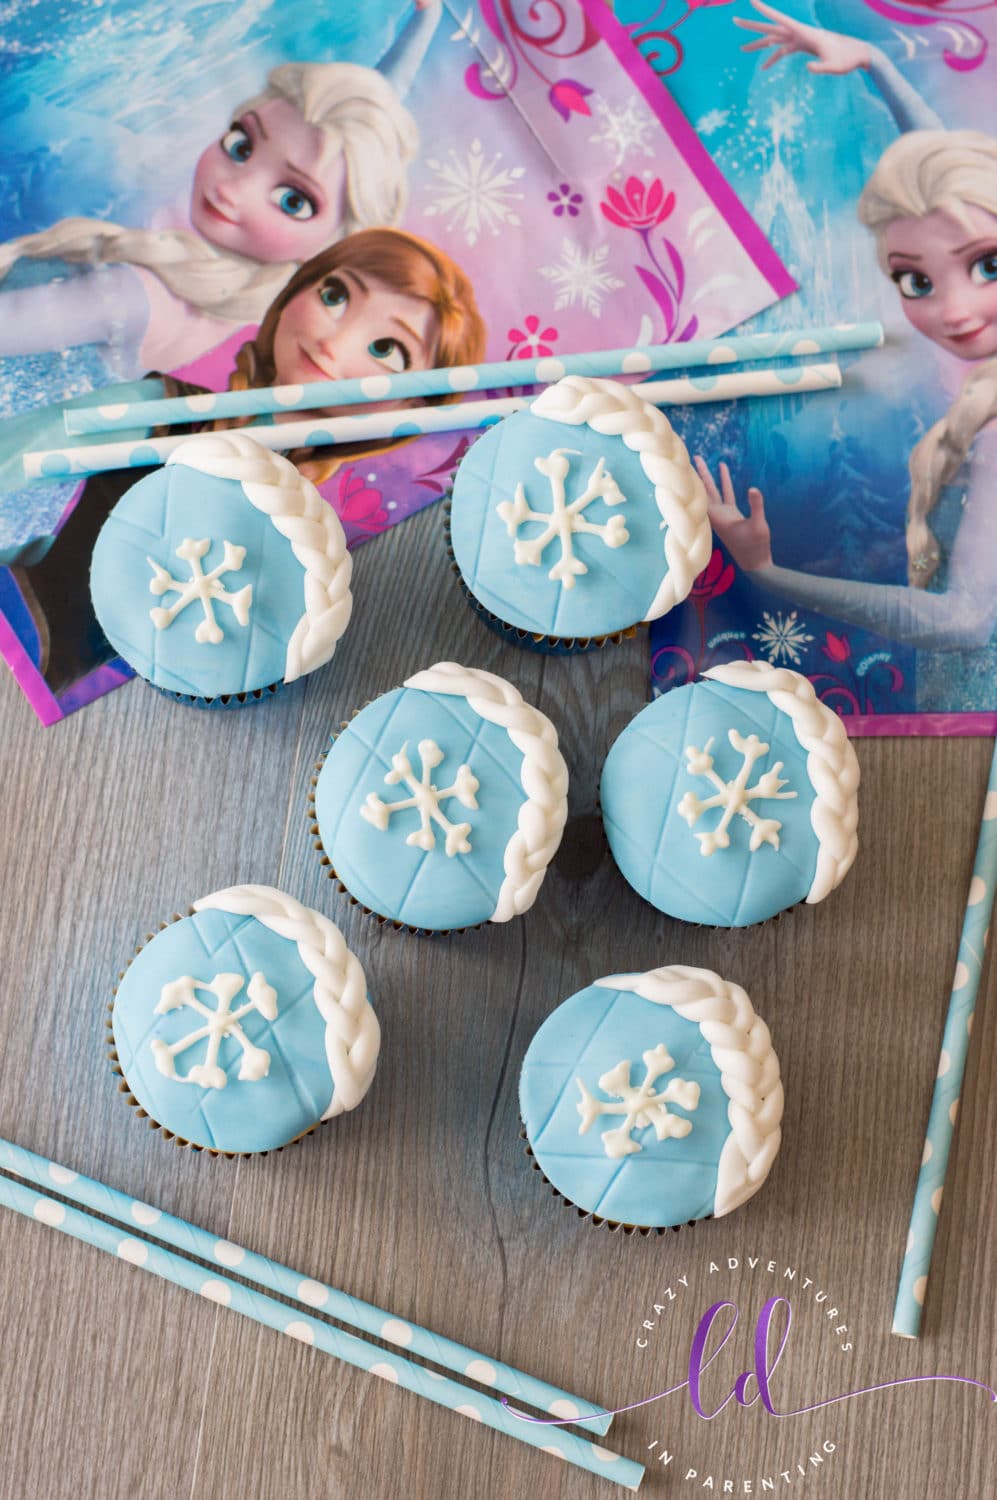
How to Make Elsa Frozen Cupcakes
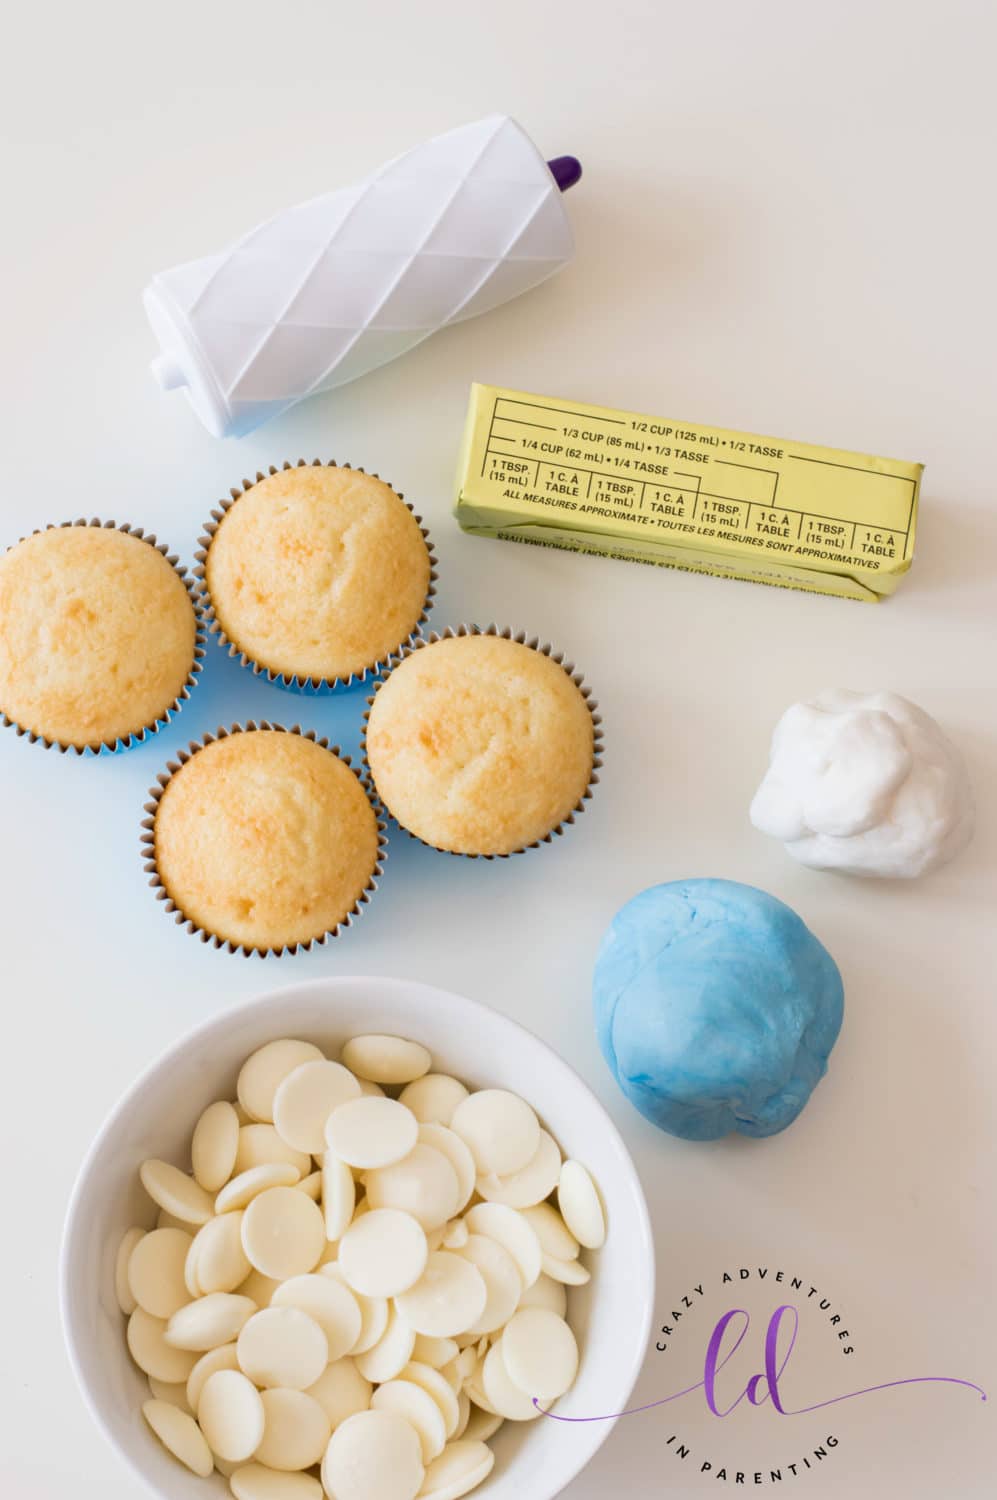
To make these adorably delicious Elsa Frozen Cupcakes, you will need the following ingredients:
- Pre-made vanilla cupcakes – you can prepare in advance using your favorite cupcake recipe, purchase store-bought vanilla cupcakes, or use a boxed mix (we love using either this or this boxed mix)
- Softened butter
- Icing sugar
- Milk
- White candy melts
- Baby blue fondant (or, if you can’t find it, you can take 4-5 oz. white fondant and add 2 small drops of sky blue gel food coloring to achieve the right shade)
- White fondant
Keep in mind, all of the ingredient amounts you’ll need are in the printable recipe card below.
Step-by-Step Tutorial on How to Decorate Elsa Frozen Cupcakes
Ready all your ingredients and tools to make these easy Elsa Frozen Cupcakes.
Before decorating these cupcakes, ensure that they’re completely cool to the touch. To achieve this in the best, fastest, and most thorough way possible, use a wire cooling rack to ensure they’re fully cooled.
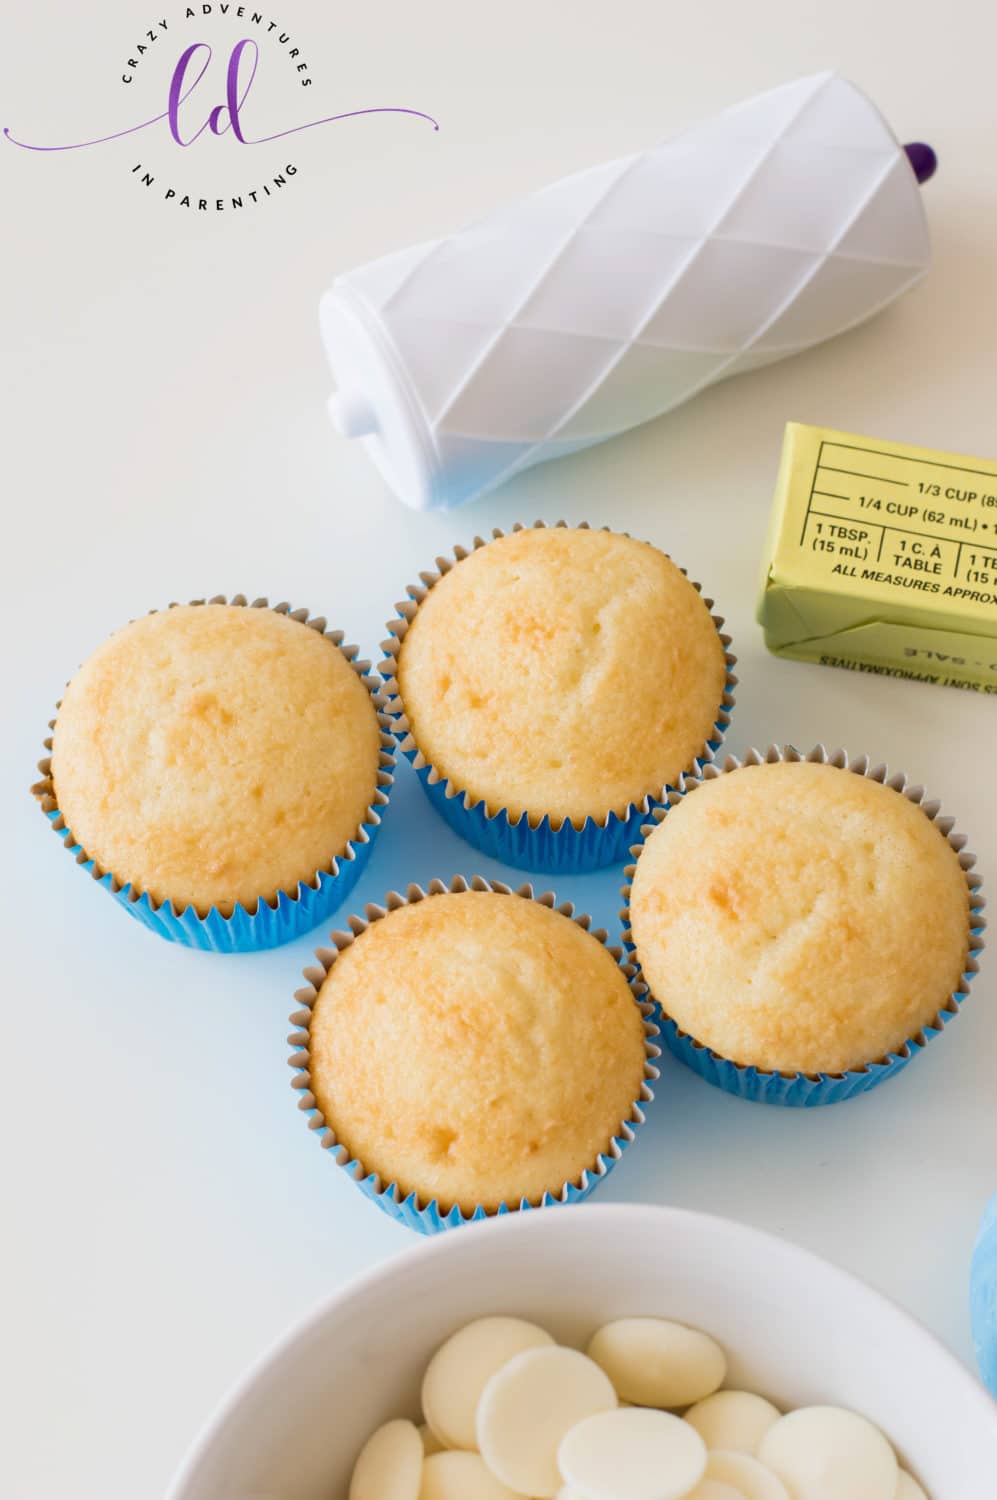
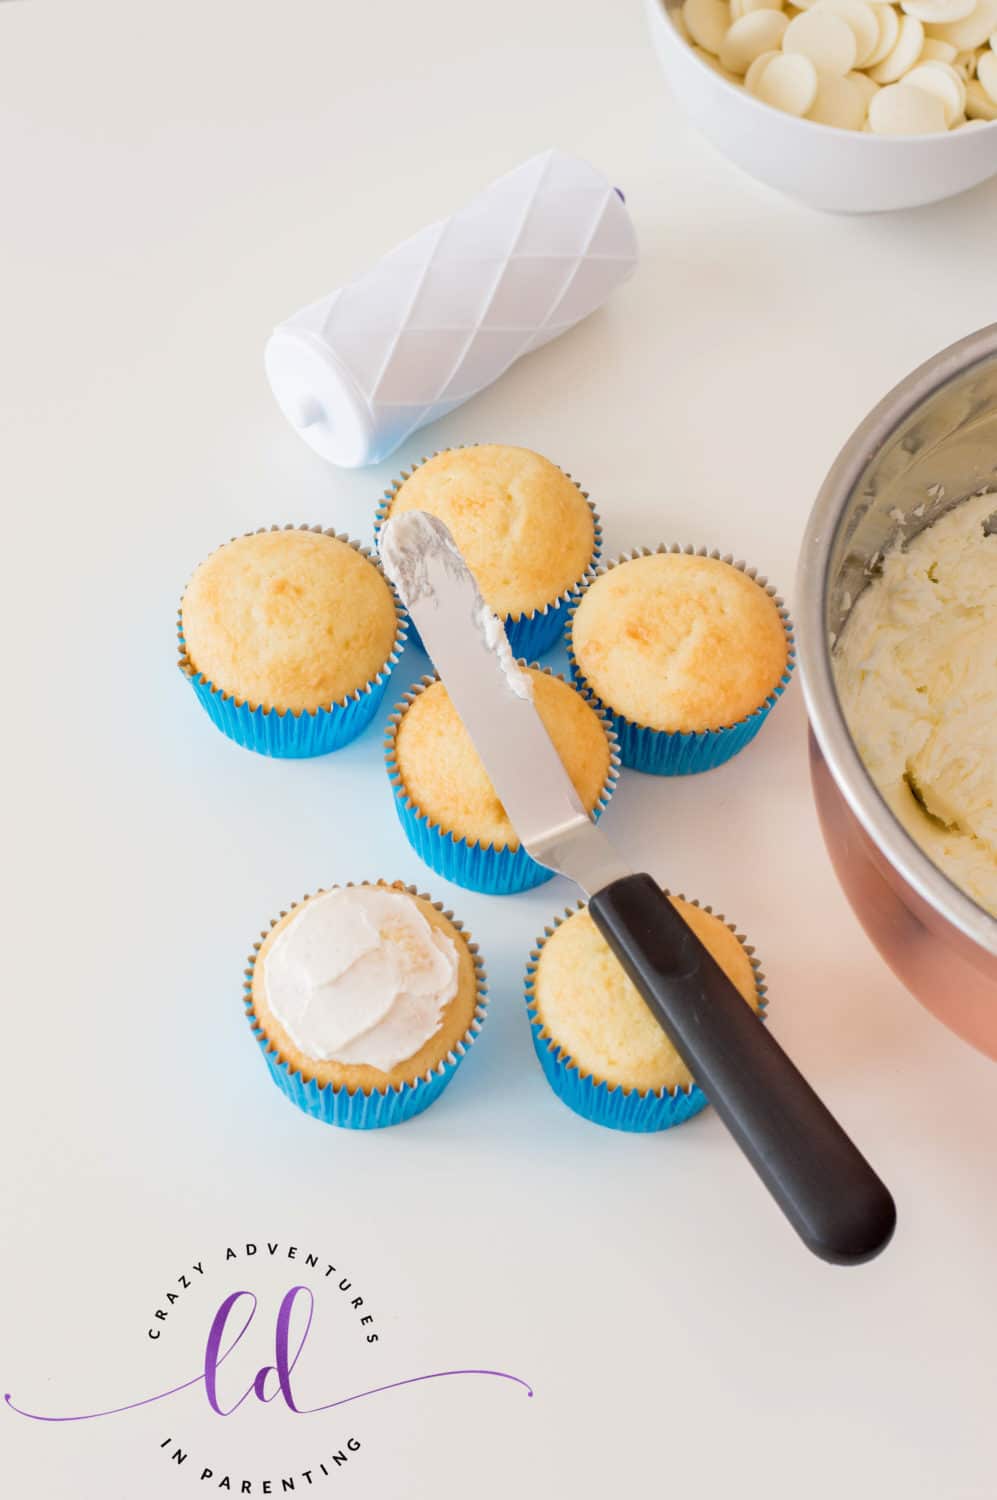
In a large bowl, use an electric mixer or stand mixer to beat together your softened butter, icing sugar, and milk to make the homemade buttercream. Start the electric mixer on low and gradually increase it to high. Once all the ingredients are well-combined and form semi-stiff peaks, the buttercream is done. Use an offset spatula to frost each cupcake.
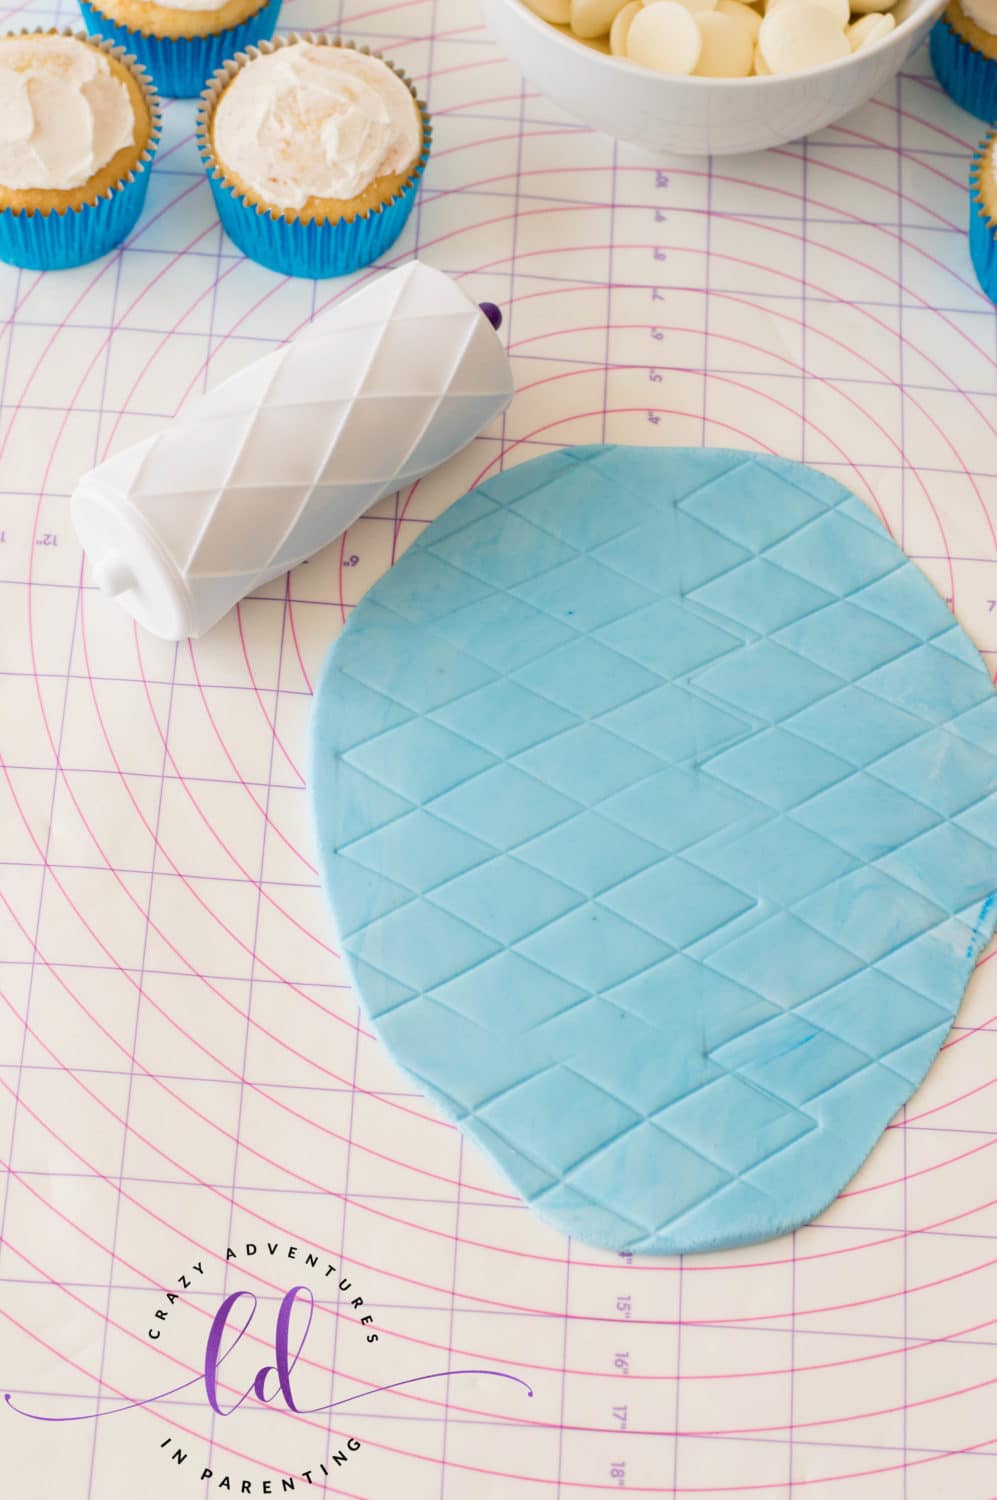
Roll the baby blue fondant so that it’s about ¼ of an inch thick. Use the fondant embosser to give the blue fondant a quilted look.
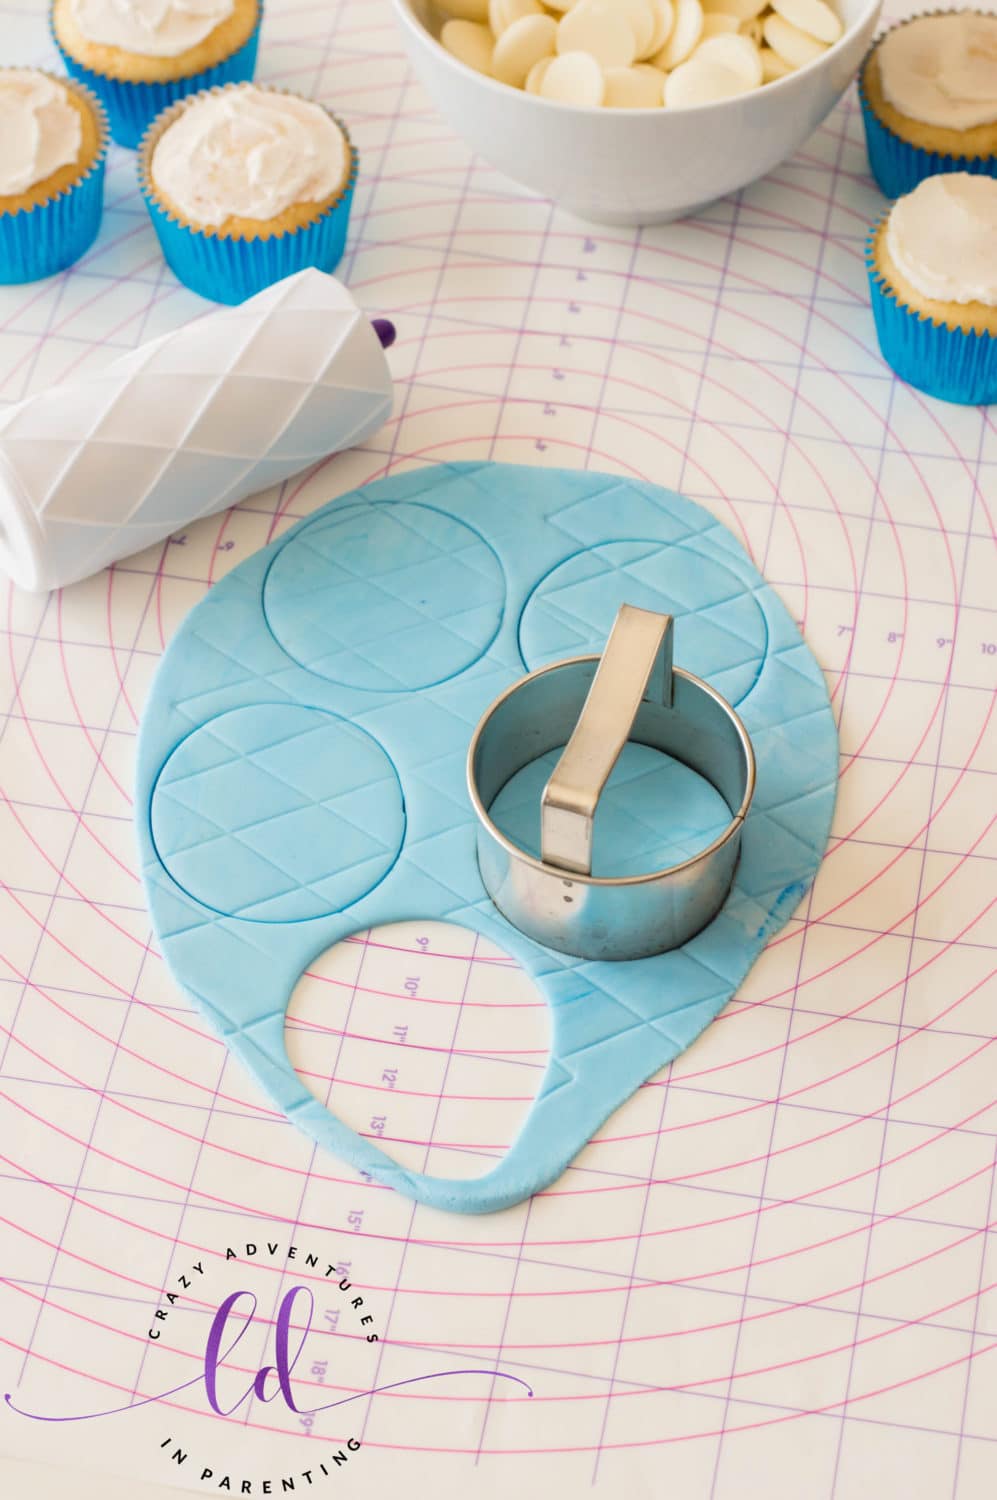
Using the circular cookie cutter, cut out 12 fondant circles from the baby blue fondant. Press one blue fondant circle on each cupcake.
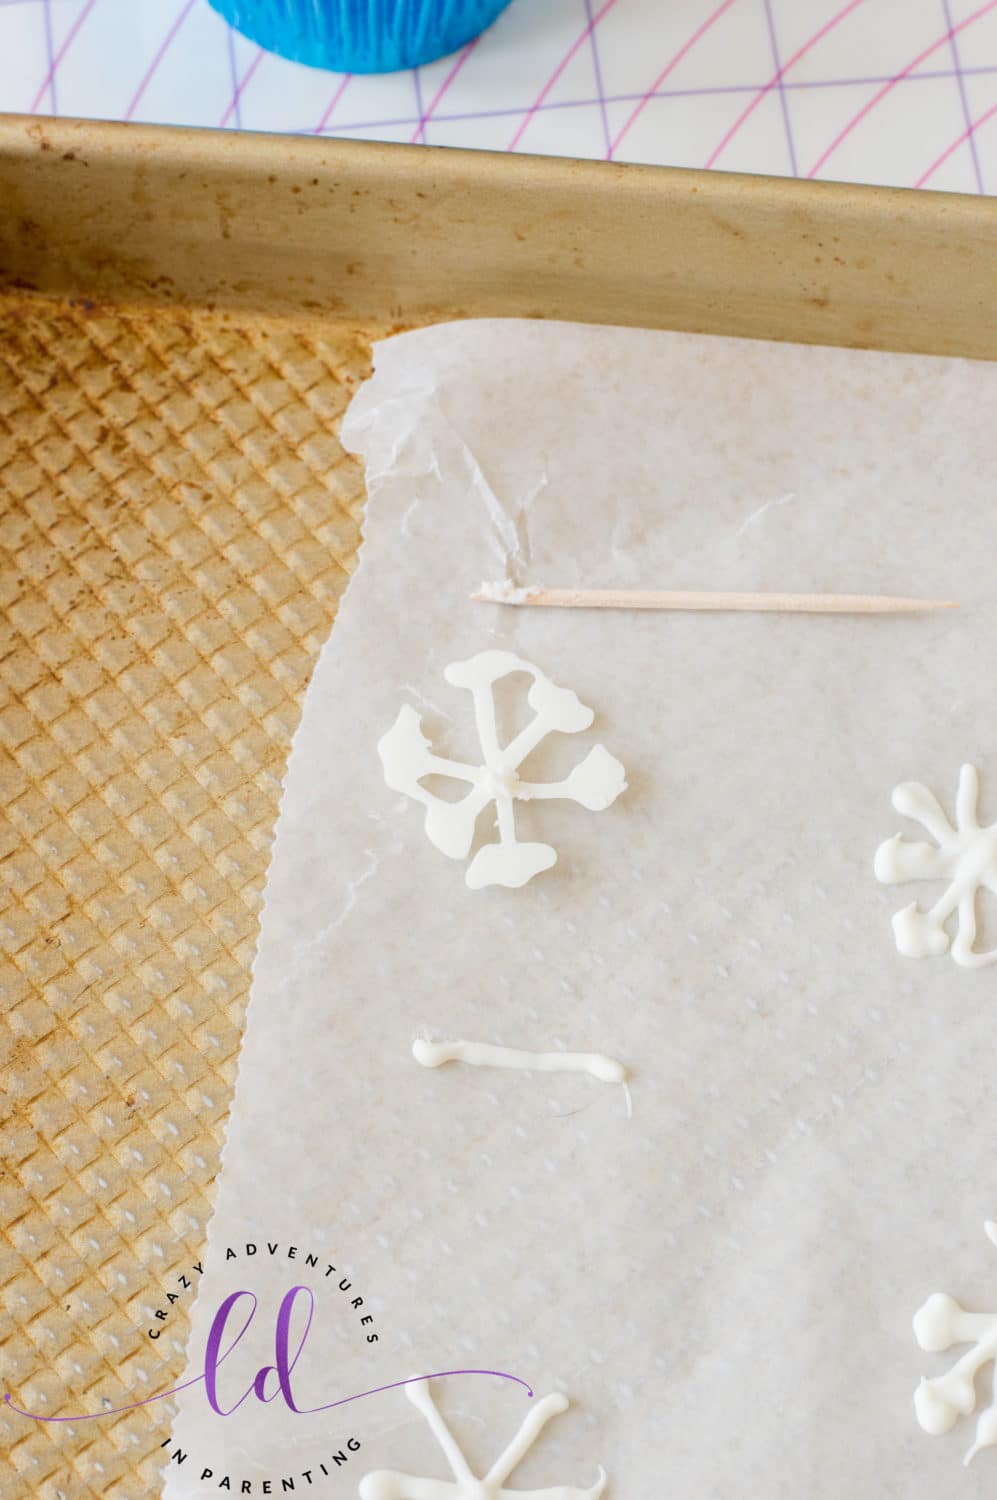
Line a baking sheet with wax paper. Place your white candy melts into a microwave-safe bowl and microwave in 30-second intervals until completely melted, stirring between each interval. Scoop the melted candy into a piping bag and pipe out snowflakes onto the lined baking sheet.
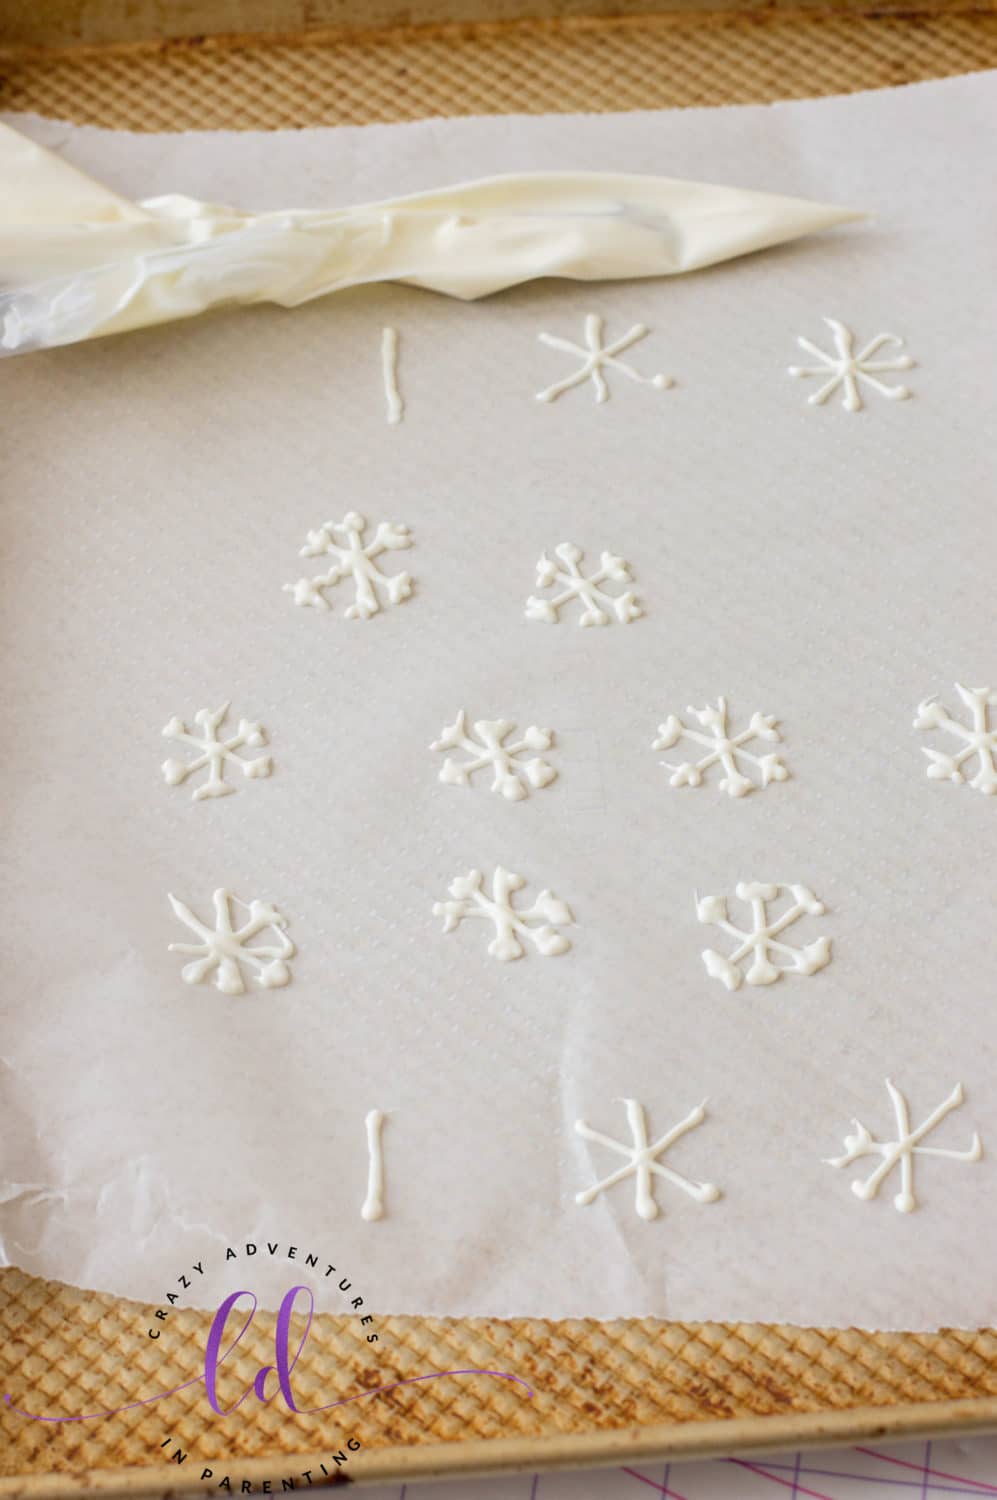
To achieve the snowflake candy decoration, start by piping out a one-inch line upright.
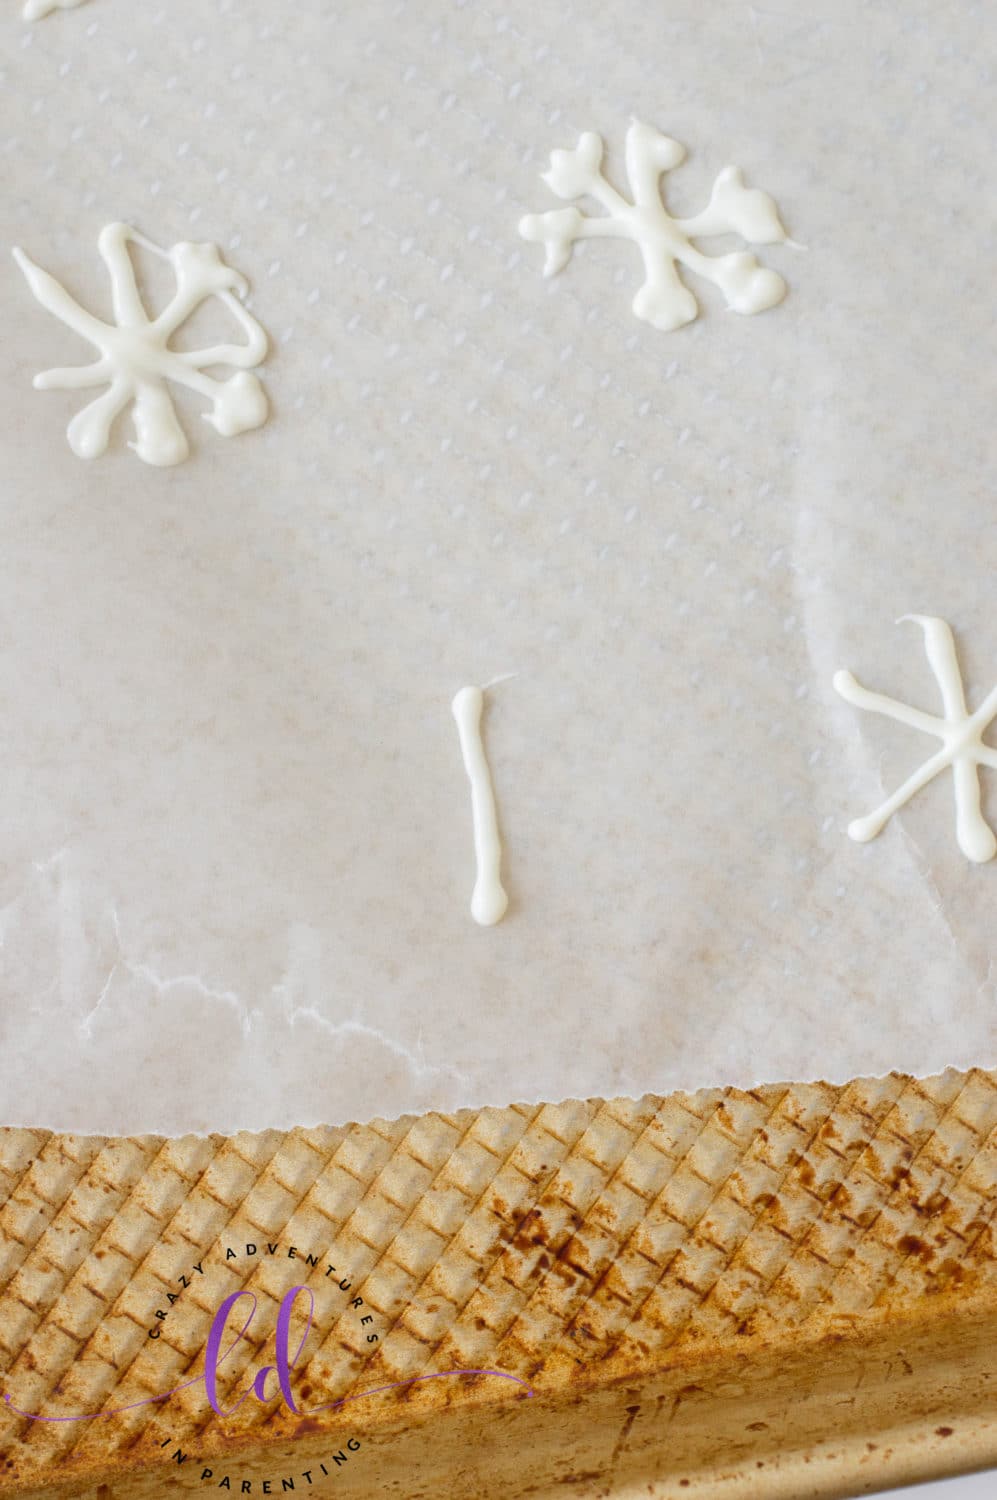
Follow the line with an “X” that crosses through it. Pipe out two dots on either side of the candy lines.
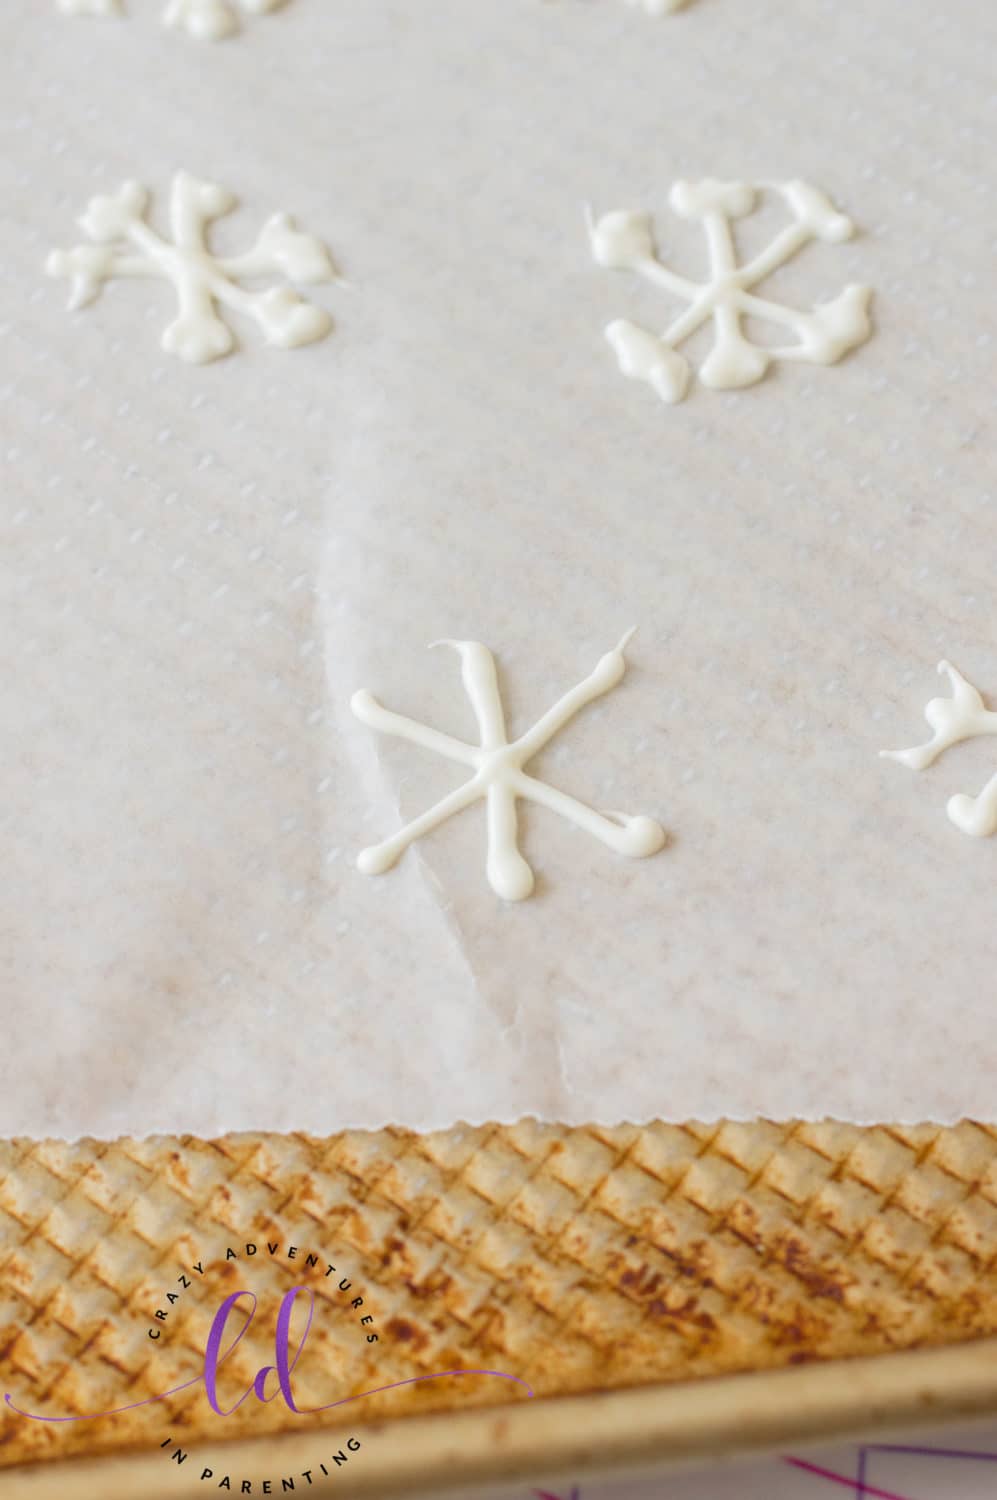
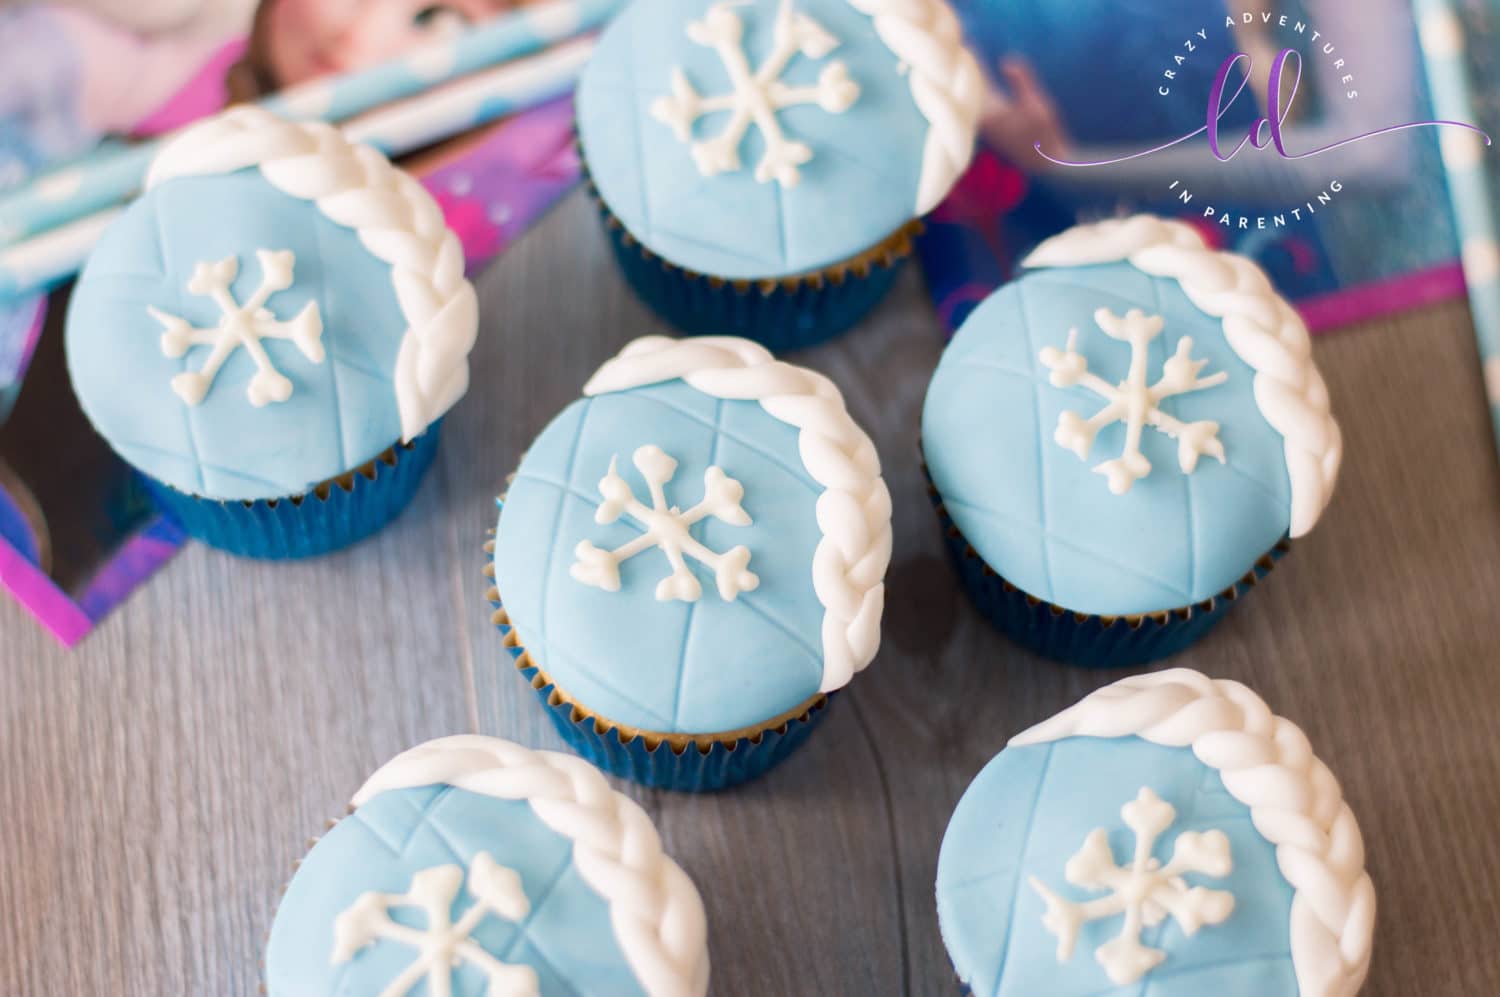
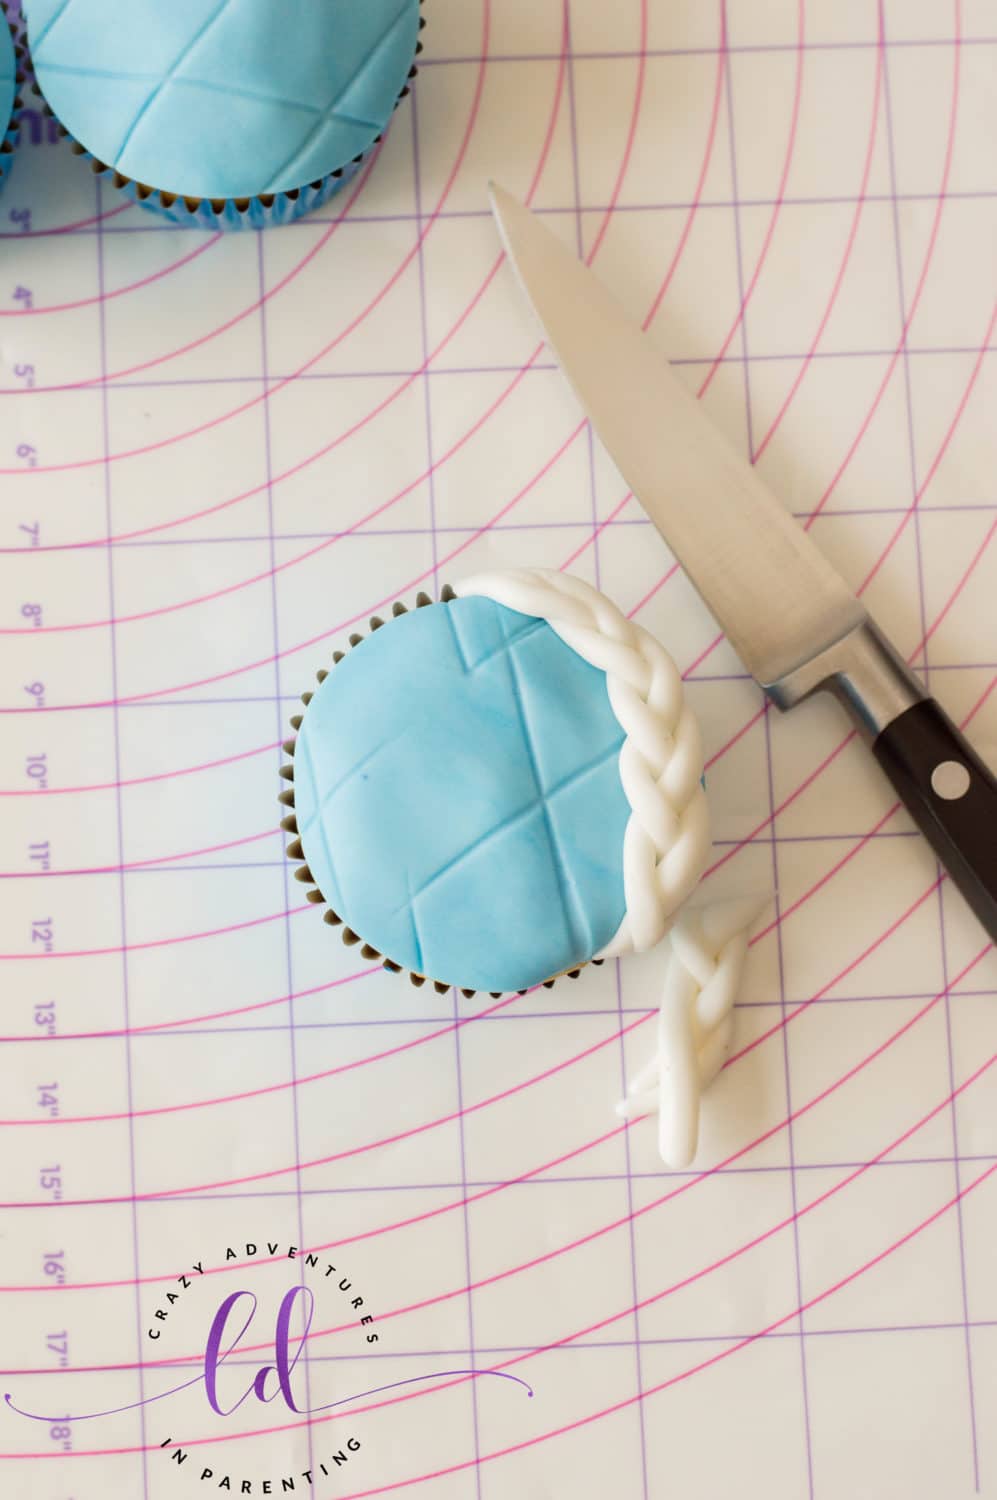
Allow the candy snowflakes to set. To assemble one braid, roll out 3 spheres from the white fondant, about ½ an inch in size. Roll out the spheres into long, thin strips, about 5 inches in length. Press the tip of all three strips together and braid the fondant strips together gently.
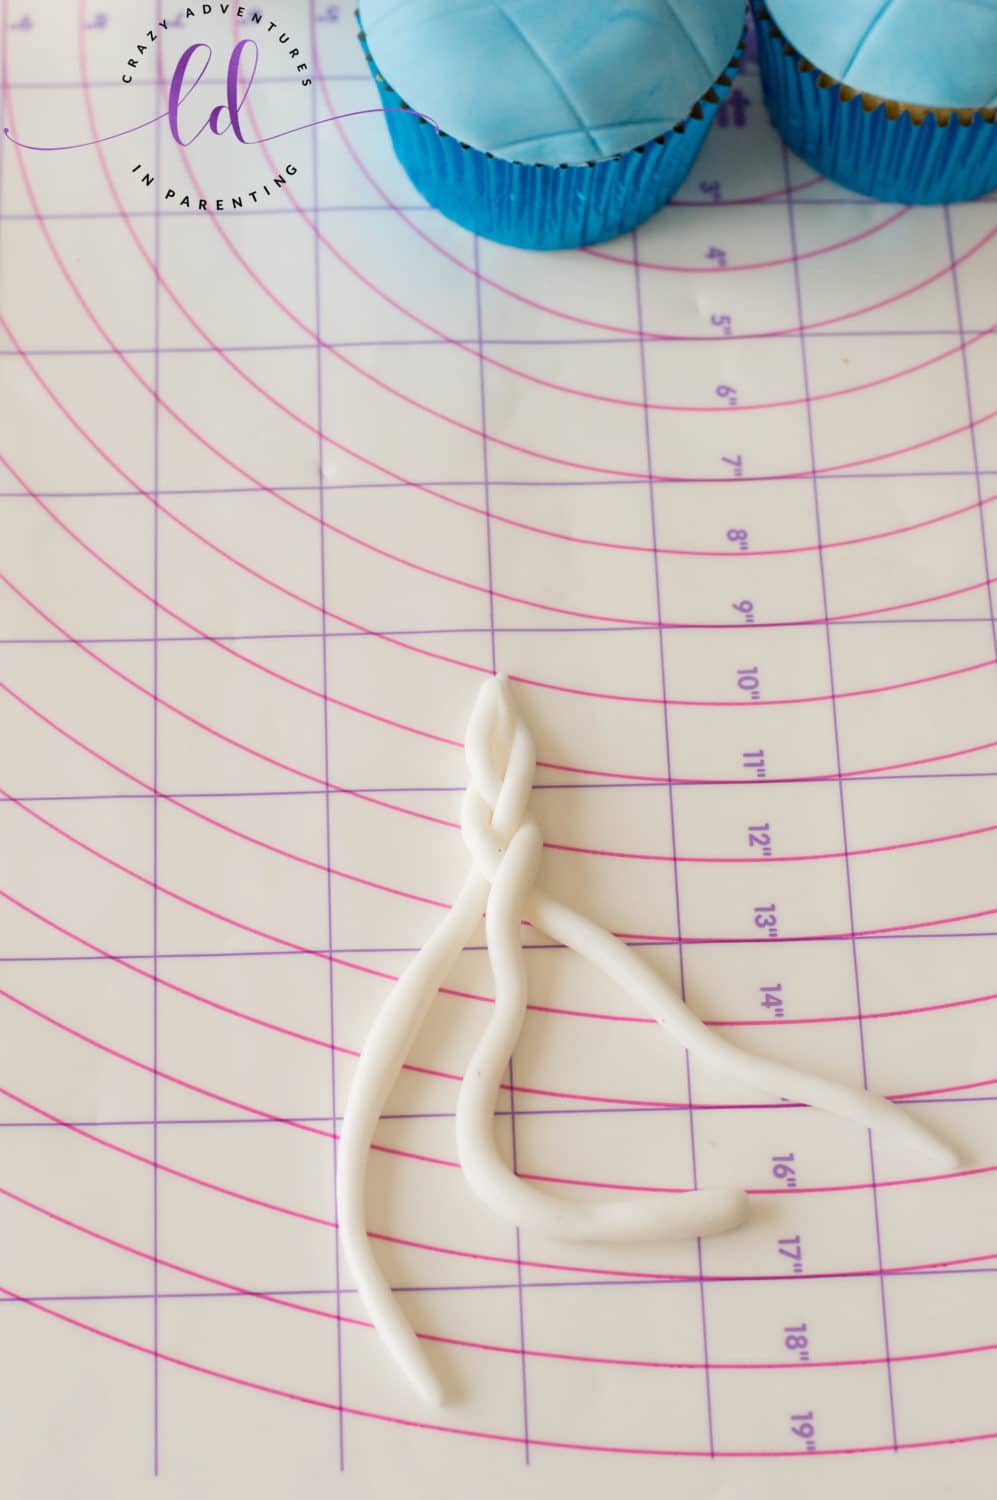
Press the braid onto one edge of each cupcake, trimming with a paring knife where necessary. (Note: If the fondant isn’t sticky enough to press onto the cupcake, brush water on the back of the braid to secure.)
Carefully peel back the hardened candy snowflakes from the wax paper. Use a toothpick to carefully dot a little white buttercream on the back of the snowflake candies. Secure one each on each cupcake.
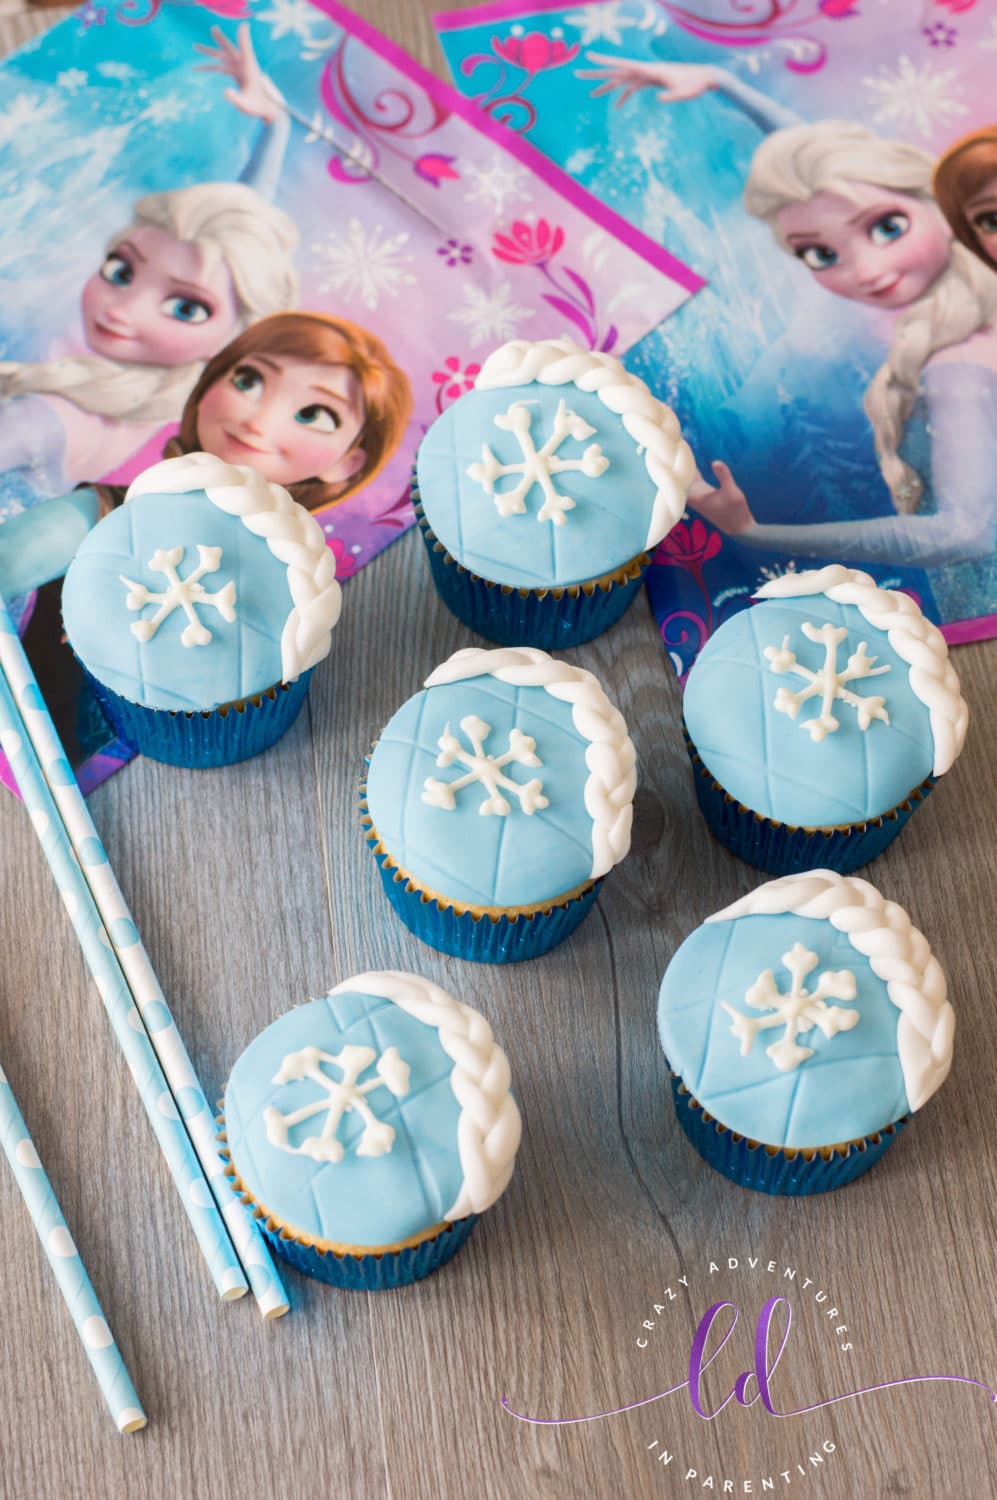
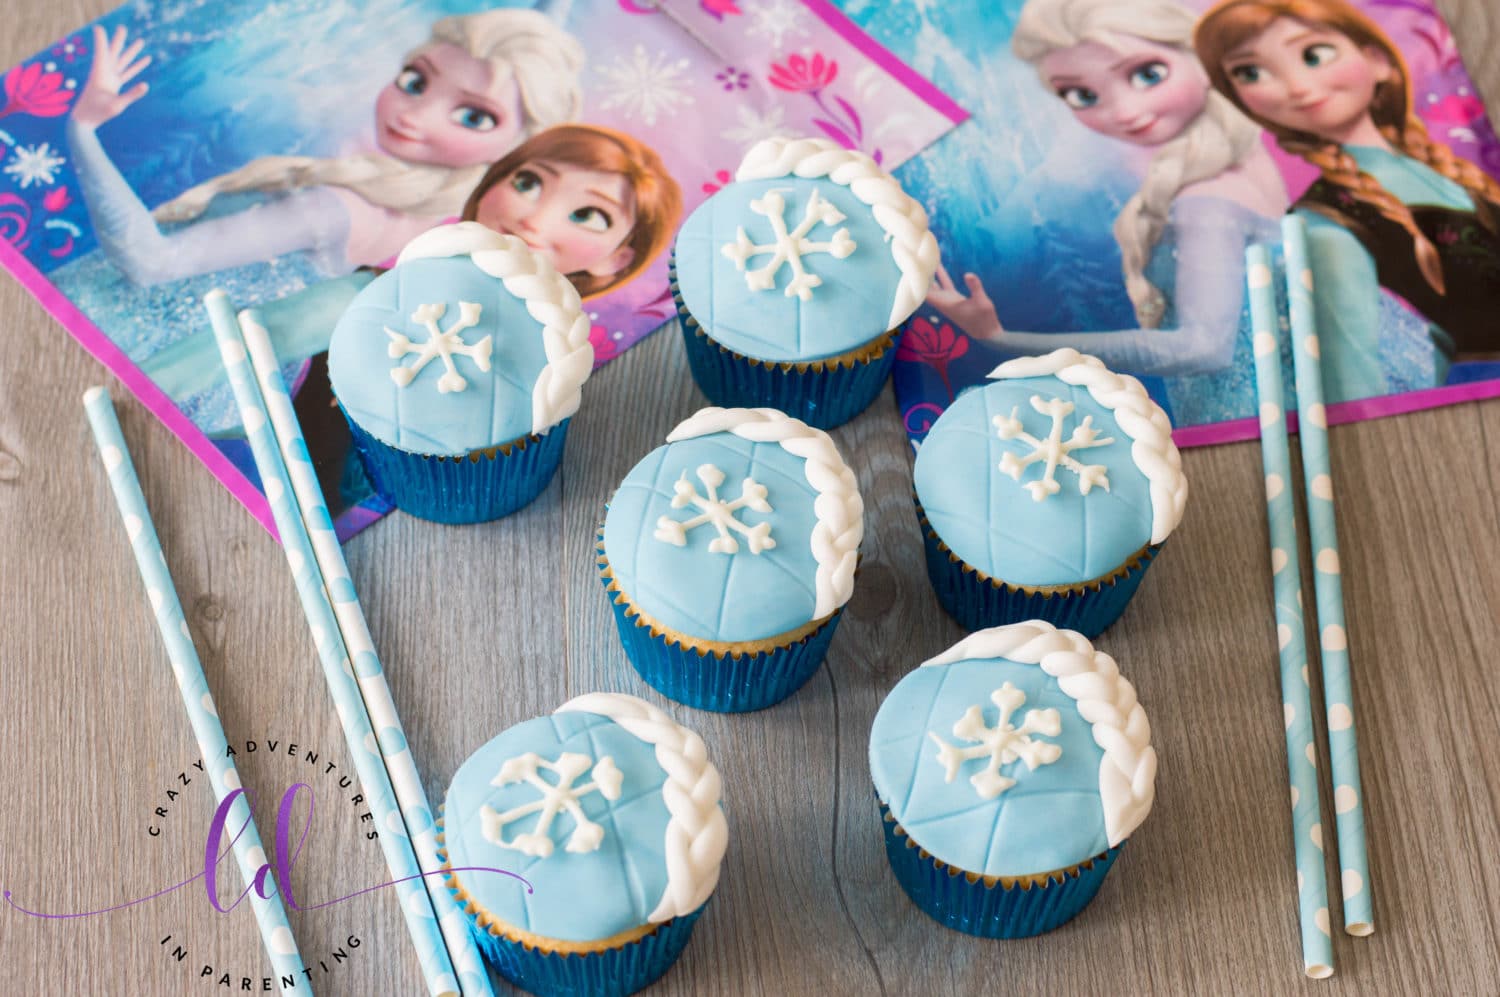
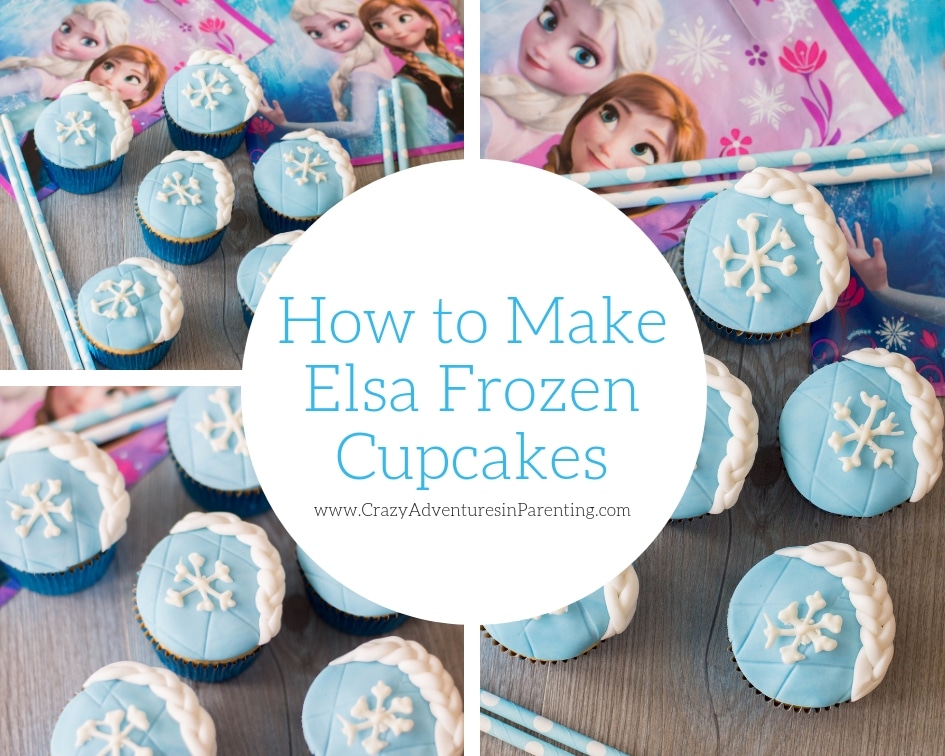
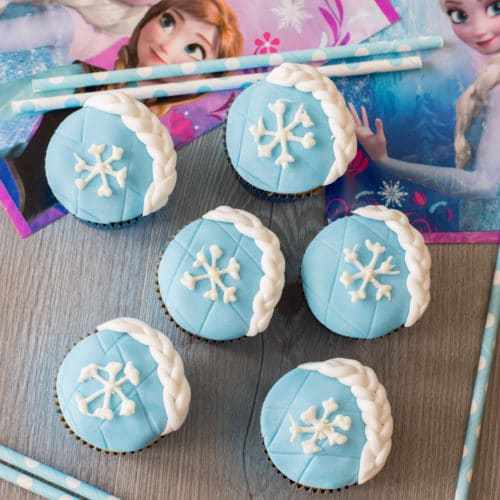
Serve and enjoy! These are so special, don’t you think? They look so intricate but really they are easy to prepare!
If you love this Elsa Frozen Cupcakes recipe as much as we do, please leave me a 5-star review below and help me share this recipe on Facebook and Pinterest! If you do make the recipe, I hope you’ll share that you tried it on Pinterest! I love it SO MUCH when readers share their feedback! 🙂

Sign up below to receive my newsletter filled with delicious recipes, fun crafts, and family adventures straight into your inbox:
Easy Elsa Frozen Cupcakes Recipe
Equipment
- Large bowl
- Baking sheet
- Electric mixer
- Stand mixer
- Cupcake/muffin pan
- Wire cooling rack
- Circular cookie cutter
- Fondant embosser
- Offset spatula
- Rolling pin
- Wilton decorating mat
- Microwave-safe bowl
- Piping bag
- Paring knife
- Toothpick
Ingredients
- 1 dozen vanilla cupcakes
- ¼ cup butter softened
- 1 cup icing sugar
- 1-2 tbsp milk
- 1 cup white candy melts
- 5-6 oz. baby blue fondant (If you can’t find it, you can take 4-5 oz. white fondant and add 2 small drops of sky blue gel food coloring to achieve the right shade)
- 2-3 oz. white fondant
Instructions
- Before decorating these cupcakes, ensure that they’re completely cool to the touch by cooling them on a wire cooling rack fully.
- In a large bowl, use an electric mixer and beat together butter, icing sugar, and milk. These ingredients make up the buttercream.
- Start the electric mixer on low and gradually increase to high. Once all the ingredients are well-combined and form semi-stiff peaks, the buttercream is done.
- Use an offset spatula to frost each cupcake.
- Roll the baby blue fondant so that it’s about ¼ of an inch thick.
- Use the fondant embosser to give the blue fondant a quilted look.
- Using the circular cookie cutter, cut out 12 fondant circles from the baby blue fondant.
- Press one blue fondant circle on each cupcake.
- Line a baking sheet with wax paper.
- Place white candy melts into a microwave-safe bowl and microwave in 30-second intervals until completely melted, stirring between each interval.
- Scoop the melted candy into a piping bag and pipe out snowflakes on the lined baking sheet.
- To achieve the snowflake candy, start by piping out a one-inch line. Follow the line with an “X.”
- Pipe out two dots on either side of the candy lines.
- Allow the candy snowflakes to set.
- To assemble one braid, roll out 3 spheres from the white fondant, about ½ an inch in size.
- Roll out the spheres into long, thin strips, about 5 inches in length.
- Press the tip of all three strips and braid.
- Press the braid onto one edge of each cupcake, trimming with a paring knife where necessary. (Note: If the fondant isn’t sticky enough to press onto the cupcake, brush water on the back of the braid to secure.)
- Use a toothpick to dot white buttercream on the back of the snowflake candies. Secure one on each cupcake.
- Serve and enjoy!

