I told you a couple weeks ago my plan – to make a DIY weekly menu board for our meal plans each week. With a menu board, you create cards featuring all the dinner choices you make, making it super-easy to create a meal plan for the week, and showcase what’s “on deck” to cook, too. We were looking for fun, creative and helpful, because meal planning for our brood always takes forever. I liked the idea of having all our dinners in one place.
This first pin inspired me:
Source: clairsfairytale.blogspot.com via Lisa on Pinterest
I liked where Clair was going, but I didn’t want to involve hot glue, clothes pins, etc. I wanted it to be magnetic, especially after seeing this adorable tutorial (also on Pinterest):
Source: craftandcreativity.com via Lisa on Pinterest
I decided to fuse the two ideas and get crackin’. Here’s your craft/shopping list:
- One cookie sheet baking pan (whatever size you’d like)
- One can Rustoleum paint (whatever color you’d like, I used White Gloss)
- One can of 3M All Purpose Spray Adhesive
- Many coordinating colored & patterned scrapbooking cardstock paper
- Crinkle scissors (Known as “Paper Shapers” or “Paper Edgers”) I used a zig zag & “Deckle”
- Regular scissors
- Elmer’s All Purpose Glue Stick (like for kids at school)
- Scotch tape, double-sided tape or Glue Dots
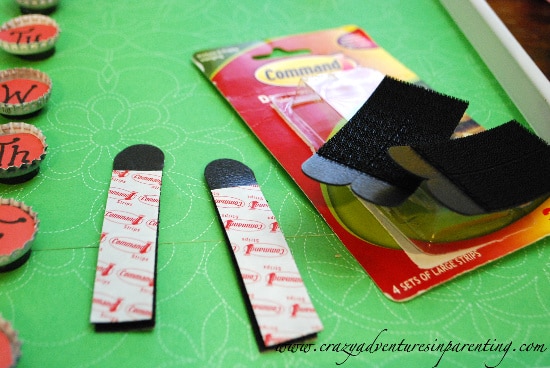
- Command Damage-Free Picture Hanging Strips
- Magnetic roll (peel and stick)
- Magnetic circles
- Magnetic rectangles (break apart peel and stick)
- An office clip (I chose a colorful one)
- Pencil
- Sharpie permanent marker
Before I washed, dried, and spray painted my cookie sheet with Rustoleum White Gloss paint, I measured out the cardstock I was going to glue to the back so that I’d have it ready to work with. I spray painted the cookie sheet and the seven bottle caps I was using (for each day of the week) and left it to dry for quite a while. You can choose to work on doing other things while waiting, or put it off. Rustoleum says it needs at least two hours to dry “to the touch.”
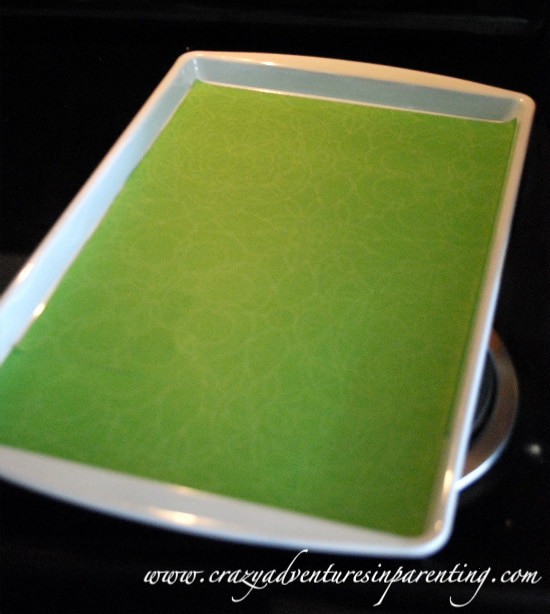
Once dried, I sprayed the card stock with adhesive spray and applied it to the painted cookie sheet.
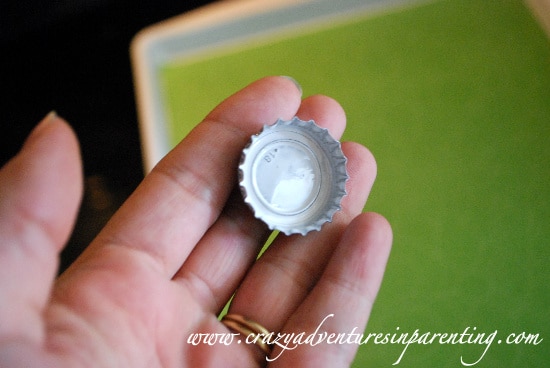
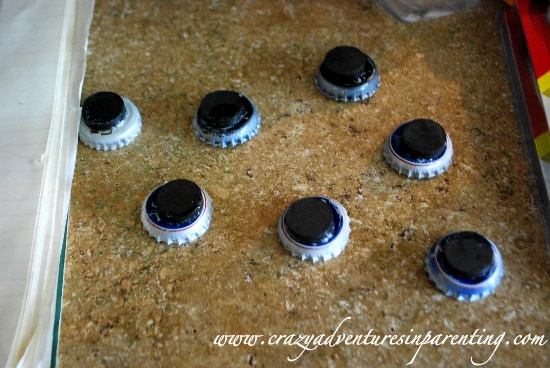
This is what the caps look like when spray painted on the inside.
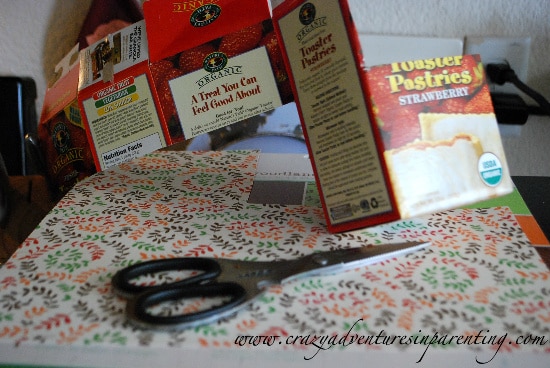
I took a pop tart box, cut the top off of it, and cut some card stock out to fit around it.
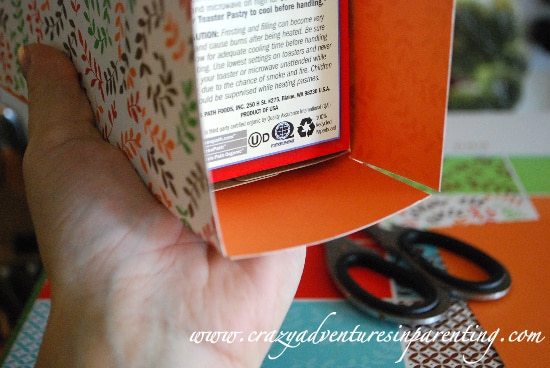
I wrapped the card stock along the bottom of the box and cut slits at both bottom corners where the card stock will fold around.
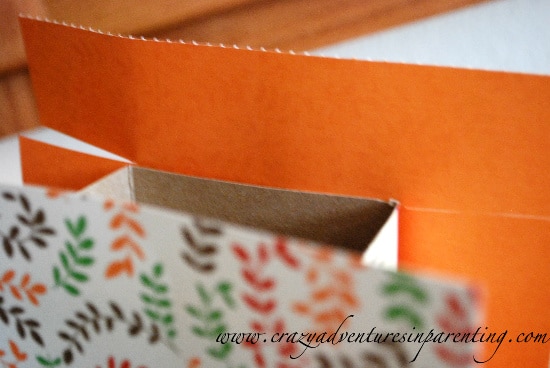
I cut slits at the top, too, along the top edge. These will fold over when glued and inserted into the inside of the box.
I sprayed the side flaps with adhesive spray and affixed them to the side of the box.
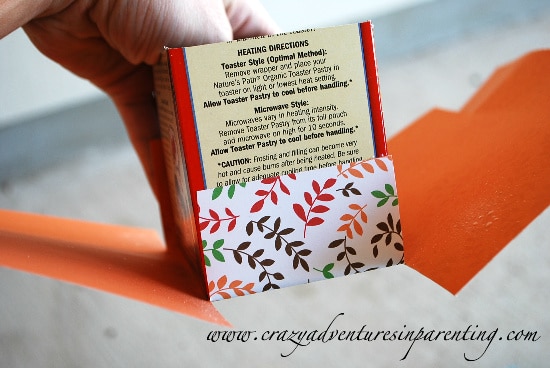
I sprayed adhesive spray and then attached the front and back.
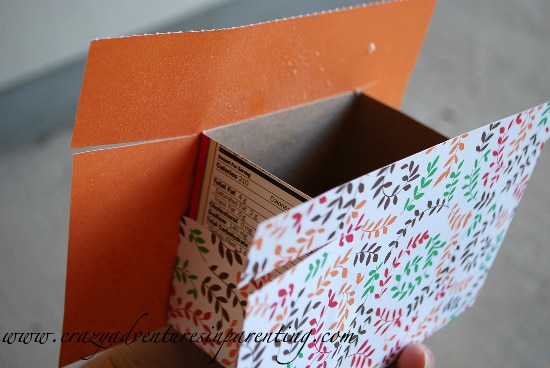
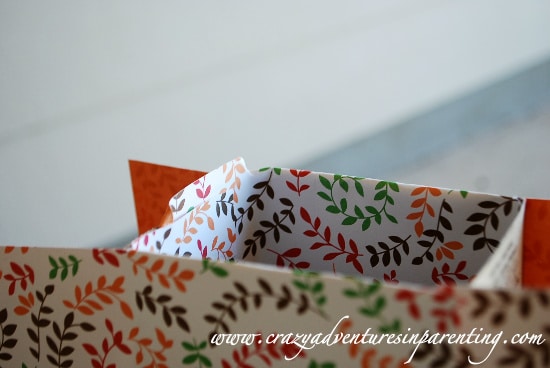
After spraying the top flaps, I folded them inside. The adhesive spray makes the card stock quite pliable temporarily, so move quickly to fold the flaps along the inside upper part of the box, as shown. If there are parts sticking up, that’s alright, we can cut those cleanly off after we’re done gluing.
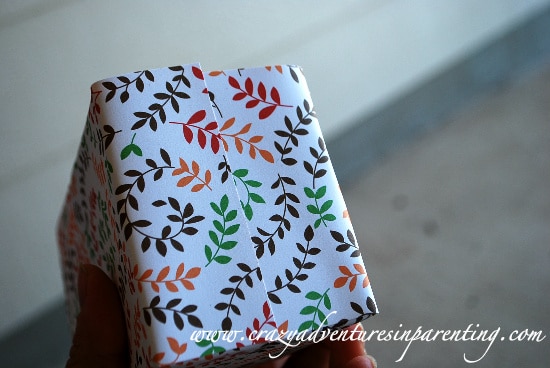
Spray and fold the remaining sides on. Once all folded, cut any tabs that stick out to ensure a clean finish.
While outside already using adhesive, I sprayed the adhesive onto the circular magnets and affixed them to the unpainted side of the bottle caps, as shown.
Next up – adding magnets to your box!
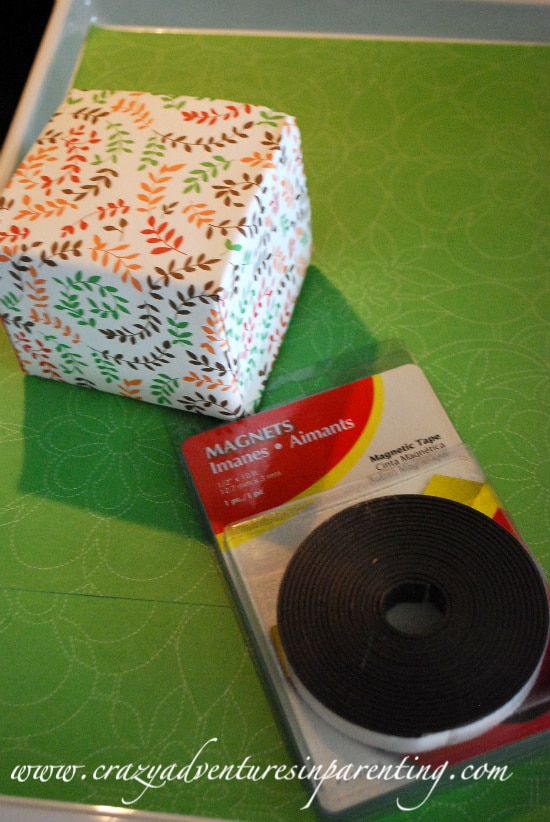
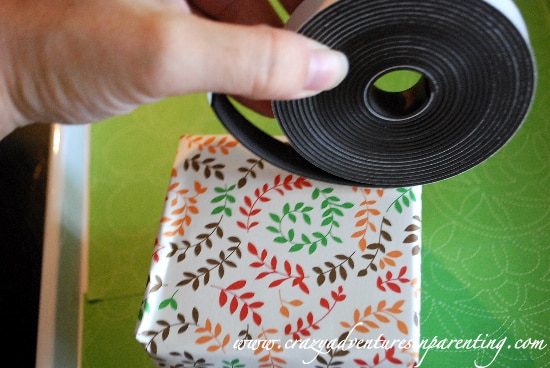
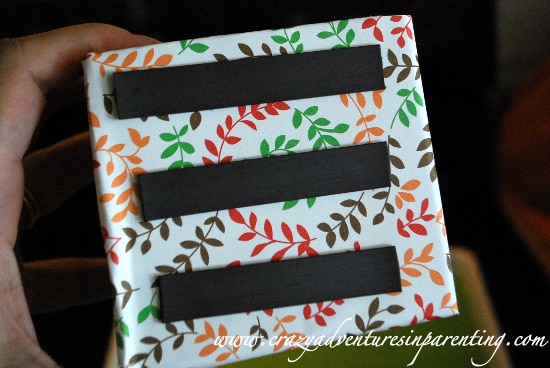
Using the magnet tape, I measured along the box and cut two-to-three sections that fit along the back of your box.
Peel and stick the magnet tape on. Ta-da! Magnetized!
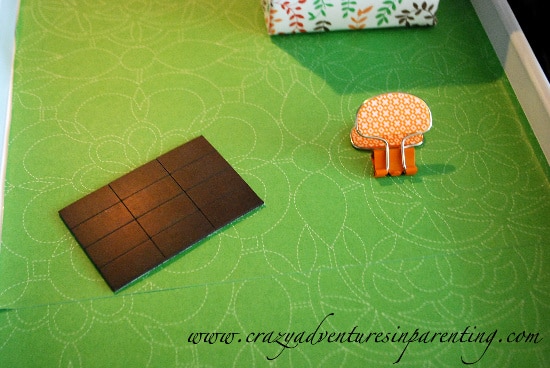
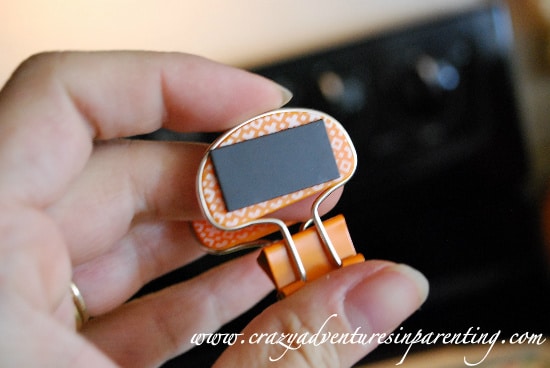
If you plan to use a clip, like I did, you’ll need to magnetize it, too. I like the idea of being able to clip up a take-out menu on a day we’re planning take-out, or a special coupon to use, or to hold an extra space up there as an “extra meal” we plan, as a back-up. Instead of a clip, you may choose to magnetize a Post-it Pad with pen. For this, we’ll use the peel-and-stick rectangles.
Ta-da! Ready to go.
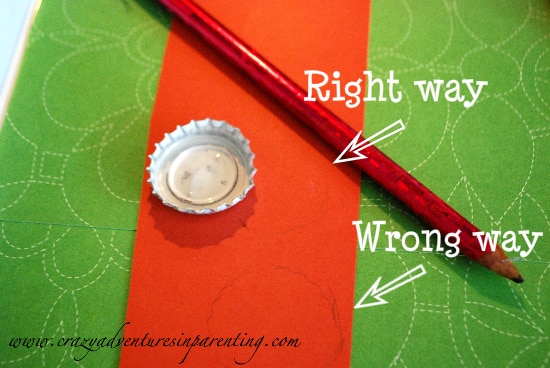
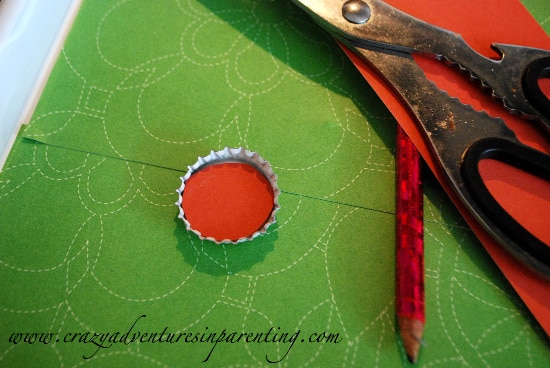
Now we come to the fun drawing part (at least it’s fun for me). Except, I screwed up at first. You need to trace the bottle cap onto the card stock you’re using, except I traced the wrong side of the bottle cap at first (see picture).
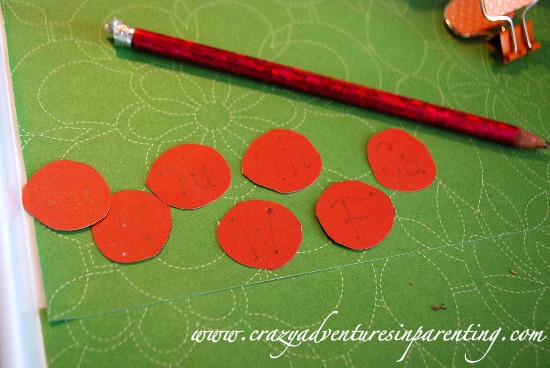
Once you’ve done it the right way, cut out seven for the inside of your caps.
I took my pencil and drew whimsical letters for each day of the week.
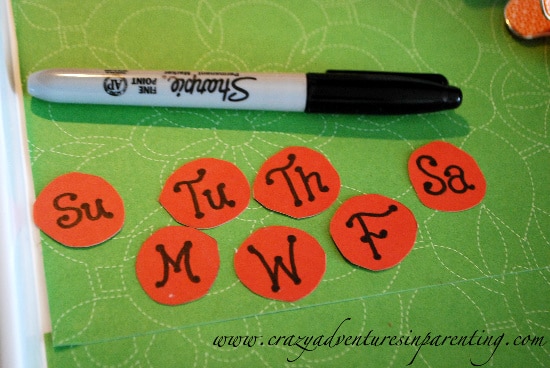
Once drawn, I colored them in with my sharpie marker, adding poignant dots to the end of the lines, just to make it cute.
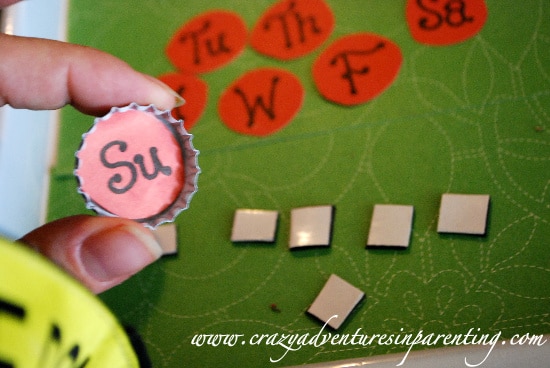
Instead of gluing, I decided to cut the magnet tape to small squares and affix to the back of the letters. I wanted a more 3D look to them.
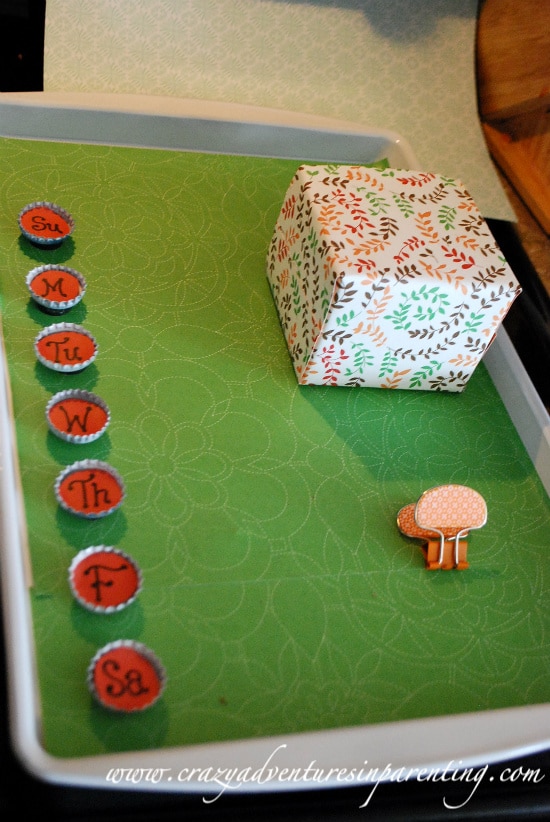
Here’s what we’ve got so far! Nice, huh?
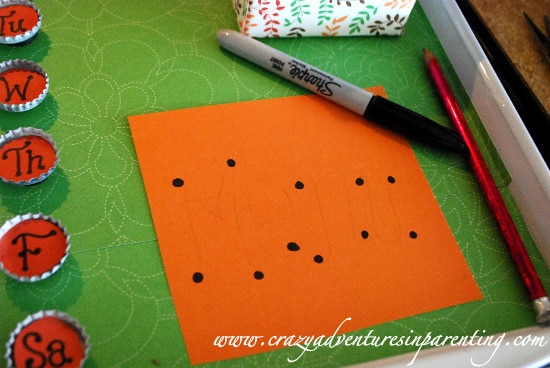
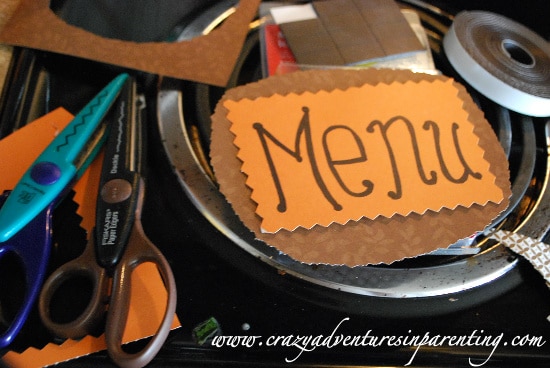
I chose another color of card stock to start drawing the “Menu” title. You can totally choose to print up fonts or signs for all of the things I drew, but I particularly like projects that involve hand-drawn fonts.
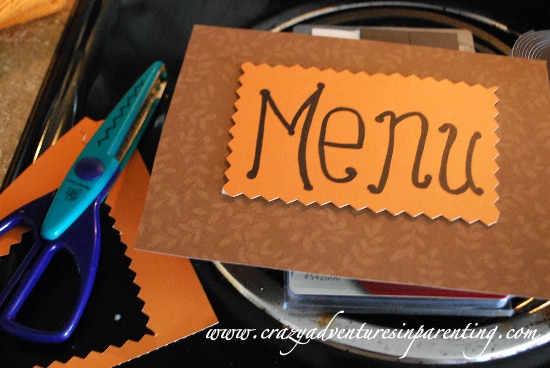
I used the zig-zag scissors to cut out the “Menu” sign, and used scotch tape to affix it to another contrasting card stock. Again, I wanted a 3D effect. You can use double-sided tape or Glue Dots to get the same effect.
I cut the back in a sort-of oval (should’ve made the card stock bigger) using the Deckle scissors. The beauty about this is, because it’s only taped, I can change up that back if I want to go in and re-do it again later.
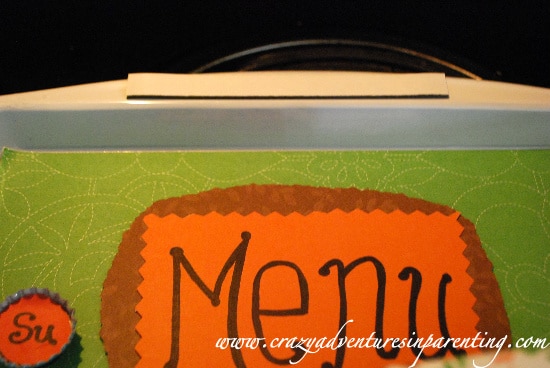
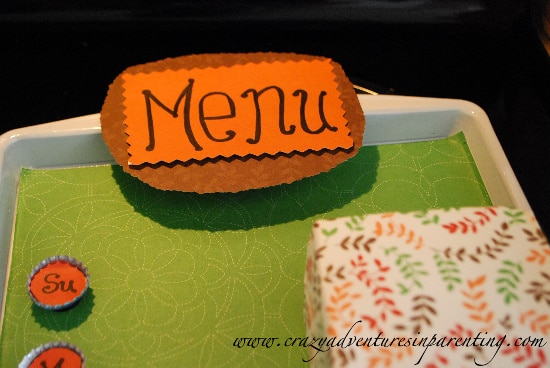
I used the magnetic tape again, measuring the size of the “Menu” sign and cutting appropriately. I chose to put it on the tippy-top of the baking sheet, and I placed it magnet side down, peeled, then stuck the sign to ensure it lined up properly.
Ta-da! I love that 3D look!
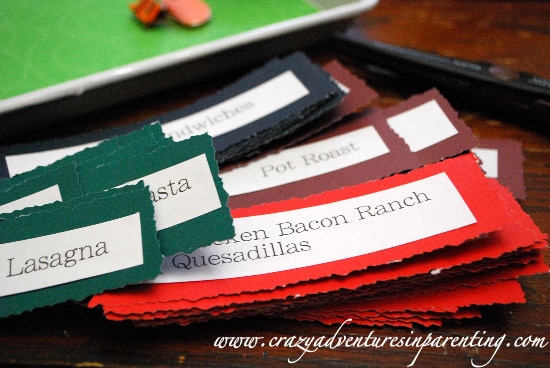
Now, here’s where I gathered all our favorite dinner recipes and got ’em all written to type them up and print them out. Thankfully, we wrote ours first, then typed. I was a goof and completely forgot to save this file when I was done printing! D’oh! I have to retype it all again for safe-keeping! Eek! I font I used was called “LiSong Pro.” Cut each dinner out and stack ’em up.
Using the kids stick glue (from school), I glued each menu item down on different card stock. I decided to color code mine based on dishes. (Brown was beef, red was chicken, green was vegetarian, etc.) I used the Deckle scissors here again.
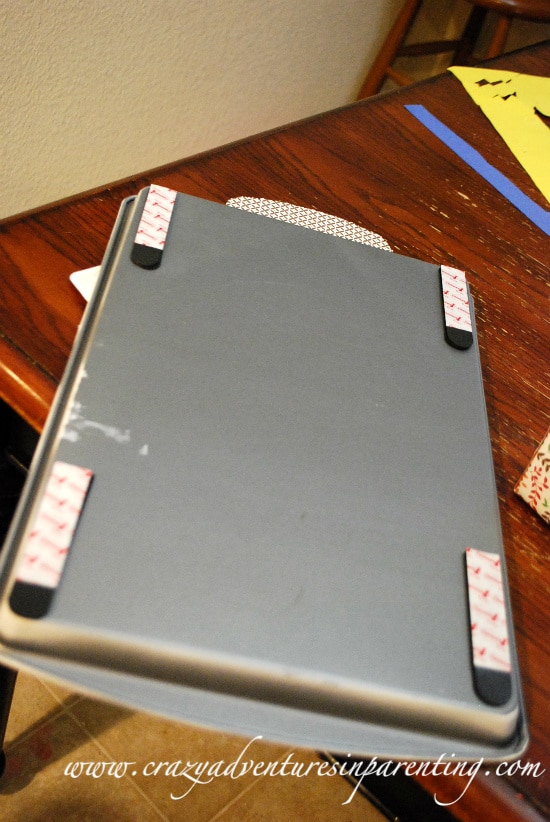
Once all cut, I placed them in the storage box I made for them and set it aside, it was time for me to get the Command strips on the back of the cookie sheet and up onto the wall! Almost done!
I followed directions, applying all four to the back of the cookie sheet, peeling them, and placed it against the wall.
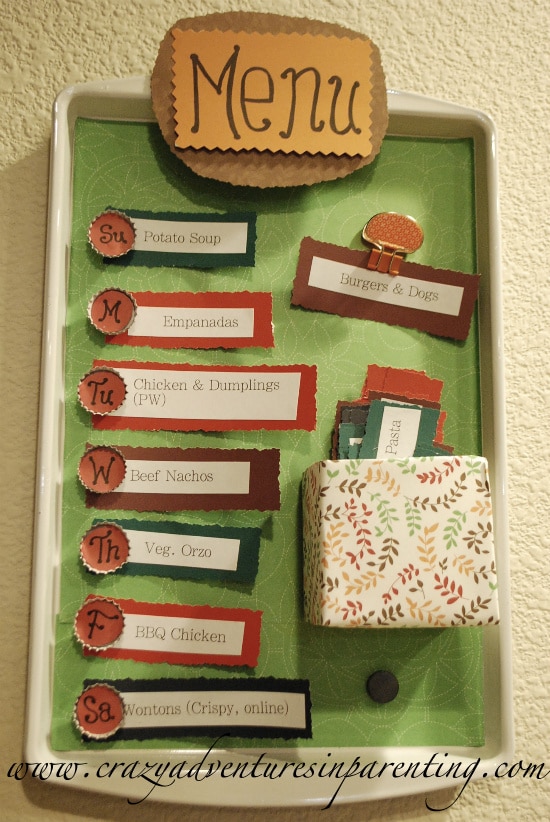
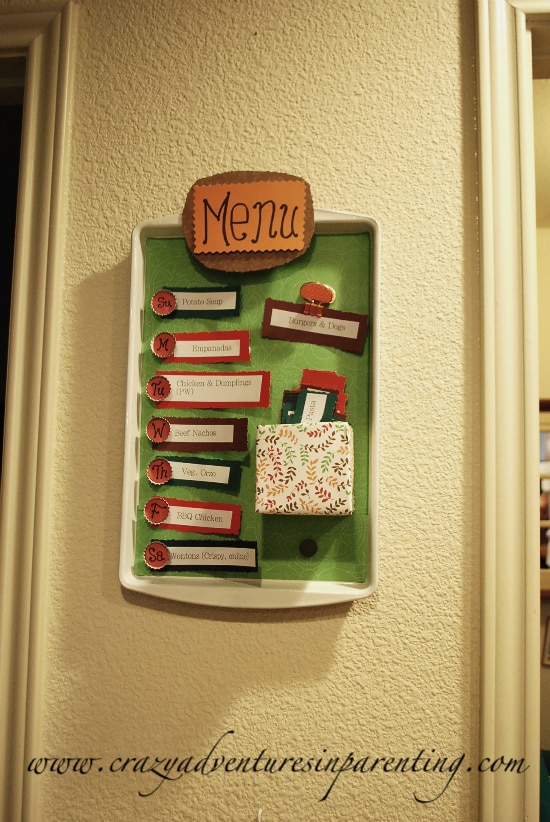
I grabbed my box and clip, put them where I wanted them and all finished!
I am so excited about this. The kids were, too. “Look, we know what’s for dinner now!”
And the beauty part of having it magnetic is you can swap it around – say, something doesn’t thaw on time, or you have an appointment crop up, you can swap things around at will.
What do you think? Do you think having a menu board might help you, too?
Never miss a thing! Subscribe today for all kinds of crazy parenting fun!





1 thought on “DIY Weekly Menu Board”