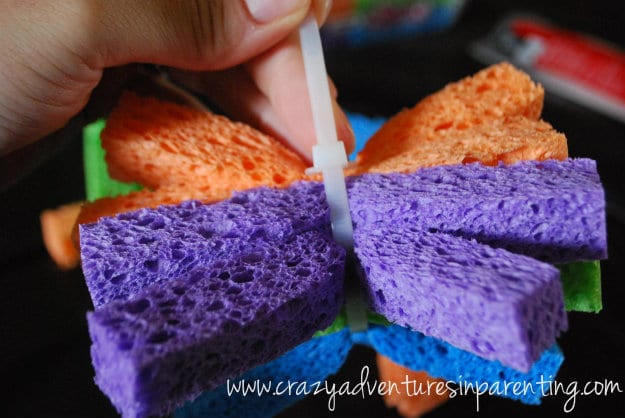
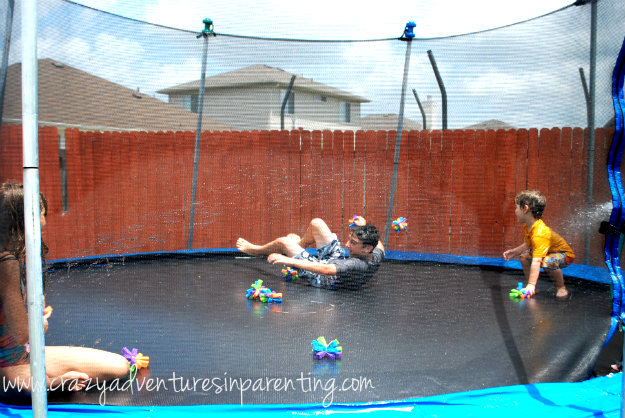
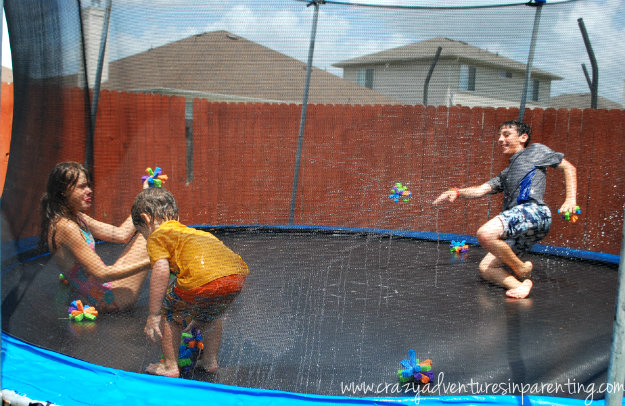
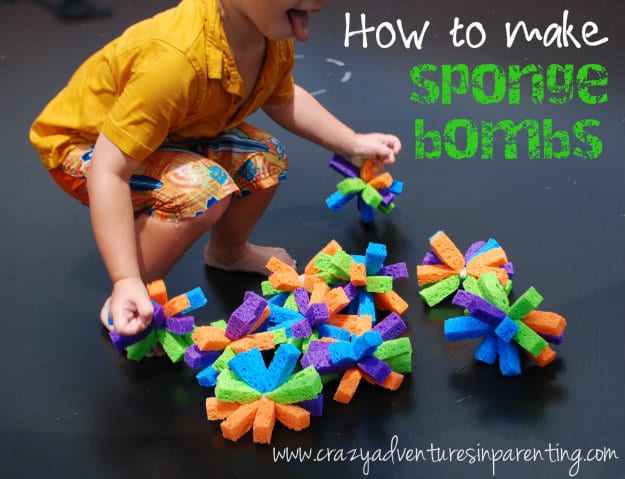
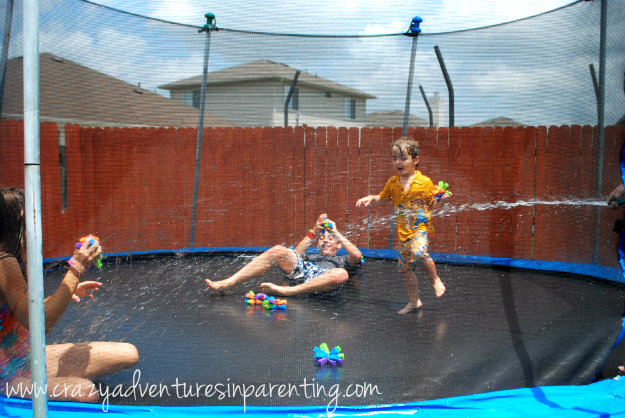
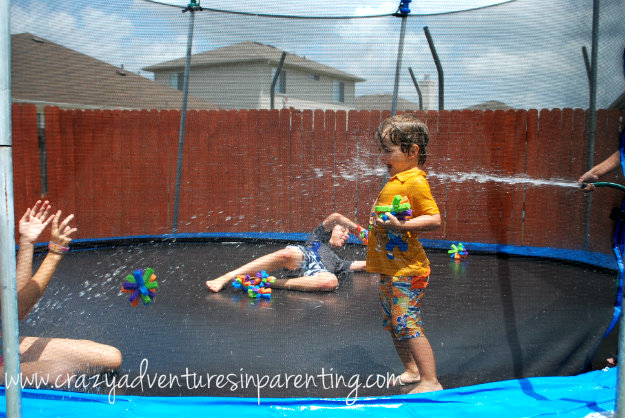
In searching for summer fun awesomeness on Pinterest, I came across this adorable post idea for “Sponge Bombs.” (Not Sponge Bob, which I inadvertently say EVERY. FREAKING. TIME.) Sponge Bombs are essentially cut-up colorful kitchen sponges, zip-tied together* in the middle, and moistened to become wet sponge “balls” to throw and play tag with. Sounds spectacularly awesome, am I right? I thought so, too!
*Edit – I’m told you can use “ouchless” hair elastics (like these) to make these, too!
I was probably a little too excited about sending my husband to the store for sponges and zip ties for this Sponge Bomb tutorial, but my fun, craft-making self just couldn’t help it. Like a kid at Christmas, I barely could contain myself when he returned home. “SPONGES AND ZIP TIES, YAY!” (I know, it’s okay to shake your head, I truly am a dork.)
There I was, ripping open the packaging, with scissors in hand, only to discover the author of the above linked post didn’t really go into any specifics whatsoever about how to make the craft. D’oh!
So, after a few minutes of thinking/planning, and figuring it out myself, I decided to share MY WAY with you, in case you wanted to make some summertime fun for your kids, too! Here’s my handy-dandy tutorial on how to make Sponge Bombs, step-by-step.
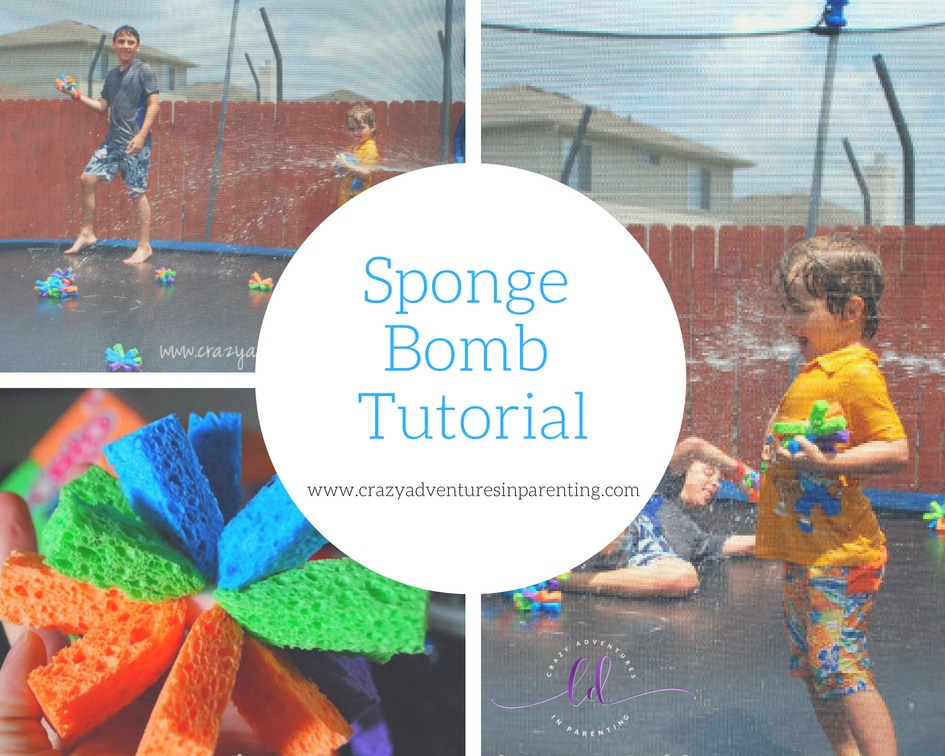
Sponge Bombs Tutorial
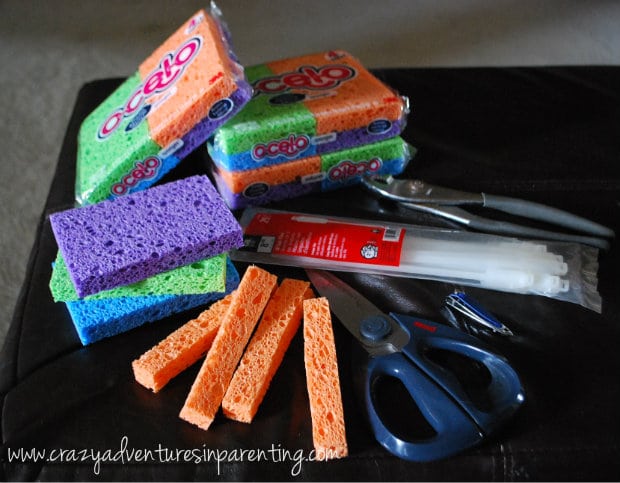
What you’ll need:
- Sponges (as many four-packs as you want, each four-pack will make TWO bombs)
- zip ties
- scissors
- pliers
- nail clippers
How to Make Sponge Bombs for the Kids
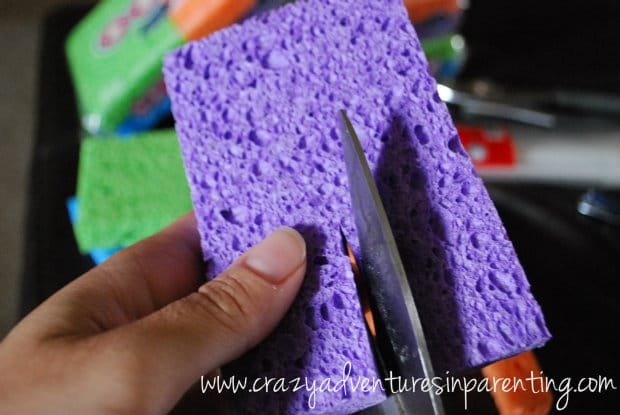
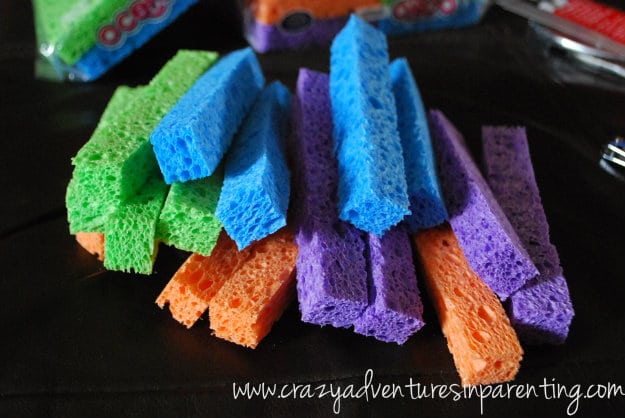
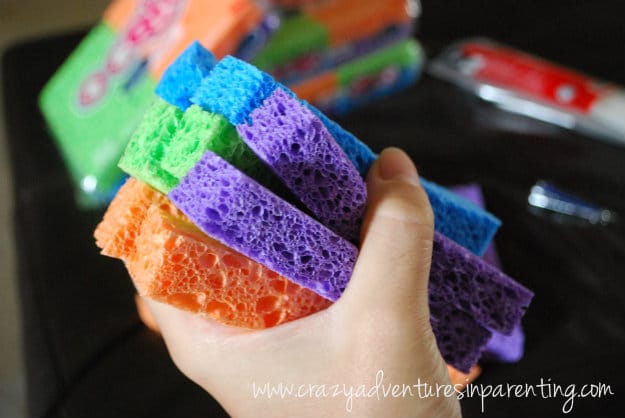
Cut each sponge length-wise in half at first, to make each of the cuts even.
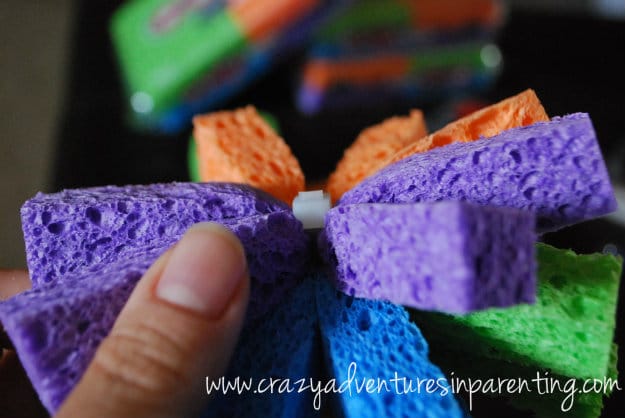
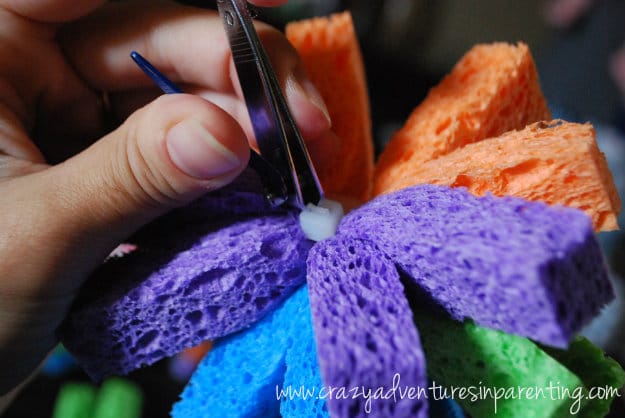
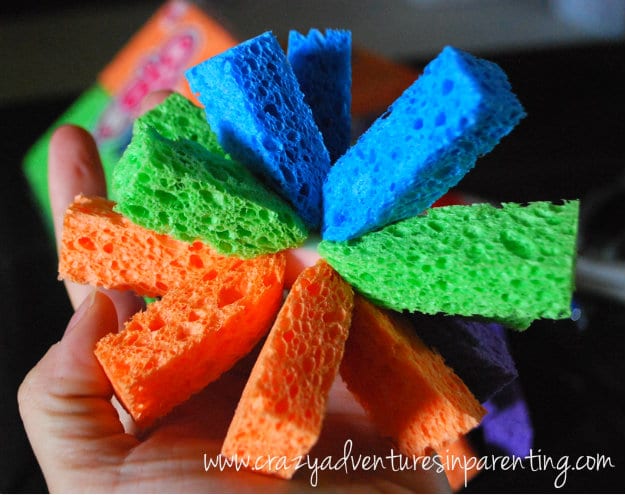
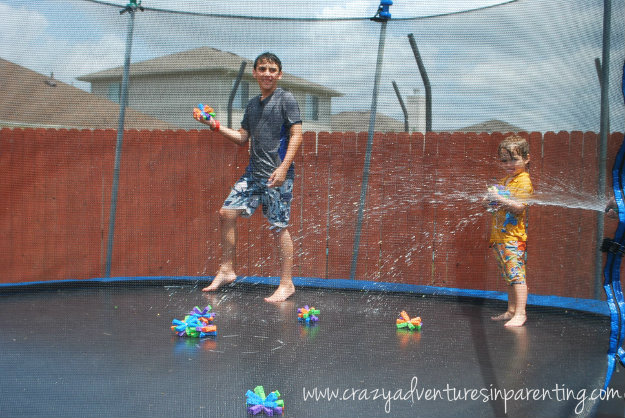
What are YOU doing this summer to stay cool with the kids?
For more fun in the sun summer fun ideas, check out these posts:
Summer Boredom Busters – Water Fun
Summer Boredom Busters – Get Creative
Summer Break Tips
Fun Things To Do With Kids During Summer Vacation



This Sponge Bomb tutorial is fantastic! I love how simple yet fun it is to make these with the kids. Can’t wait to try it out during our next family adventure. Thanks for sharing!
This Sponge Bomb Tutorial is such a fun idea for summer activities! I can’t wait to try this with my kids. The step-by-step instructions are super helpful, and I love how eco-friendly they are. Thanks for sharing such a creative way to beat the heat!
This tutorial was so much fun! My kids had a blast making the sponge bombs, and they’re perfect for our backyard water fights. Can’t wait for our next family adventure with these! Thanks for sharing such a creative idea!
Loved this Sponge Bomb tutorial! It looks like such a fun and creative activity to do with the kids. Can’t wait to try it out during our next family adventure!
This tutorial is such a fun idea for keeping the kids entertained! I can’t wait to try this out during our next family weekend. Thanks for sharing these creative adventures in parenting!
What a fun tutorial! I love the creativity behind using sponge bombs for outdoor play. Can’t wait to try this with my kids during our next backyard adventure. Thanks for sharing this awesome idea!
Wow, I love this. You’re a beautiful writer. I’ve been on the road living off the grid for almost seven years and like you the mystery is gone, but a contentment has settled in. And now that my questions have been answered (about myself), the future possibilities are endless. Sometimes that’s my main problem, too many choices. What a fortunate problem to have, no?
YouTube Music Premium offers an ad-free music experience, offline downloads, and background play so you can enjoy your favorite songs anytime, anywhere. Visit YouTubeMusicPremium.com to learn more and explore premium features.
insta pro 2 is the best app for access content for instagram app directly for free.
insta pro 2 is the best app for access content for instagram app directly for free.