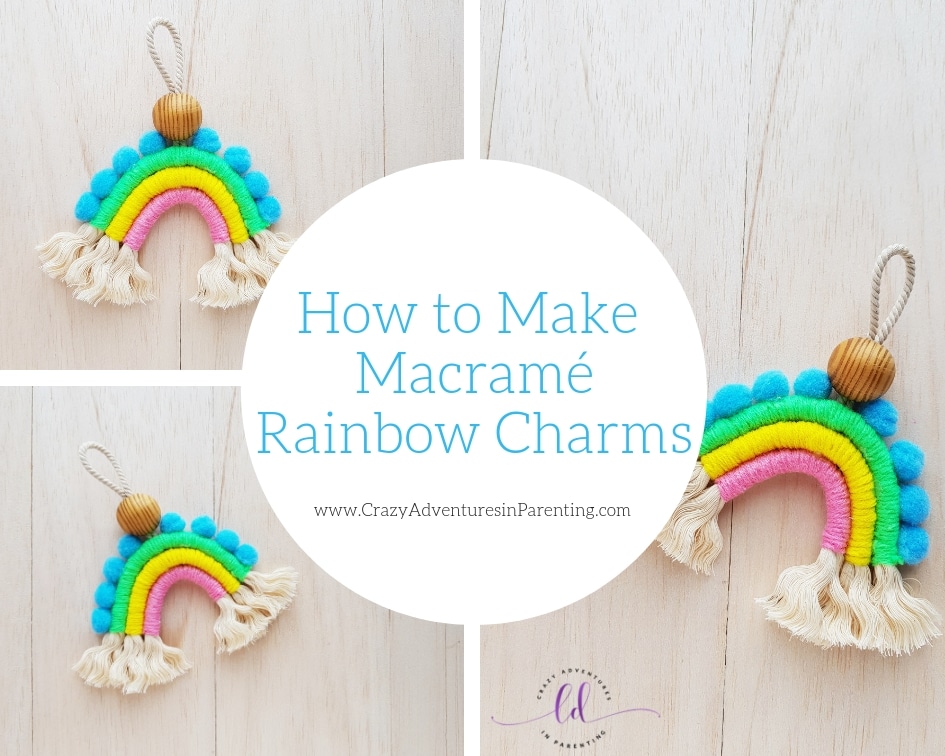
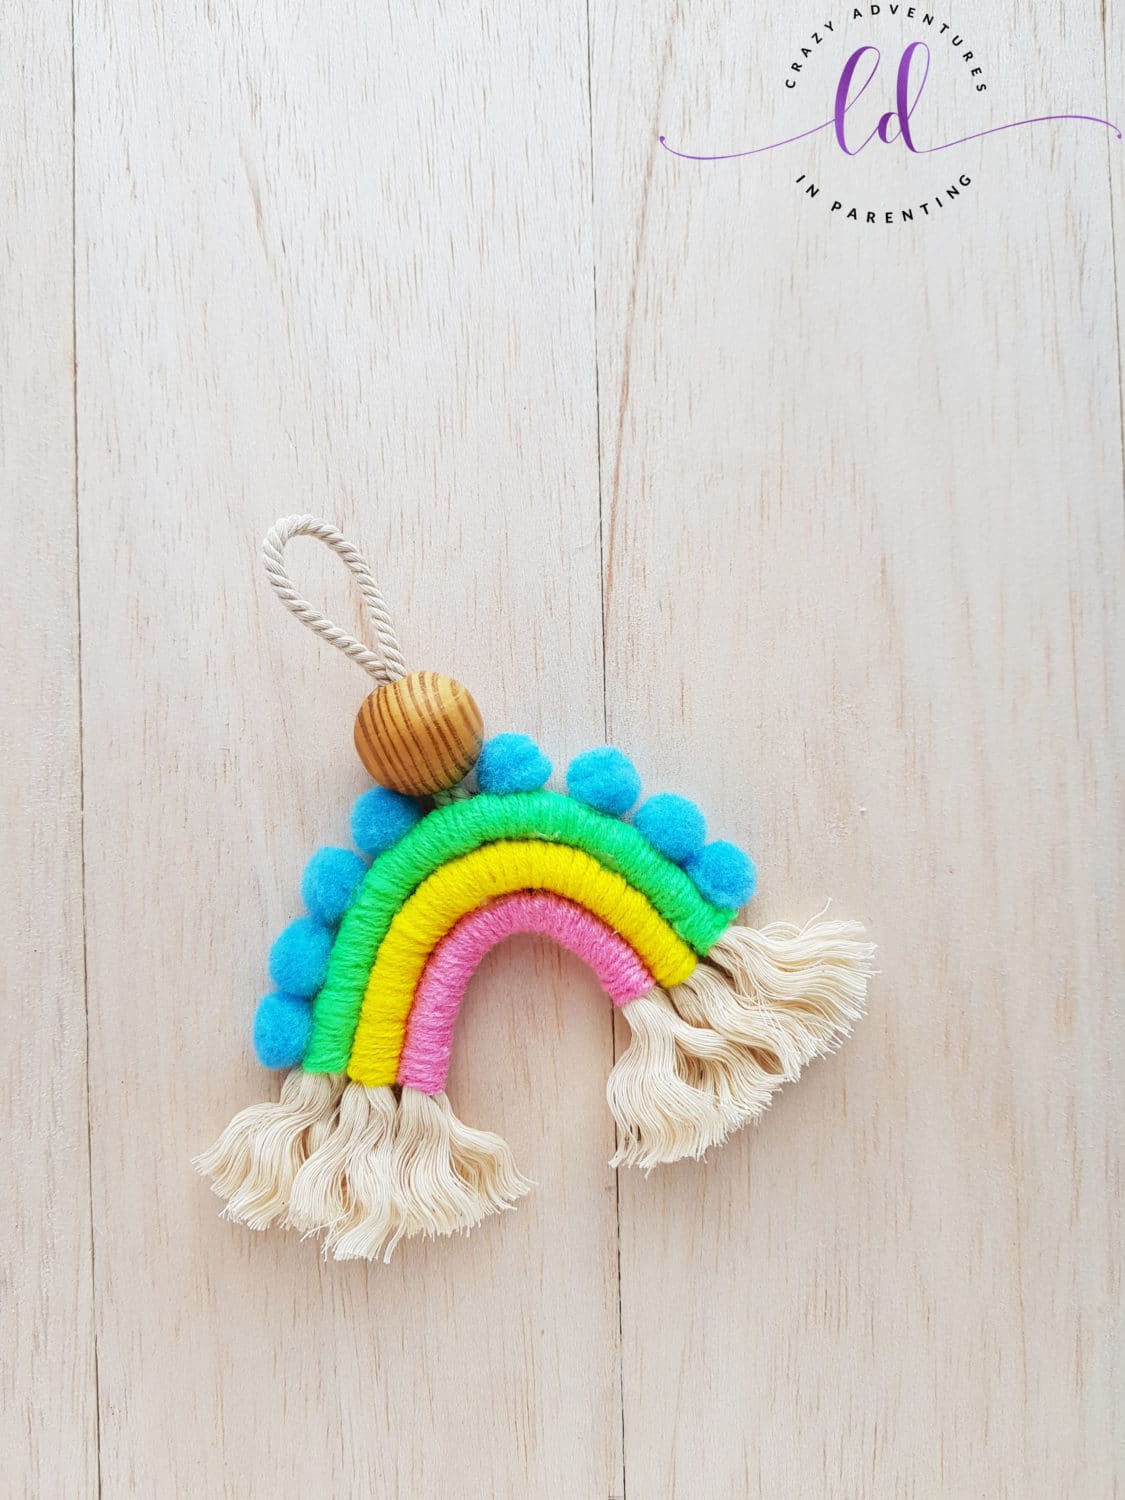
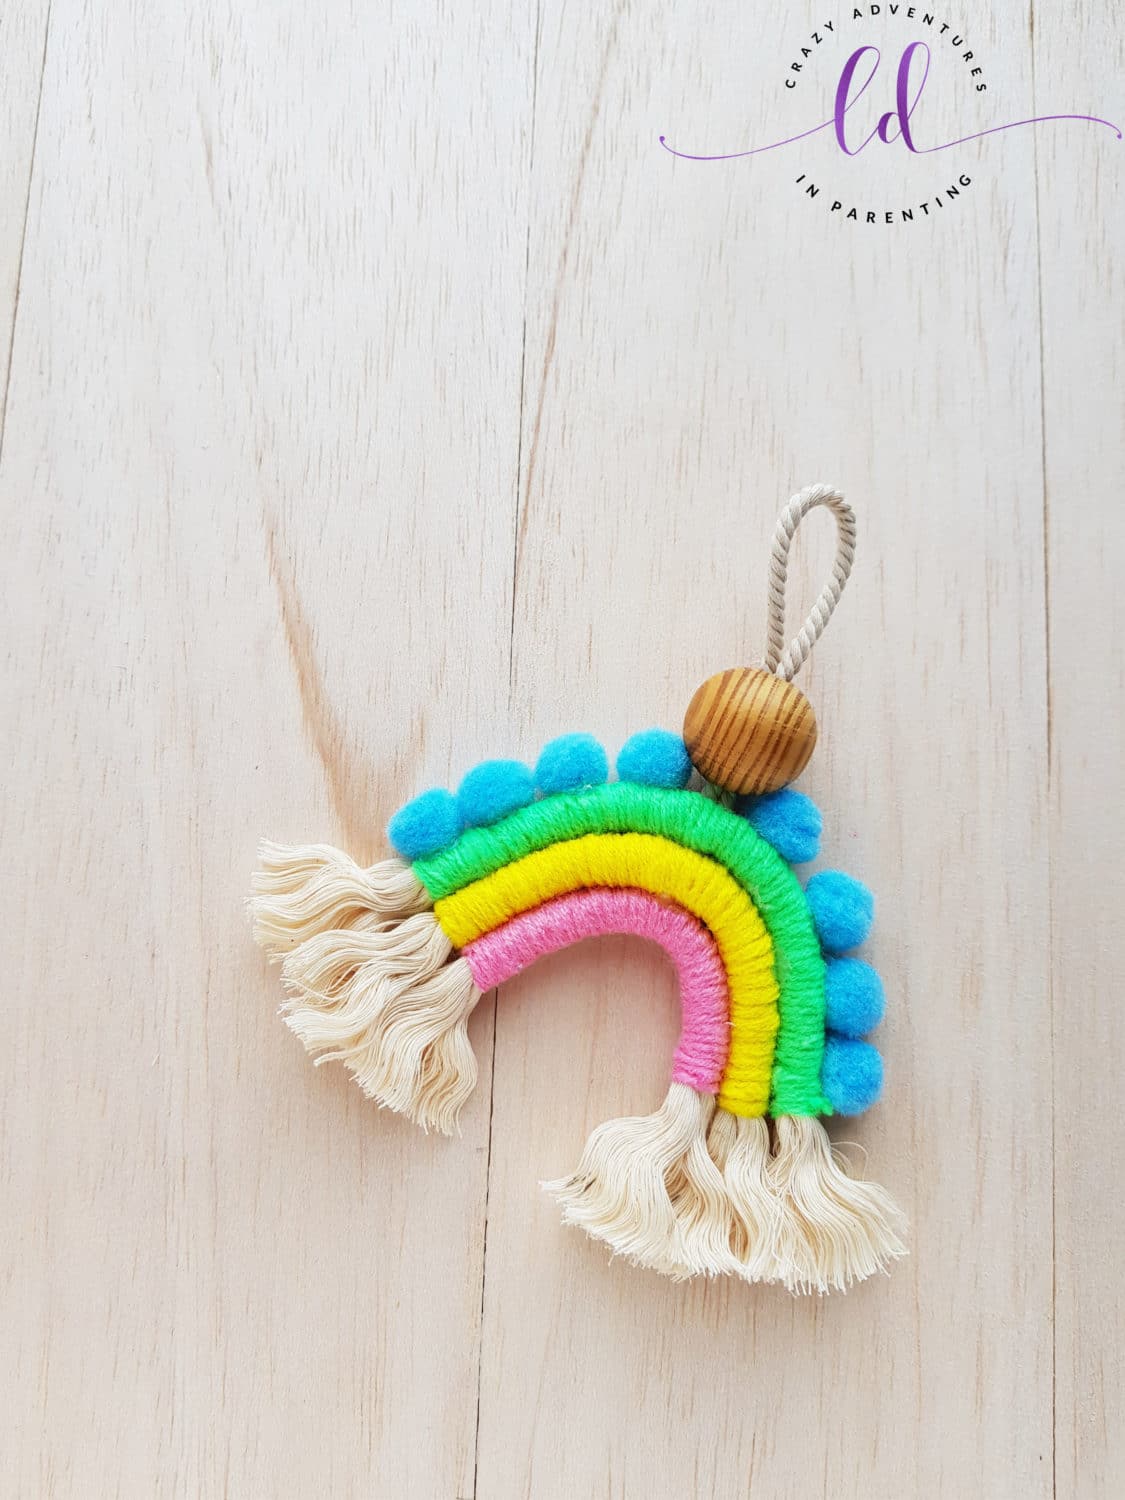
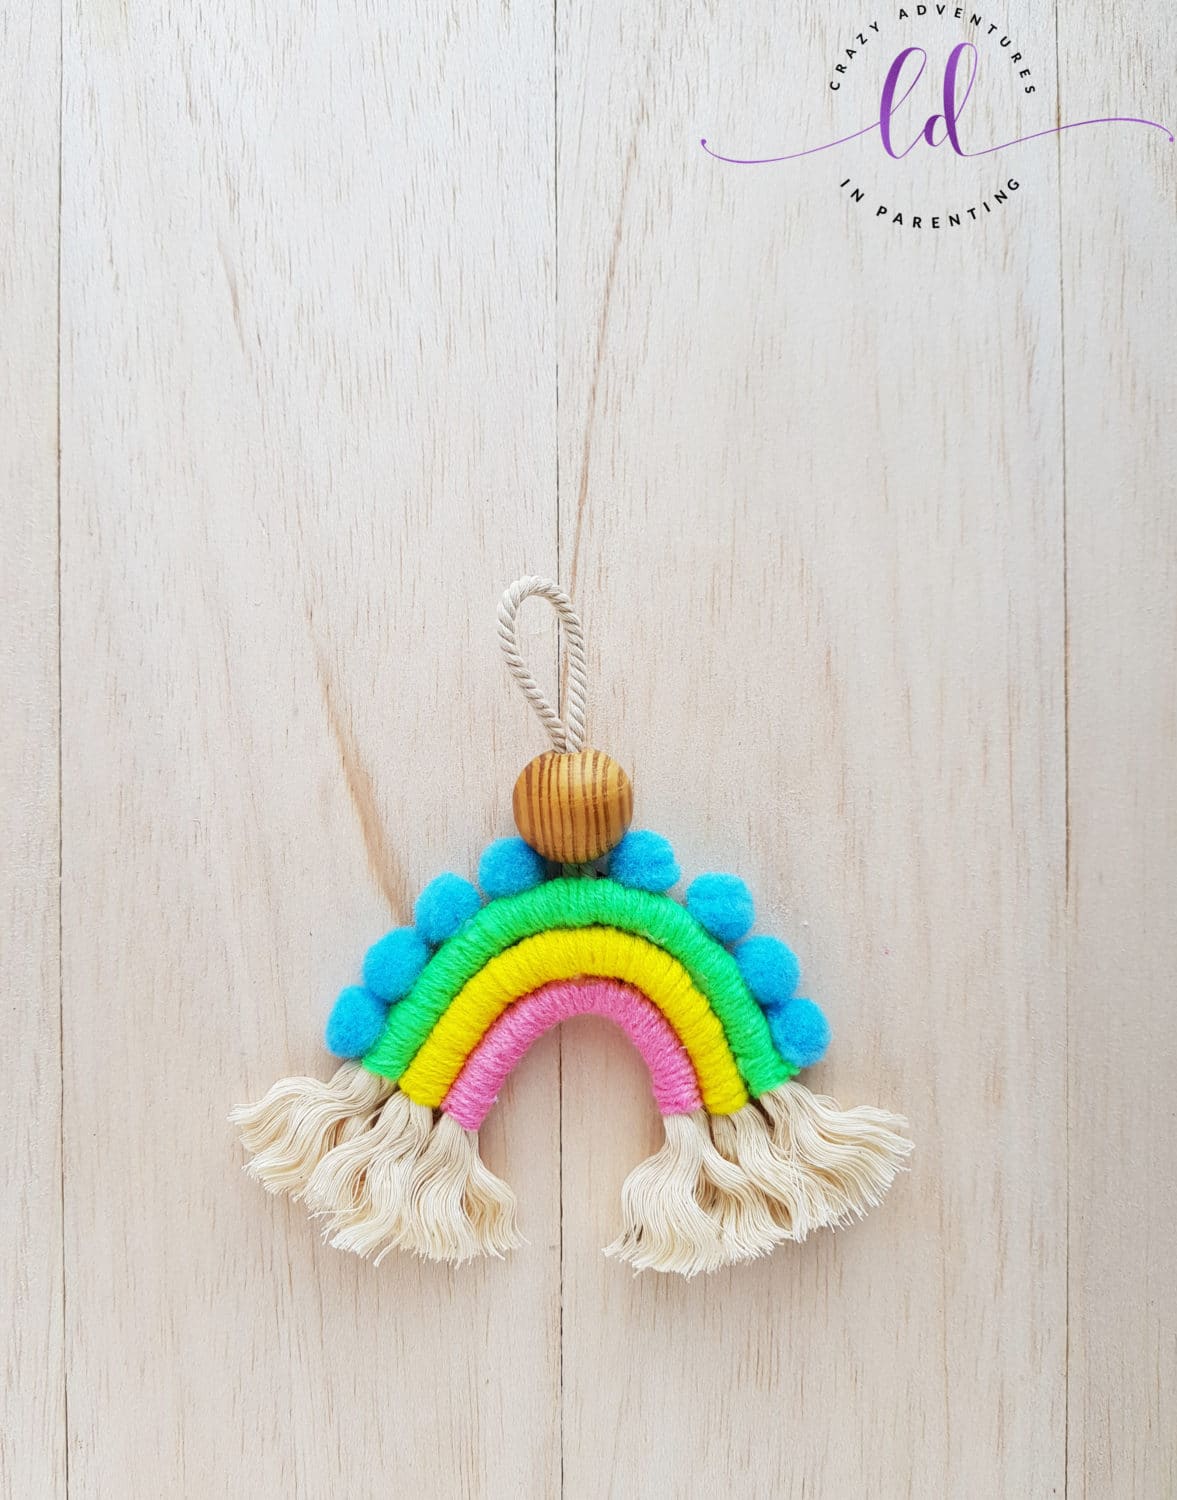
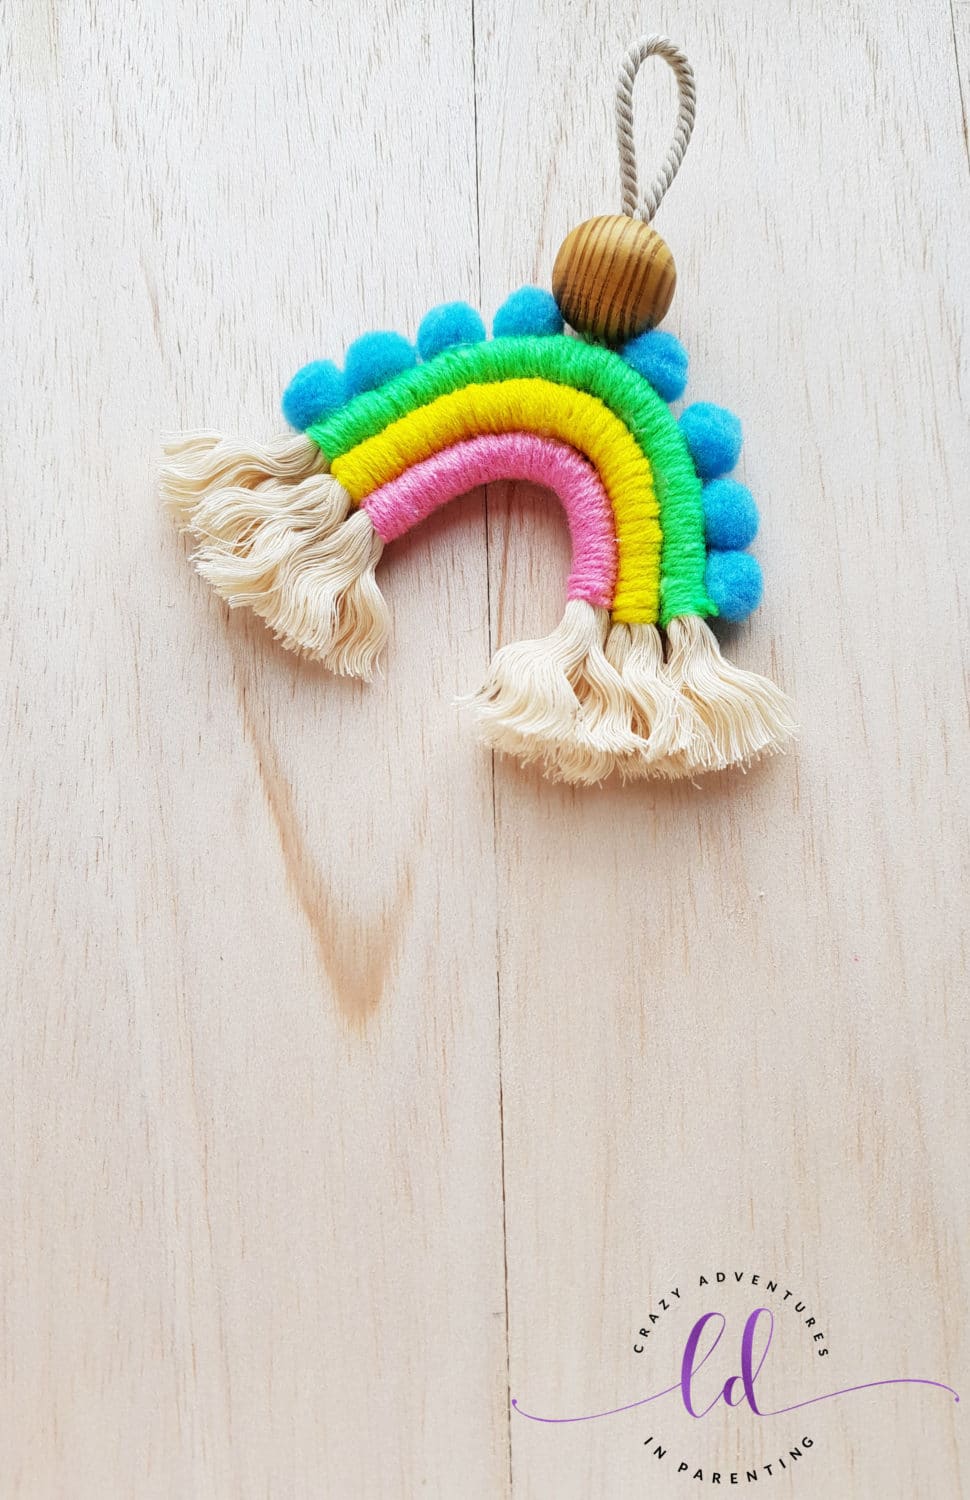
Rainbow fans rejoice! This easy to make DIY Macramé Rainbow Charm Craft can be made into a wall hanging, ornament, keychains, and more!
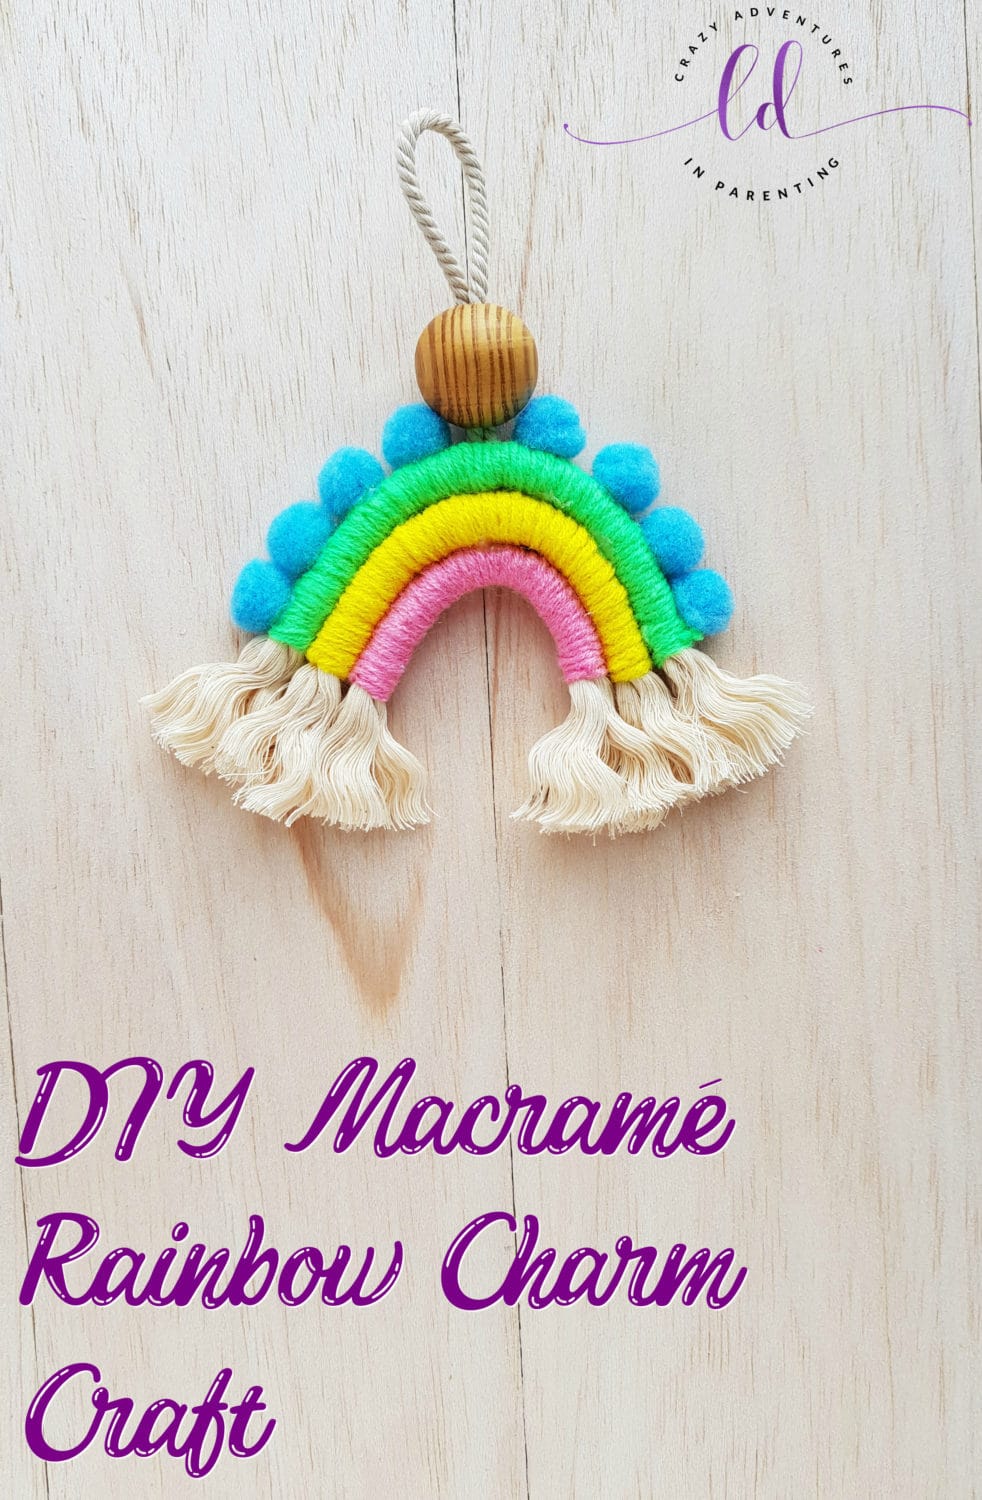
DIY Macramé Rainbow Charm Craft
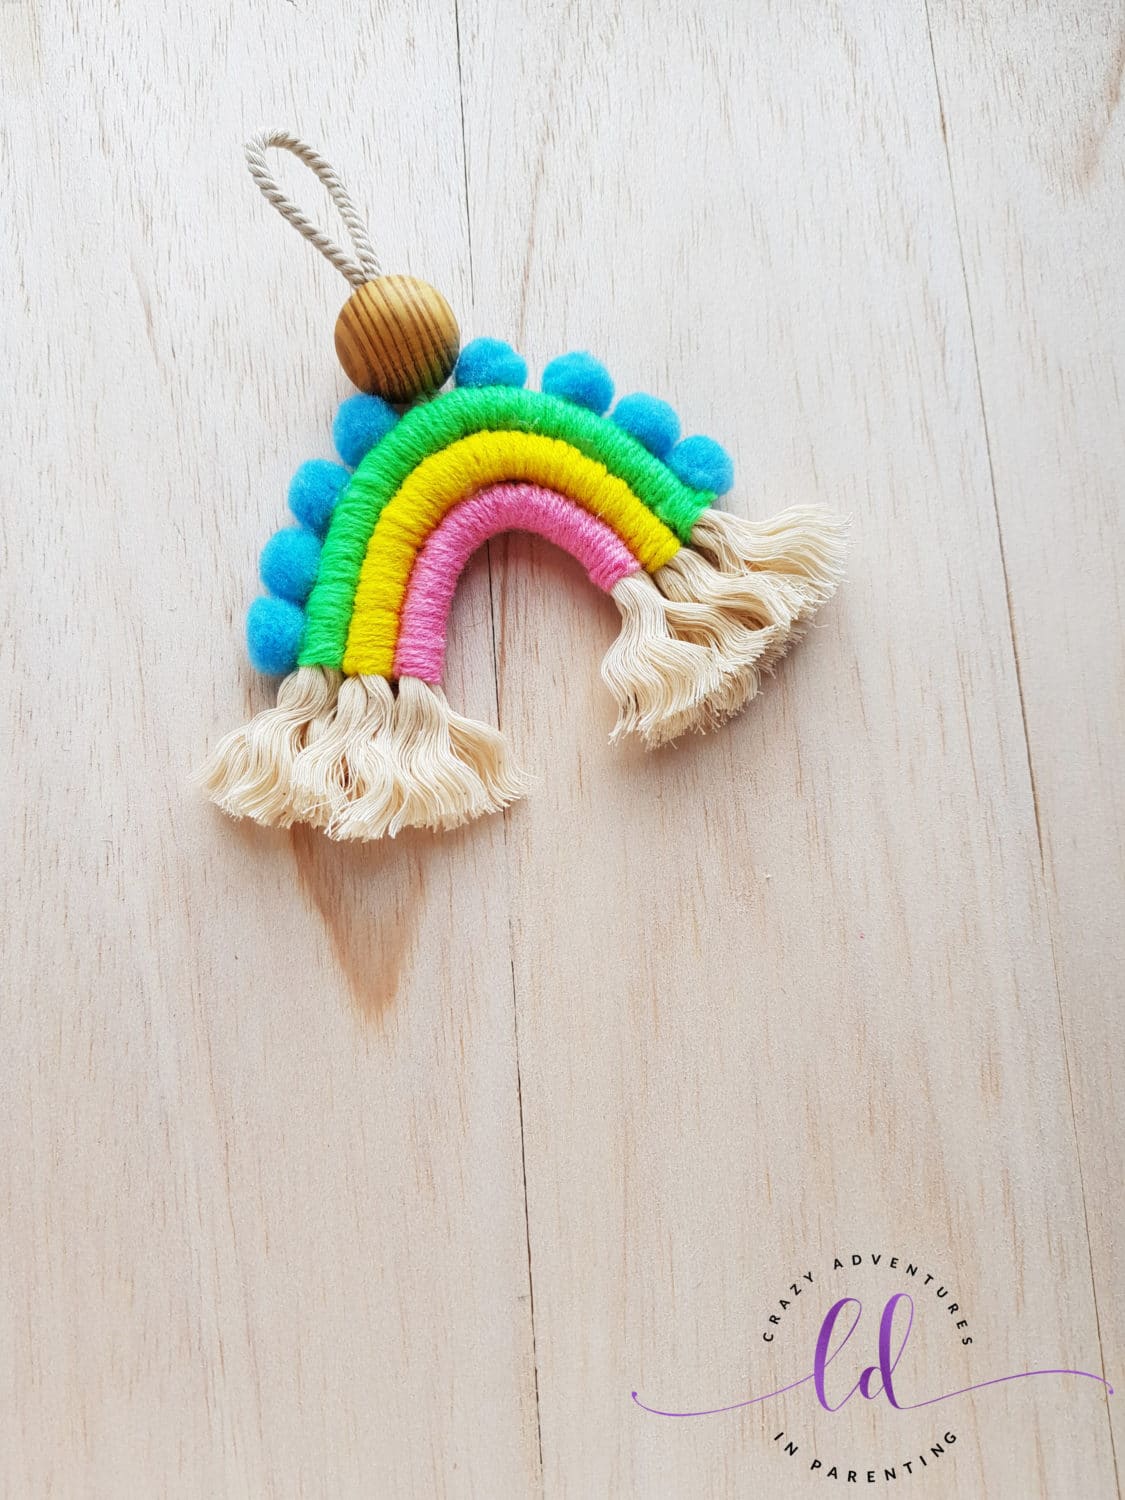
YOU GUYS! I love macramé SO FREAKING MUCH! Just as much as I love rainbows! We are huge rainbow fans here, as is evident by all the rainbow recipes and rainbow crafts we’ve shared here (and we’re not stopping any time soon, haha)! This awesome DIY Macramé Rainbow Charm Craft is delightful and stunning and simple and OH SO PRETTY, don’t you think?
What is Macramé?
Macramé is the art of tying cord, string, or yarn into patterns as art. Sometimes, these patterns are created by tying materials around another material (just like our tutorial below ties together yarn on rope). Other times, macramé is made by tying rope, cord, or yarn in patterns with or without beads to create a design or pattern on its own. I have several macramé planter holders around my house that are absolutely stunning, and I wanted to teach my kids how to do this as well!
Can Kids Make Macramé Crafts?
Absolutely! With some parental observation and supervision, macramé can be tied together by children relatively easily so long as they follow the directions. When hot glue, scissors, or other such slightly dangerous things come into the mix, that’s when parents will need to get involved. Children might need help getting started with specific knots, but once they get going, it should be smooth sailing for them! Kids might also need help finishing off the tie to get it tight enough or shaped in a certain way.
What Can You Make with Macramé?
I mentioned earlier that I have macramé hanging plant holders in all kinds of designs, and they are gorgeous! Macramé can be made into just about anything! Skirts, shirts, cover-ups, pants – all kinds of clothes! It looks particularly spectacular as tapestries, blankets, throws, scarves, wall hangings, rugs, charms and ornaments too.
Tips to Make a DIY Macramé Rainbow Charm Craft
First and most important tip is to ensure your scissors are sharp and will cut through the rope and felt really well. If you’re using dull scissors, the ends might not look as clean and crisp as they should, you know? I also recommend ensuring your work space is safe enough to use the hot glue gun. Make sure you have hot glue backups for your glue gun as well.
How to Make a Macramé Rainbow Charm Craft
To make a Macramé Rainbow Charm Craft like we did, you will need yarn in at least 3 colors, scissors, a tapestry needle, hot glue gun, felt fabric, a long thick piece of rope long enough to cut into 3 or more sections, a thinner rope just as long as the first, one large wooden bead, small felt pompoms in a corresponding color, and a safe workspace to work in that’s close enough to an outlet for your glue gun.
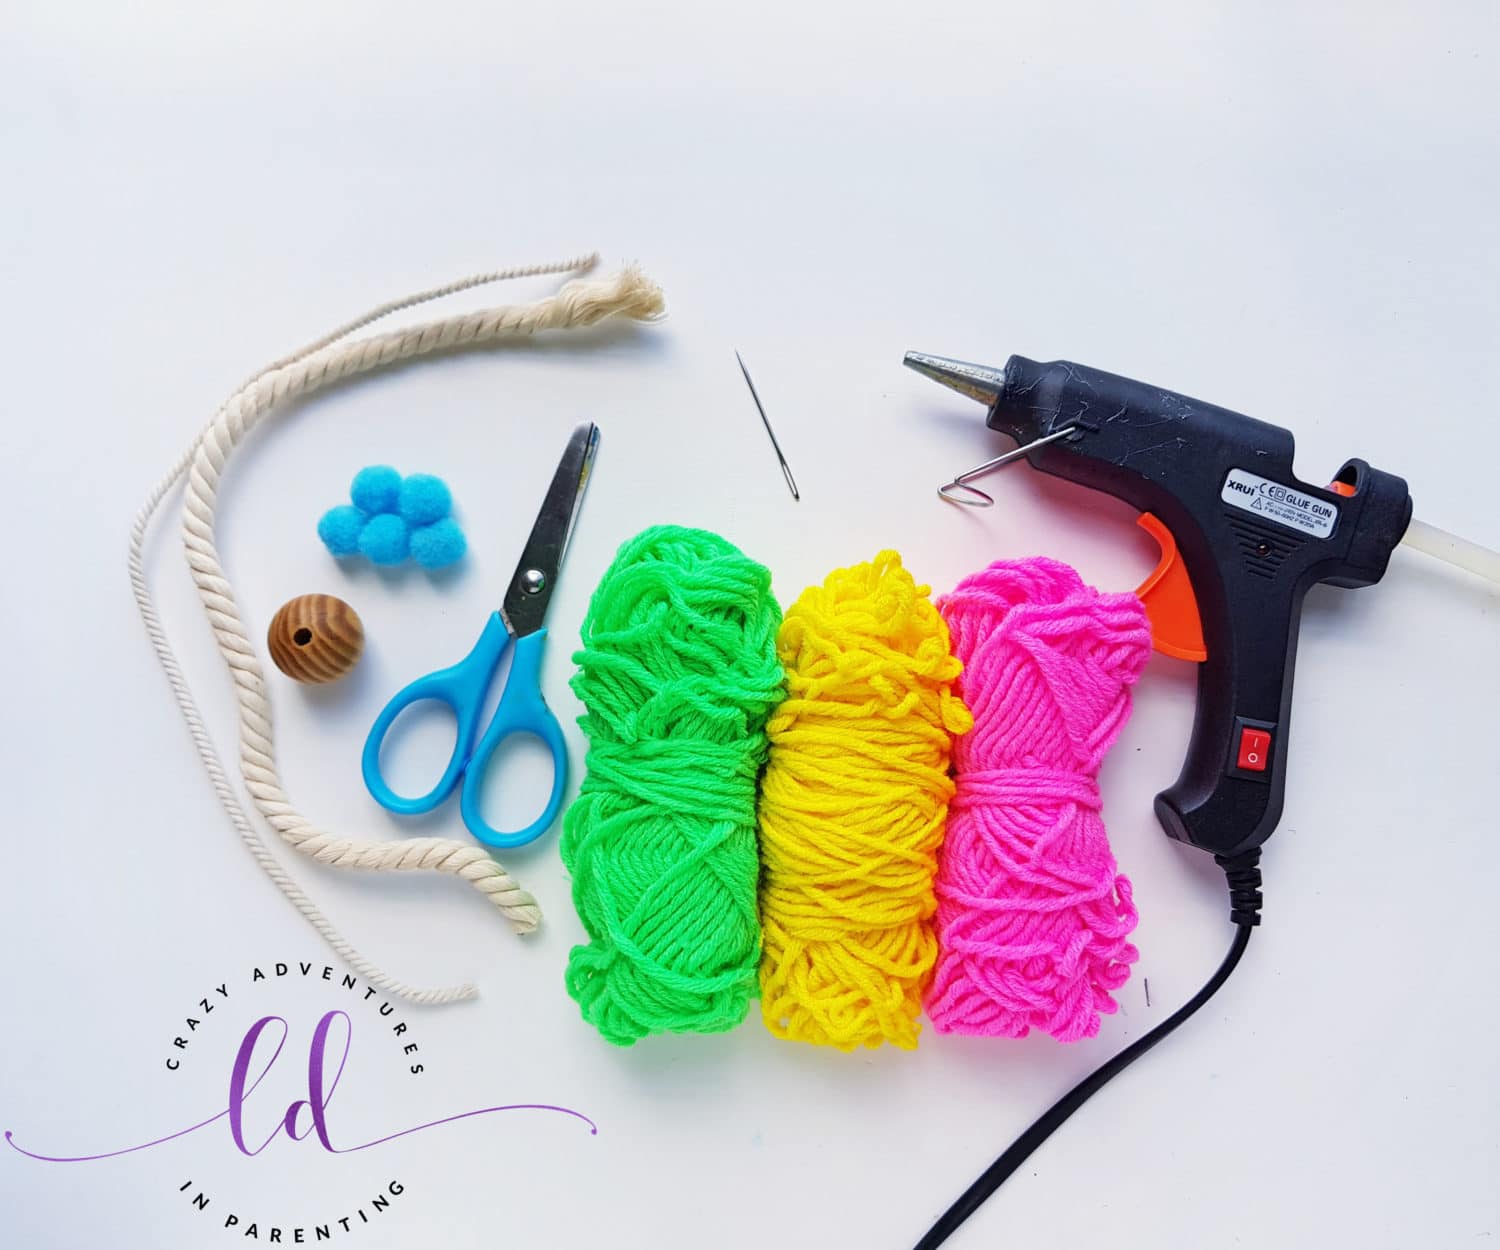
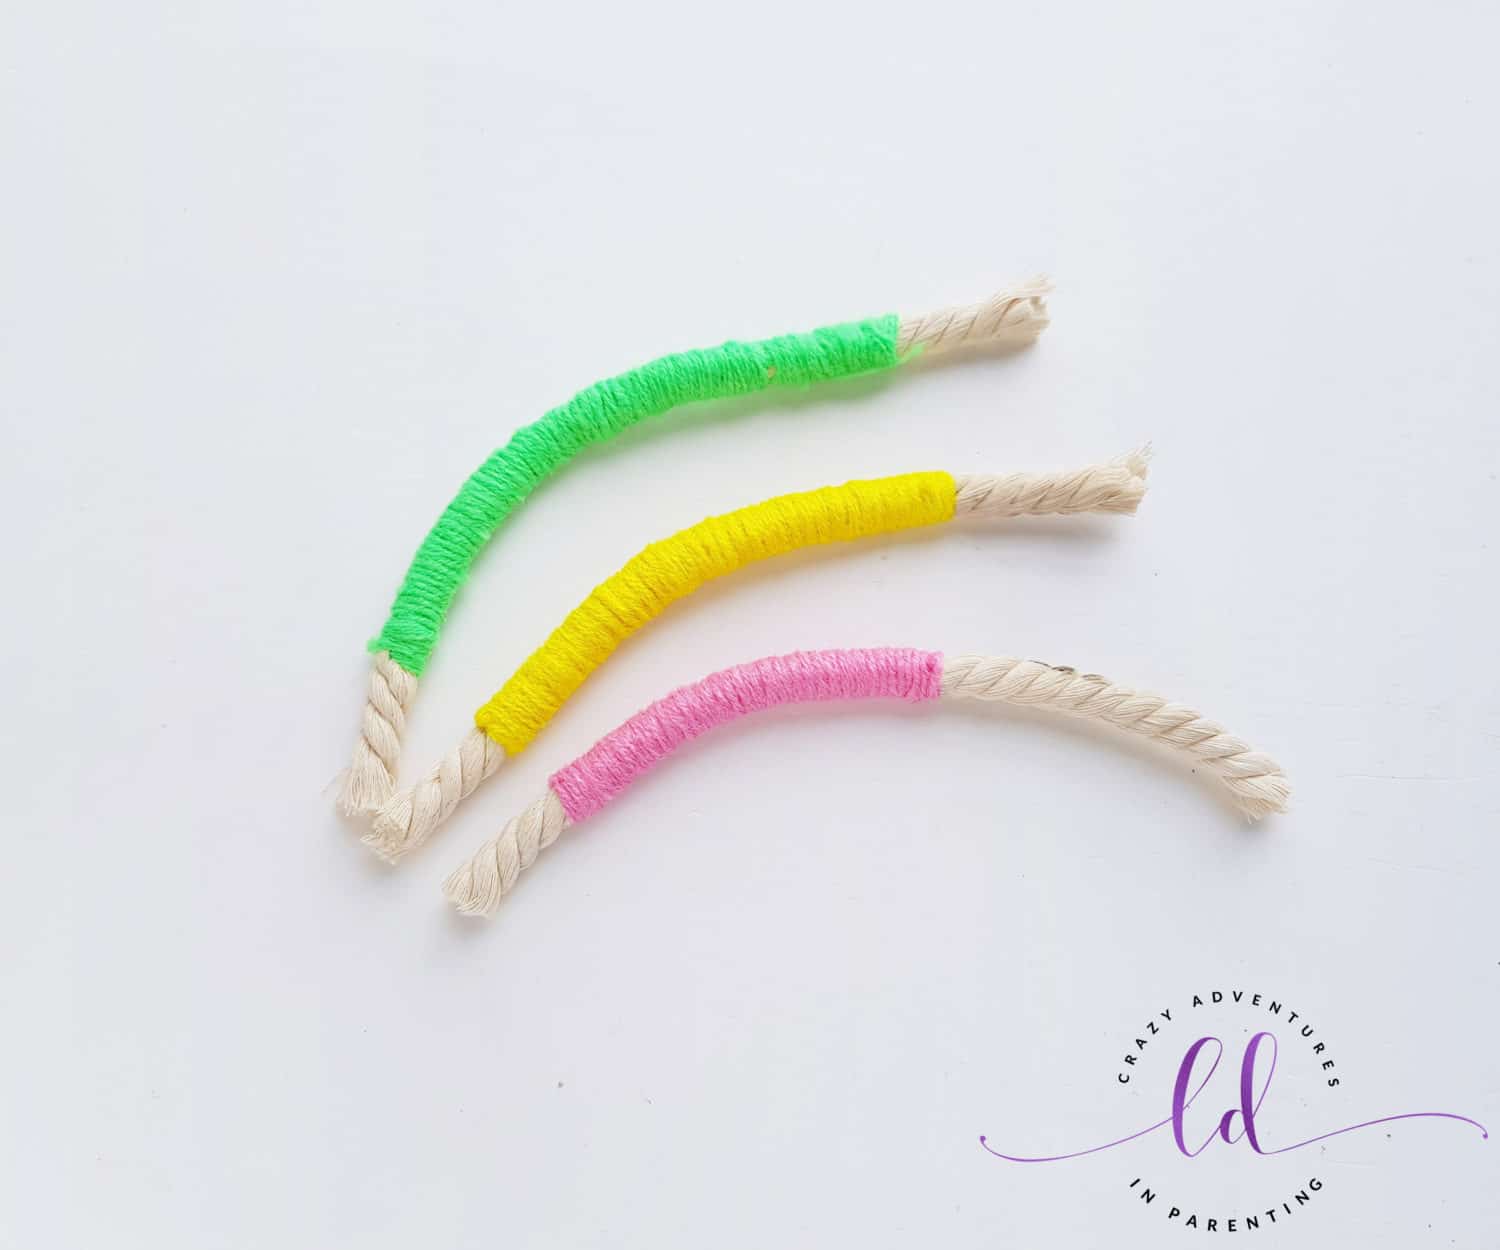
To start, you’ll want to determine the size you will make your rainbow charm and cut 3 pieces of thick rope as per the determined length (or size). We created a 3 layer-rainbow pattern, so I cut 3 pieces of rope, each 2 cm longer than the previous one. Take any one of the rope pieces and select a colored yarn. Start to wrap the yarn around the rope but start 1 inch in from the end.
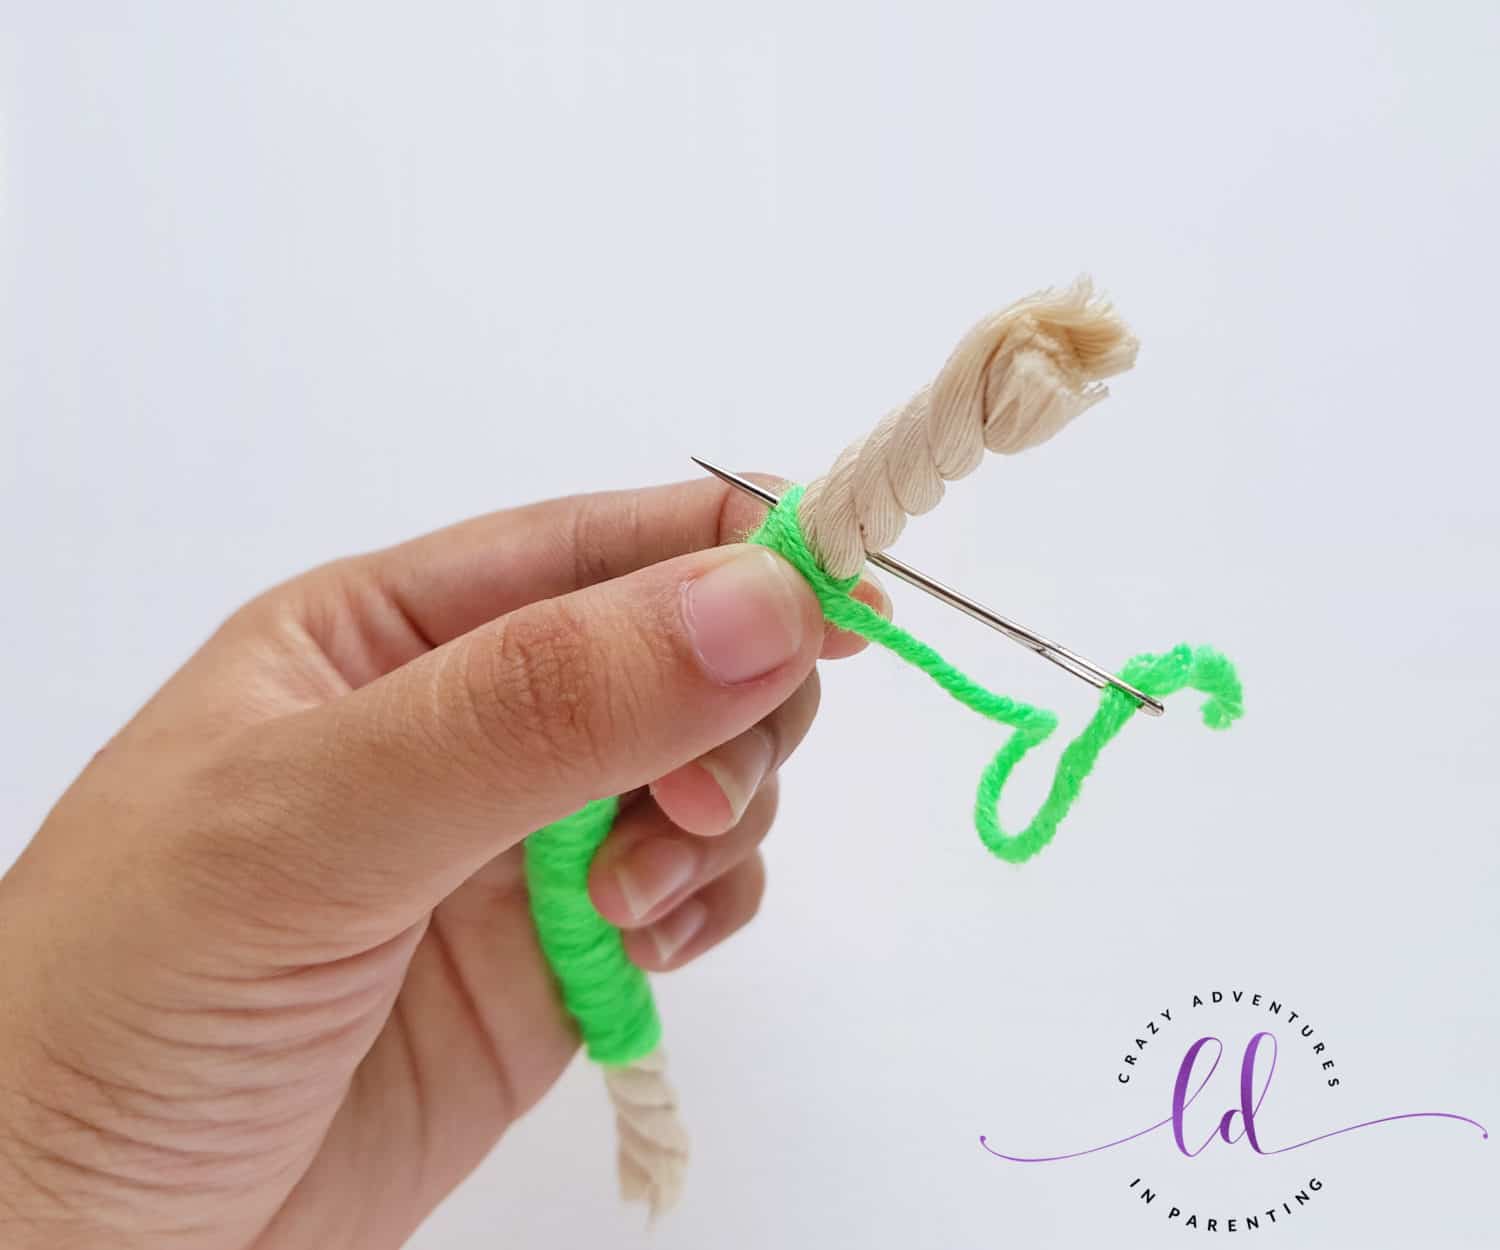
Wrap the yarn around the rope until almost reaching the other end of the rope, but make sure to leave 1 inch intact on that end like you did with the beginning end. Cut off the yarn from the bundle by leaving 2 or 3 inches extra yarn on hand. Insert the tapestry needle through the open end of the yarn and insert the needle through the rope adjacent to the last wrap of the yarn, then pull the needle all the way through.
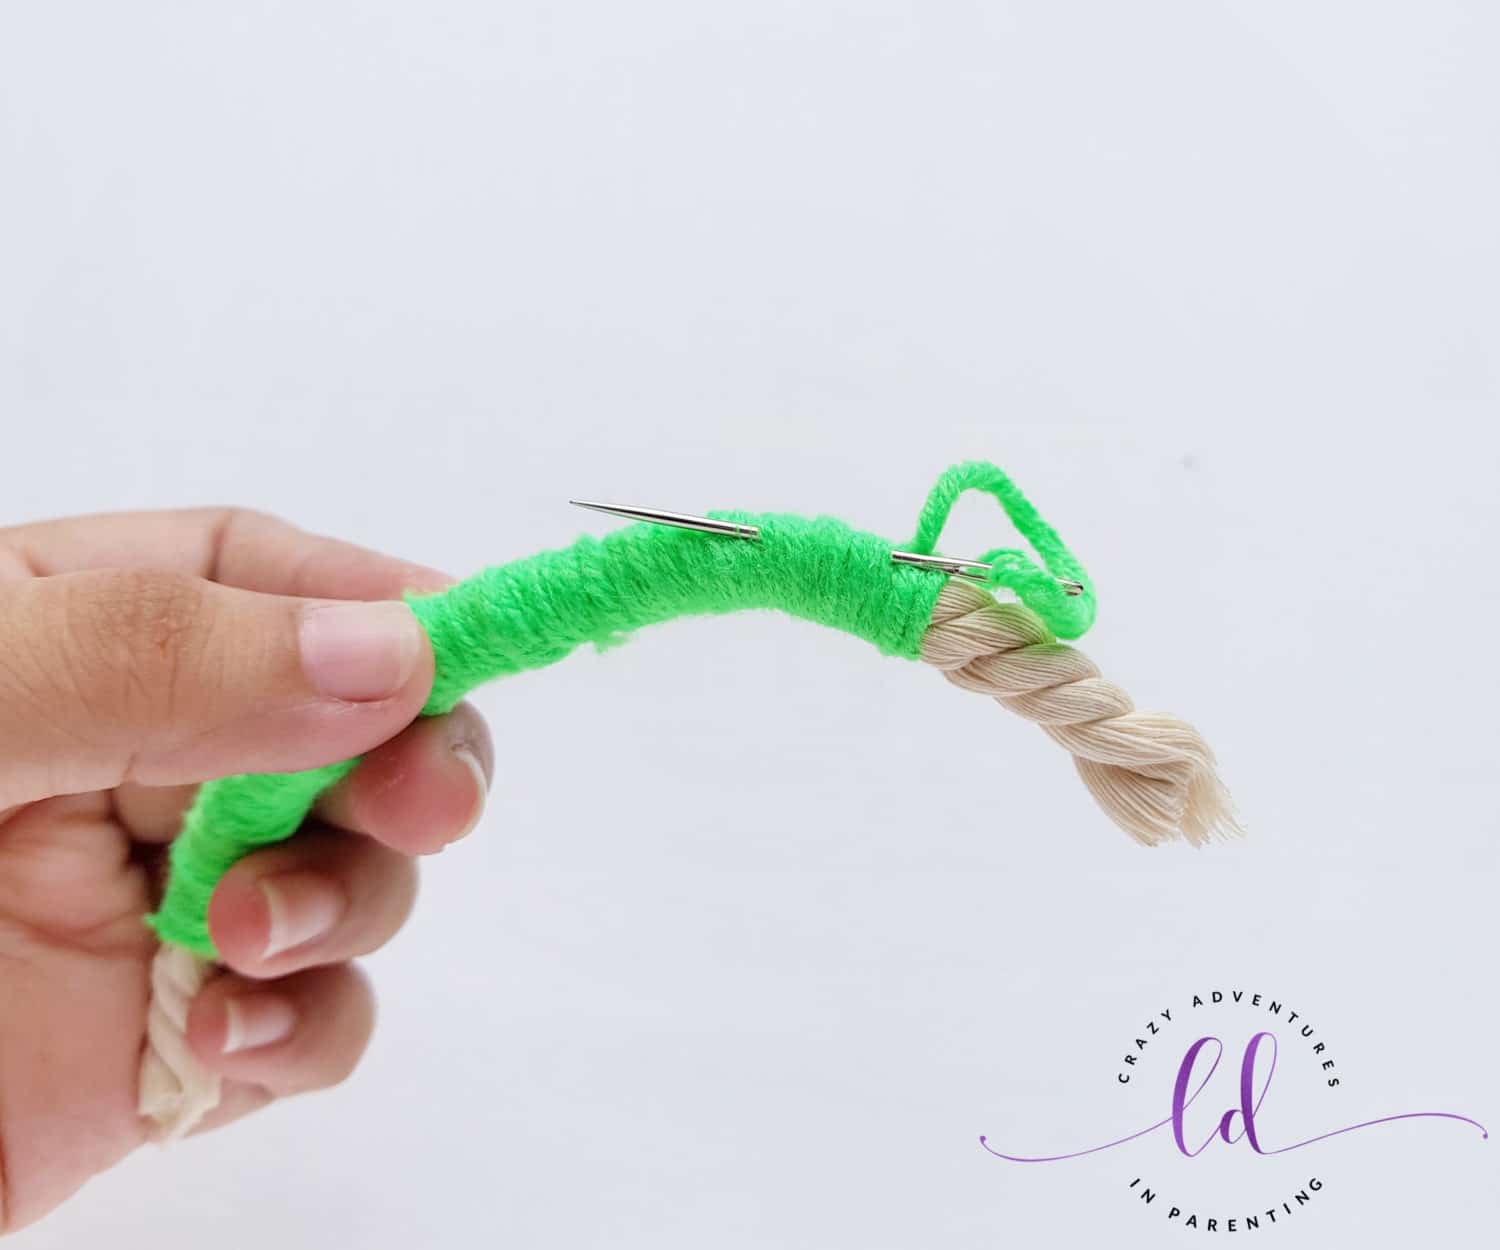
Now insert the needle through the yarn wraps and draw it out again. Using scissors, cut away any extra yarn to ensure the wrapping is secured.
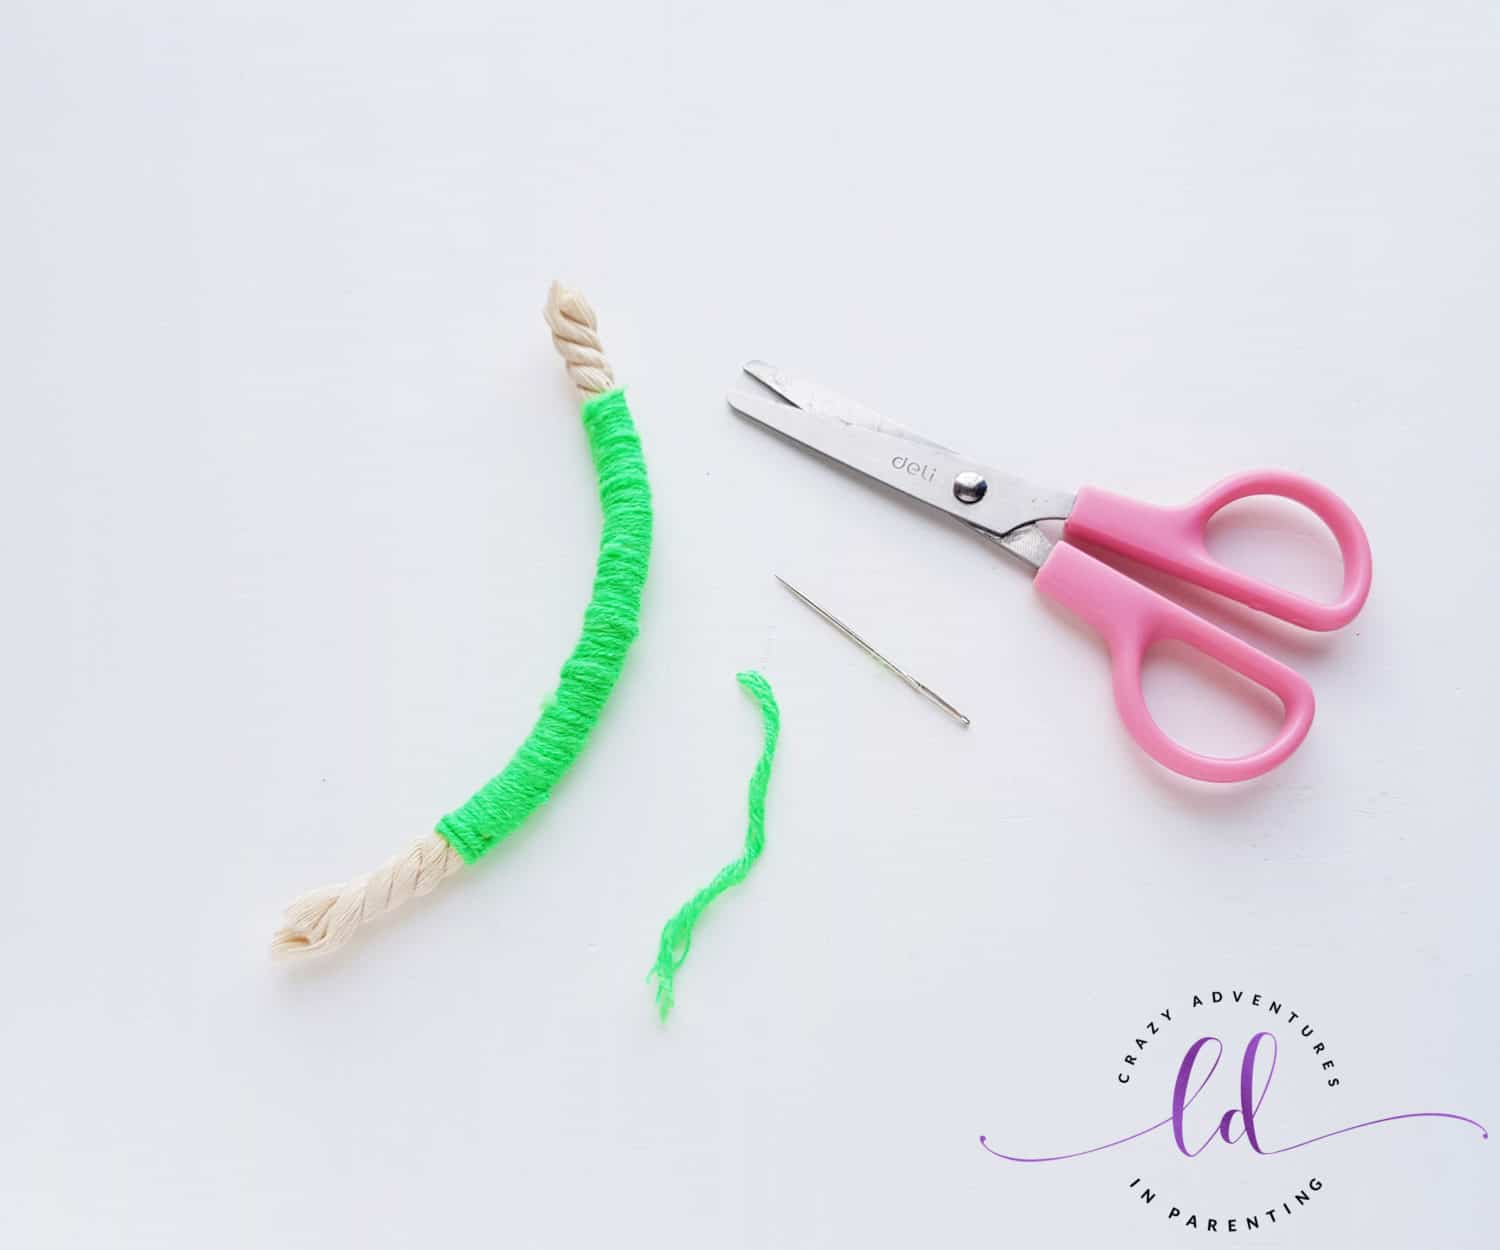
Similarly wrap and cover the other 2 pieces of rope with different colors of yarn.
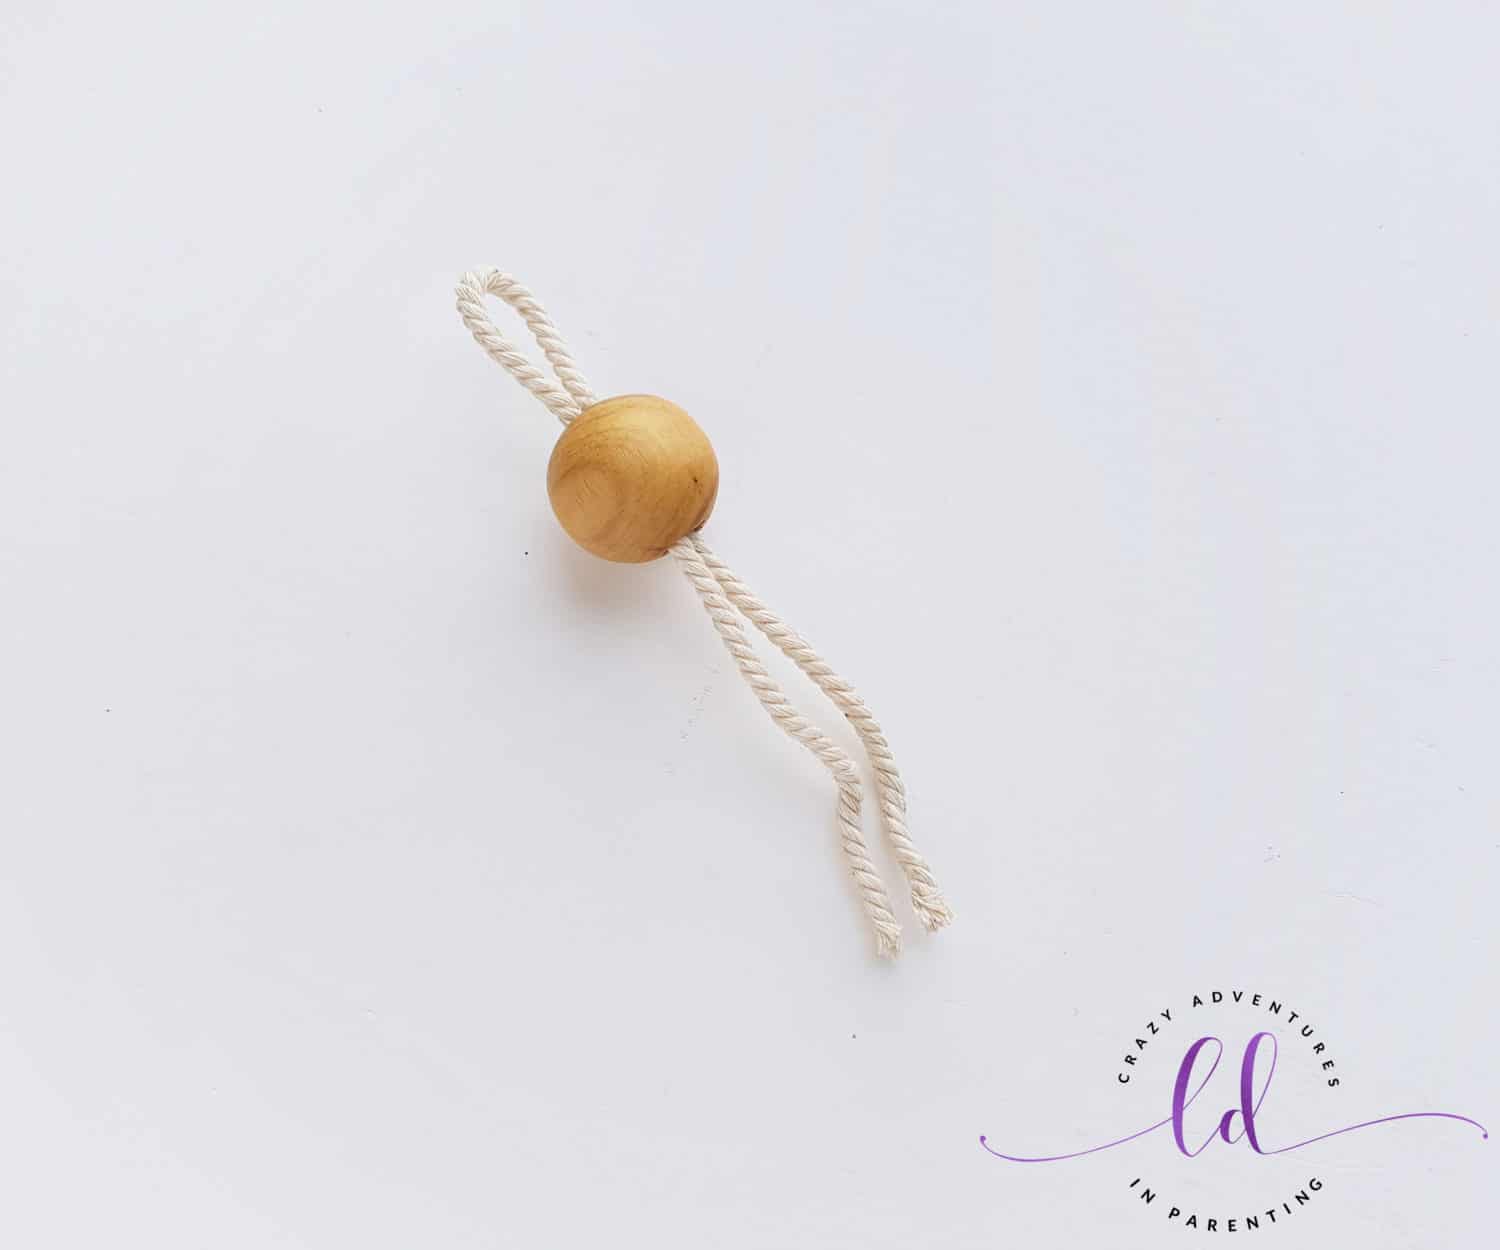
Take the large wooden bead while grabbing the thin rope. Make sure the rope is at least 8 cm long. Fold the rope in half and insert the folded part through the bead and into the rope to form a loop. Pushing the bead through keeping the loop pattern sticking out (this is how it will hang when finished). Some beads may have small holes, the one I’m using is pretty tight so there no chance for the bead to slide out.
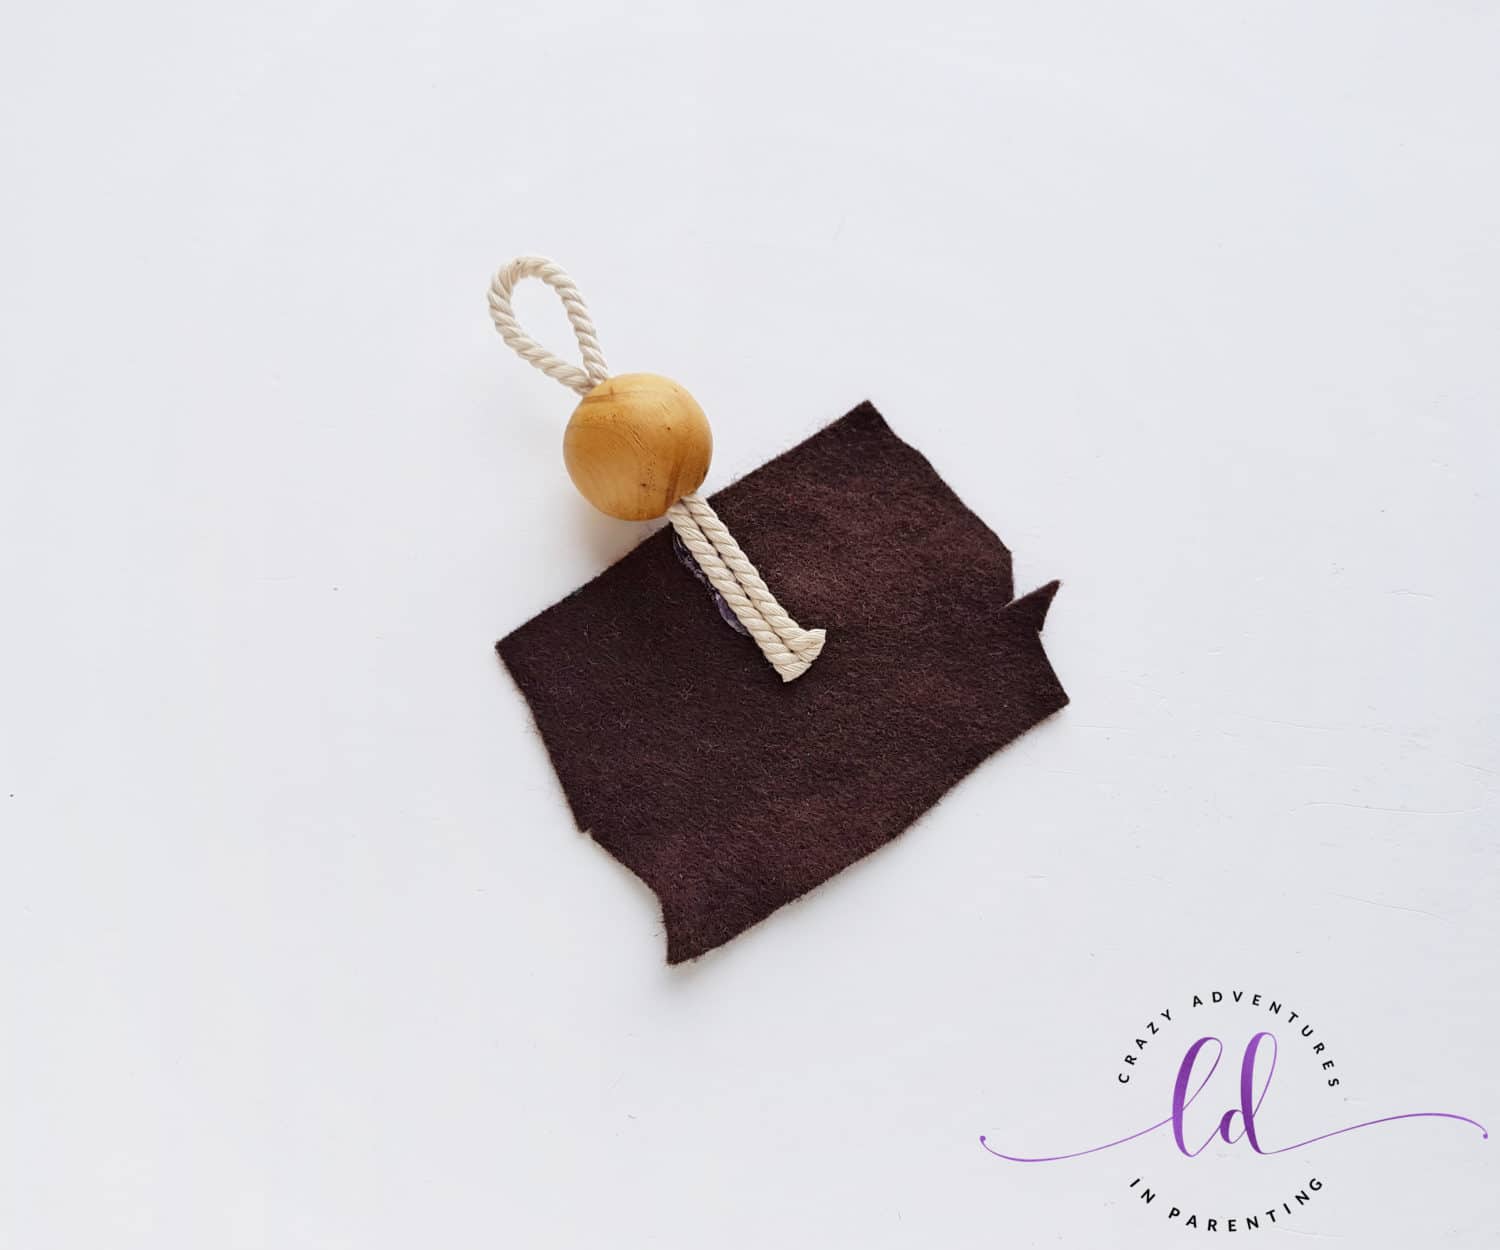
Take a piece of felt fabric and place it on the work surface. Take your bead with rope and attach the open ends of the beaded rope on the felt as shown, keeping the bead and the looped end off the rope and outside/above the felt fabric. Hot glue it to the felt as shown.
Of the 3 wrapped pieces of rope, take the longest yarn-wrapped rope and attach it onto the felt piece up at the top and create a curved pattern. Use hot glue to attach it over top the pieces of small rope.
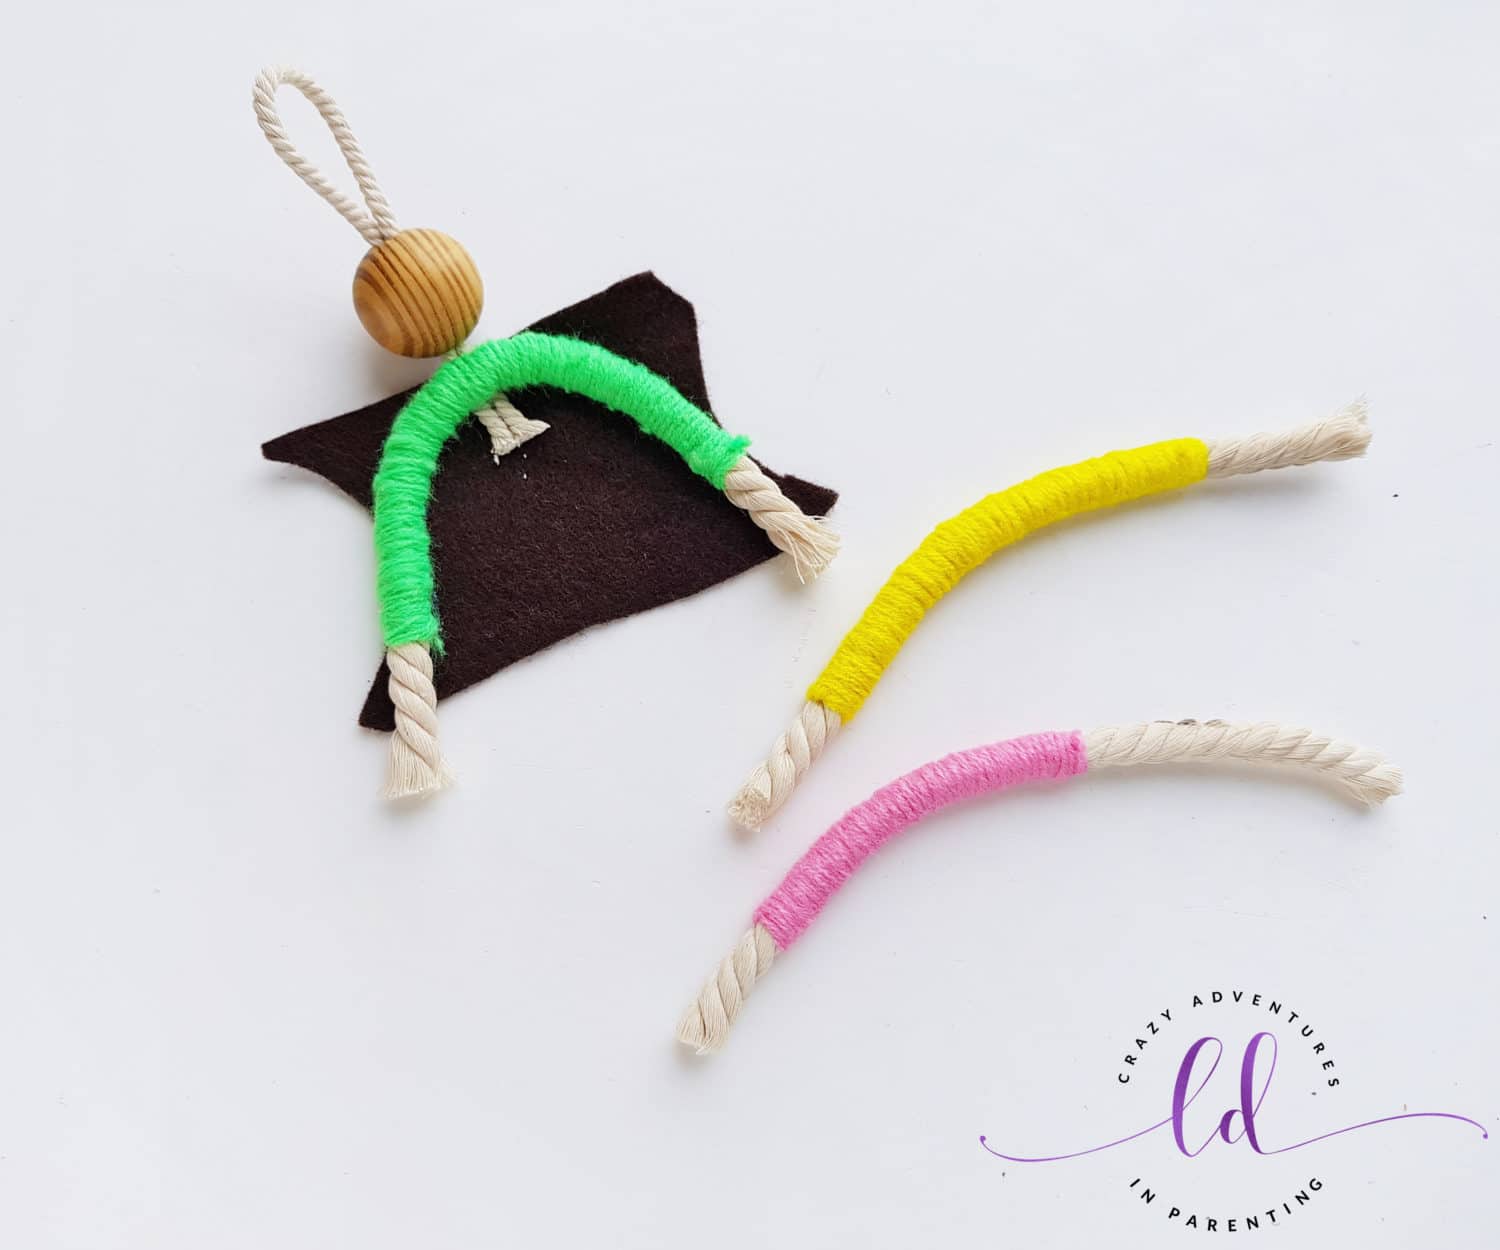
Attach the medium rope next, hot gluing it close to the larger yarn-wrapped rope. Lastly, hot glue the shortest rope onto the felt. Try to keep the ropes as close together and neat as possible when gluing.
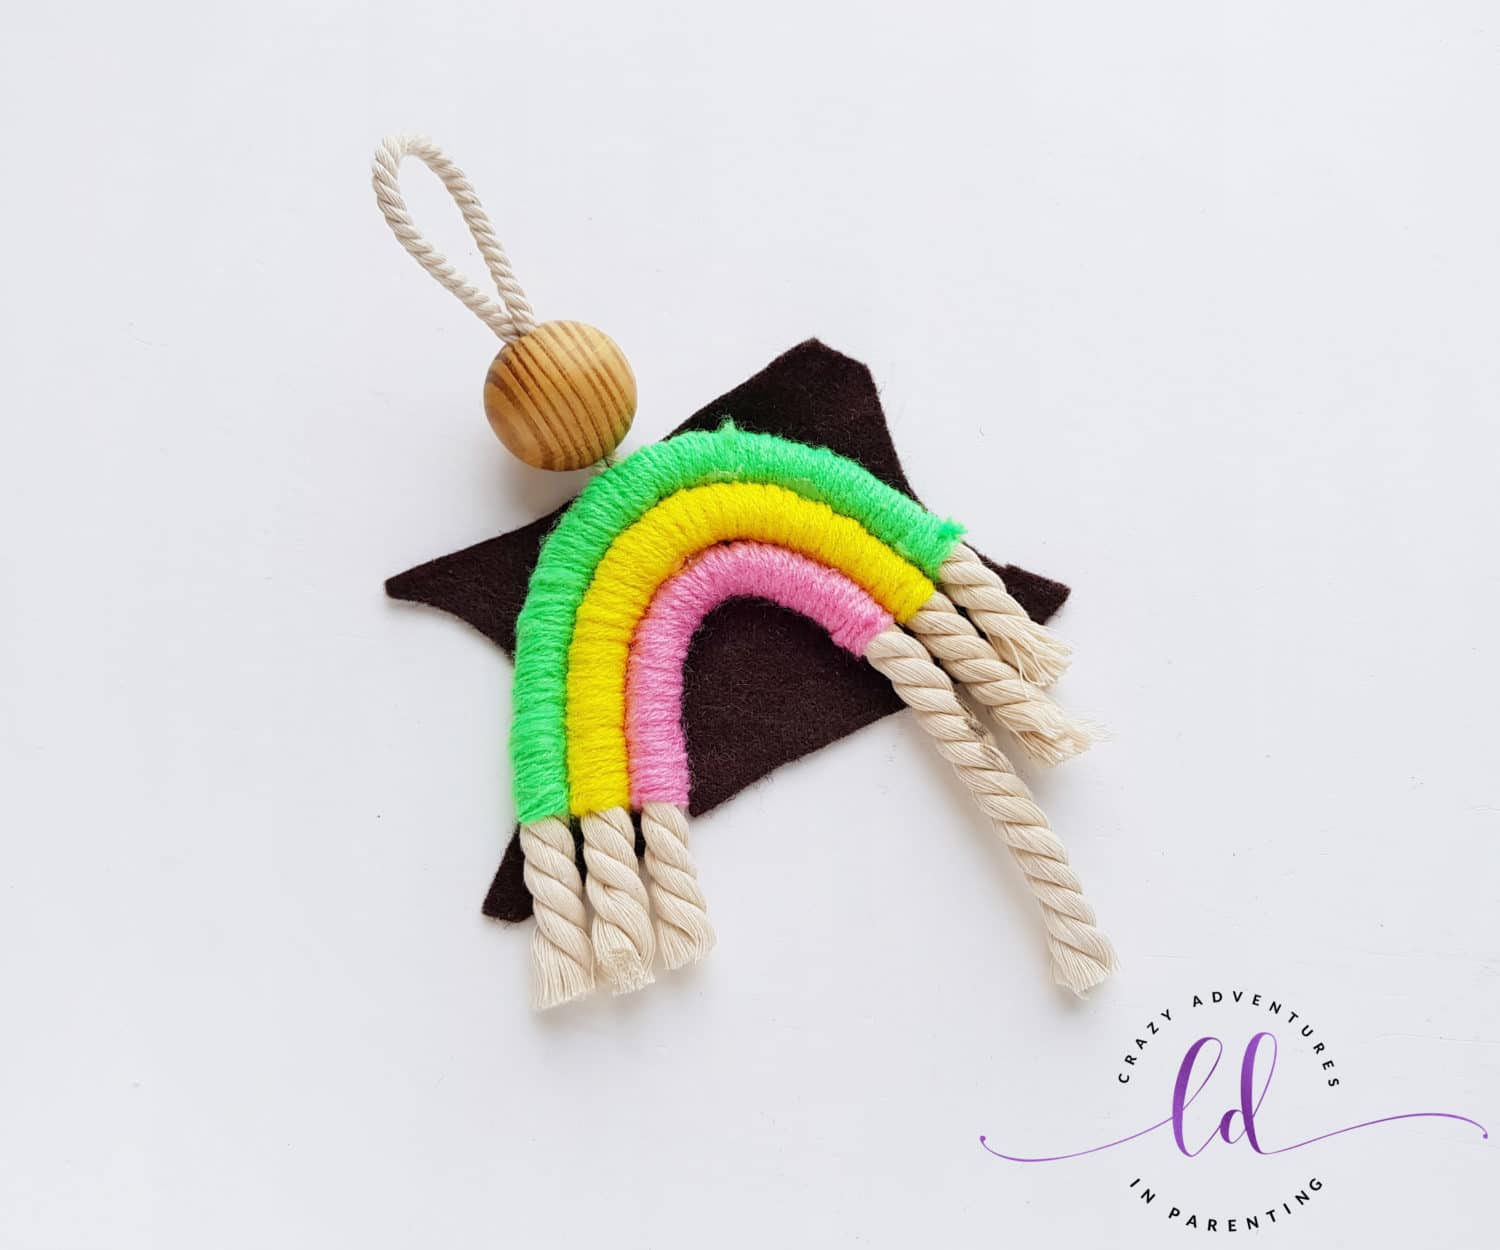
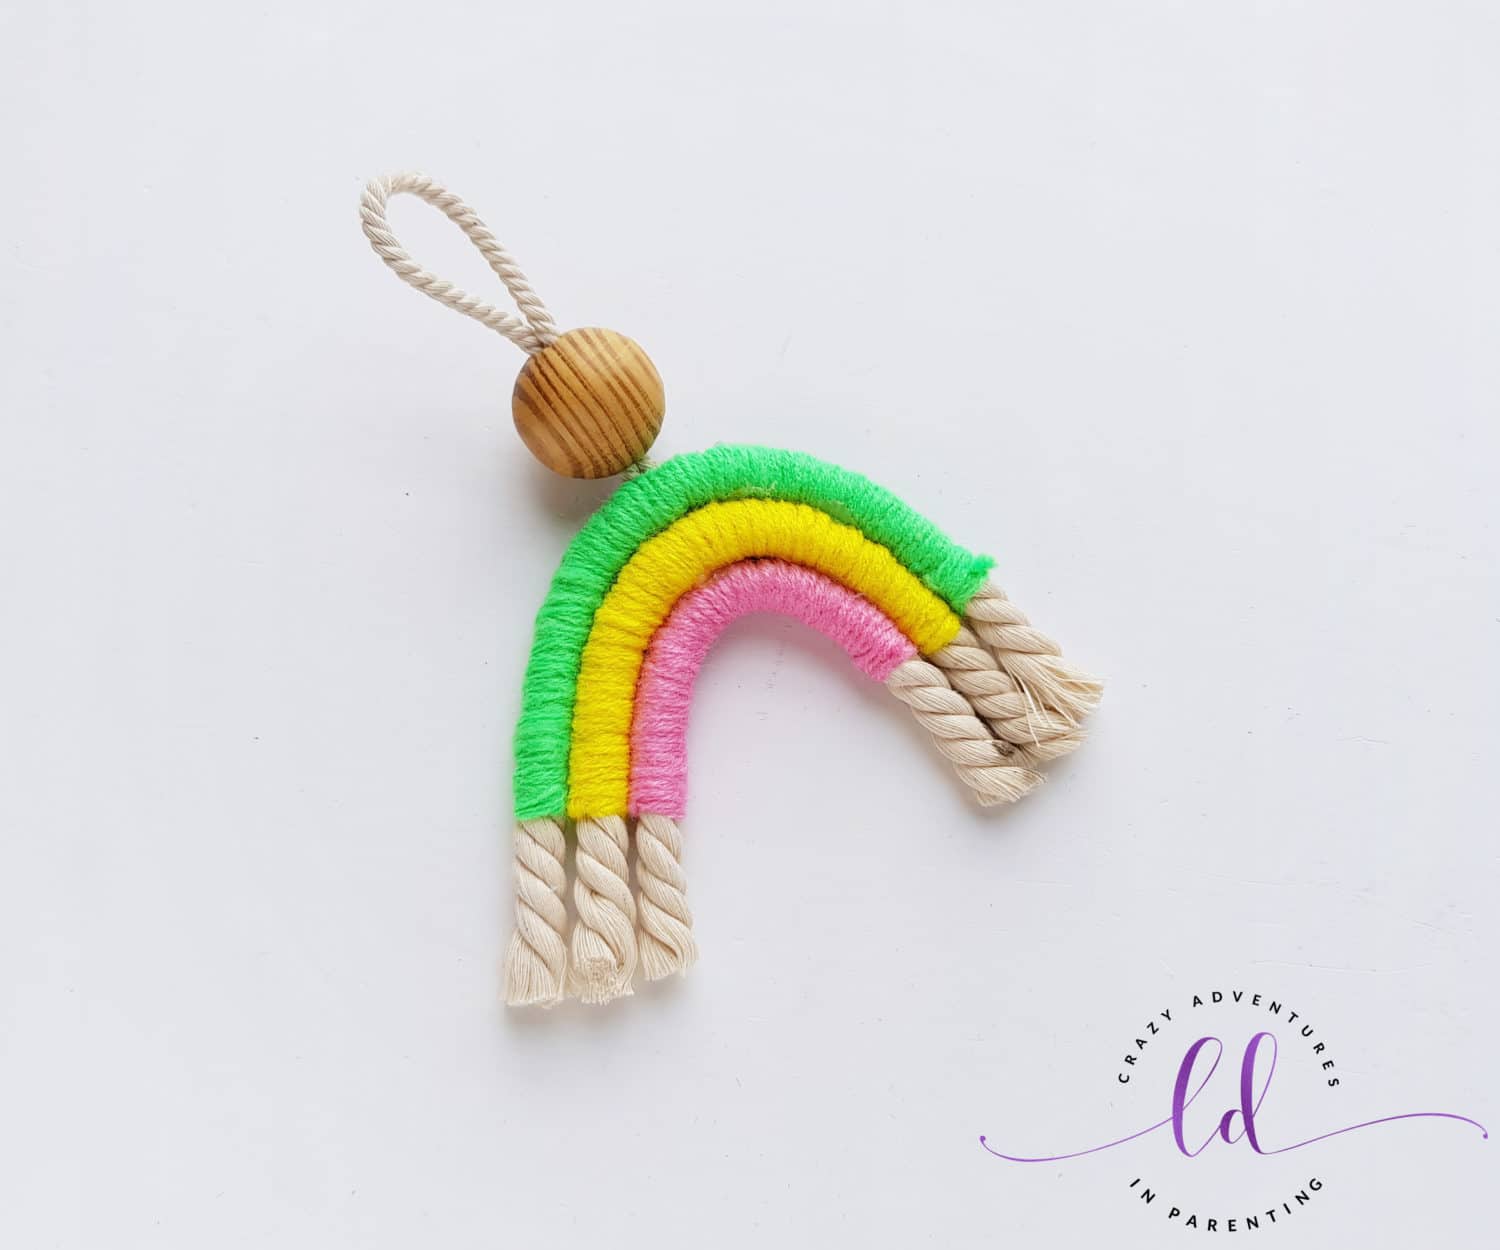
Carefully cut out the felt fabric from under and around the rope rainbow pattern. Trim the ends of the yarn-wrapped ropes so that they are even across, too. In trimming away the felt, you shouldn’t see the felt anymore (unless you flipped it to the other side).
Attach your pompoms around the top end of the rope rainbow with hot glue. Fray and unwrap the ends of the yarn-wrapped rope a bit so that they flare out.
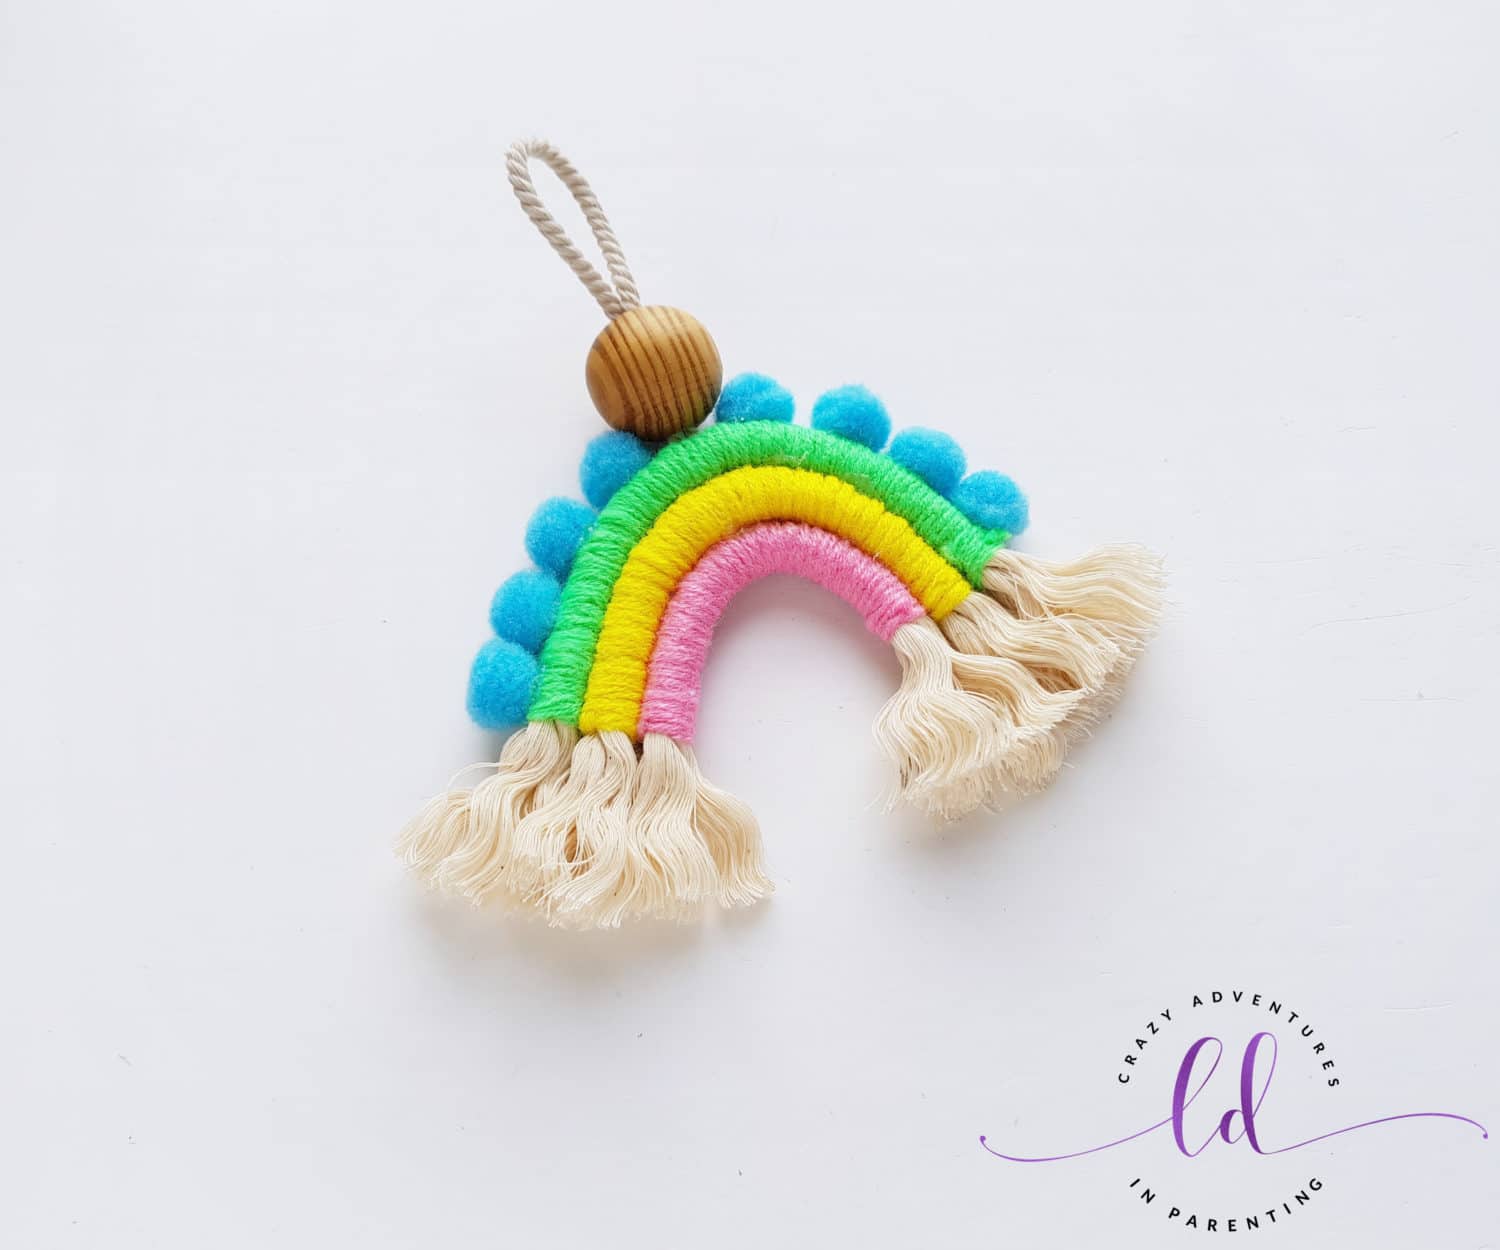
Tadaaaaaa! What do you think of this fantastic DIY macramé rainbow craft!
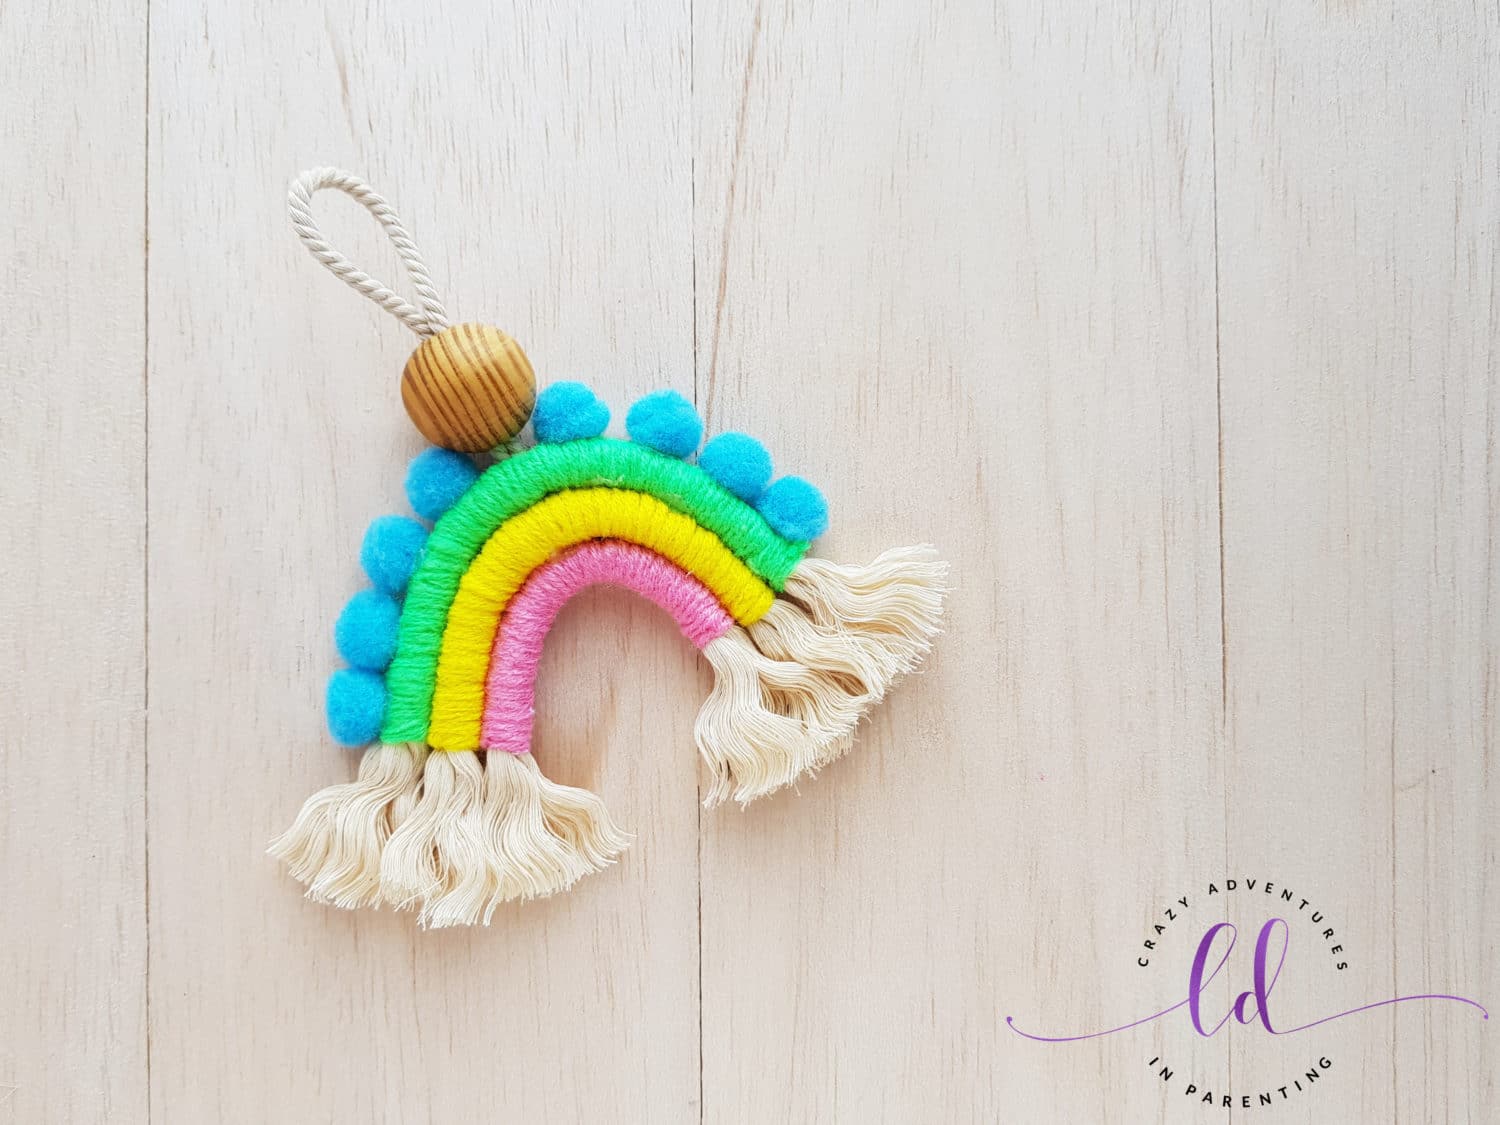
I hope you decide to try this macramé craft, and should you try it, please come back and tell me how you did! I’d love to see your work of art! If you’d like to save this post for later, bookmark it, pin it on Pinterest using any of the graphics or the pin below! Full supply list and instructions are located below! Thanks so much for reading! Be sure to check out my other fun crafts, printables, and art while you’re here!

DIY Macramé Rainbow Charm Wall Hanging
Materials
- natural twisted rope thick
- natural twisted rope thin
- 3 colors colorful yarn
- 1 piece felt fabric
- 1 set scissors
- 1 hot glue gun
- 1 large round wooden bead
- 8 felt pompoms small
- 1 tapestry needle
Instructions
- Determine the size you will make your rainbow charm and cut 3 pieces of thick rope as per the determined length (or size). Since we created a 3 layer-rainbow pattern, I cut 3 pieces of rope, each 2 cm longer than the previous one. Take any one of the rope pieces and select a colored yarn. Start to wrap the yarn around the rope but start 1 inch in from the end.
- Wrap the yarn around the rope until almost reaching the other end of the rope, but make sure to leave 1 inch intact on that end like you did with the beginning end.
- Cut off the yarn from the bundle by leaving 2 or 3 inches extra yarn on hand.
- Insert the tapestry needle through the open end of the yarn and insert the needle through the rope adjacent to the last wrap of the yarn, then pull the needle all the way through.
- Insert the needle through the yarn wraps and draw it out again.
- Using scissors, cut off any extra yarn and ensure the wrapping is secured.
- Similarly wrap and cover the other 2 pieces of rope with different colors of yarn.
- Take the large wooden bead while grabbing the thin rope. Make sure the rope is at least 8 cm long. Fold the rope in half and insert the folded part through the bead and into the rope to form a loop. Pushing the bead through keeping the loop pattern sticking out (this is how it will hang when finished). Some beads may have small holes, the one I’m using is pretty tight so there no chance for the bead to slide out.
- Take a piece of felt fabric and place it on the work surface. Take your bead with rope and attach the open ends of the beaded rope on the felt as shown, keeping the bead and the looped end off the rope and outside/above the felt fabric. Hot glue it to the felt as shown.
- Of the 3 wrapped pieces of rope, take the longest yarn-wrapped rope and attach it onto the felt piece up at the top and create a curved pattern. Use hot glue to attach it over top the pieces of small rope.
- Attach the medium rope next, hot gluing it close to the larger yarn-wrapped rope. Lastly, hot glue the shortest rope onto the felt. Try to keep the ropes as close together and neat as possible when gluing.
- Carefully cut out the felt fabric from under and around the rope rainbow pattern. Trim the ends of the yarn-wrapped ropes so that they are even across, too. In trimming away the felt, you shouldn’t see the felt anymore (unless you flipped it to the other side).
- Attach your pompoms around the top end of the rope rainbow with hot glue. Fray and unwrap the ends of the yarn-wrapped rope a bit so that they flare out.
- Annnd you're done! What do you think of your creation?
Macramé FAQ
Macramé is the art of tying cord, string, or yarn into patterns as art. Sometimes, these patterns are created by tying materials around another material. Other times, macramé is made by tying rope, cord, or yarn in patterns with or without beads to create a design or pattern on its own.
Absolutely! With some parental observation and supervision, macramé can be tied together by children relatively easily so long as they follow the directions. Children might need help getting started with specific knots, but once they get going, it should be smooth sailing for them! Kids might also need help finishing off the tie to get it tight enough or shaped in a certain way.
Macramé can be made into just about anything! Skirts, shirts, cover-ups, pants – all kinds of clothes! It looks particularly spectacular as tapestries, blankets, throws, scarves, wall hangings, rugs, charms, plant hangers and ornaments too.
Not that hard at all! Follow the directions carefully, be sure to use sharp scissors for cutting!

