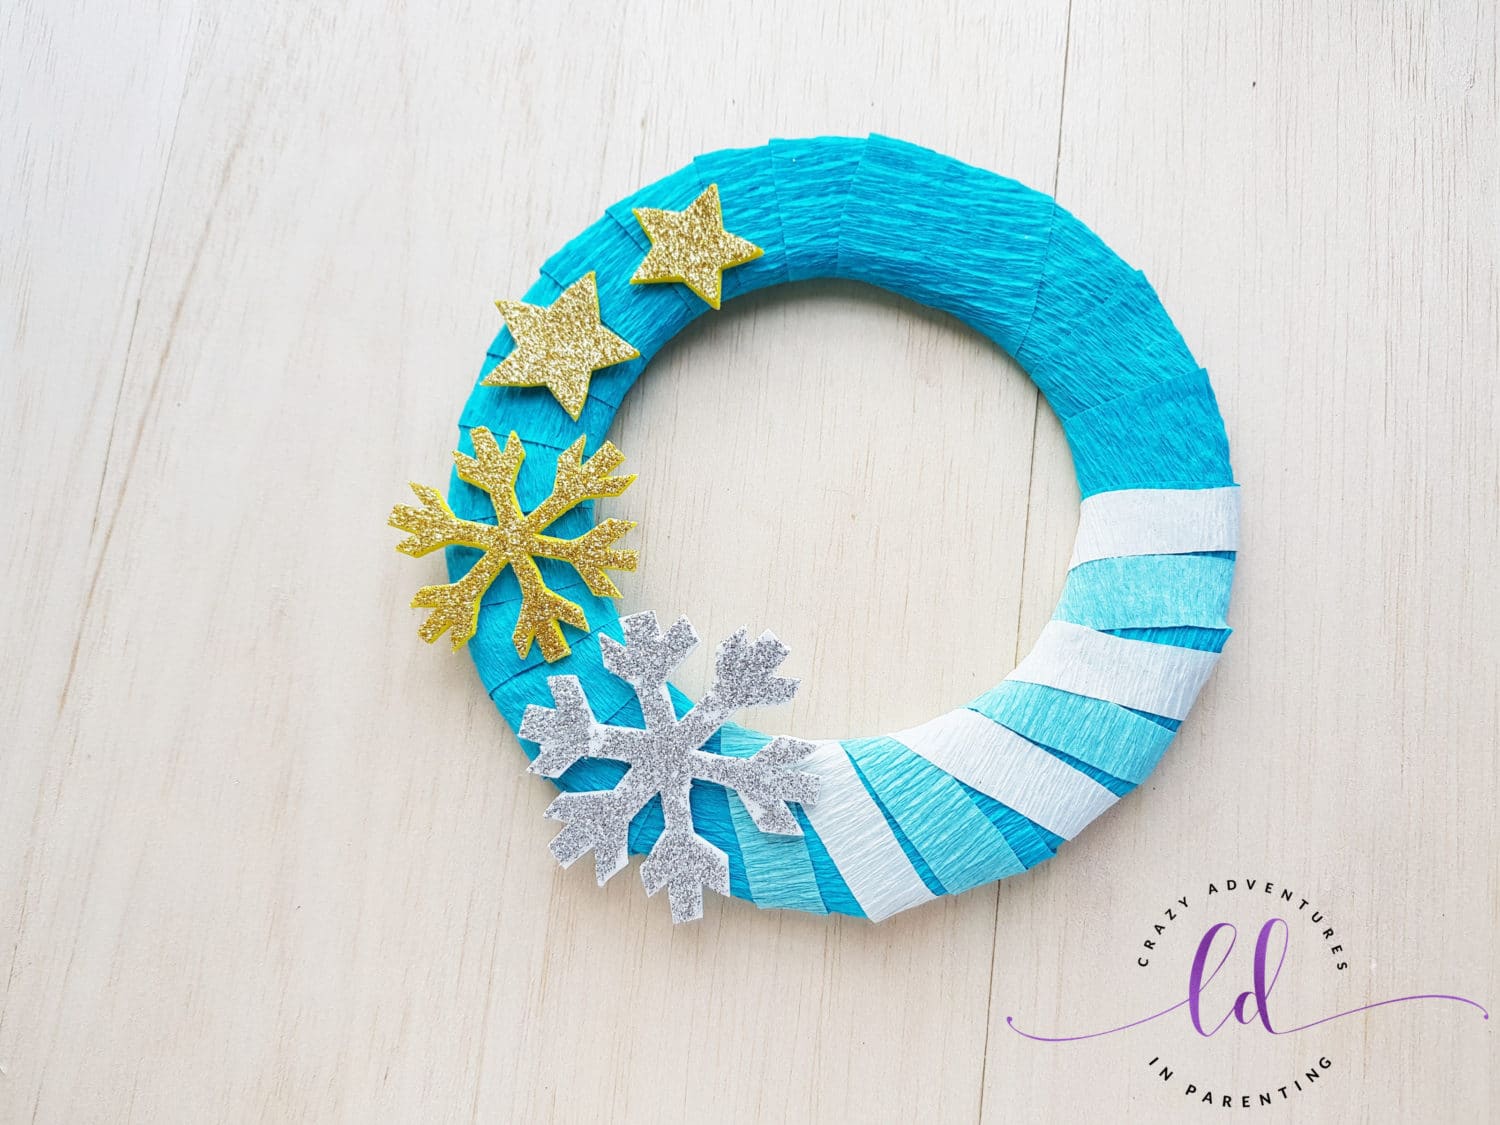
If you love Elsa, Anna, and Olaf and can’t get enough, this adorable and easy Frozen Wreath Craft might be a fun one to create with the Frozen fan in your life!
This post may contain affiliate links which means we receive a small commission at no cost to you when you make a purchase. As an Amazon Associate I earn from qualifying purchases.
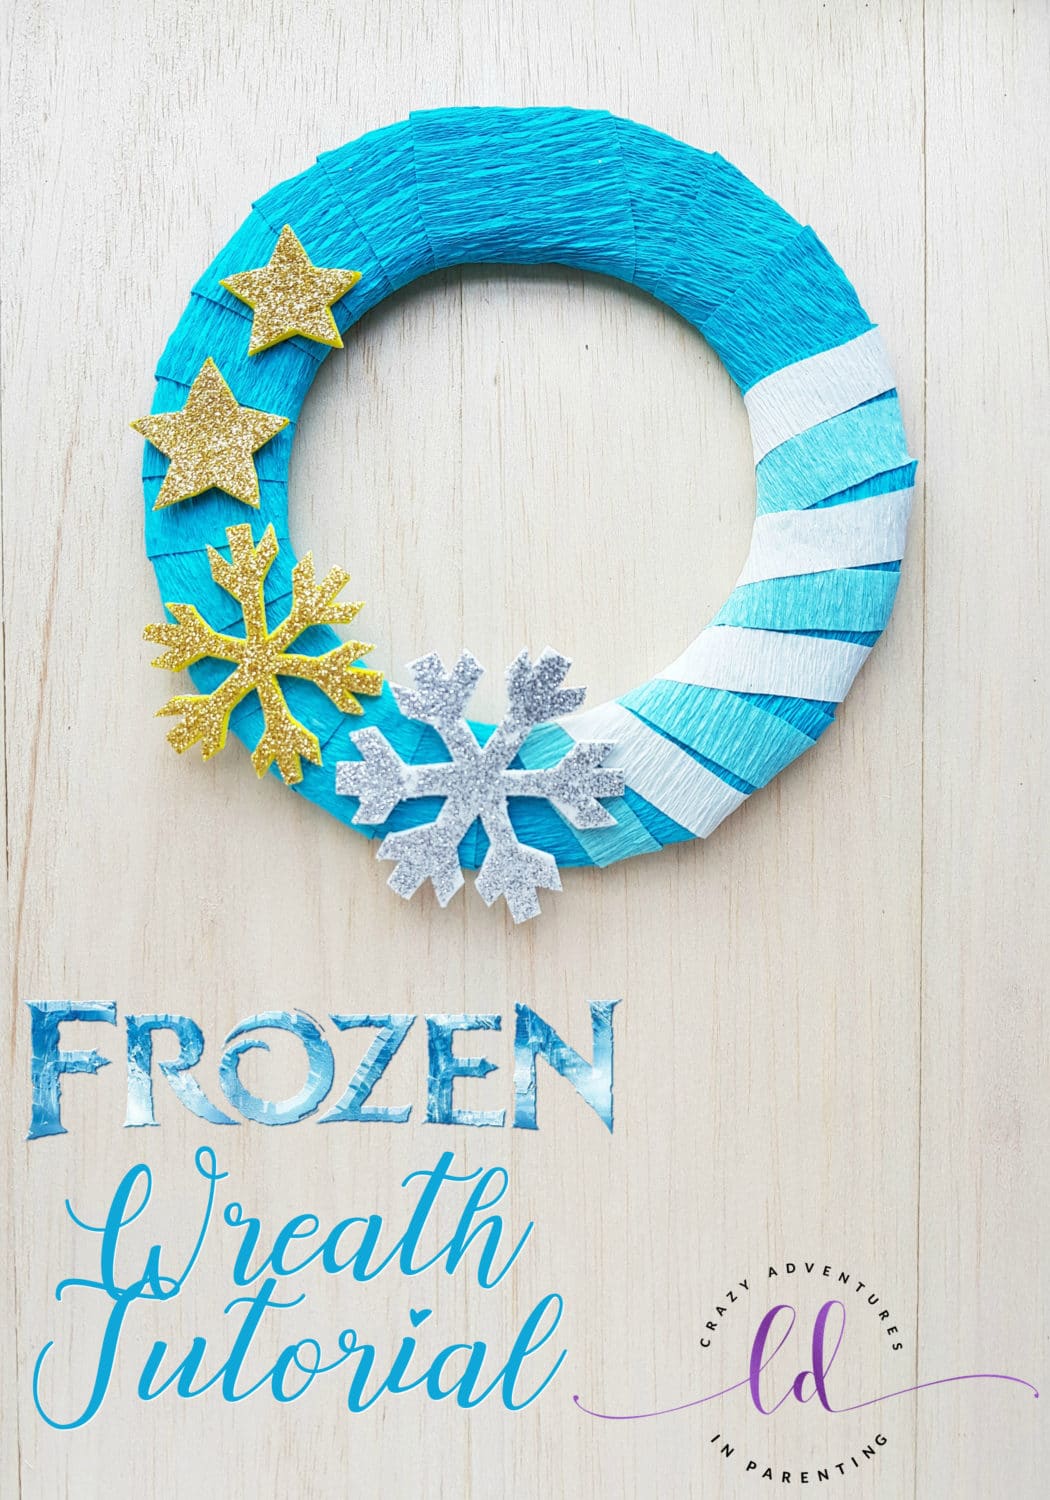
Easy Frozen Wreath Craft Tutorial
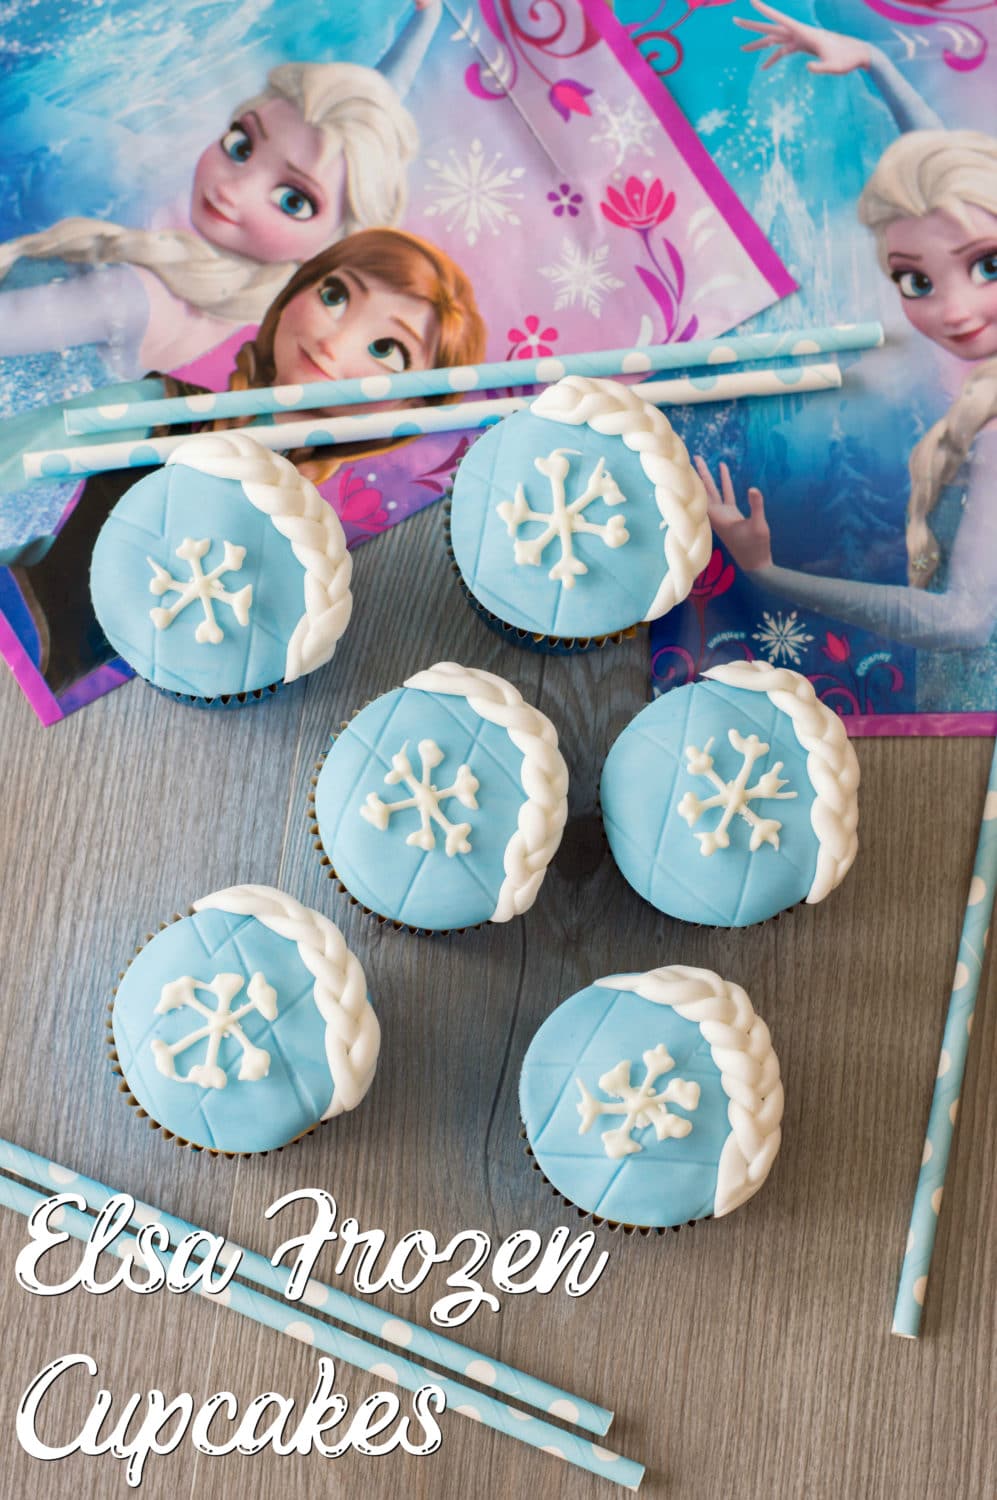
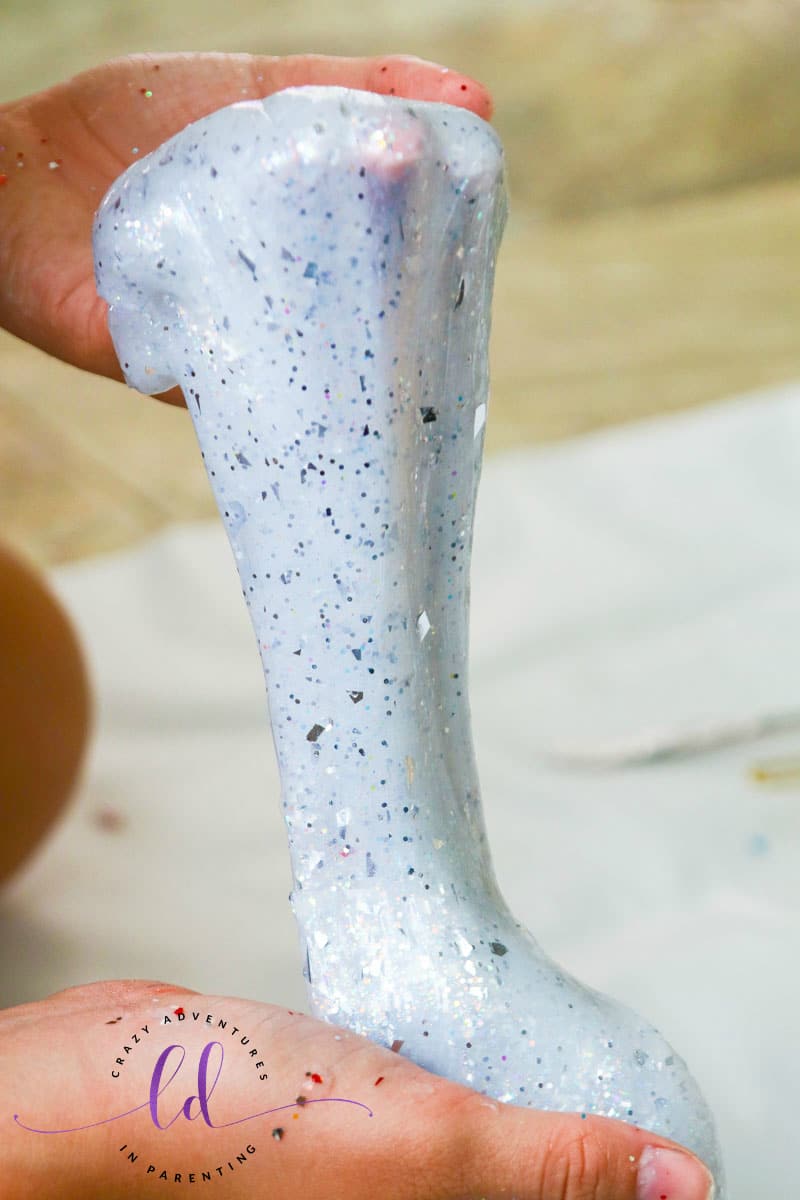
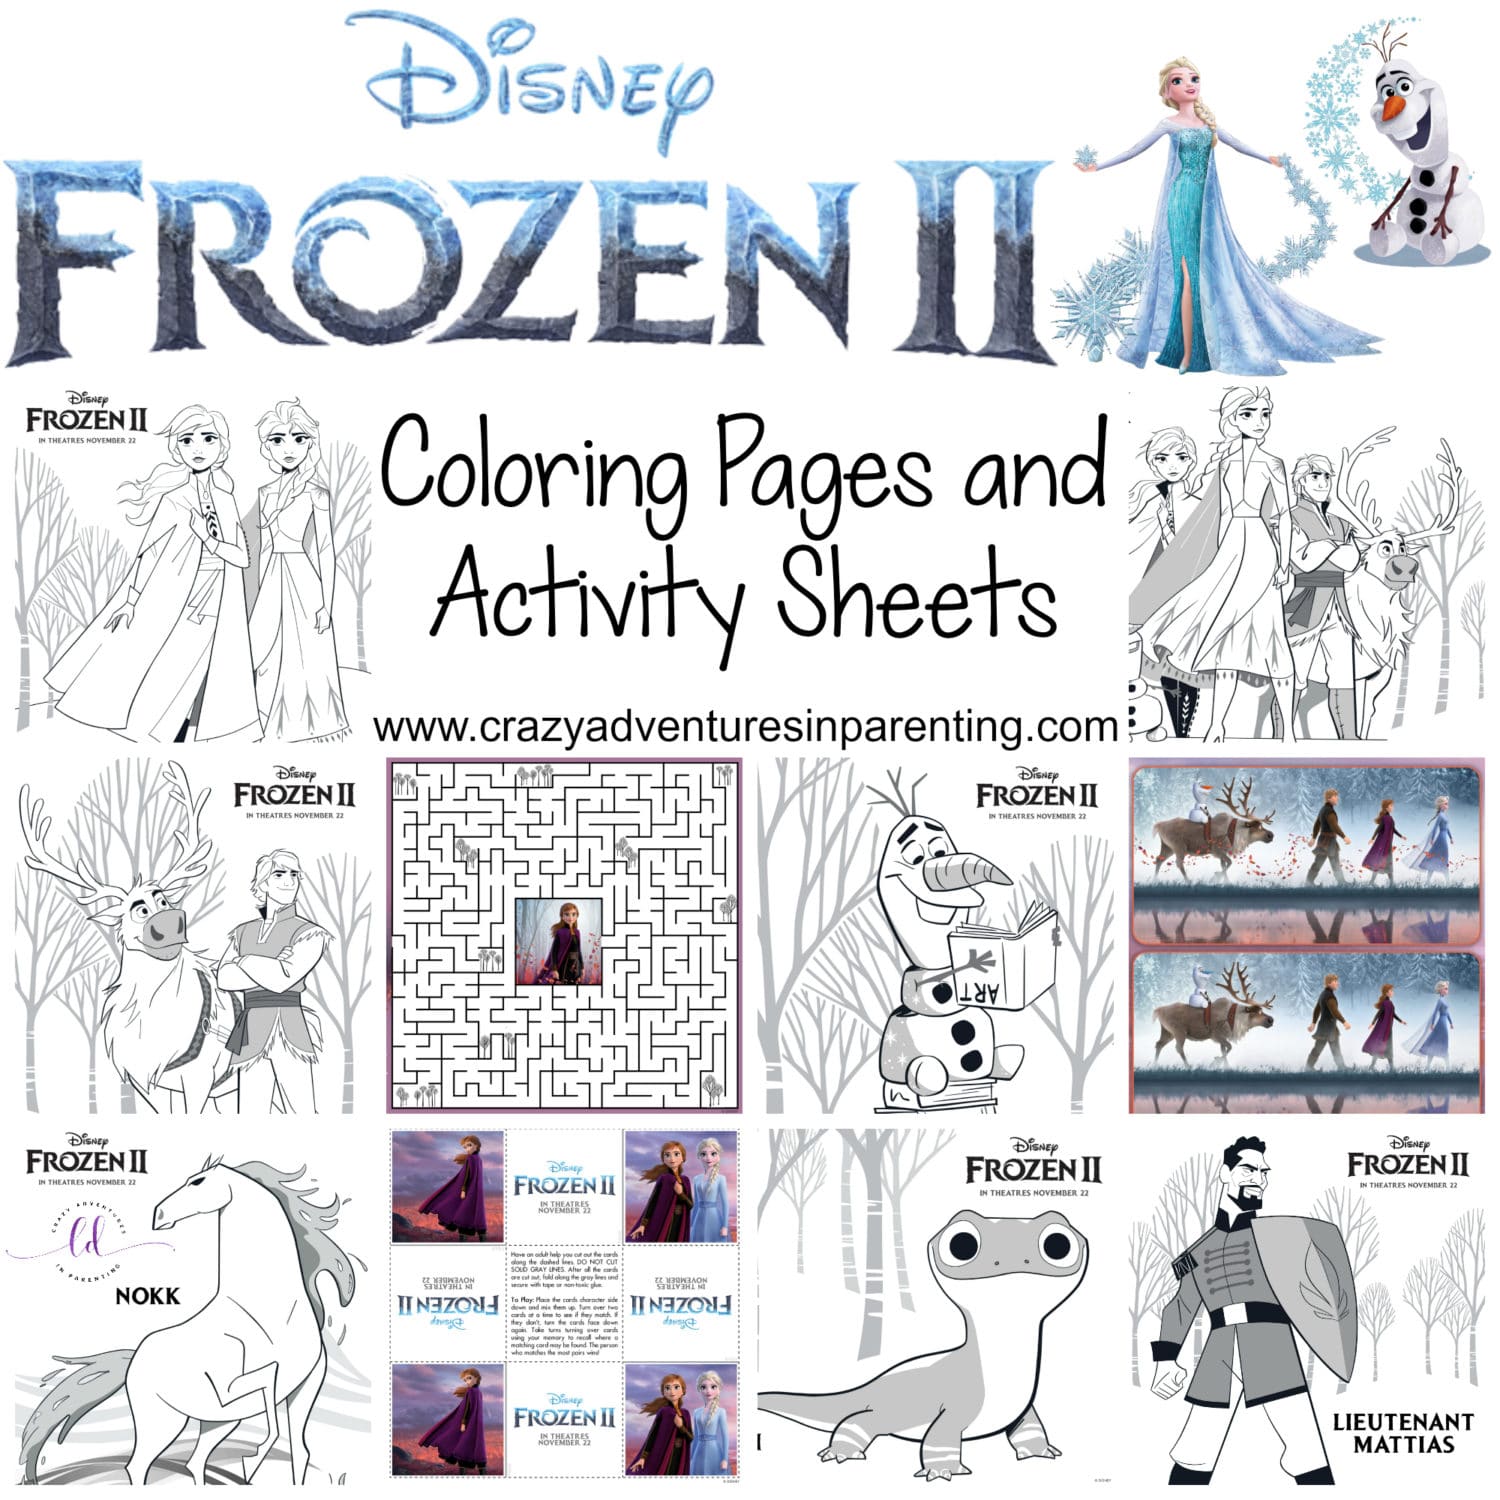
Gahhhh, my seven-year-old is in HEAVEN right now. We’re all about Disney’s Frozen and Frozen 2! You’ve seen some of our other Frozen recipes and crafts, such as Elsa Frozen Cupcakes, Frozen Slime, and Frozen Coloring Pages and Frozen 2 Coloring Pages and Activity Sheets! I have Elsa Rice Krispies Treats on deck, too!
This Easy Frozen Wreath Craft would be a perfect Frozen birthday party craft for the guests to take home! Each guest could personalized it however they want! (See all my decorating suggestions below!)
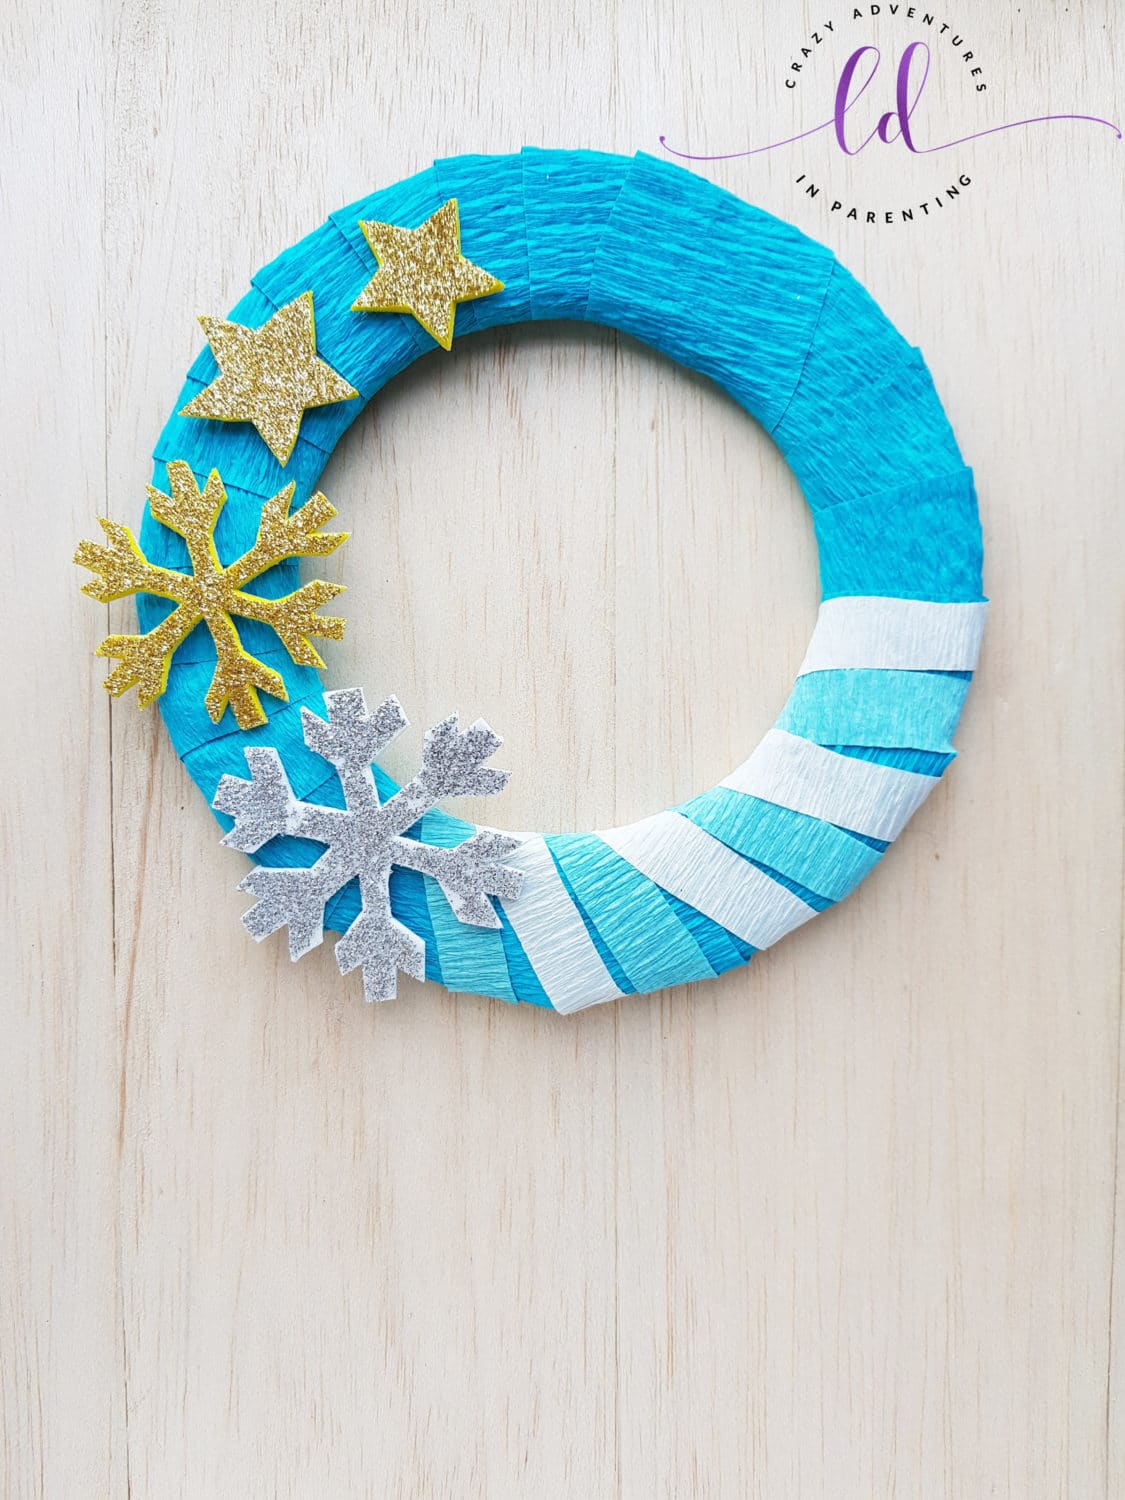
How Easy is This Craft? Can Little Kids Make This Frozen Wreath Craft?
Absolutely! With parent supervision, this easy Frozen Wreath craft can be a fun one for kids of all ages to make! While this craft is easy, I always recommend parental supervision when using sharp scissors or using any type of glue other than school glue.

Supplies and Tools Needed to Make This Frozen Wreath Craft Tutorial
- Round wreath base standard wreath size (made of styrofoam, cardboard, metal or other material)
- Crepe paper in the following colors: blue, white, dark blue, and/or purple (or whatever three or four colors you’d like to use).
- Glitter craft papers or foam sheets
- Pencil
- Good pair of sharp scissors
- Craft glue
- Printed snowflakes stencil (print this page)
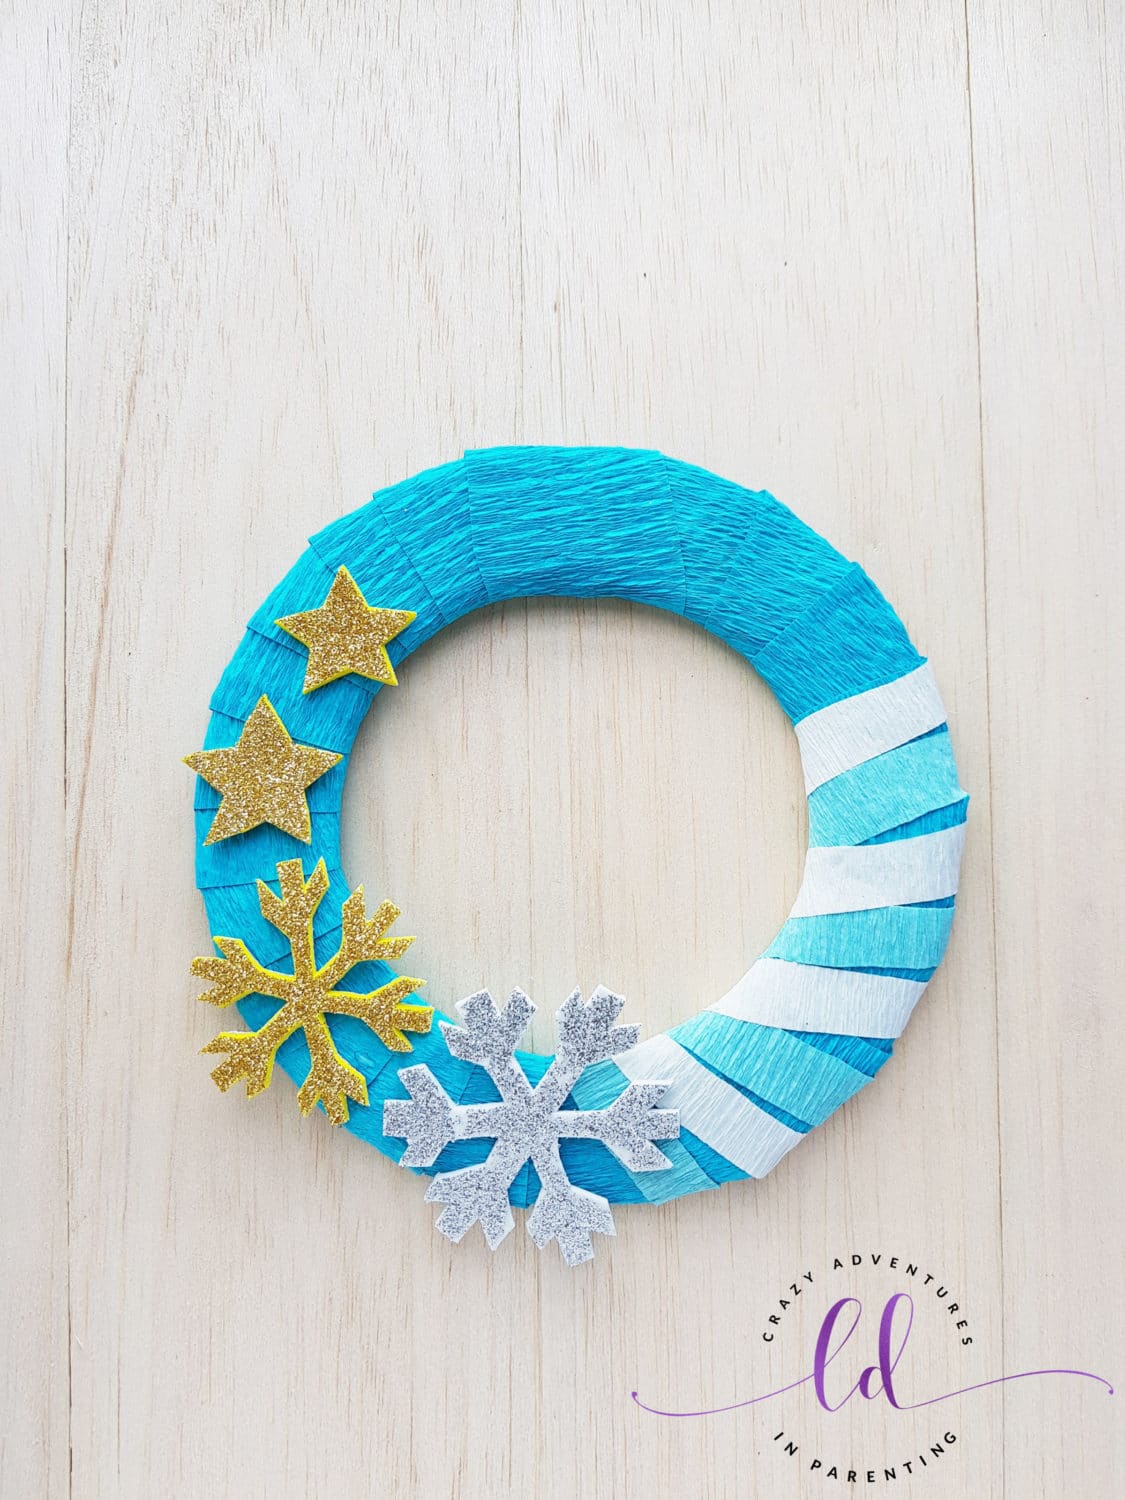
How to Make a Frozen Wreath Craft
With whatever round wreath base you choose to use for this craft (foam, cardboard, metal, etc), prep this wreath base by removing any stickers, tags, etc if there are any. You want a clean surface to work with so the glue will stick and the paper will look fresh.
Grab the blue crepe paper in the color you’d like to be what is considered the “base color” ie the one that will be dominant and underneath all the decor. Prepare long strips of this color of crepe paper to wrap the round wreath base. Add a dab of the craft glue to the end of the crepe paper to start, secure it underneath the wreath, and begin to wrap.
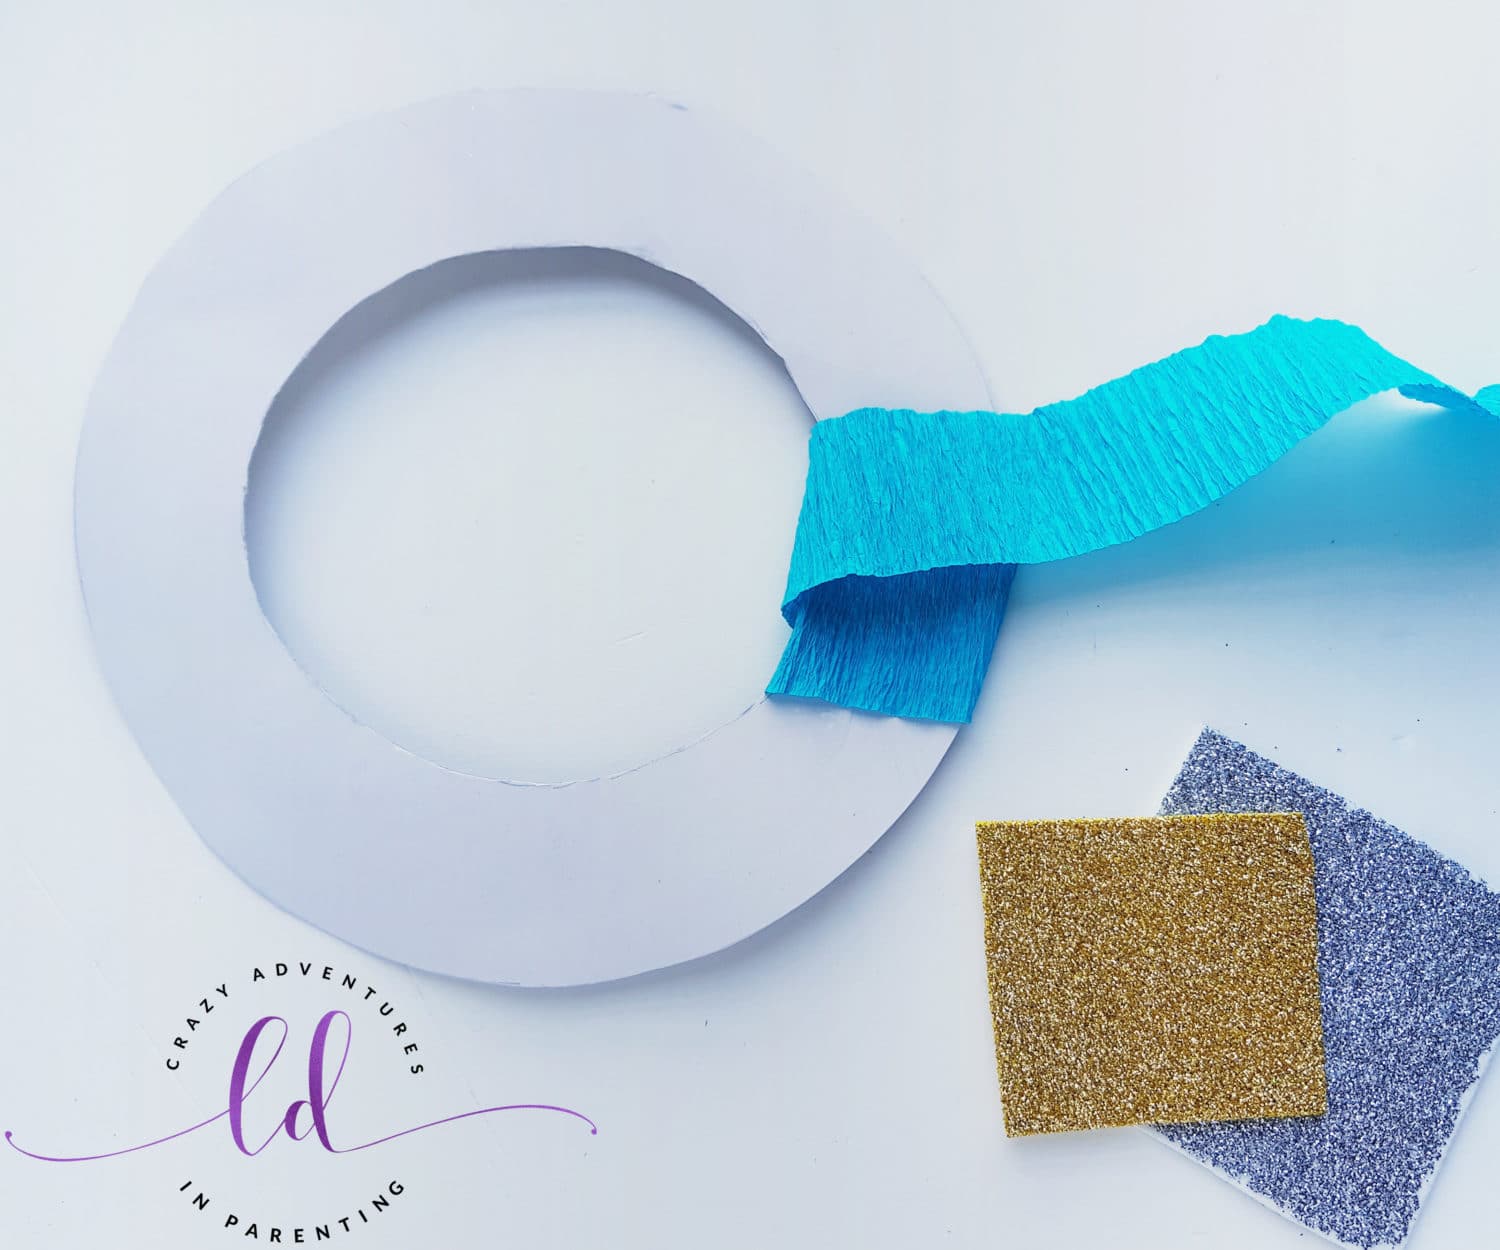
Don’t worry about the length of the strips, you can always trim and add strips where needed if the current strip ends while wrapping. Try to keep the wrapping nice and wrap overlapping evenly.
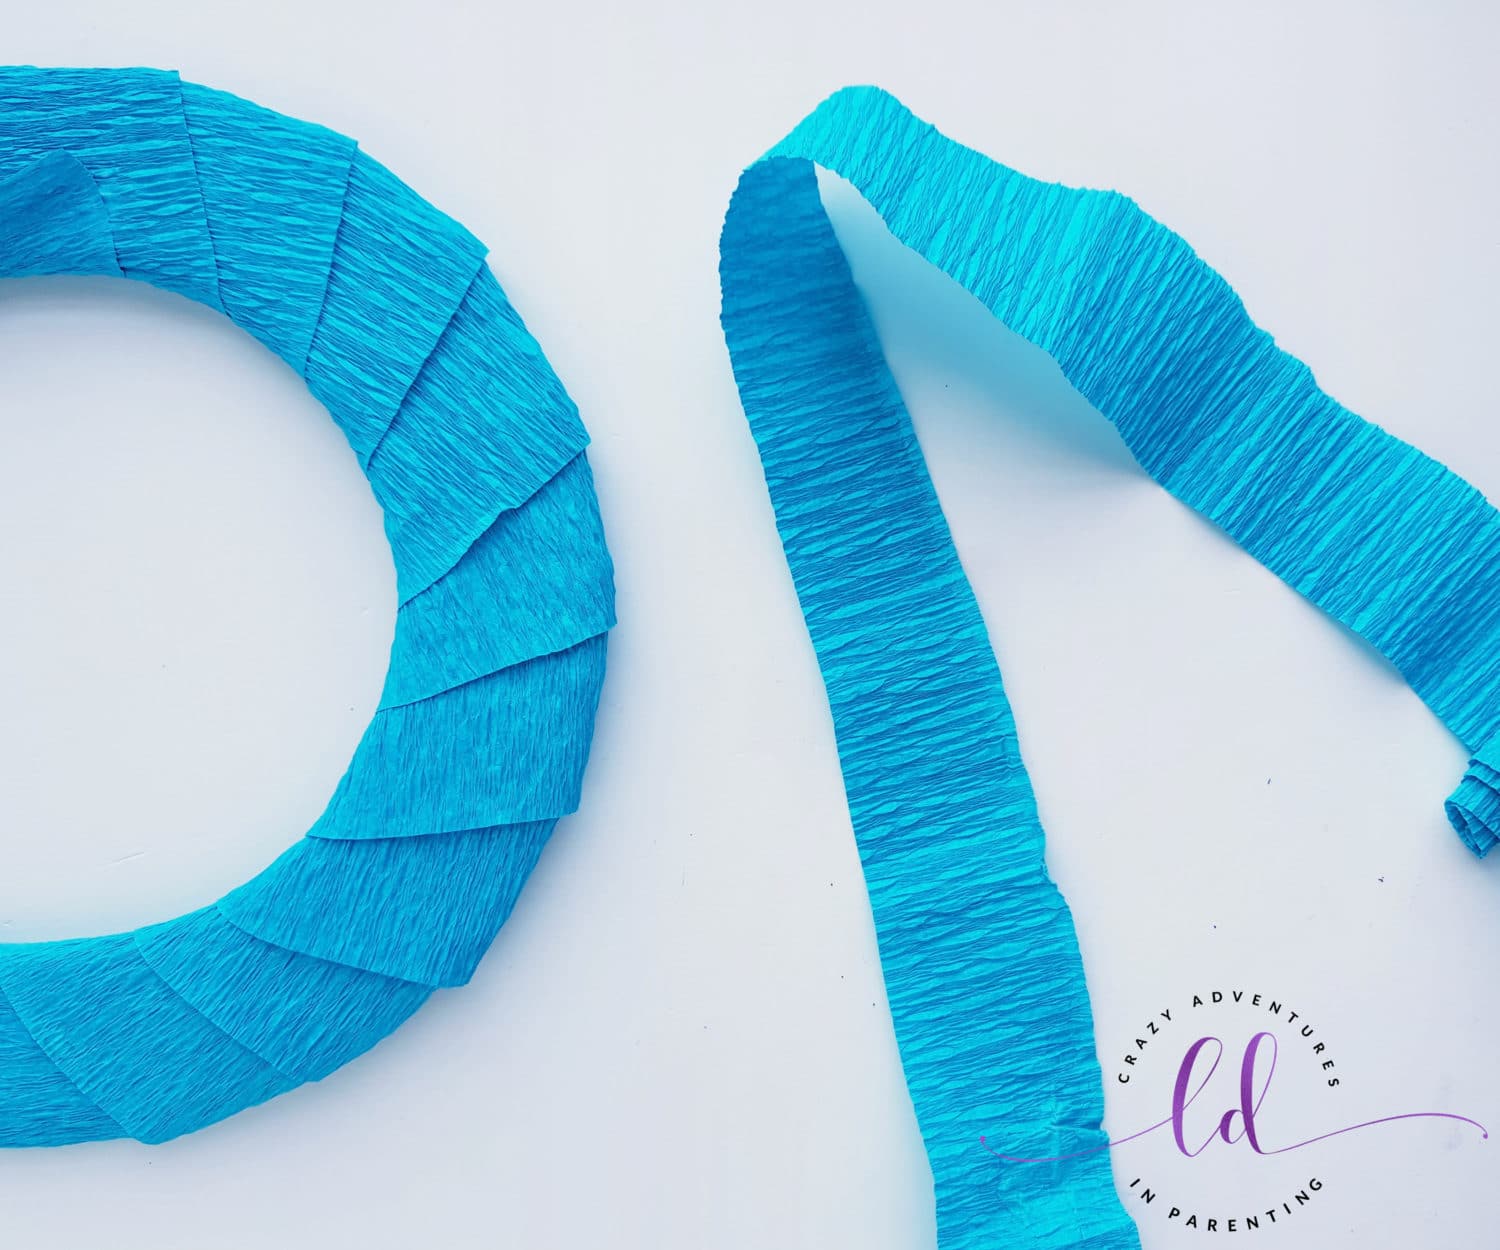
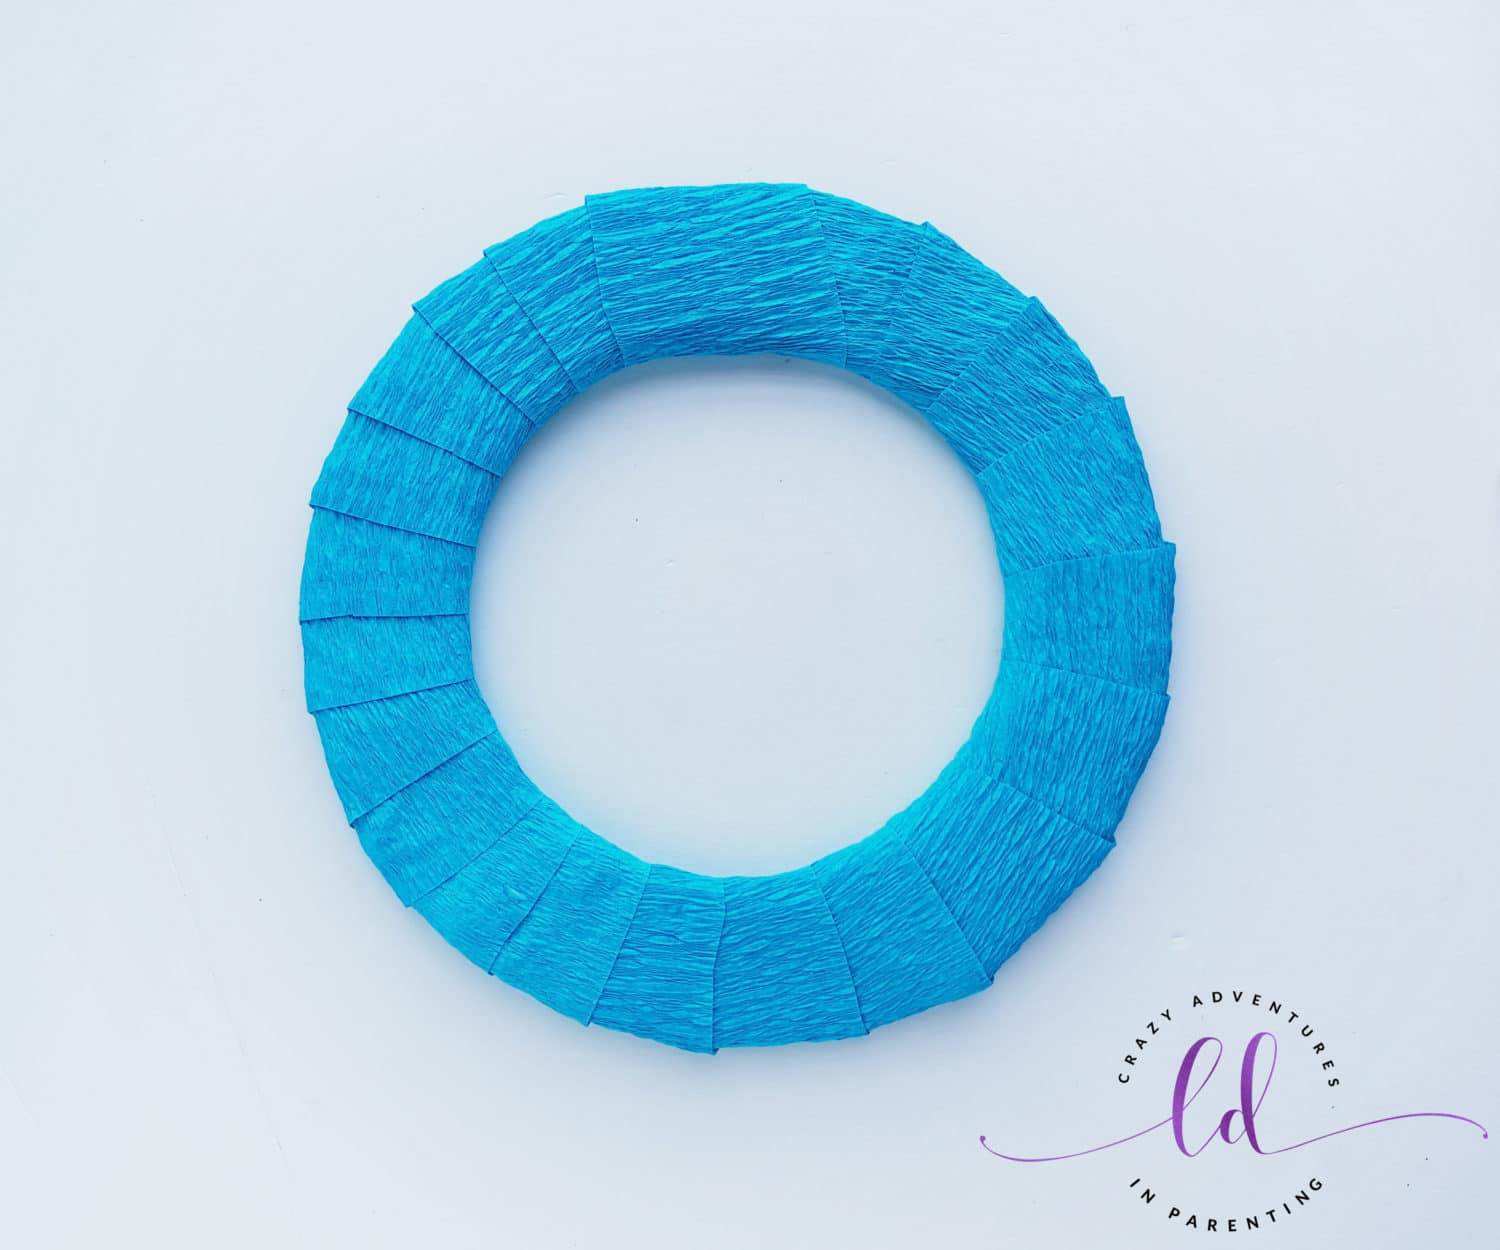
Once the entire wreath base is covered with crepe paper strips wrapped evenly around it, overlap the starting point by about an inch and then apply a dab of glue at the end underneath to secure the wrapping.
For this craft, I used glitter foam sheets to trace and cut out the snowflakes, but you could easily use glitter craft paper if you have or prefer that medium! Using the snowflakes stencil to print and then trace the snowflakes out onto the paper or foam. Use your sharp scissors to trim these snowflakes out of the paper or foam.
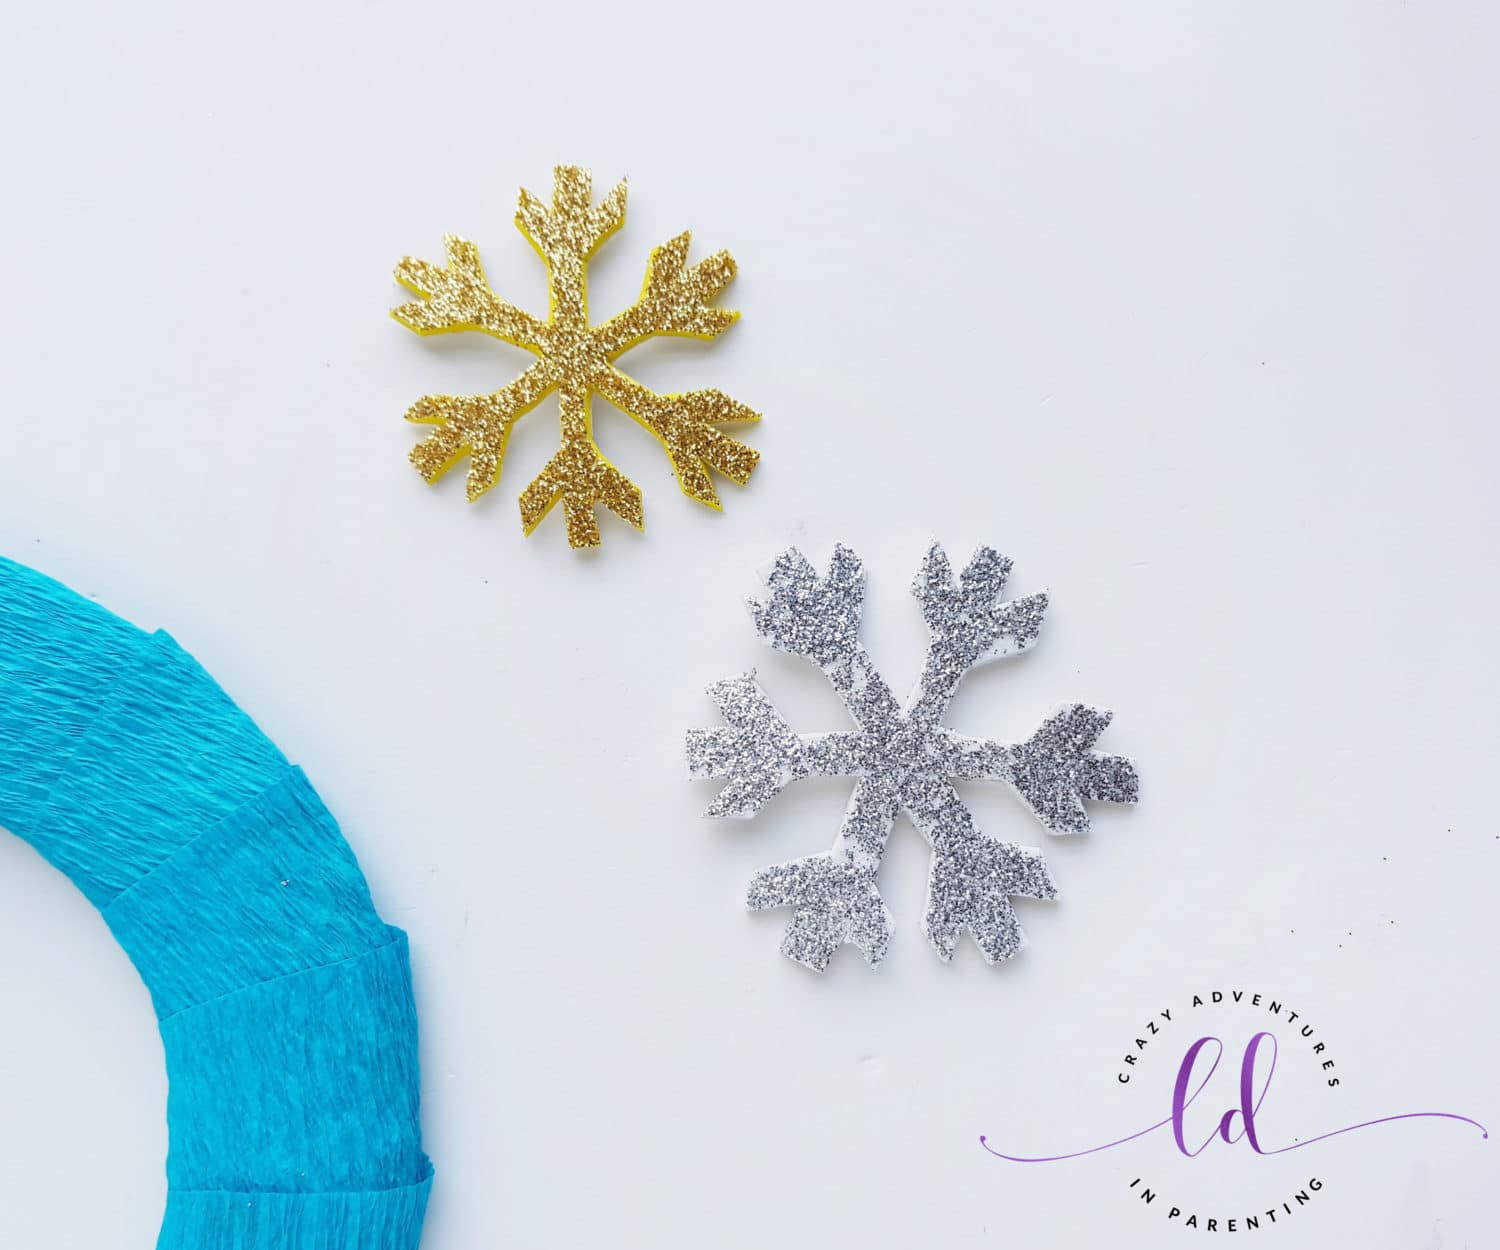
Attach the snowflake cutouts on the wreath with dabs of the craft glue on the back and decorate the wreath as you desire.
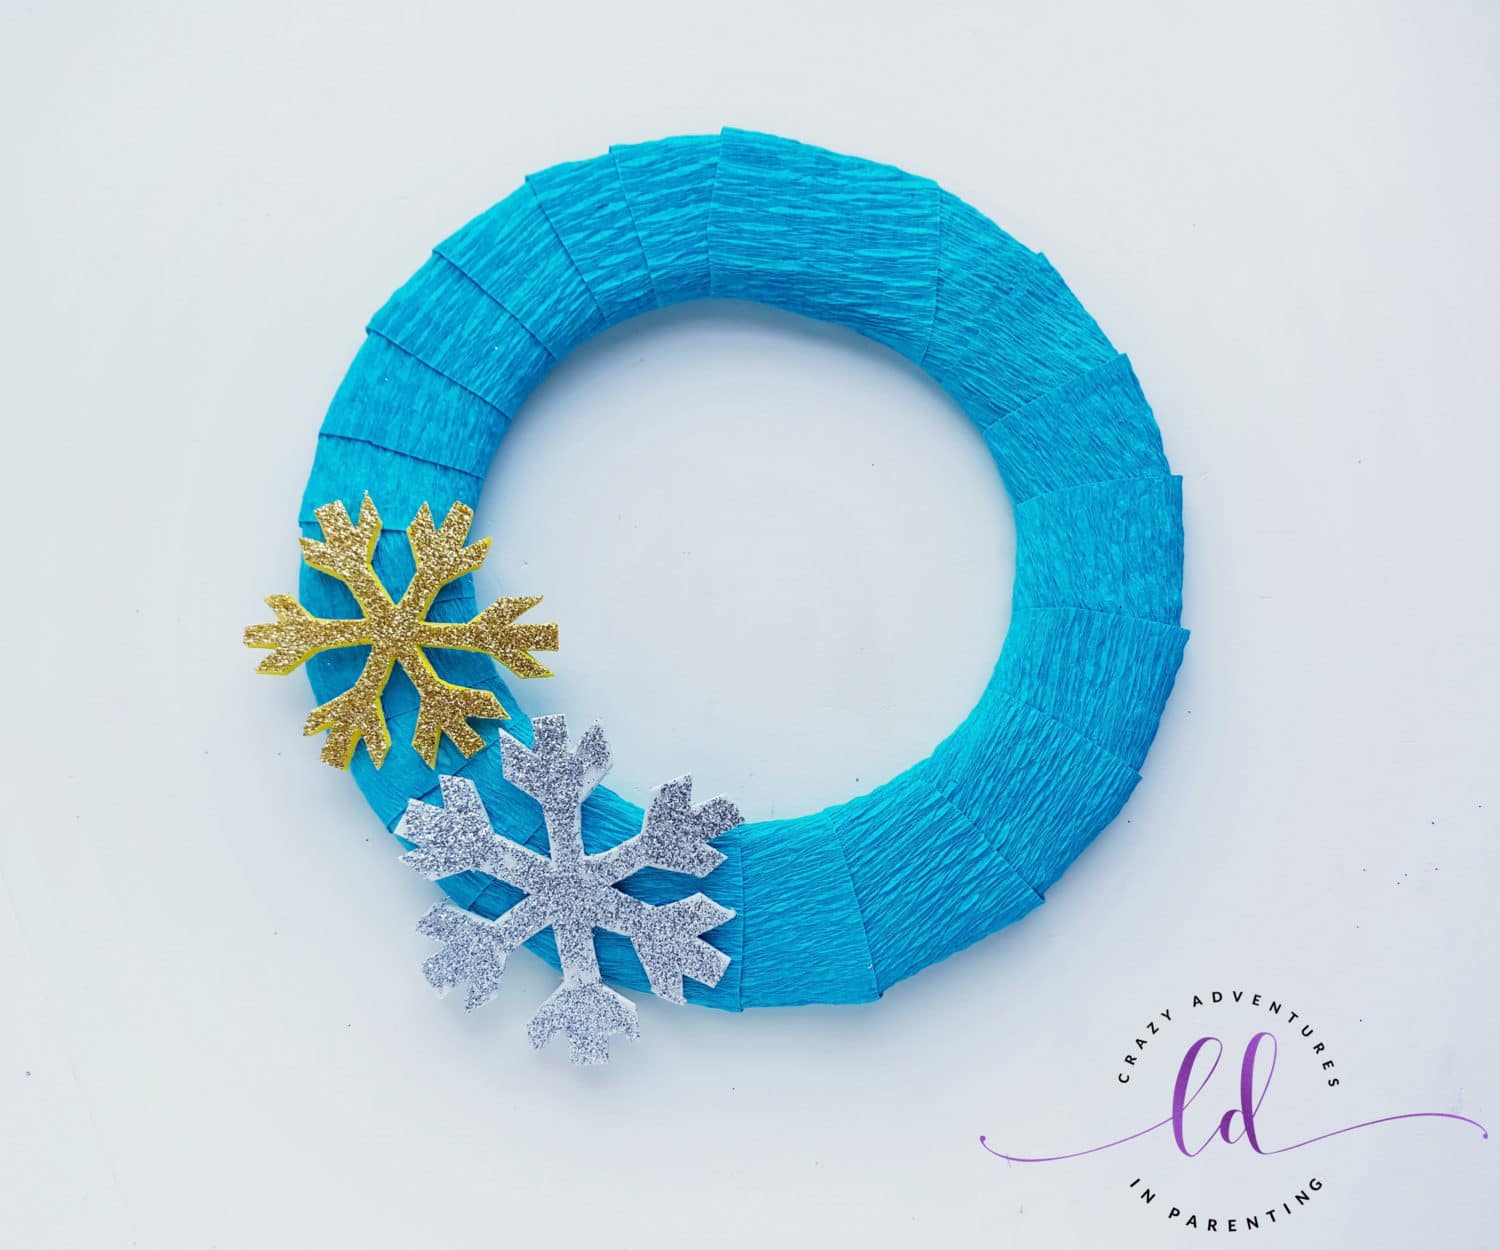
To continue to decorate, add different colored crepe paper strips next to the glitter snowflakes over the wrapped base. Alternate colors, add more glittery foam shapes, or any additional flourishes you desire! Go ahead and get crafty! See my suggestions for fun artistic additions below!
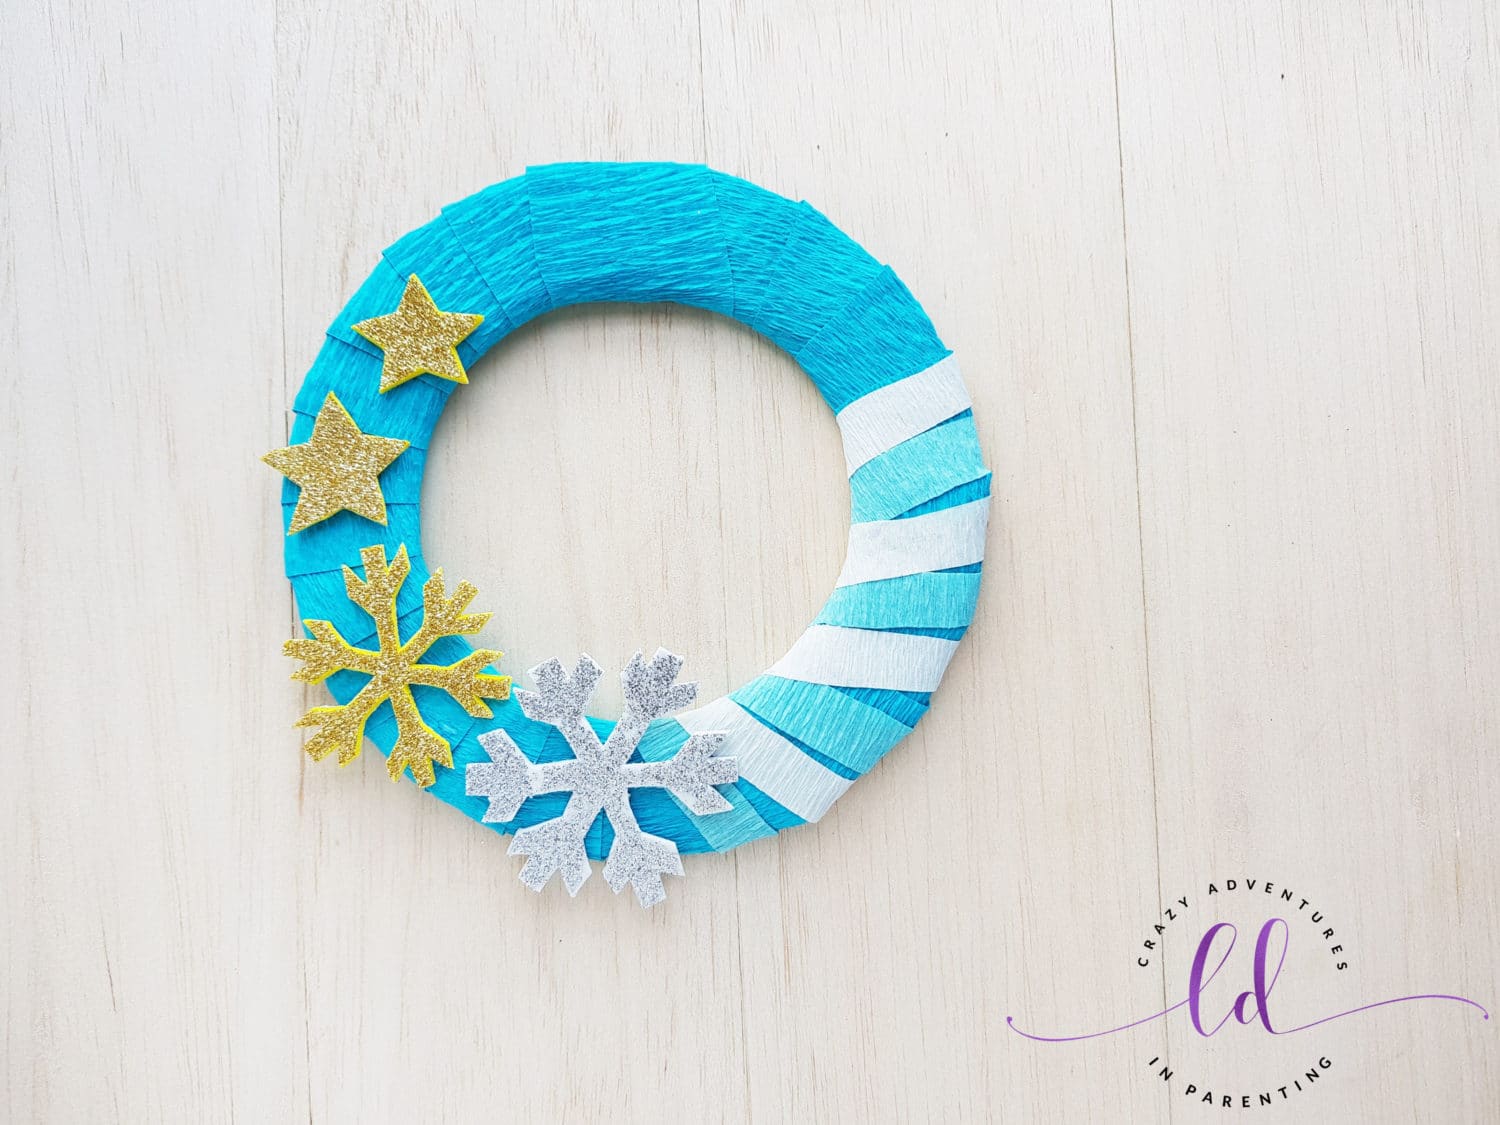
How Big is This Frozen Wreath Craft?
As big or small as you’d like! You can even do multiple wreaths in different sizes, you will have extra supplies available! Wreaths typically come in 10″, 12″, 14″, 16″ or 18″ sizes. You could always purchase a foam wreath set!
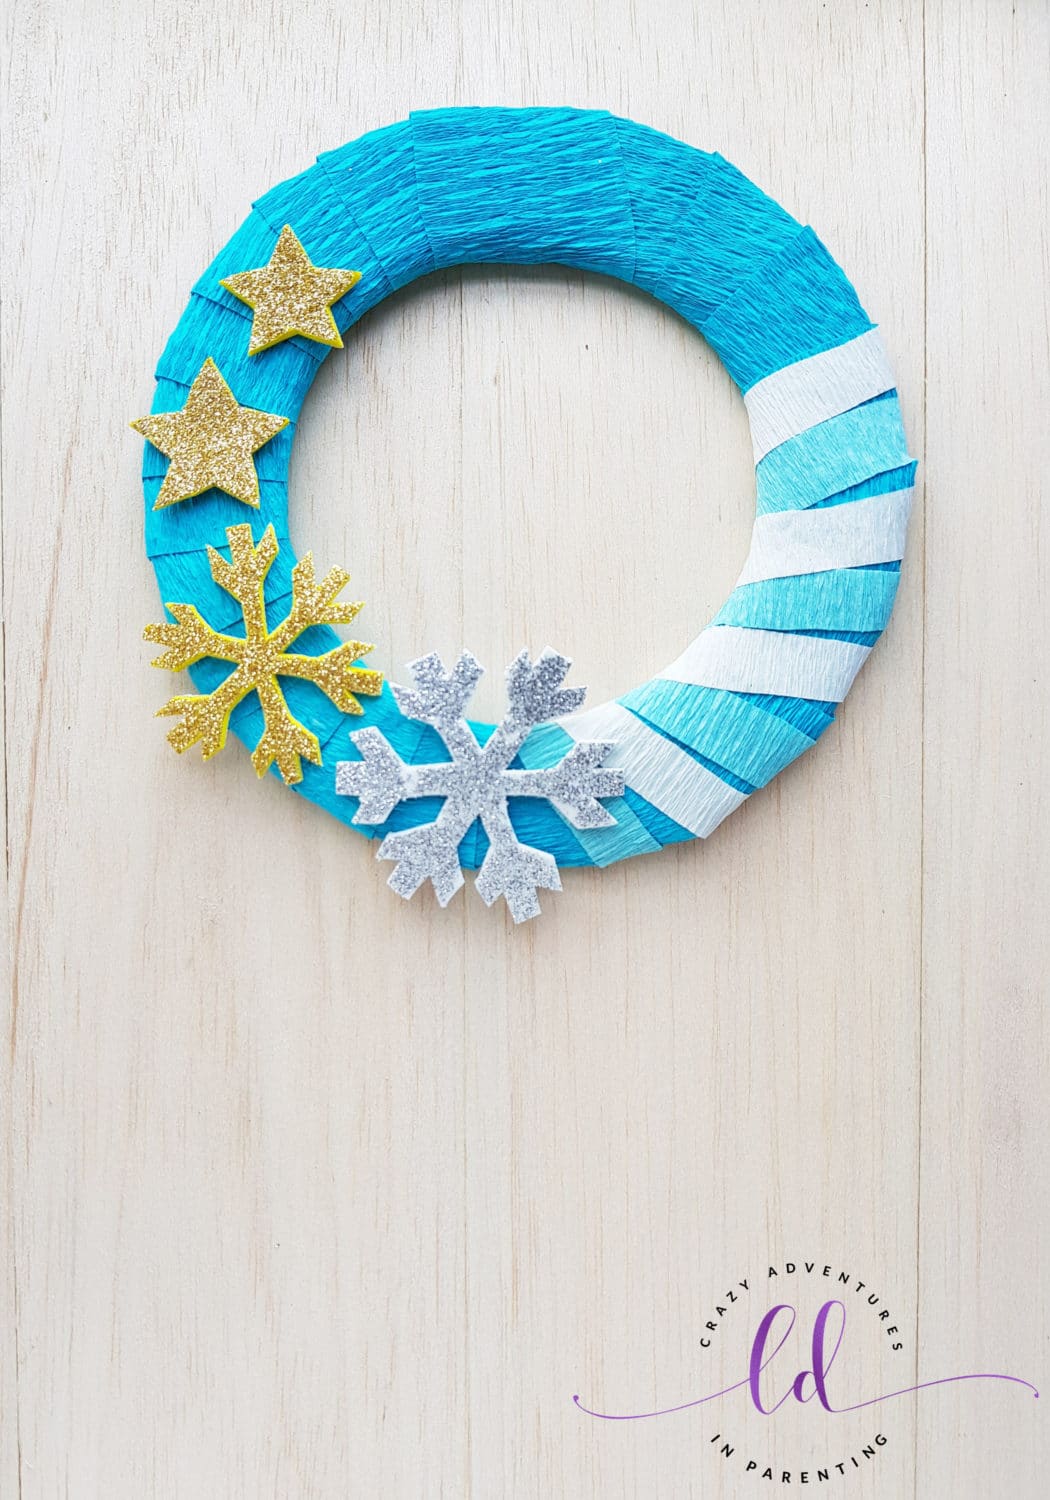
What Other Decorations Can I Add?
- With littler children, maybe they might want to add Frozen stickers, too?
- These Frozen Movie Stickers would look great as well!
- In addition to the handmade snowflakes, you can add these pre-cut snowflakes too!
- These multicolored pre-cut foam stars would look great if you didn’t want to cut out your own! These gold and silver foam star stickers would also look fantastic!
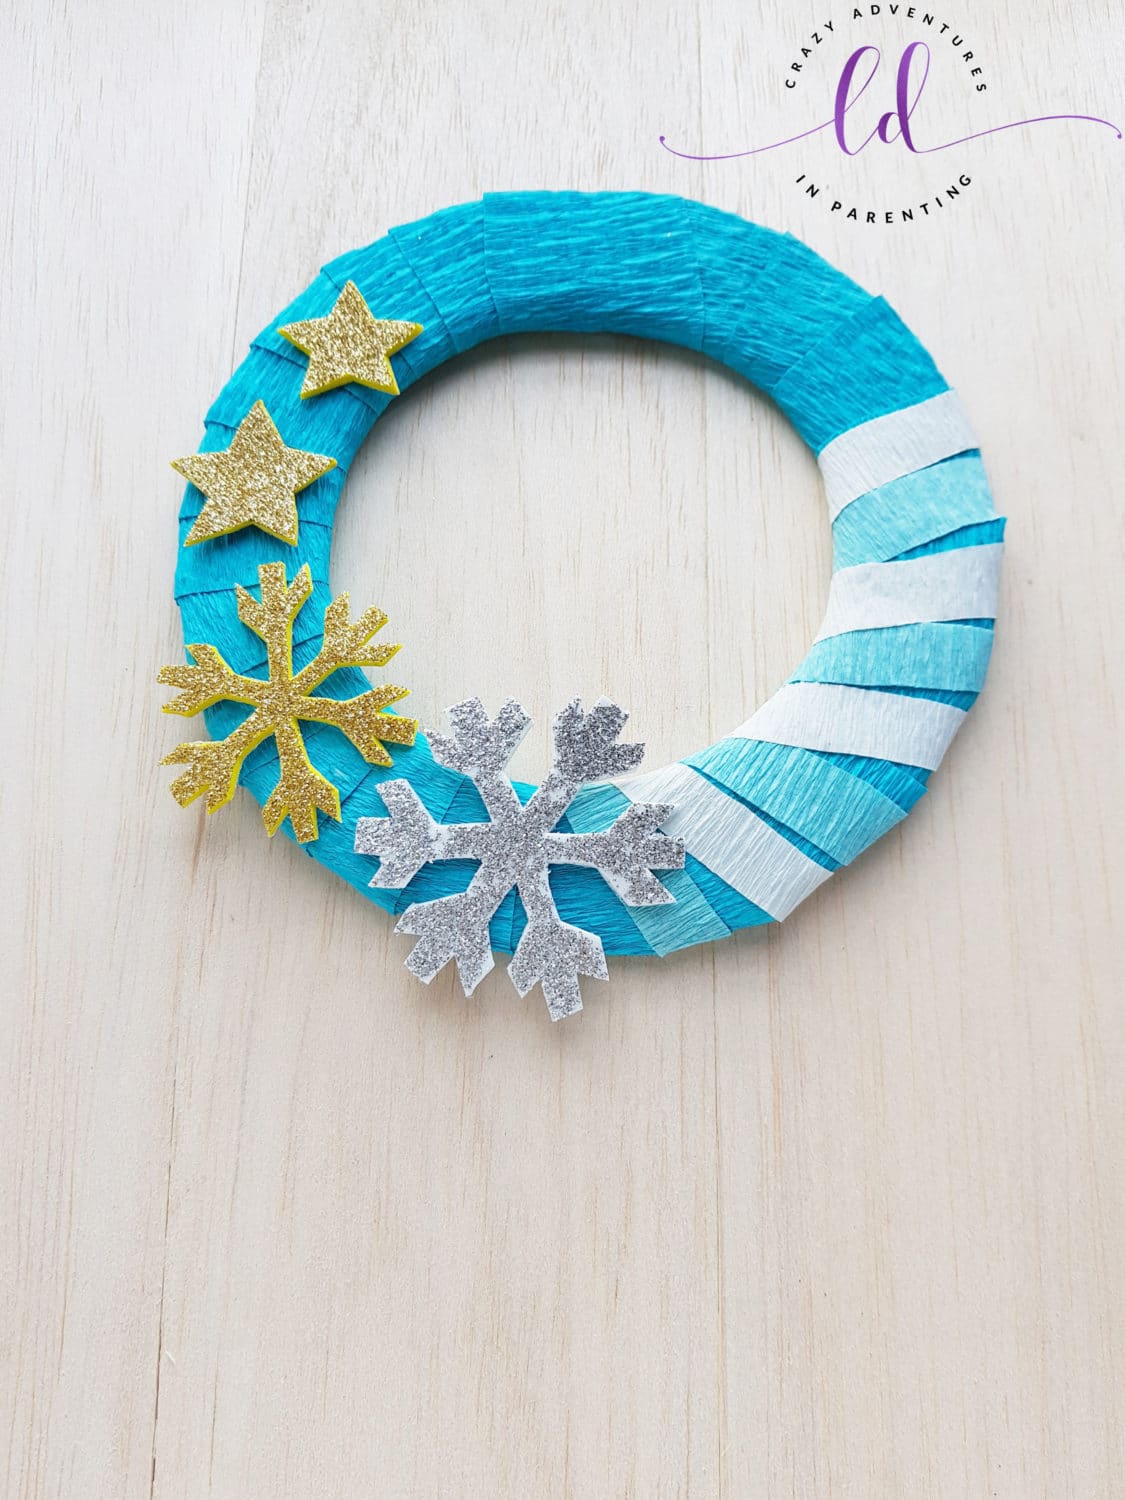
How Do I Hang This Frozen Wreath?
The best way to hang this Frozen Wreath is to use Command Strips. You can easily use tacks to hang it up, or add ribbon with craft glue at the back to tie a bow at the top and hang with a tack or Command Hook. There’s some really cute decorative ribbon if you’re into that choice – check out these different choices for snowflake ribbon, silver or gold ribbon, blue shiny ribbon, white ribbon, holographic ribbon, iridescent ribbon, and more!
Other Frozen Crafts and Recipe Ideas
Check out all our Frozen recipes and crafts thus far!
- Elsa Frozen Cupcakes
- Easy Frozen Slime
- Free Frozen Coloring Pages and Activity Sheets
- Free Frozen 2 Coloring Pages and Activity Sheets
- Check out our Frozen Review and Fun Gems in Frozen
- Frozen Toys at Walmart
Stay tuned, I have Elsa Rice Krispies Treats yet to be shared, too! Can you tell we love Frozen!?
Get the Free Printable Frozen Wreath Craft Tutorial Below
If you love this Easy Frozen Wreath Craft as much as we do, please leave me a 5-star review below and help me share this craft on Facebook and Pinterest! If you do make the craft, I hope you’ll share that you tried it on Pinterest! I love it SO MUCH when readers share their feedback! 🙂

CRAVING MORE CRAFTS AND DELICIOUS RECIPES? Subscribe to my newsletter and follow along on Pinterest, Facebook, YouTube, and Instagram for all the latest updates!
Sign up below to receive my newsletter filled with delicious recipes, fun crafts, and family adventures straight into your inbox:
Easy Frozen Wreath Craft Tutorial
Materials
- Round wreath base, standard wreath size made of styrofoam, cardboard, metal or other material
- Crepe paper in various colors blue, white, dark blue, and/or purple (or whatever three or four colors you’d like to use)
- Glitter craft papers or foam sheets
- Pencil
- Good pair of sharp scissors
- Craft glue
- Printed snowflakes stencil (You will need to print this page)
Instructions
- Grab the blue crepe paper in the color you’d like to be what is considered the “base color” ie the one that will be dominant and underneath all the decor. Prepare long strips of this color of crepe paper to wrap the round wreath base. Add a dab of craft glue to the end of the crepe paper to start, secure it underneath the wreath, and begin to wrap.
- Don’t worry about the length of the strips, you can always trim and add strips where needed if the current strip ends while wrapping. Try to keep the wrapping nice and wrap overlapping evenly.
- Once the entire wreath base is covered with crepe paper strips wrapped evenly around it, overlap the starting point by about an inch and then apply a dab of glue at the end underneath to secure the wrapping.
- For this craft, I used glitter foam sheets to trace and cut out the snowflakes, but you could easily use glitter craft paper if you have or prefer that medium! Using the snowflakes stencil to print and then trace the snowflakes out onto the paper or foam. Use your sharp scissors to trim these snowflakes out of the paper or foam.
- Attach the snowflake cutouts on the wreath with dabs of the craft glue on the back and decorate the wreath as you desire.
- To continue to decorate, add different colored crepe paper strips next to the glitter snowflakes over the wrapped base. Alternate colors, add more glittery foam shapes, or any additional flourishes you desire! Go ahead and get crafty!
Notes
- With littler children, maybe they might want to add Frozen stickers, too?
- These Frozen Movie Stickers would look great as well!
- In addition to the handmade snowflakes, you can add these pre-cut snowflakes too!
- These multicolored pre-cut foam stars would look great if you didn’t want to cut out your own! These gold and silver foam star stickers would also look fantastic!

