For a fun and easy way to mark your book pages, check out our tutorial to make easy DIY Origami Unicorn Corner Bookmarks for reading!
This post may contain affiliate links which means we receive a small commission at no cost to you when you make a purchase. As an Amazon Associate I earn from qualifying purchases.
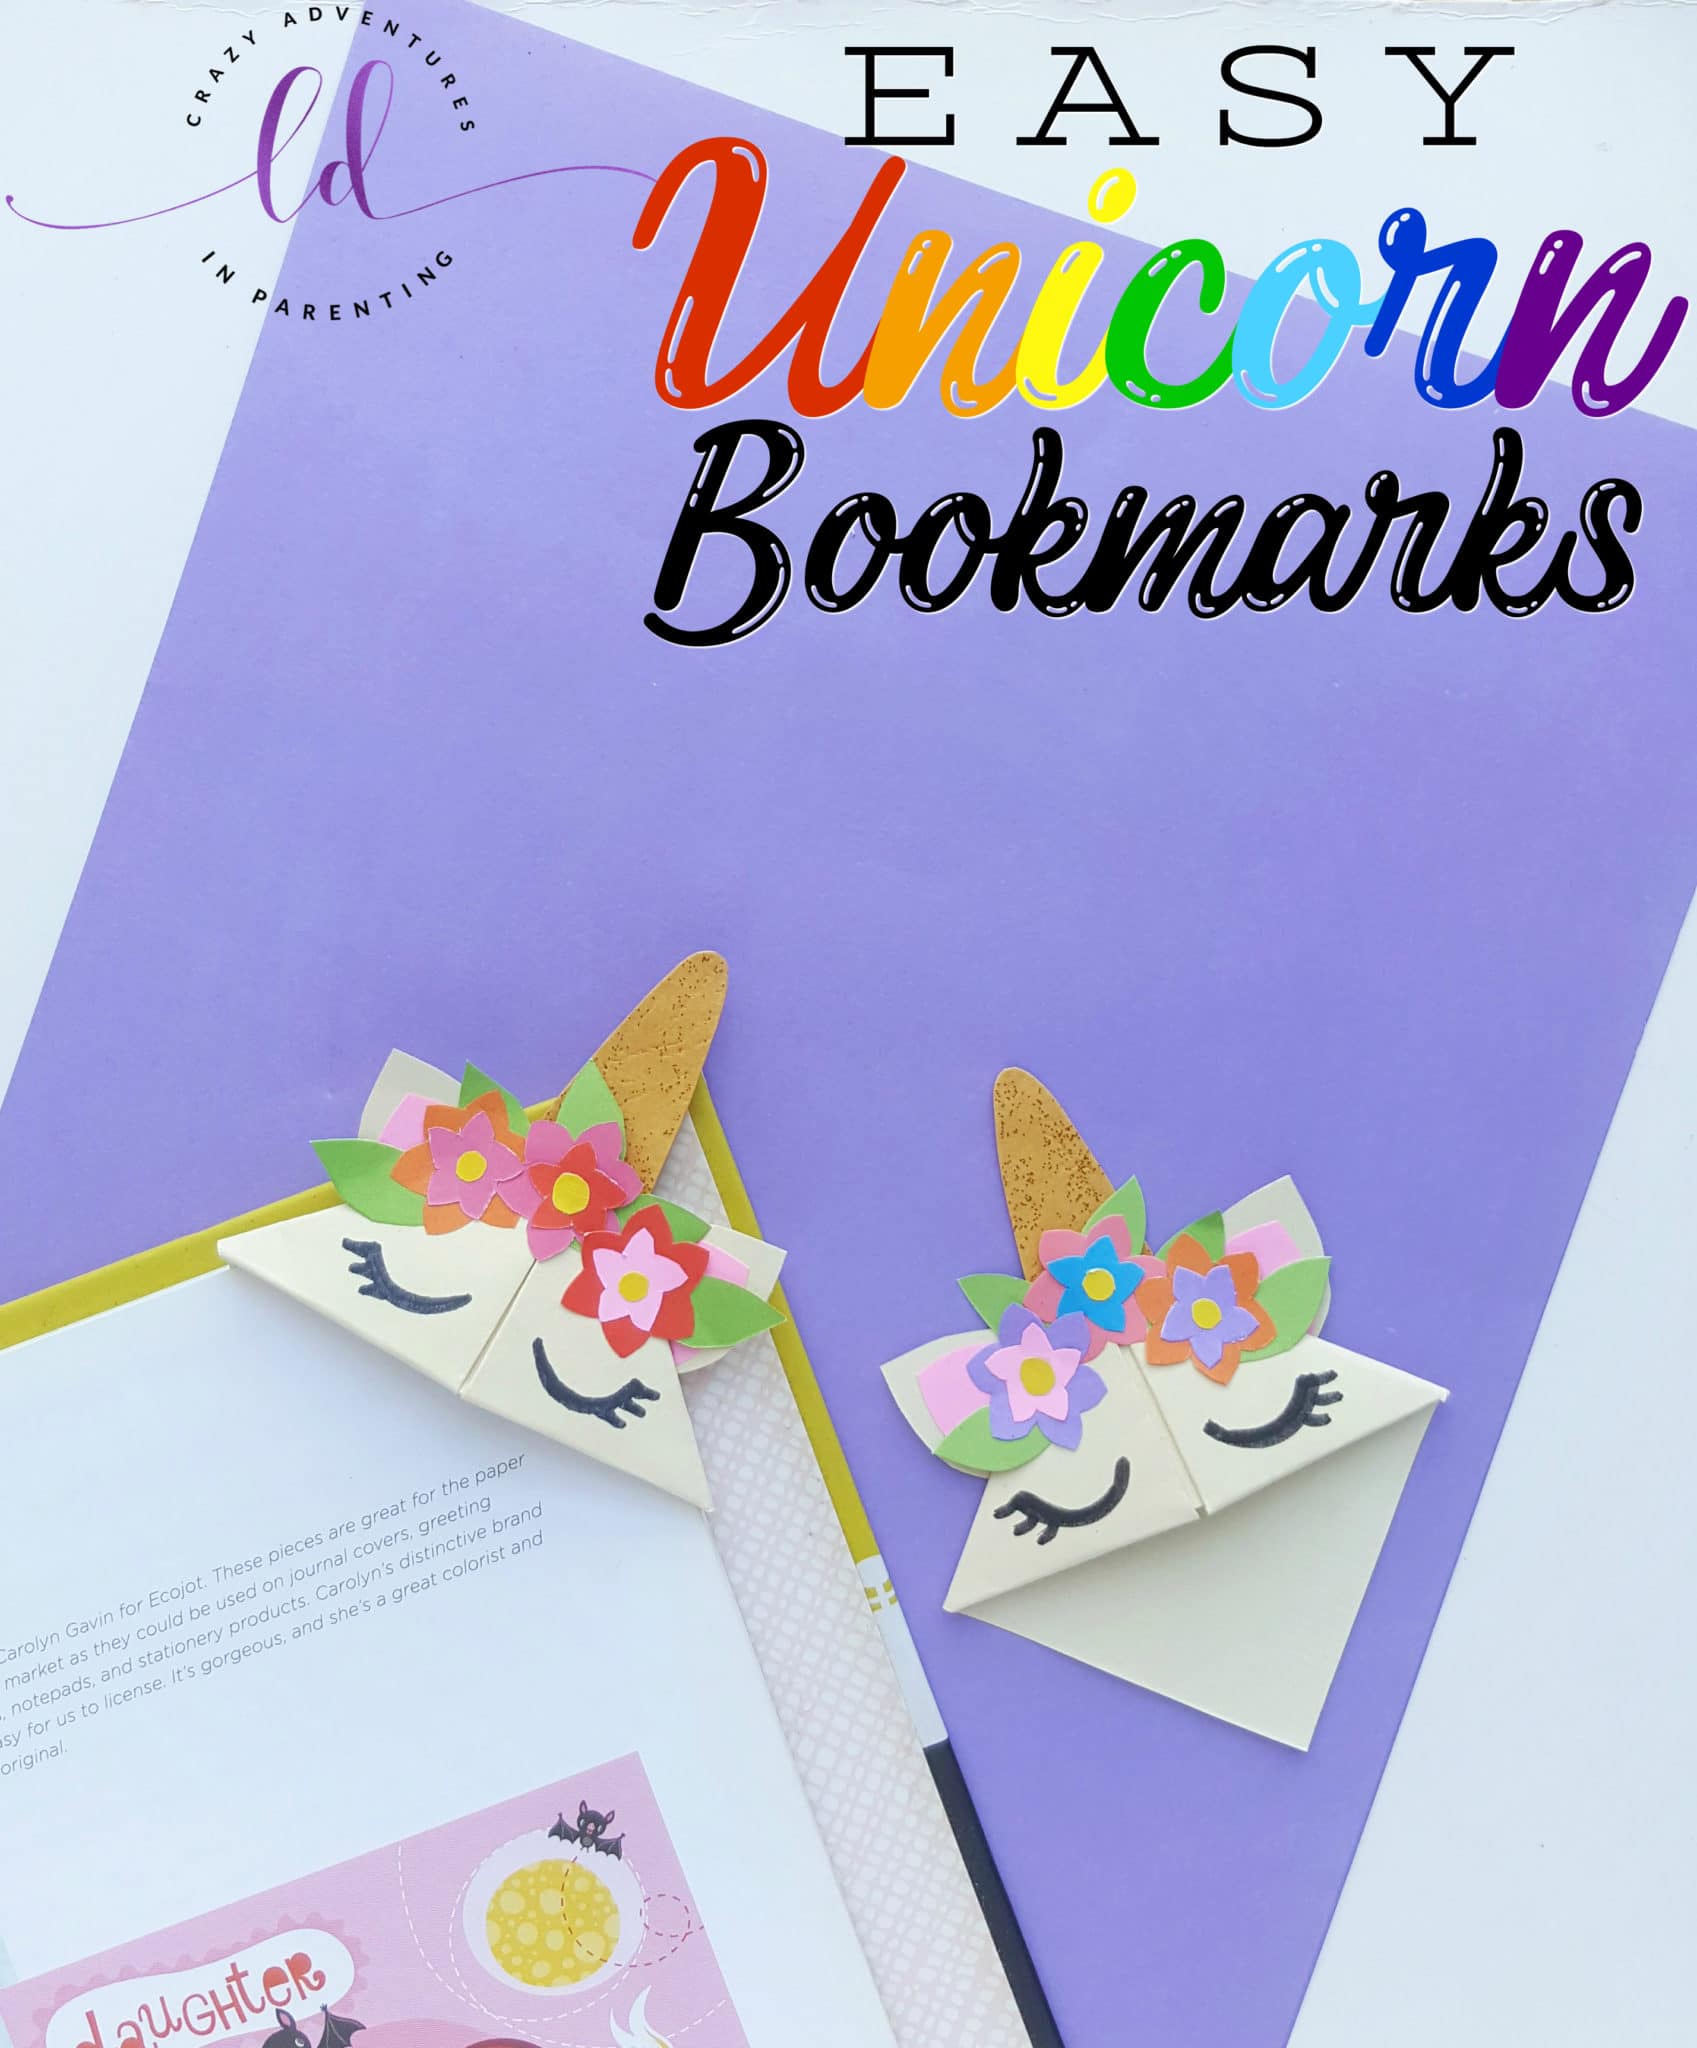
DIY Origami Unicorn Corner Bookmarks
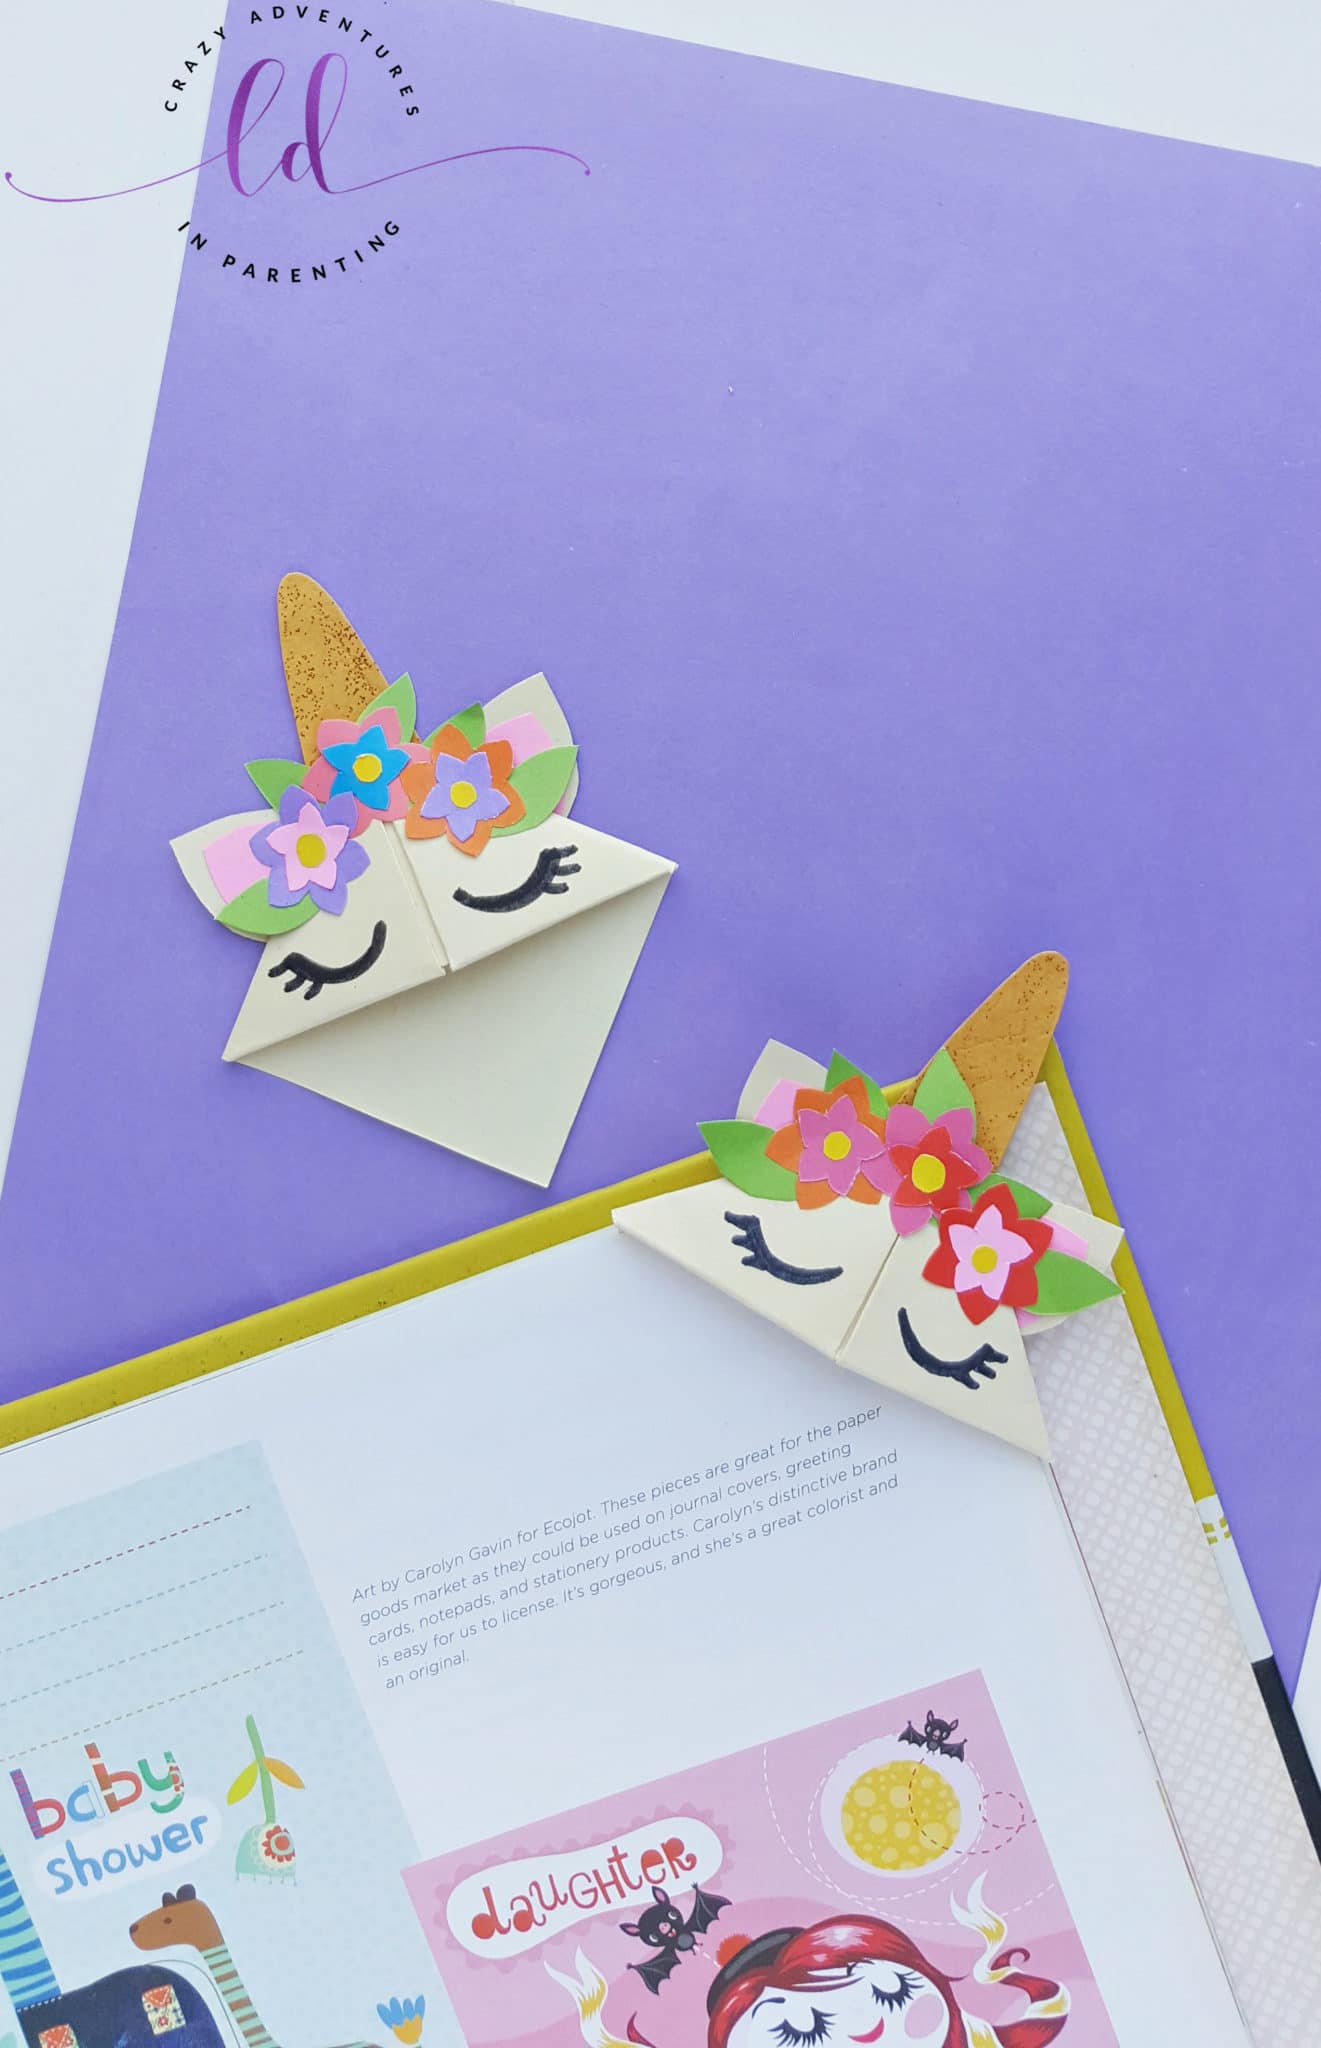
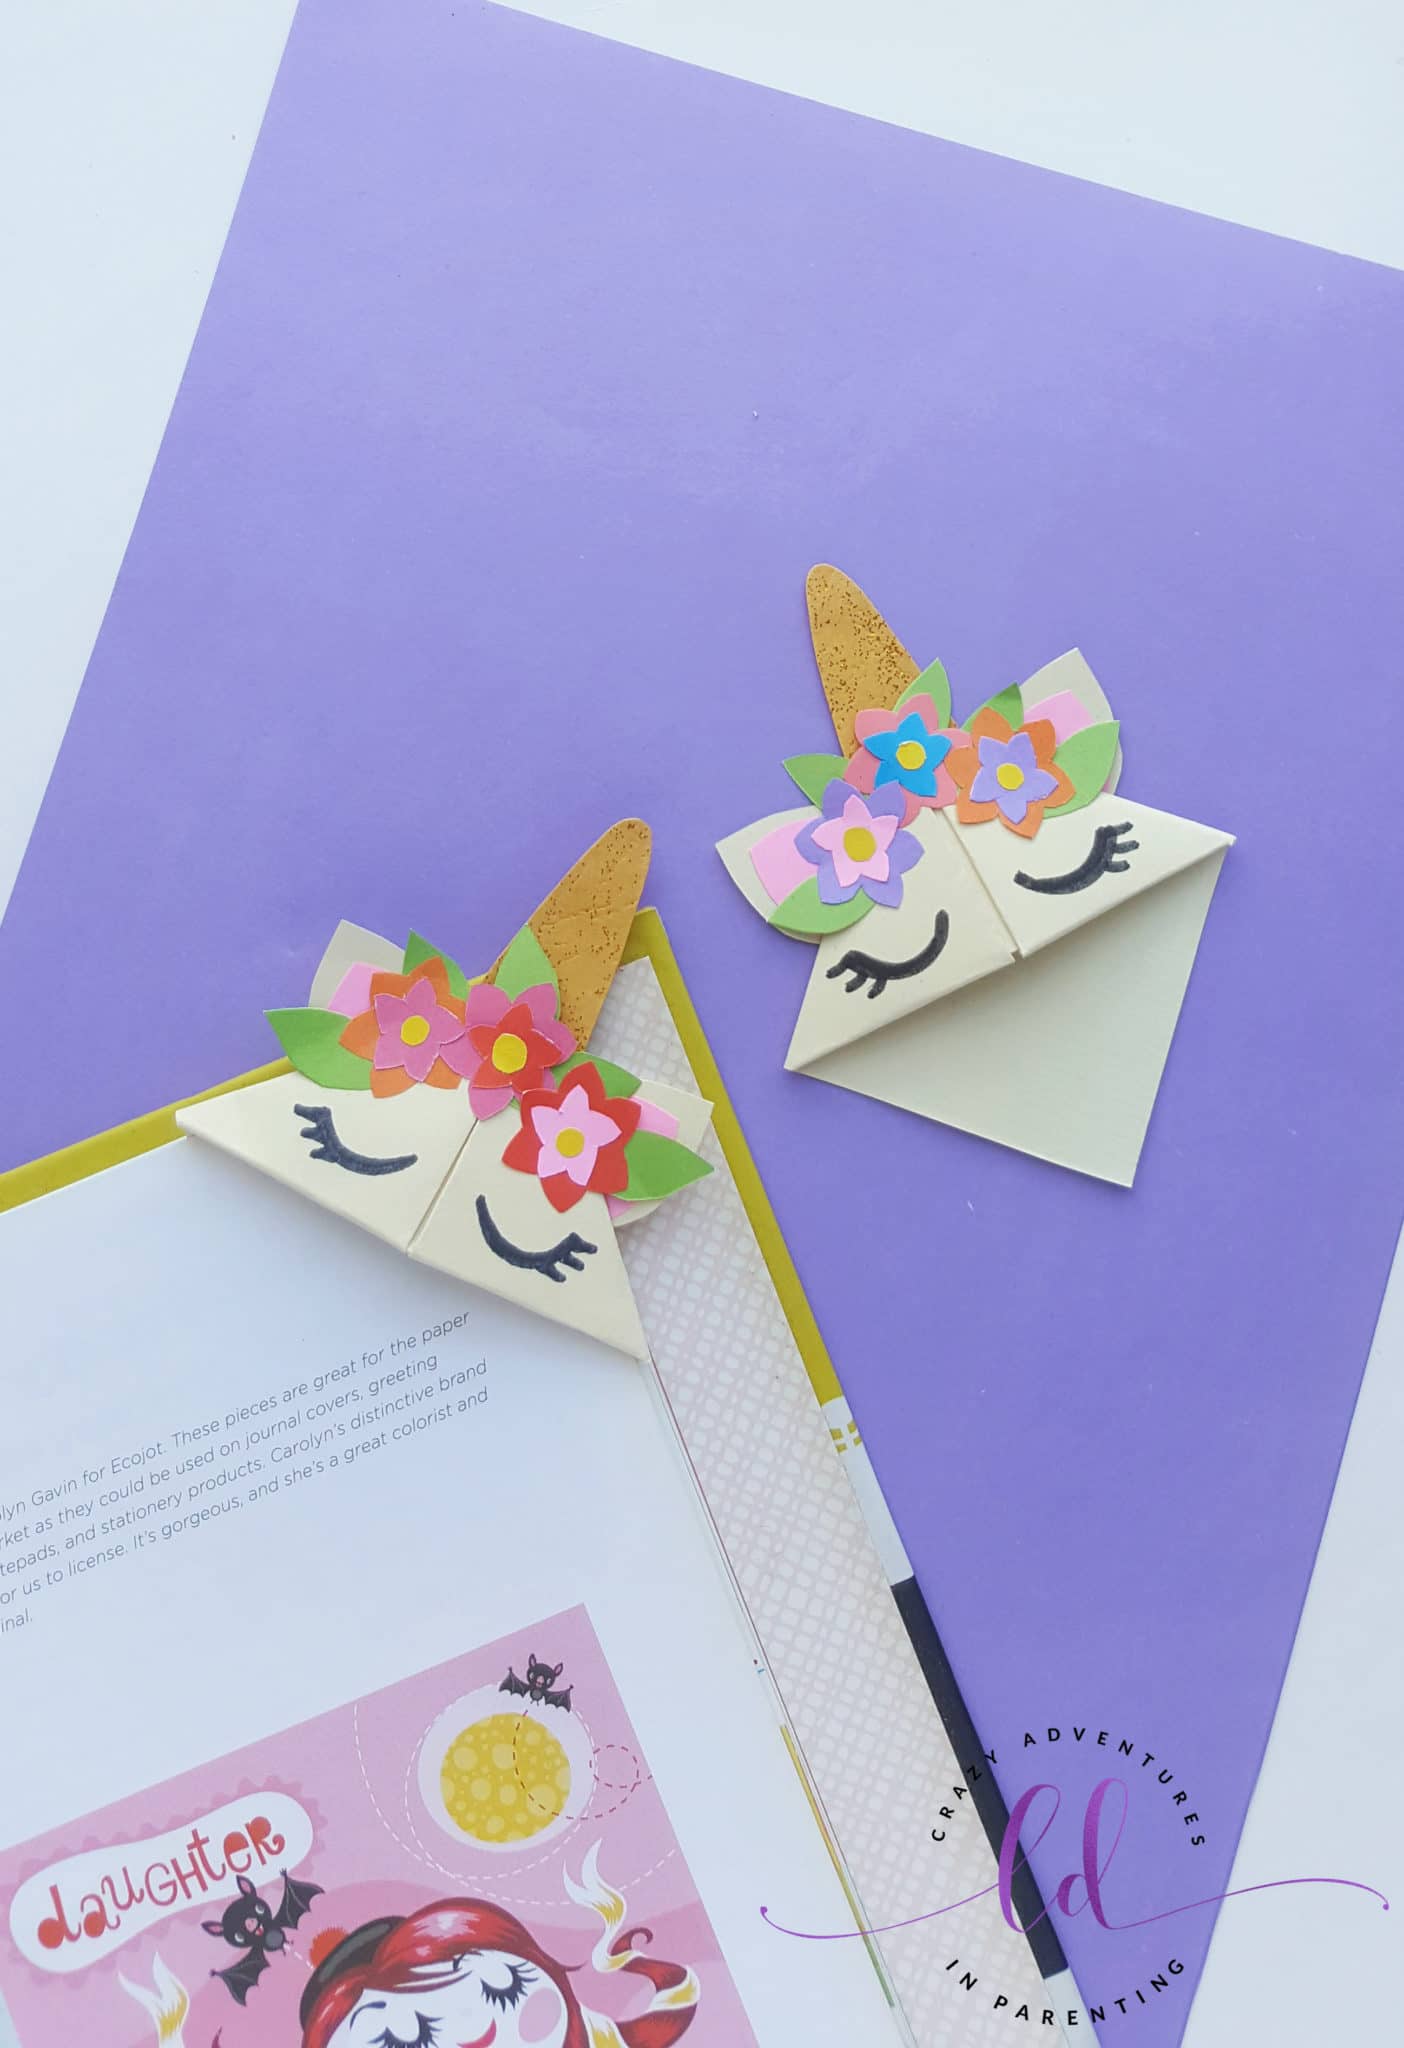
You guys! This unicorn craft is PERFECT for the unicorn lover in your life who also loves to read! My daughters are OVER THE MOON with these unicorn bookmarks, they can’t deal and they’re already concocting different ways to make this again!
If you’re stuck inside and looking for craft ideas right now, you’ve come to the right place! This easy origami unicorn bookmark is a corner bookmark but you can easily glue it to a tongue depressor to make it stick into the page, too! We prefer it as the original origami unicorn corner bookmark but either way is awesome!
Where Can I Find the Directions?
If you’d rather skip all of my crafting tips, important information for this craft, and similar craft ideas – and get straight to the easy DIY Origami Unicorn Corner Bookmarks tutorial, just scroll down to the bottom, where you’ll find a printable recipe card.
Supplies Needed to Make DIY Origami Unicorn Corner Bookmarks
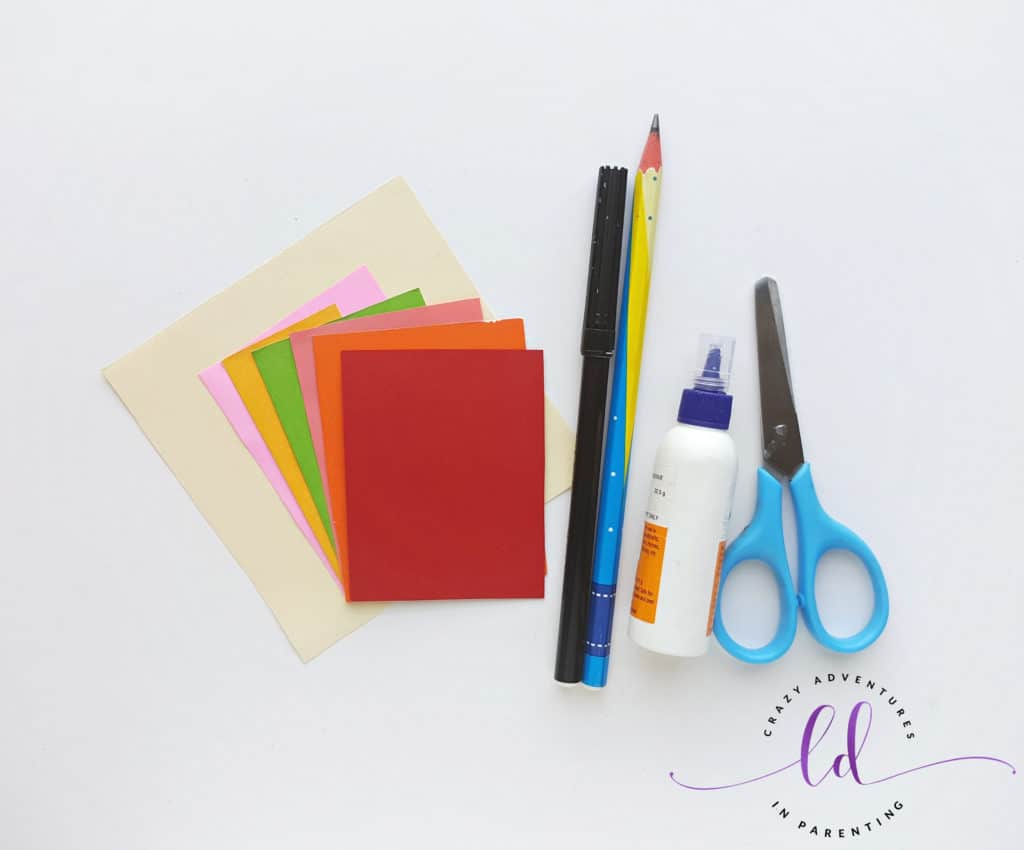
To make this fun unicorn craft for kids, you will need to gather the following supplies and materials:
- Colored craft paper (including white or cream)
- Colored cardstock paper
- Pencil
- Scissors
- Craft glue
- Black marker pen
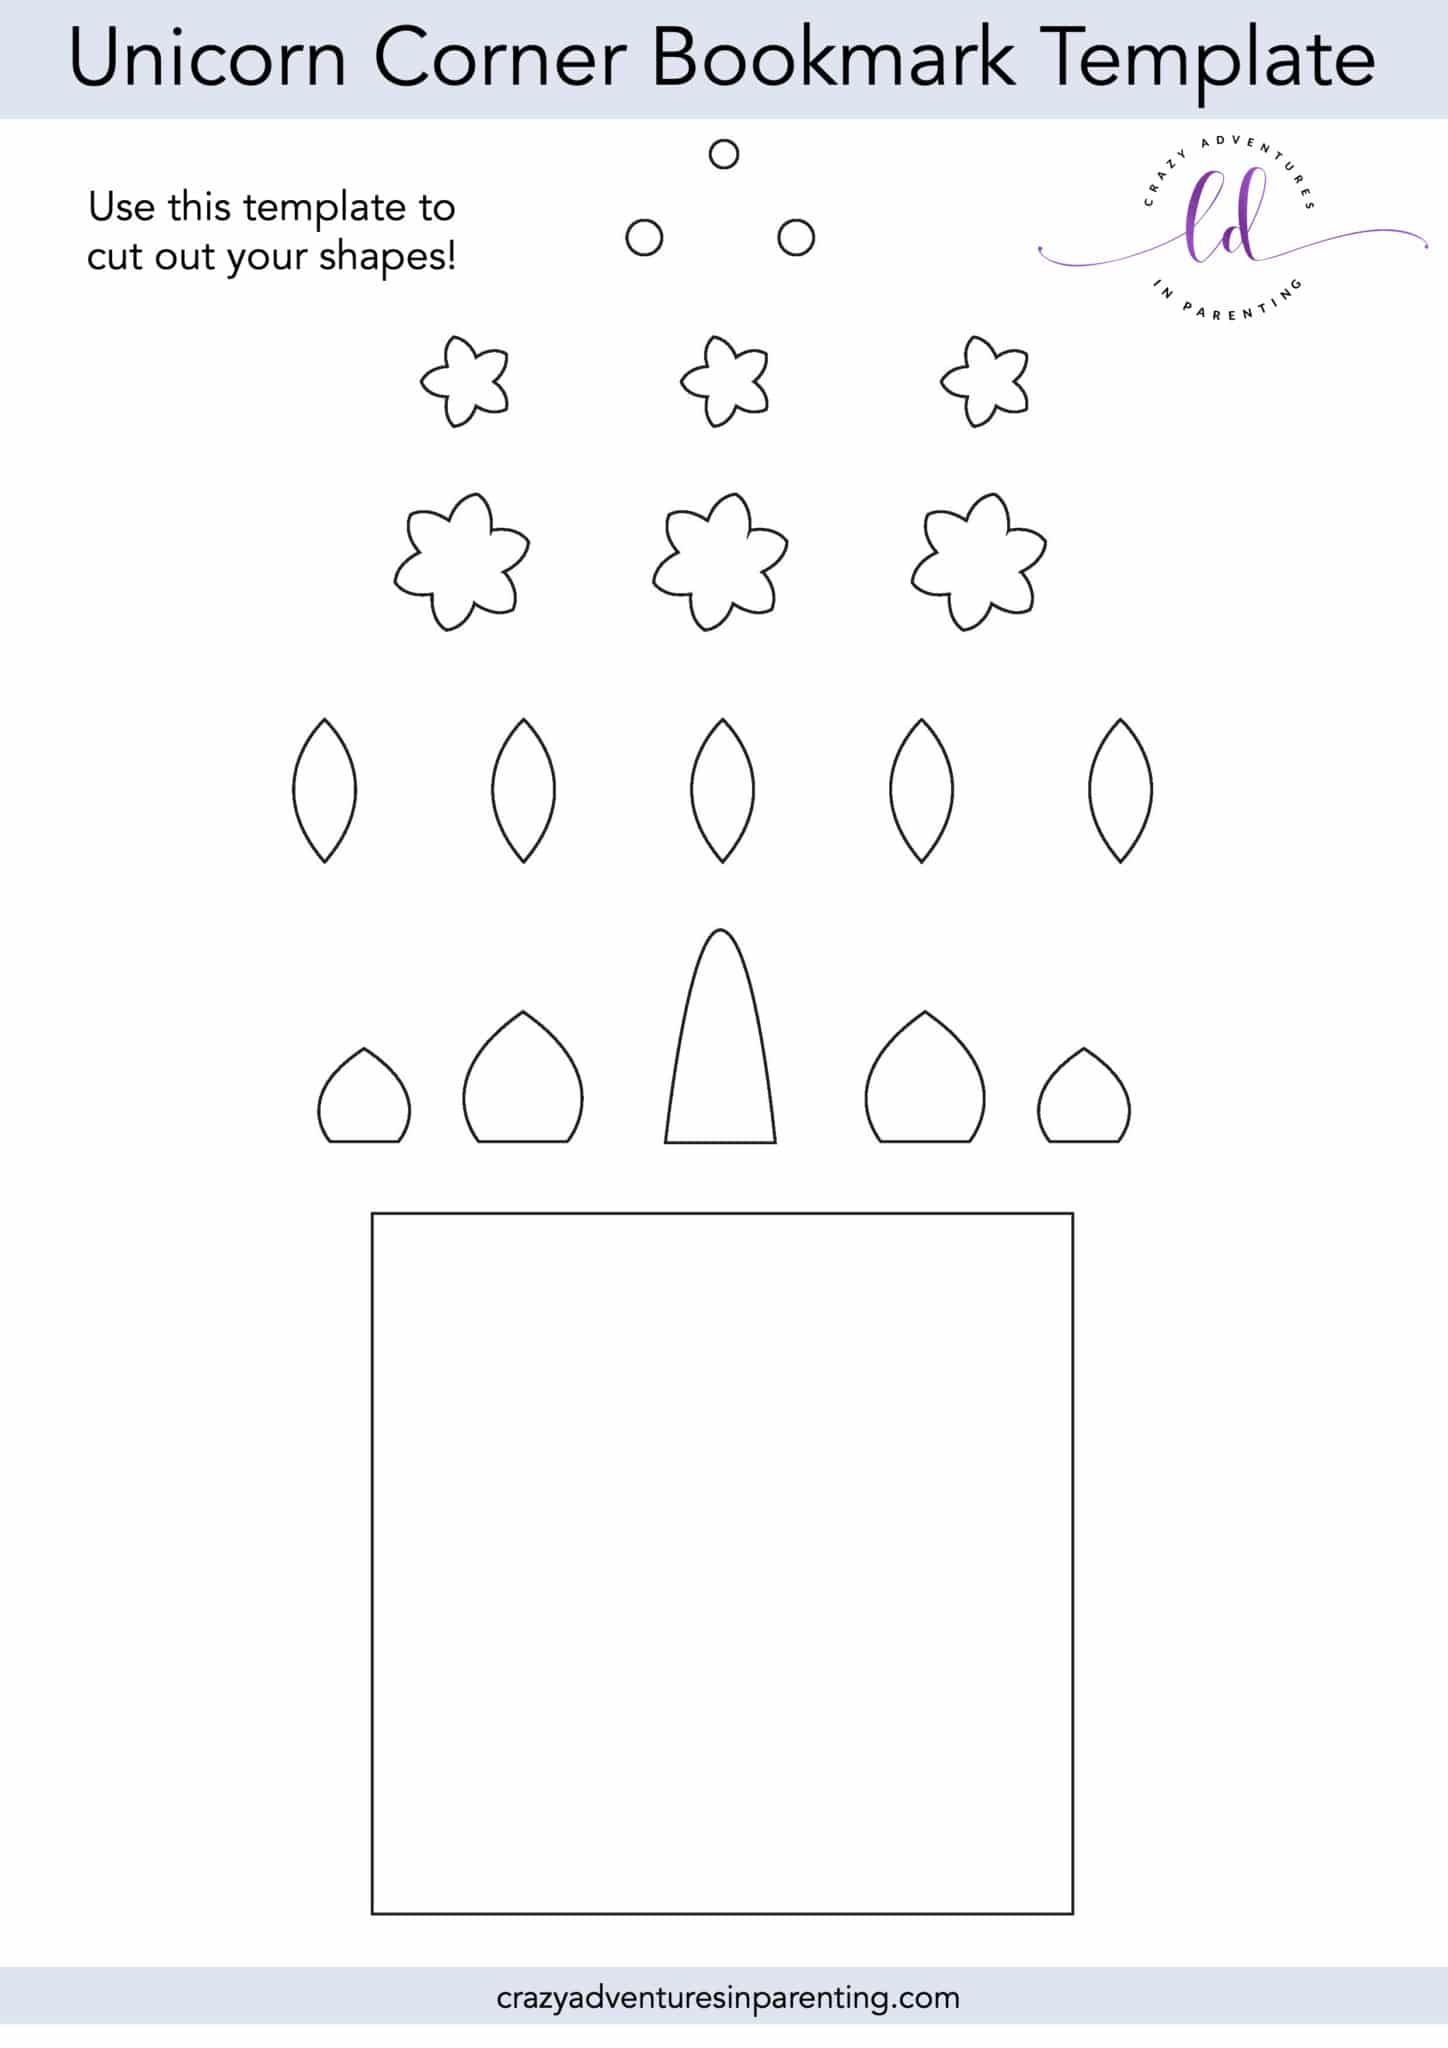
- Unicorn corner bookmark template
- Optional – wooden tongue depressor should you want this to be a more traditional bookmark than a corner one.
How to Make DIY Origami Unicorn Corner Bookmarks
Print and cut out the patterns from the unicorn corner bookmark template. Trace and cut out the big square shape on your choice of paper selected to make the bookmark.
Place the square paper on a clean and flat work surface.
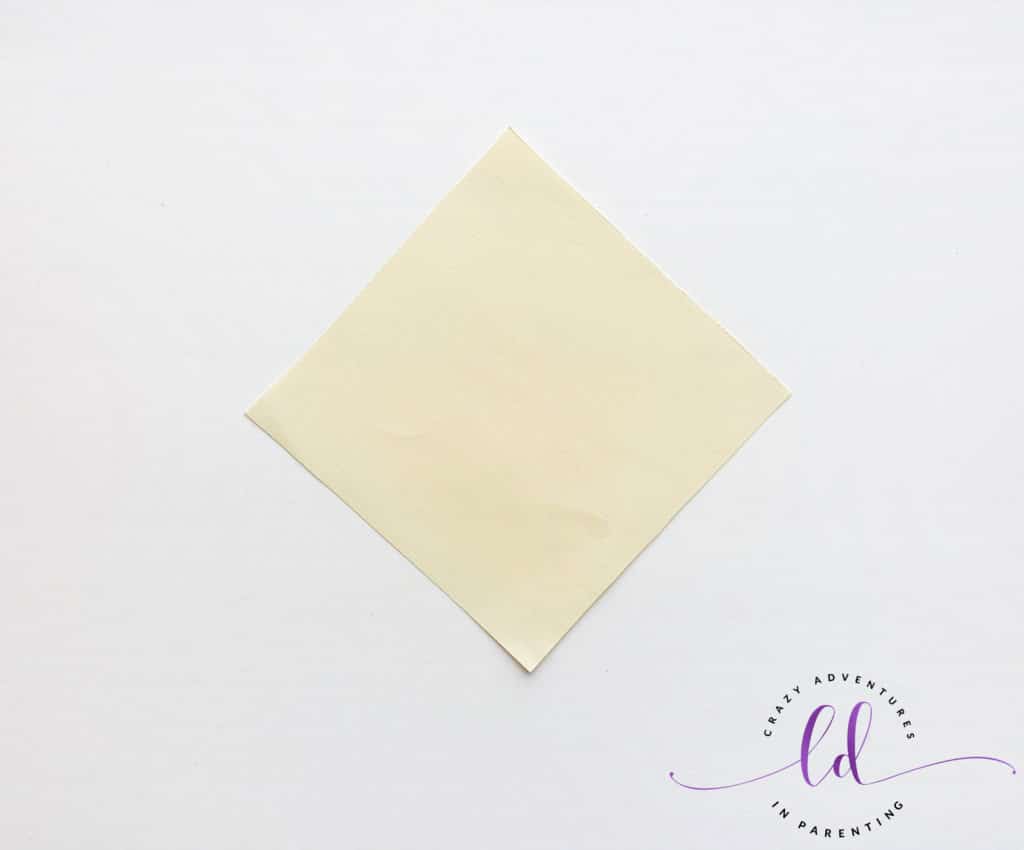
Fold the paper into half diagonally to create a triangle shape. Keep it so the point is at the top with the flat side at the bottom.
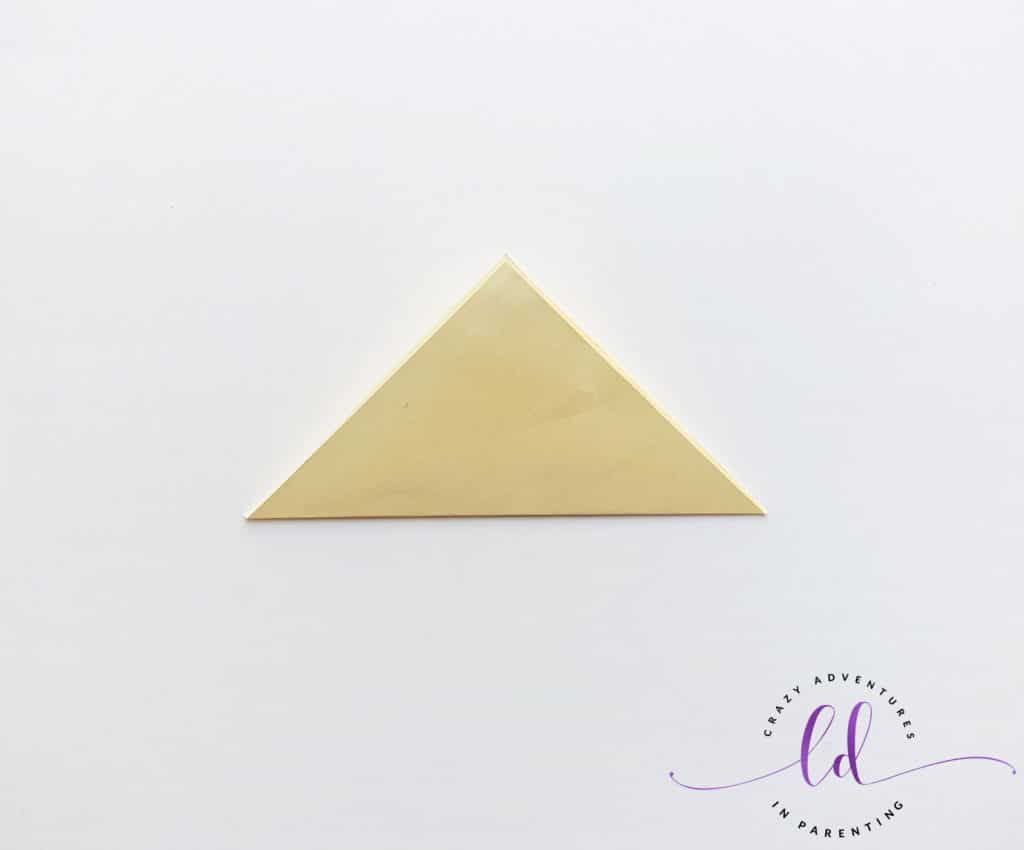
Hold the corners and fold the top piece of paper down, touching the tip to the flat side, matching the end of the corner with the border line on the straight side. Note that there are now 3 points along the bottom side of the folded paper.
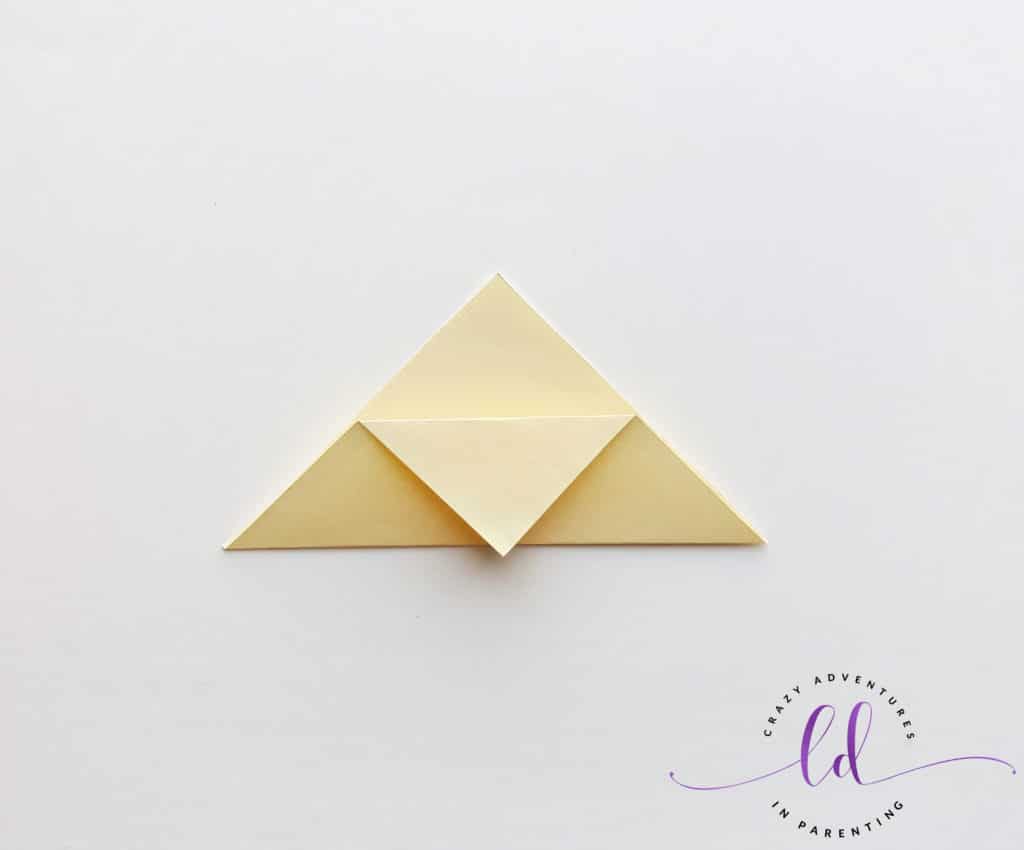
Grab the right corner first and fold it up from the side, matching its corner with the corner on the top.
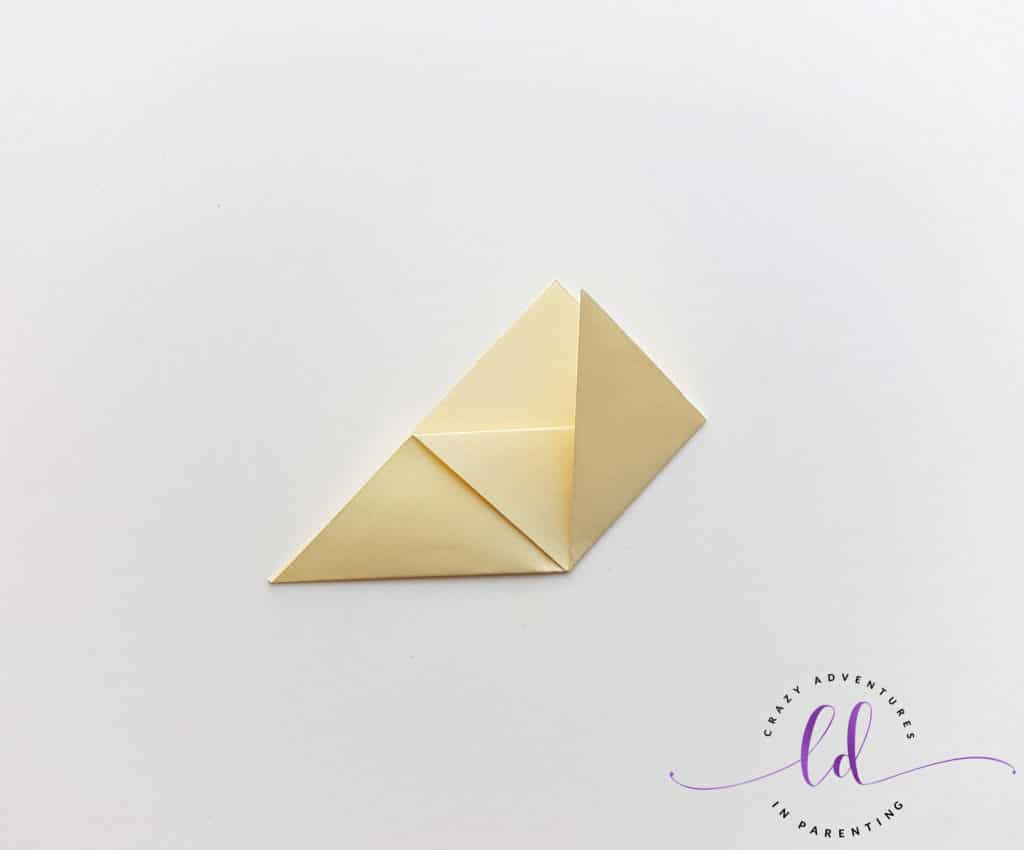
Fold the triangle on the other side in the same way.
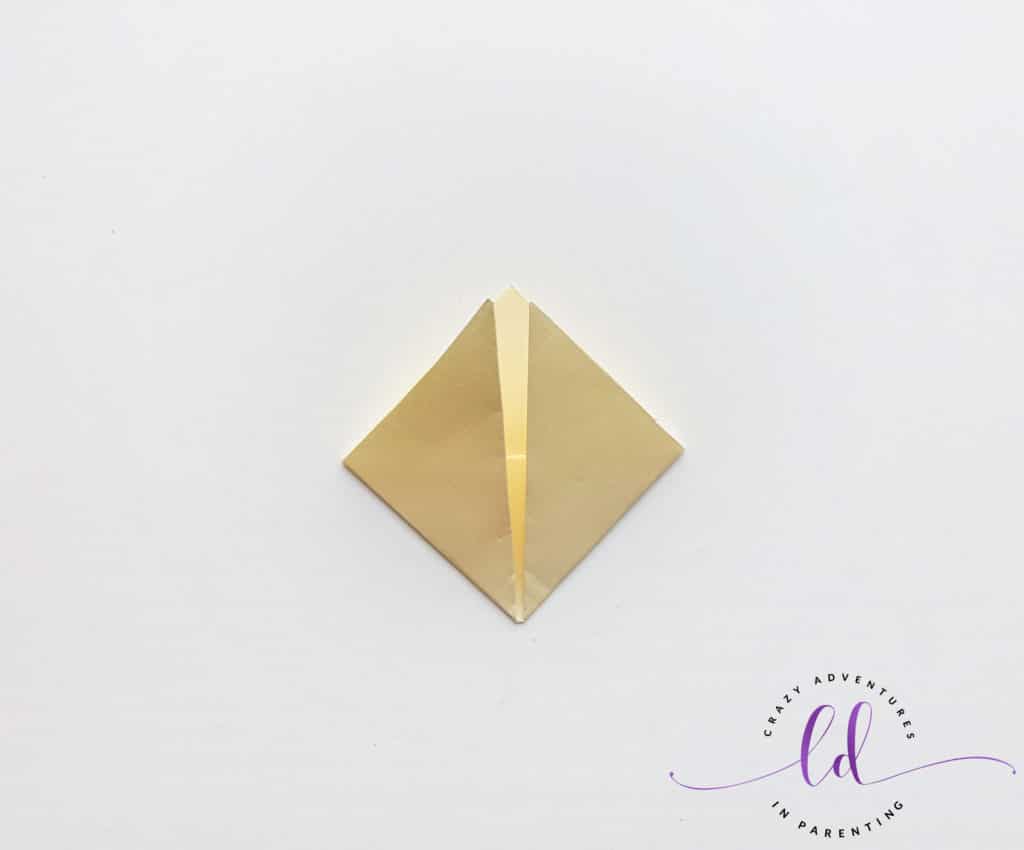
Choosing either of the two pieces you just folded up and take them and fold it into half, tucking the open side of the half fold into the triangular pocket.
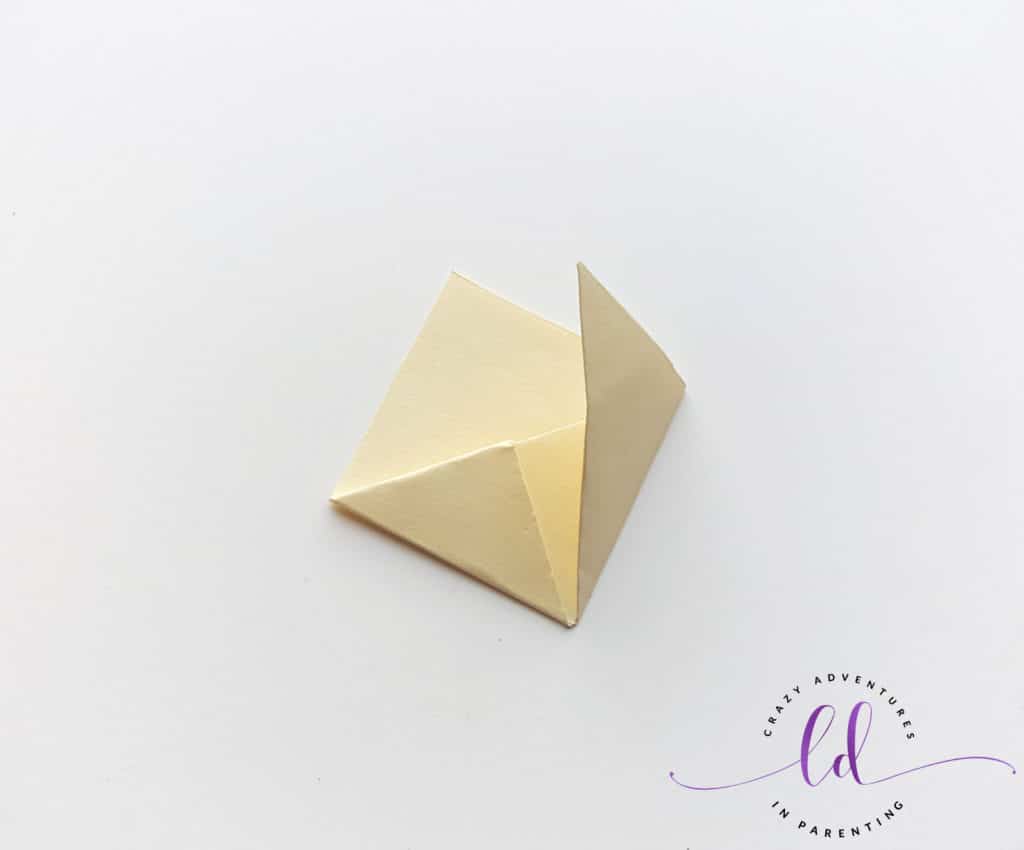
Repeat the fold and tuck on the other side.
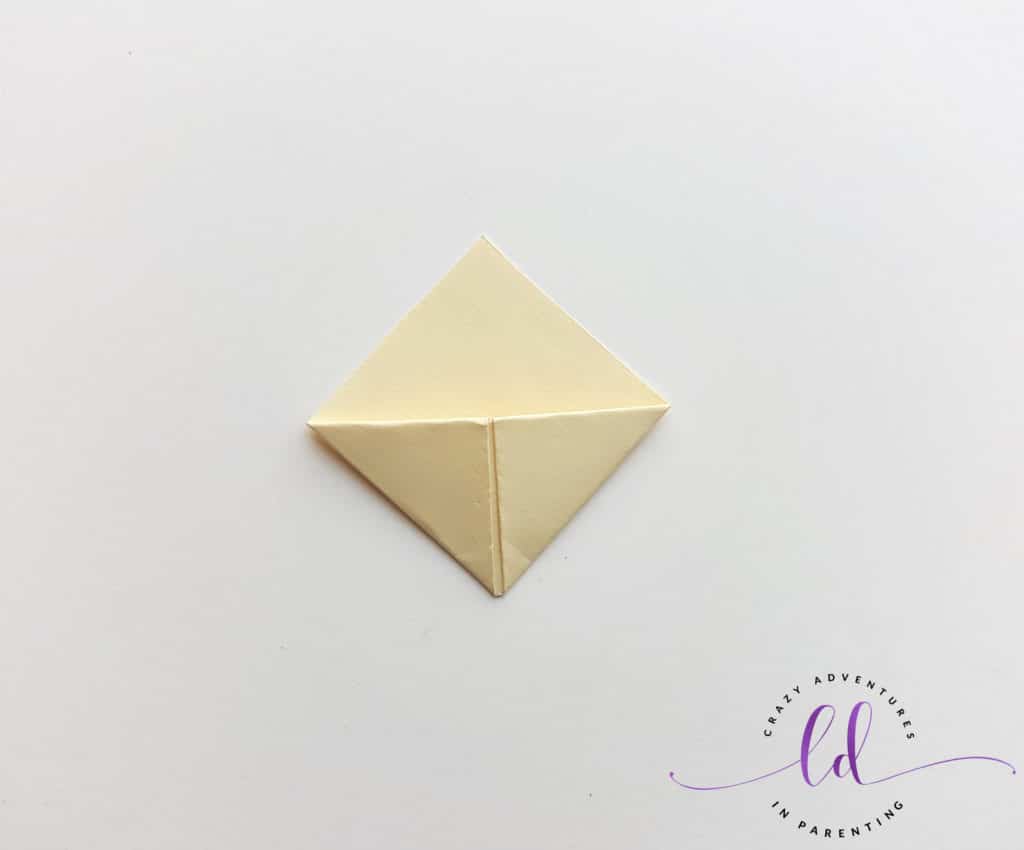
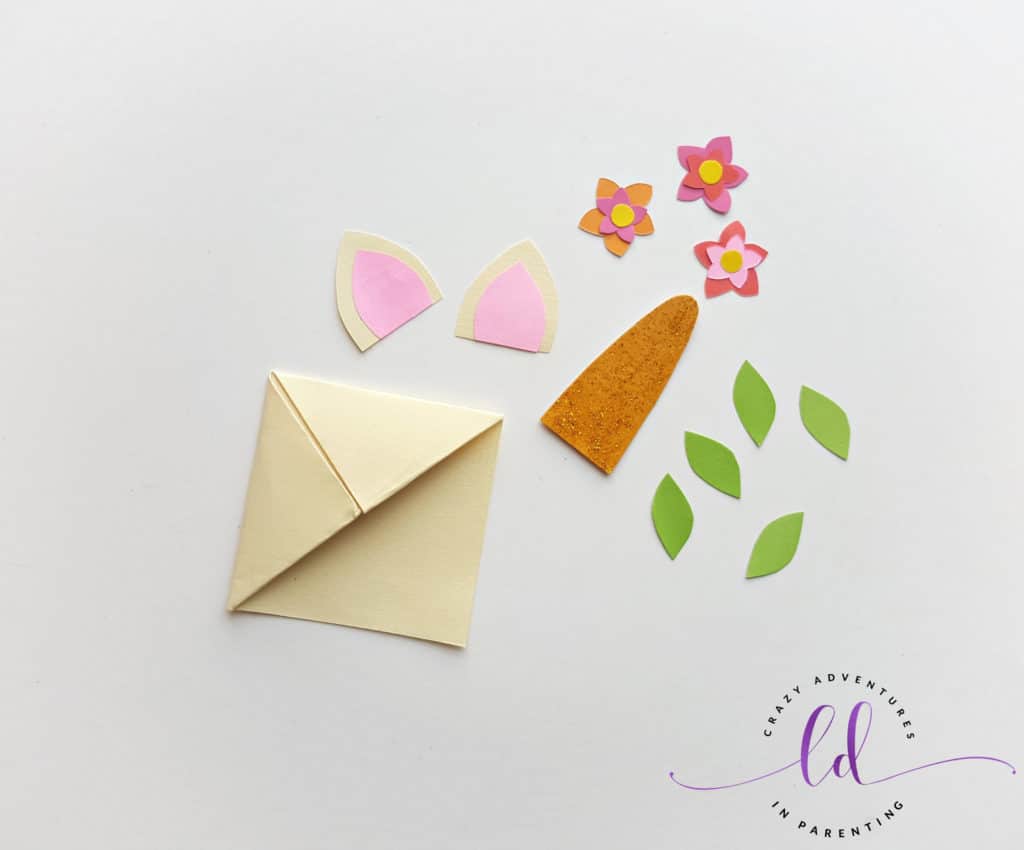
Select desired colored craft papers for the decoration. Trace the patterns onto the colored papers and cut them out.
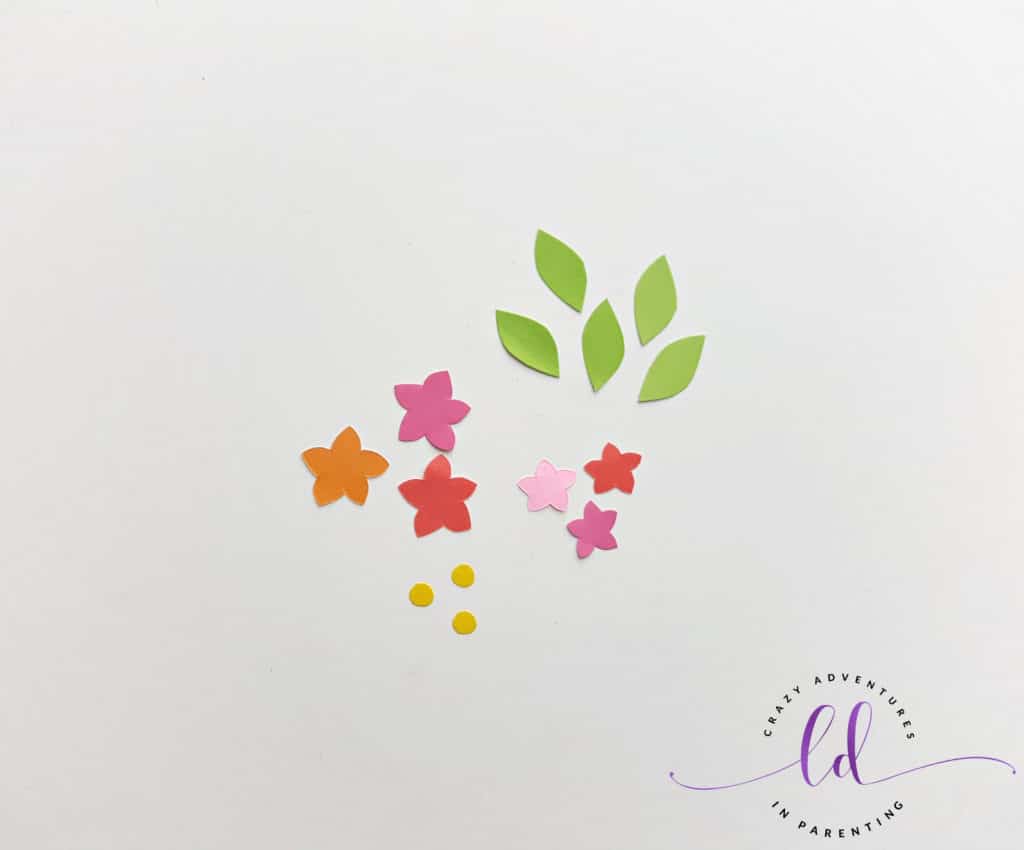
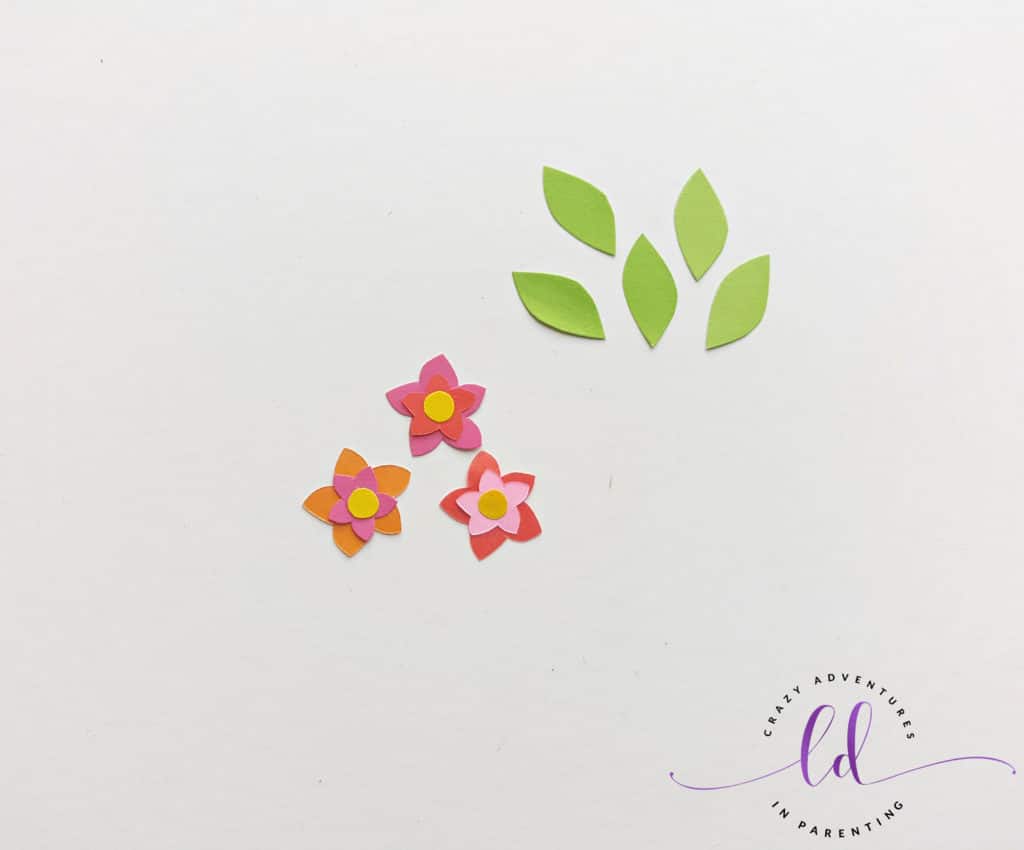
Assemble the flowers by gluing together the flower cut-outs in layers.
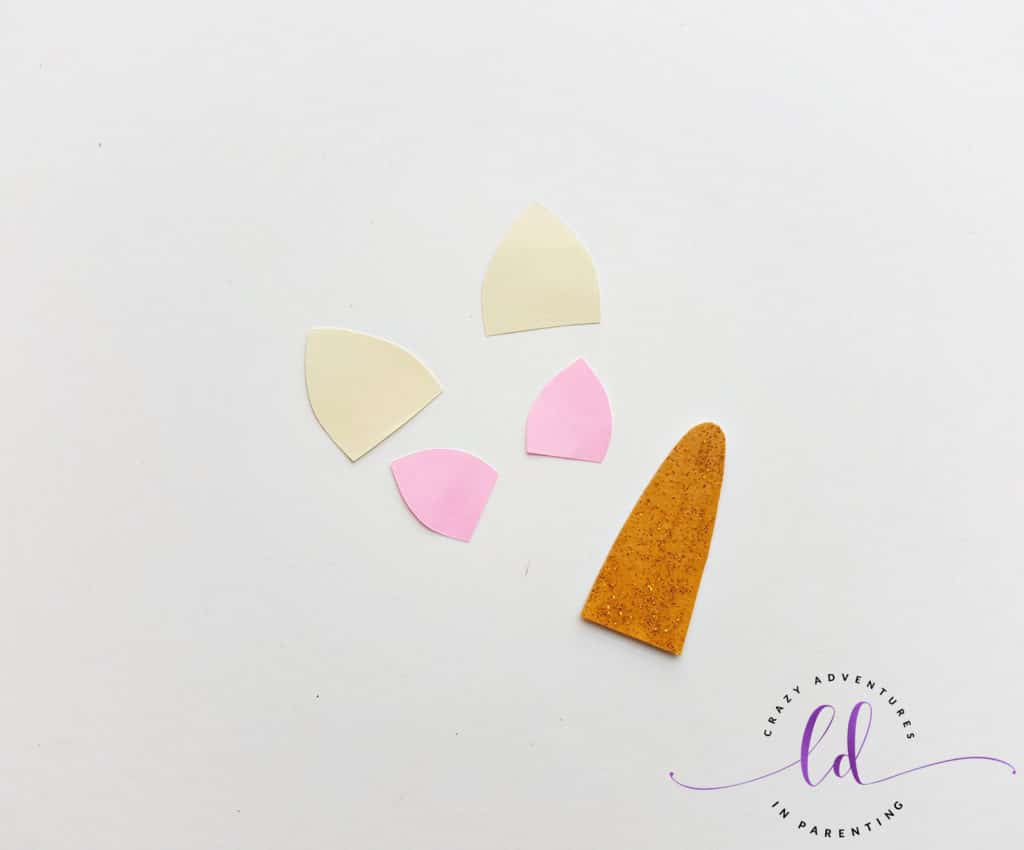
Prepare and assemble the ears and the horn from thick craft papers or cardstock.
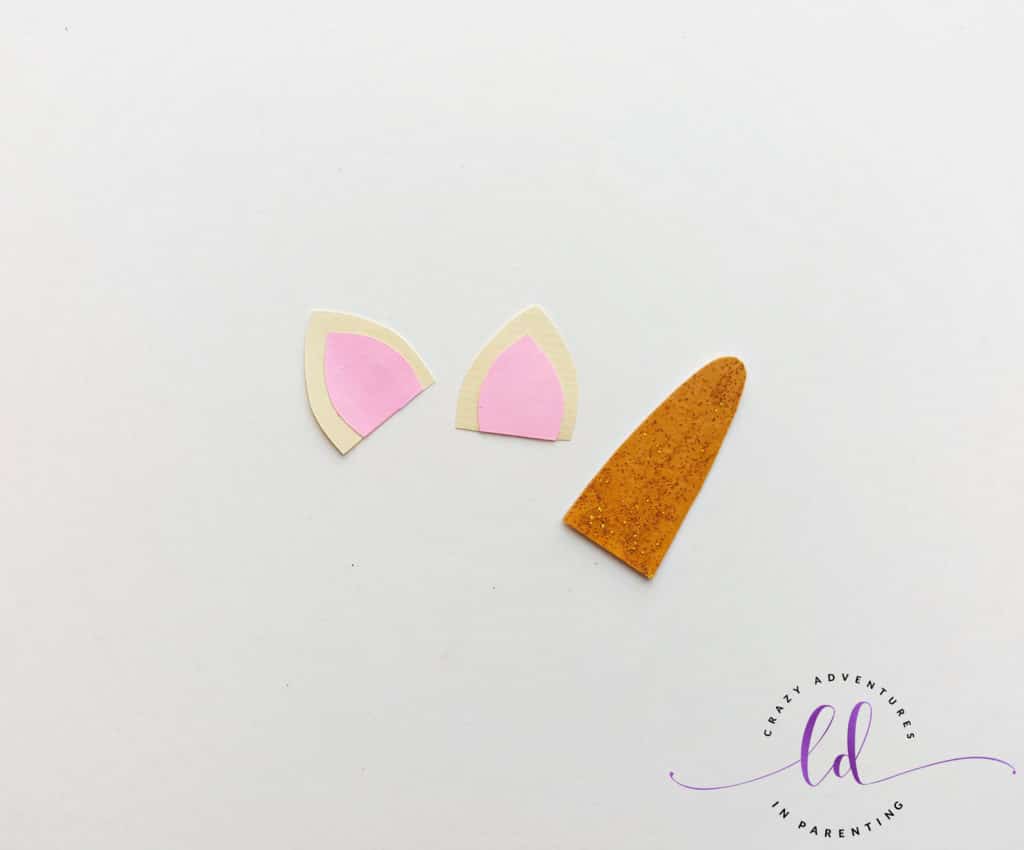
Glue the inner ear pieces on the outer ear cut-outs.
Once the flowers and ears are all glued together, grab all your papers with your square folded shape to finish creating the unicorn corner bookmark!
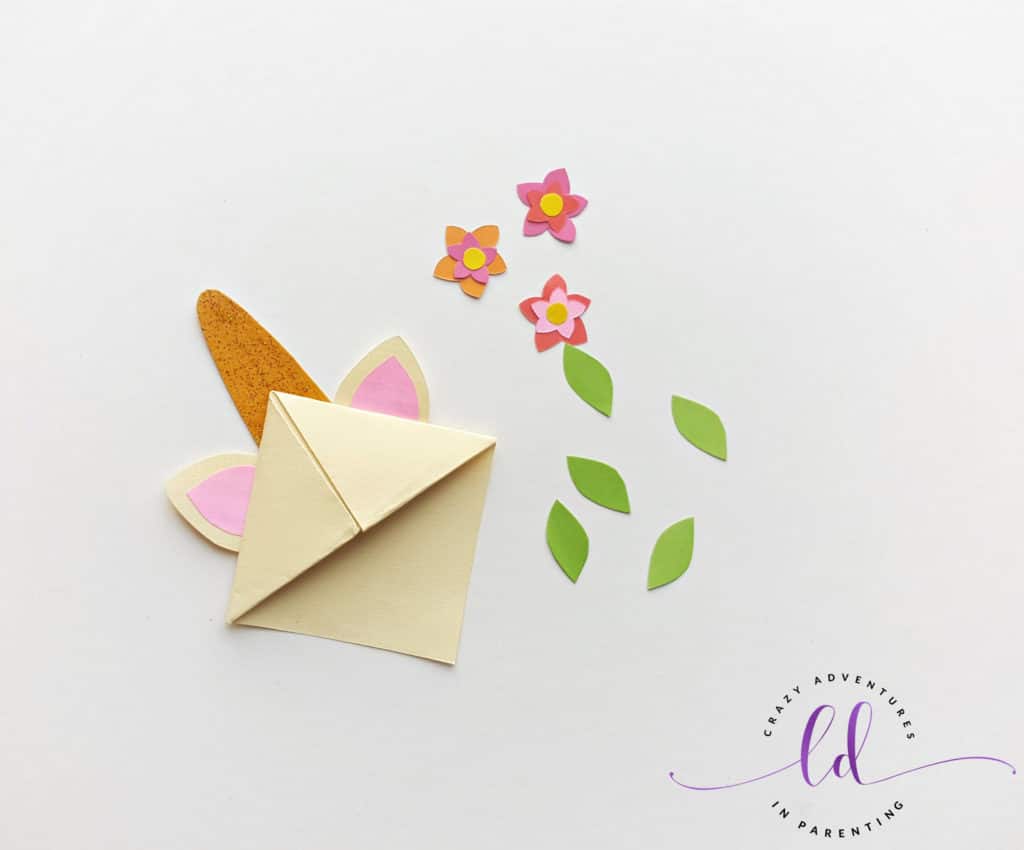
Attach the ears and the unicorn’s horn along the back side of the folded paper.
Attach the flowers and leaves right below the ears and the horn to create a flower crown. Using a black marker pen, draw the eyes of the unicorn onto the bookmark.
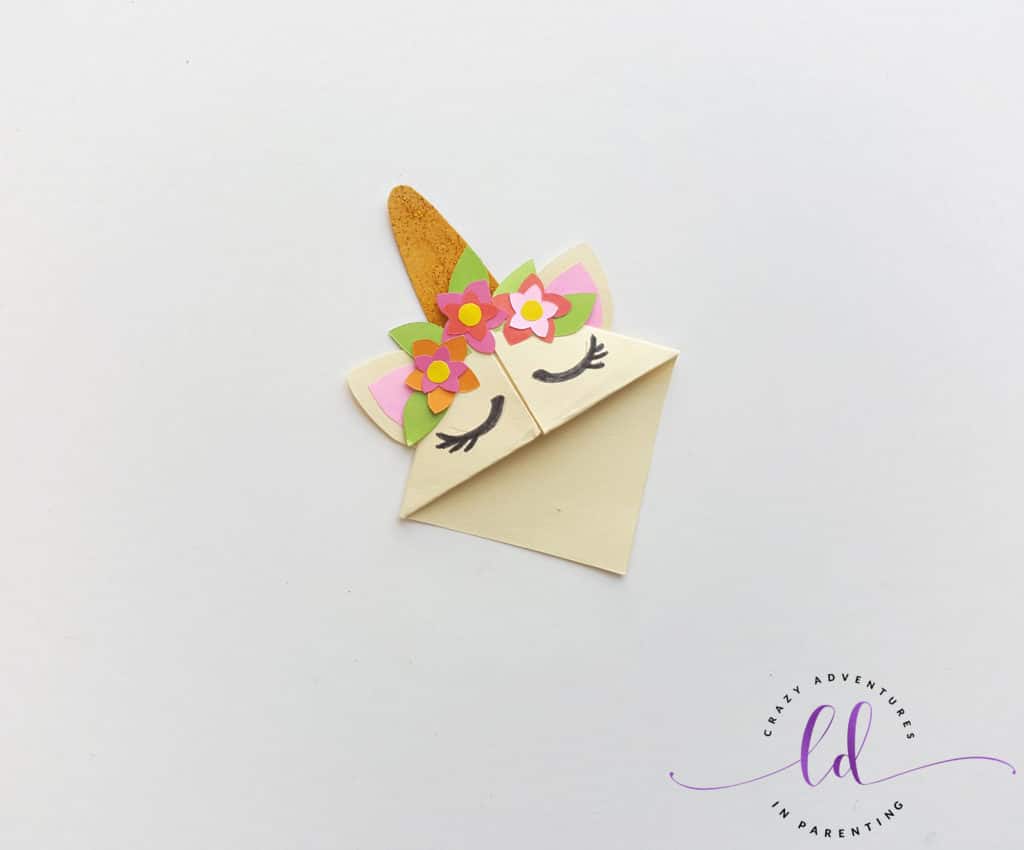
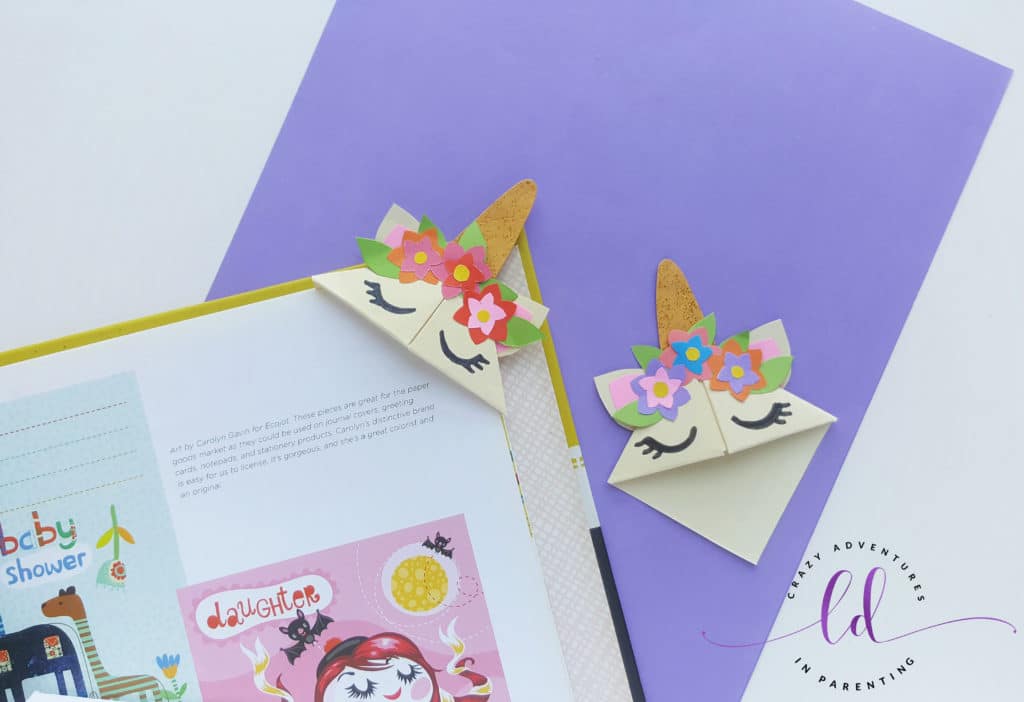
Once everything is glued and the face is drawn on, you are done! Yay! Place on the corner of any page in your book to mark your place and enjoy!

Get the Printable DIY Origami Unicorn Corner Bookmark Craft Tutorial Below!
If you love this Easy DIY Origami Unicorn Corner Bookmark tutorial as much as we do, please leave me a 5-star review below and help me share this recipe on Facebook and Pinterest! If you do make the craft with your kids, I hope you’ll share that you tried it on Pinterest! I love it SO MUCH when readers share their feedback! 🙂
Unicorn Related Crafts and Activities
Got a unicorn lover in your life? Check out these awesome unicorn-themed recipes, crafts, and more!
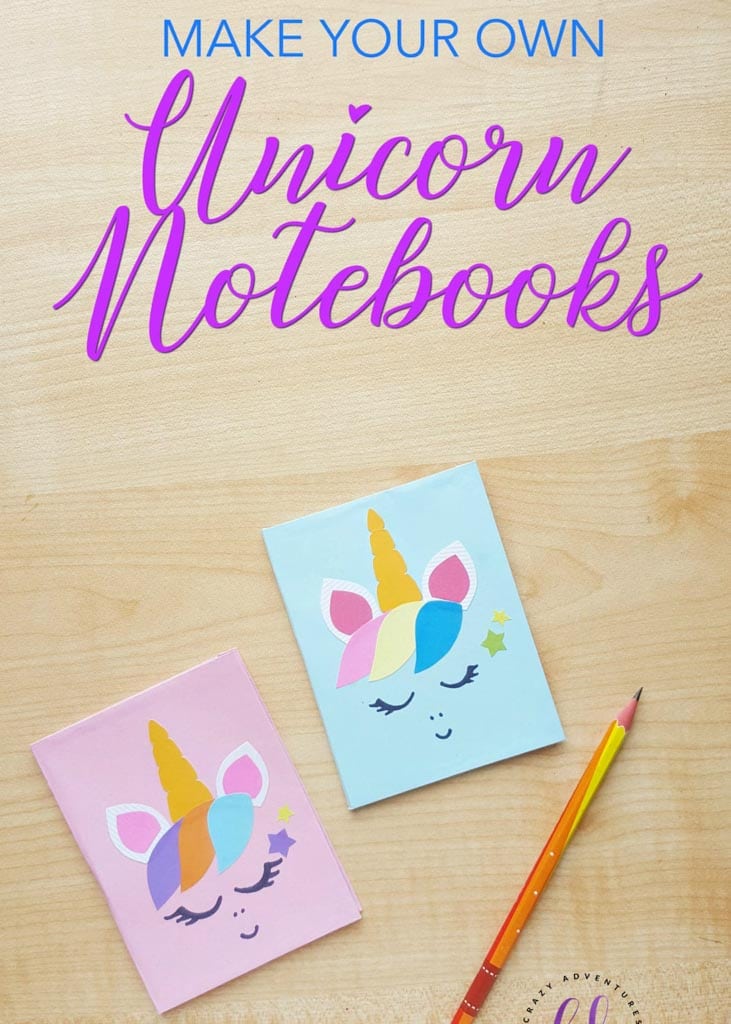
- DIY Unicorn Notebook
- Unicorn Cookies Recipe
- Unicorn Slime Recipe
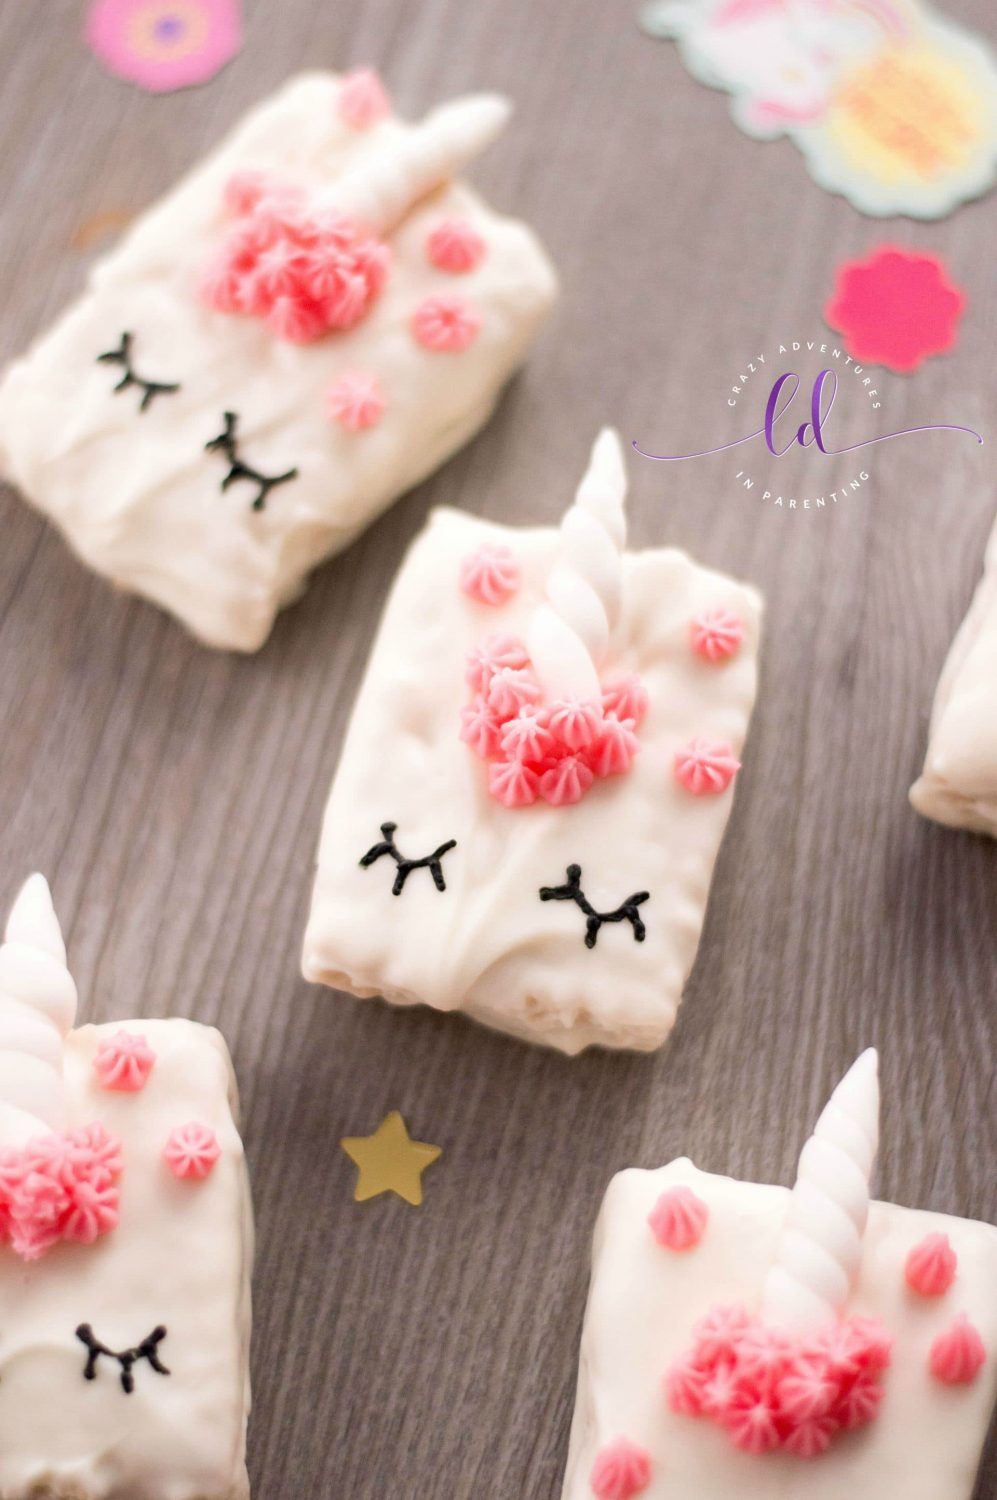
- Unicorn Cereal Treats Recipe
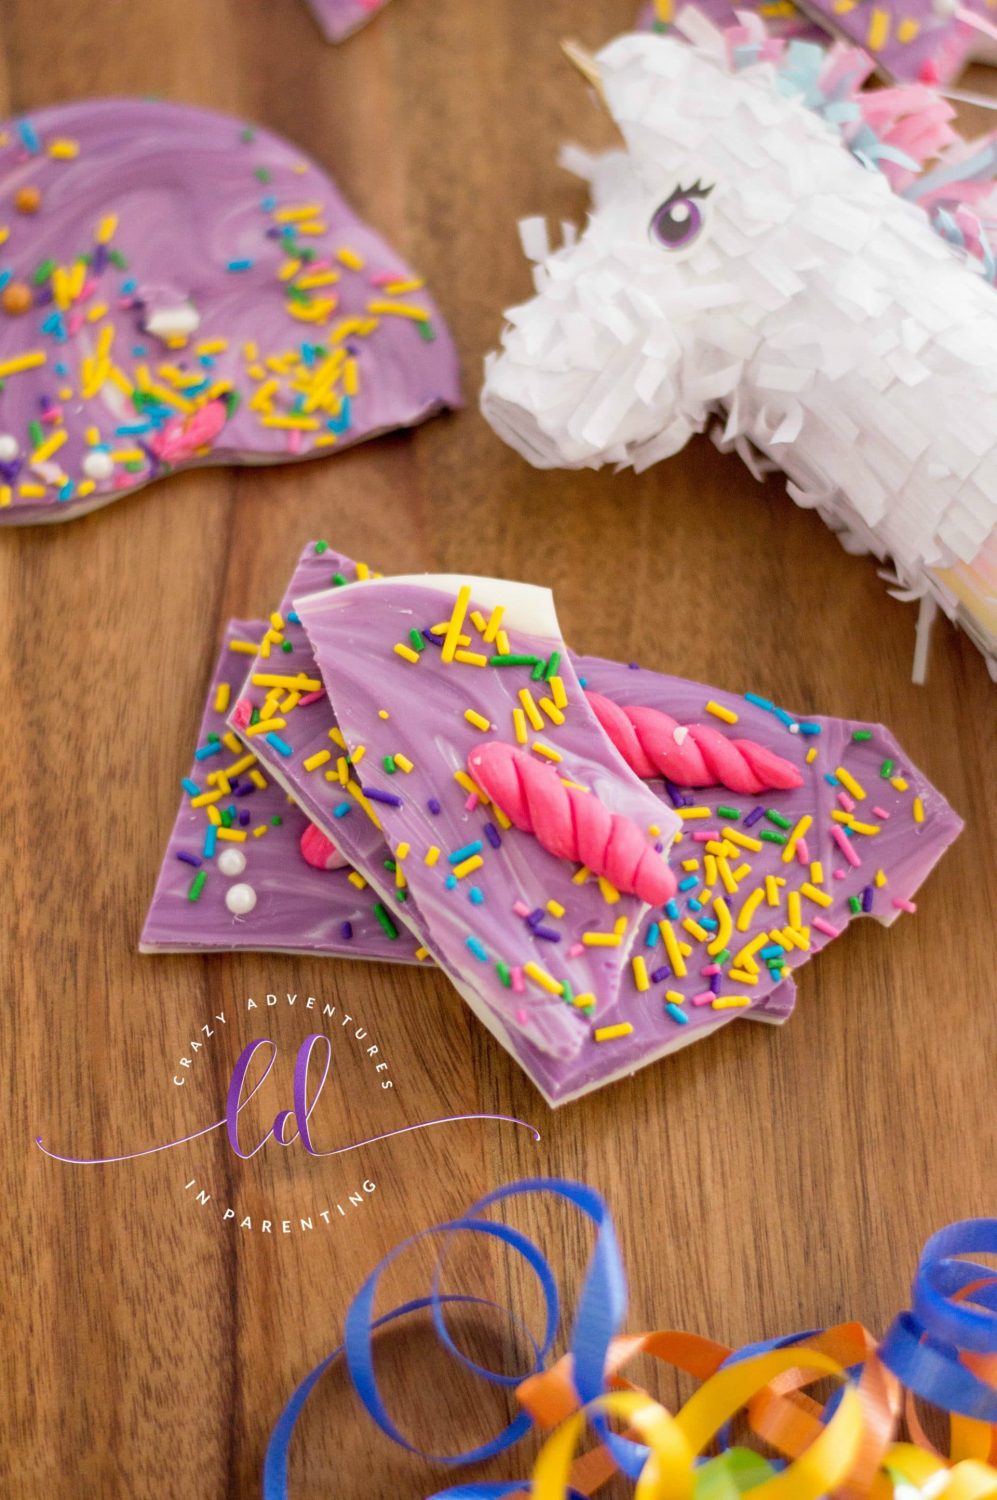
- Unicorn Bark Recipe
- Unicorn Pancakes Recipe
- Unicorn Smoothie Bowl
Unicorn Notebooks Unicorn Cookies Recipe Unicorn Slime Unicorn Rice Krispies Treats Recipe Unicorn Bark Recipe Unicorn Pancakes Recipe Unicorn Smoothie Bowl Recipe
CRAVING MORE CRAFTS AND DELICIOUS RECIPES? Subscribe to my newsletter and follow along on Pinterest, Facebook, YouTube, and Instagram for all the latest updates!
Sign up below to receive my newsletter filled with delicious recipes, fun crafts, and family adventures straight into your inbox:

DIY Origami Unicorn Corner Bookmarks
Materials
Instructions
- Print and cut out the patterns from the unicorn corner bookmark template.
- Trace and cut out the big square shape on the paper selected for the bookmark.
- Place the square piece of paper on a flat surface. Fold the paper into half diagonally.
- Hold any one corners of the open ends and fold it downwards, matching the end of the corner with the border line of the straight side. Notice that there are now 3 triangles along the bottom side of the folded paper.
- Grab any one triangles from the side and fold it upwards, matching its open end corner with the corner on the top side (of the folded paper).
- Fold the triangle similarly on the other side.
- Hold any one of the triangular parts and fold it into half; tuck the open side of the half fold into the triangular pocket.
- Similarly fold and tuck the other side to match the first side.
- Select desired colored craft papers for the decoration. Trace and cut out patterns from colored craft papers.
- Make the flowers by gluing the flower cut-outs together.
- Prepare the ear parts and the horn from thick craft papers or cardstock.
- Glue the inner ear parts on to the outer ear parts.
- Once glued, grab them all with your square folded shape and let's go!
- Attach the ears and the horn along the closed end’s back side of the folded paper.
- Attach the flowers and leaves right below the ears and the horn.
- Use a black marker pen to trace the eyes of the unicorn.
- Once everything is glued and the face is drawn on, you are done! Yay! Place on the corner of any page in your book to mark your place and enjoy!

