The Time We Almost Set the Backyard on Fire – Adventures with Goo Gone
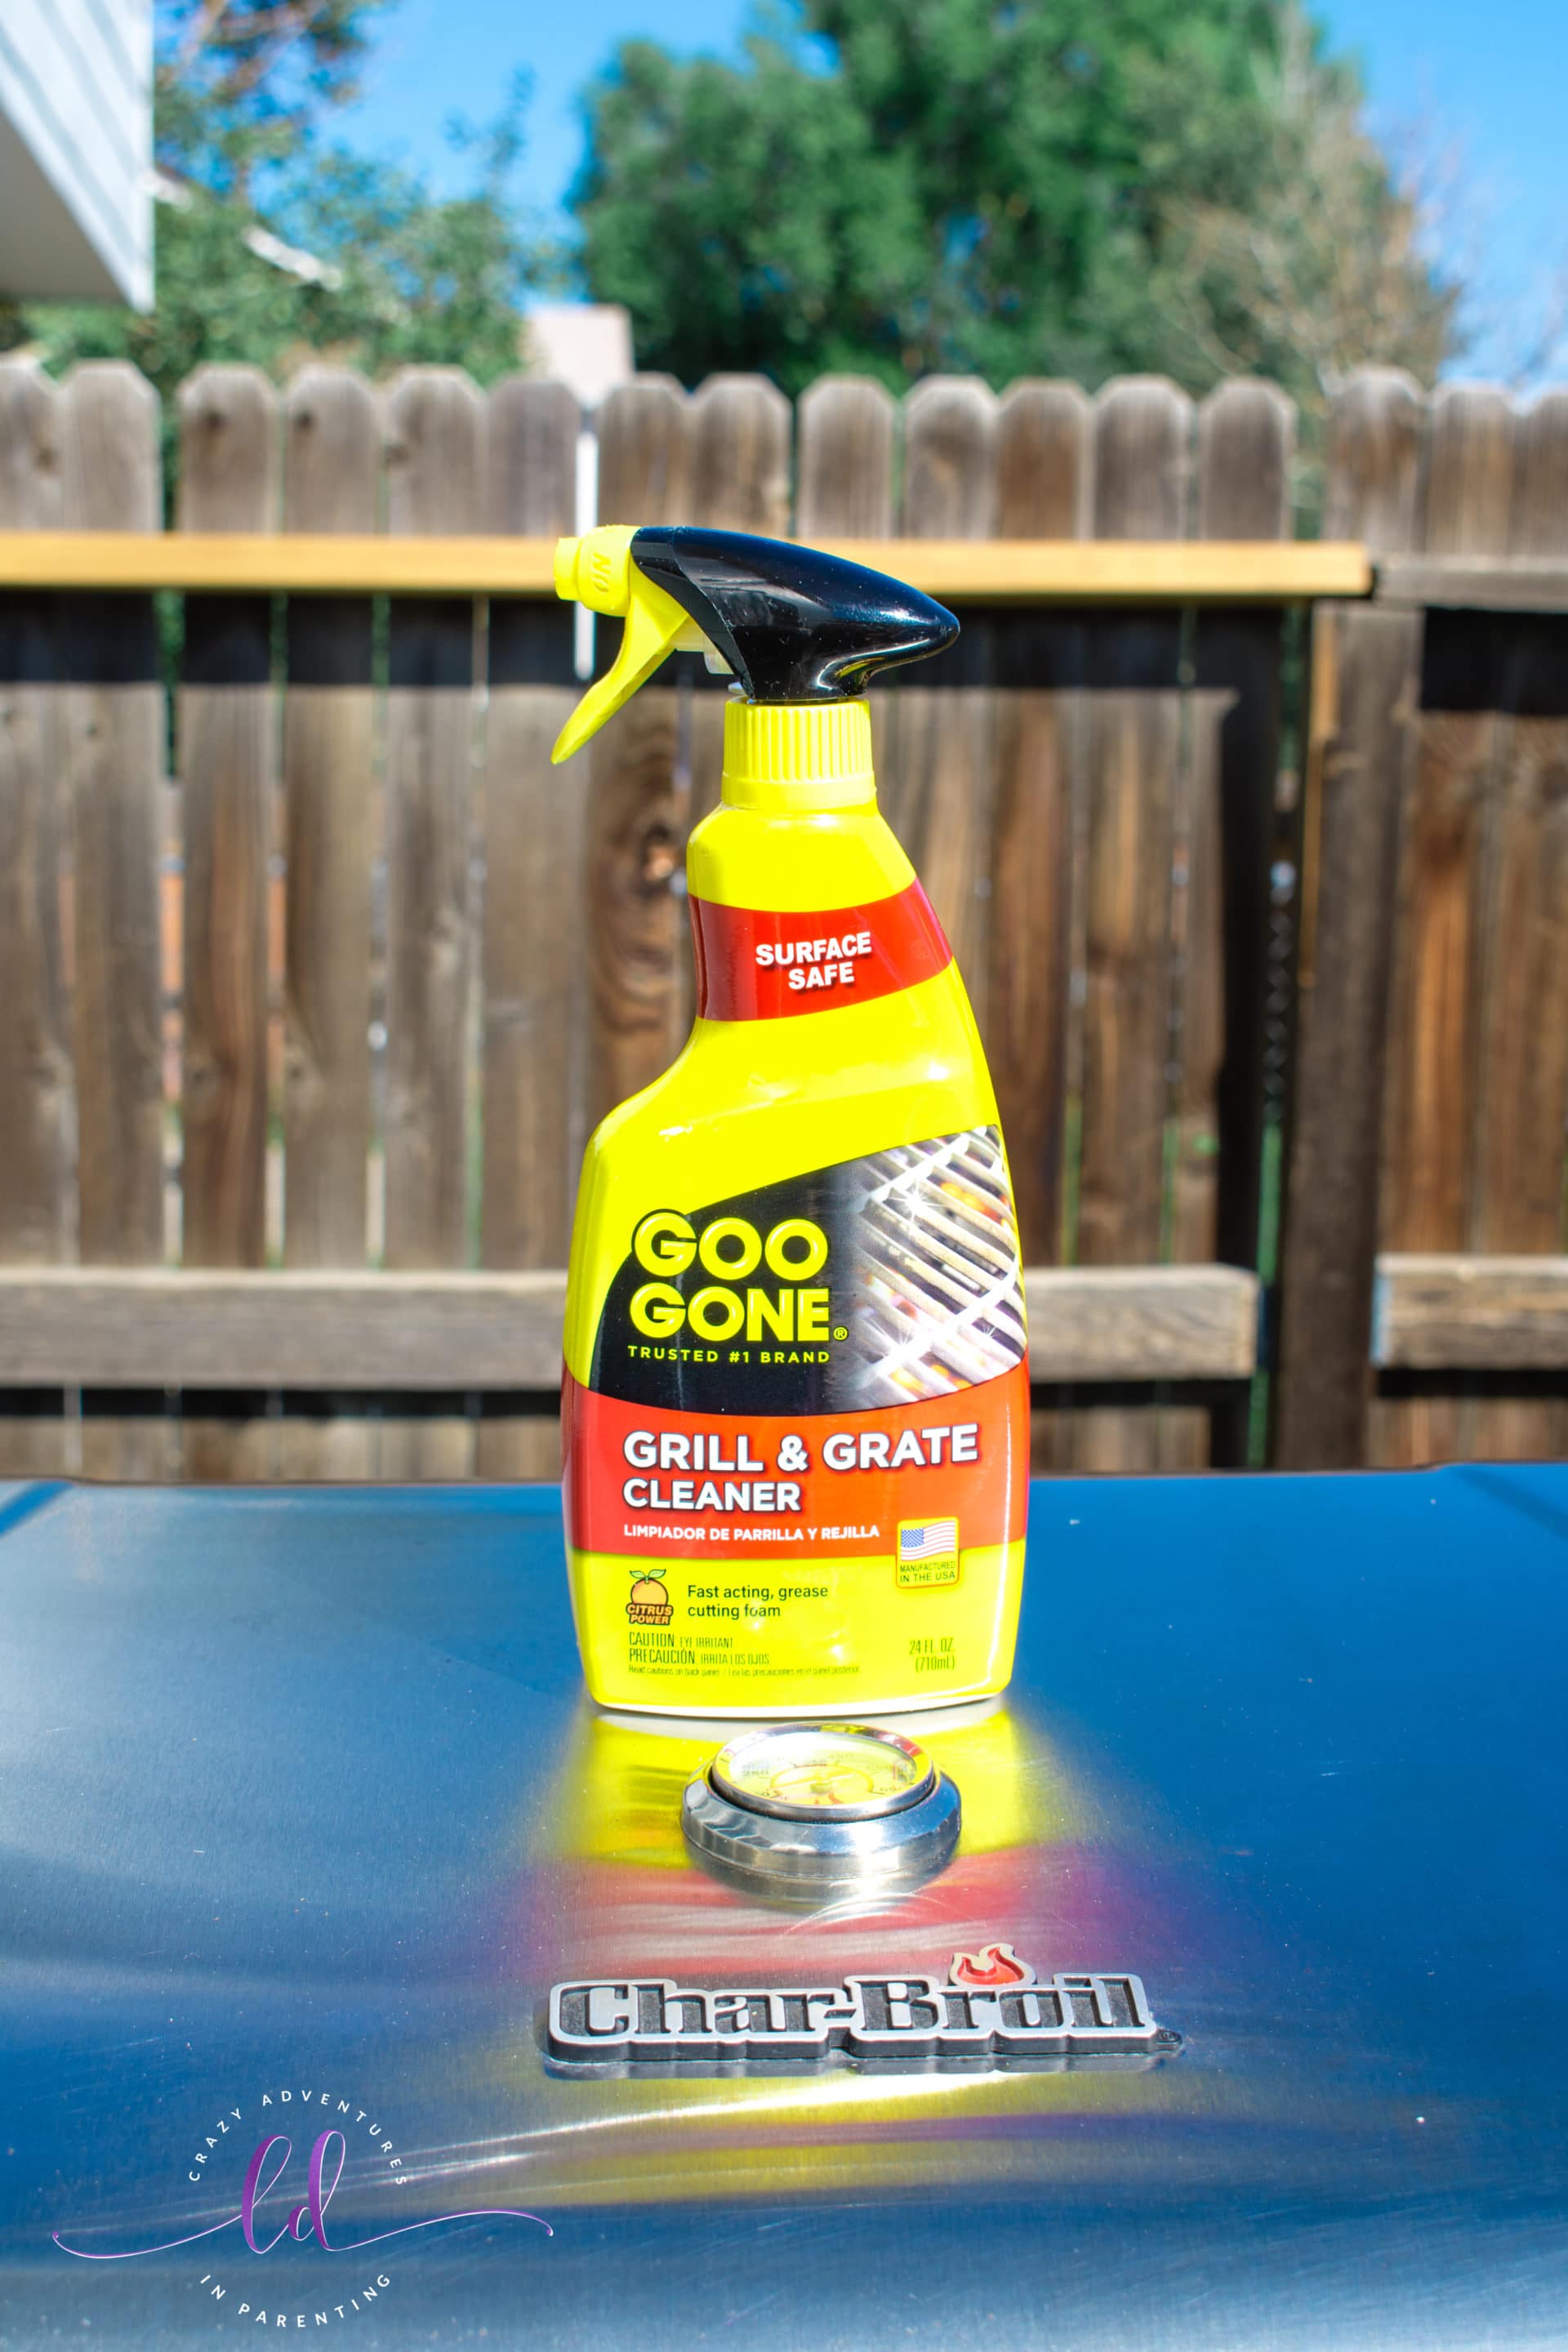
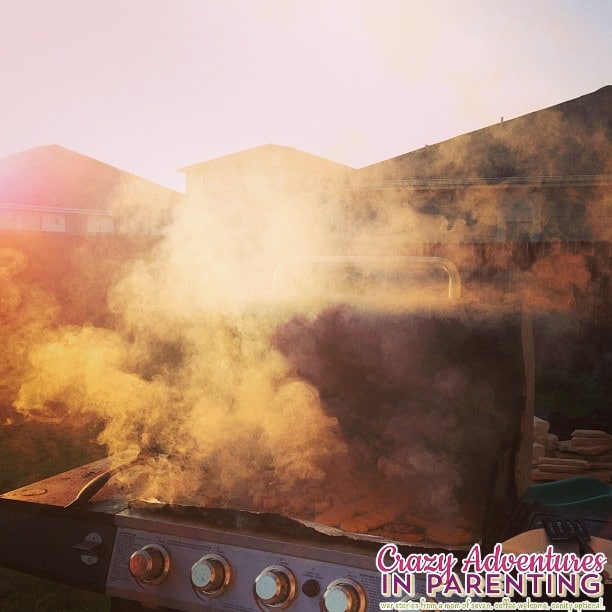
Have you accidentally almost set fire to your backyard by grilling on a dirty grill? Fear no more with Goo Gone Grill and Grate Cleaner! …
Have you accidentally almost set fire to your backyard by grilling on a dirty grill? Fear no more with Goo Gone Grill and Grate Cleaner! …
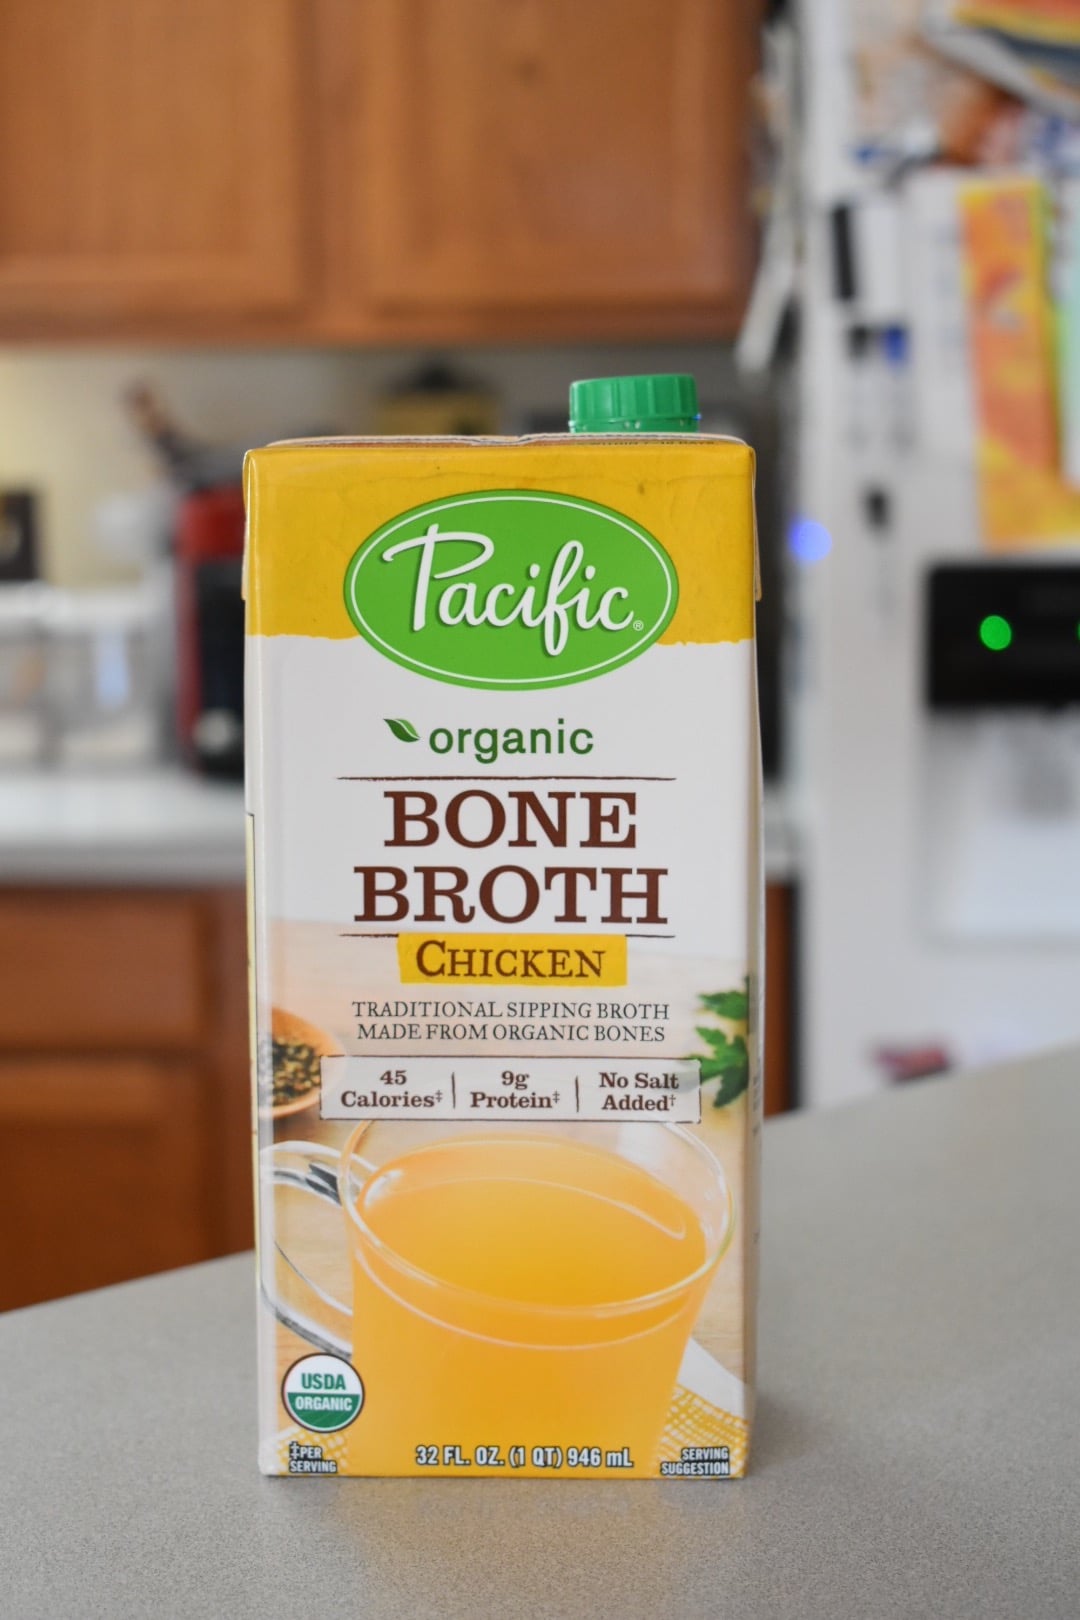
(Alternately titled “Bone broth does NOT taste like soup broth, wahhhhh!”) (Alternately alternately titled “I don’t hate you, bone broth. I just need help making …
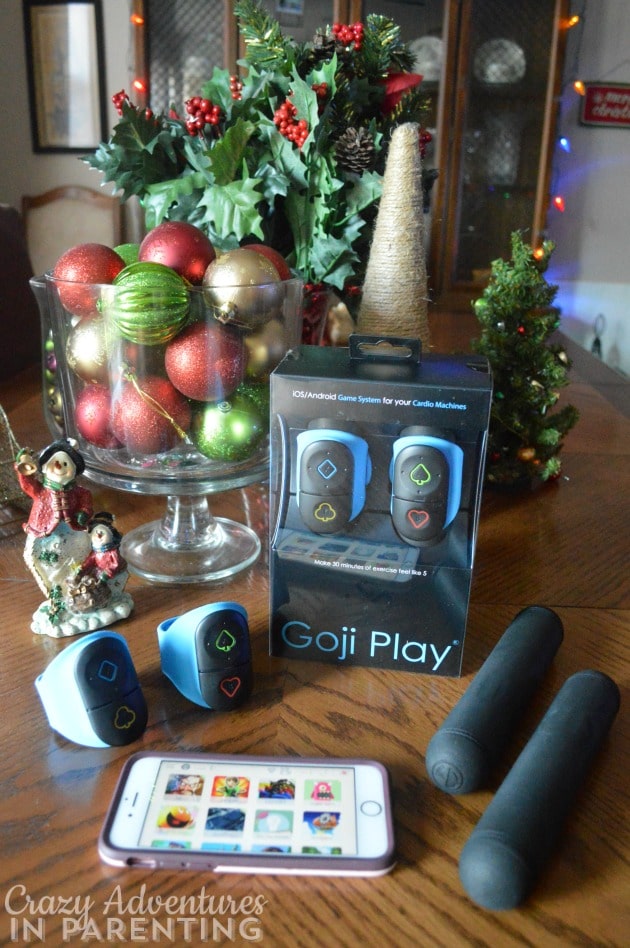
This is a sponsored post from my partnership with Blue Goji. My Goji Play 2.0 gaming experience, fitness opinions, and fashionable workout gear options are …
We spent 52 weeks in 2013 celebrating what made us happy, and it WAS a fantastic year. Let’s make 2014 the year where we really …

Halloween 2014 was a success! We’d planned and shopped and it went wonderfully! Baby V wasn’t nearly as afraid as we’d suspected she would be …

I’m a compensated BuyCostumes.com ambassador. I AM SO RIDICULOUSLY EXCITED! I haven’t been THIS excited about a Halloween costume in, oh, FOREVER! I love NCIS. …
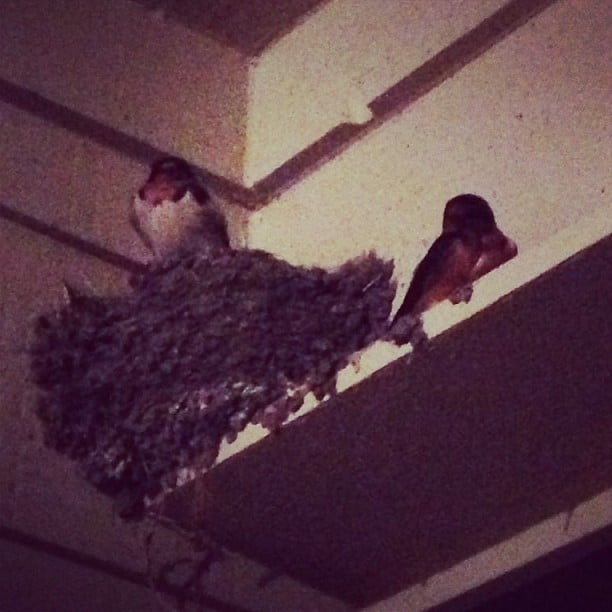
The @#*($&@#($@#*&$ birds are trying to make a nest on our porch again. The second I heard their evil, squawky peeps, I felt as though …
It was just a typical morning of waking up, attempting to press the button on the Keurig, only to discover a mess I couldn’t leave …
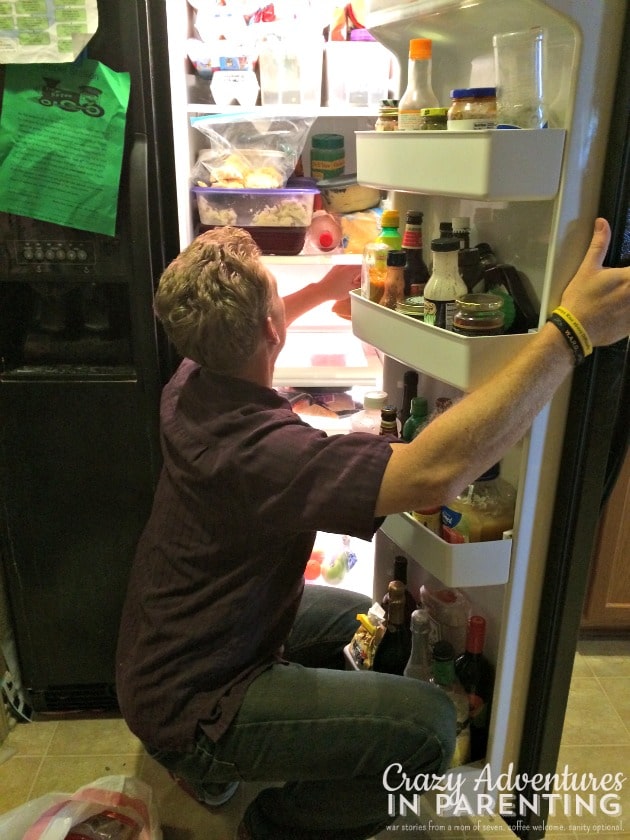
“You and your bionic nose,” he scoffed. “I’m telling you, baby, something is MOLDY in there!” I whined. Every time I opened the fridge, the …
We try to go on a walk every day, with Baby Dude riding his bike, and Baby V either in the stroller or the bike …
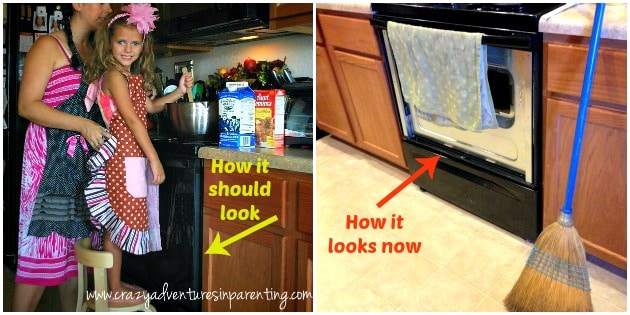
Admittedly, in the waning days of summer, I let the house go. We were living too much in the moment, so busy with living these …
Soooooo, remember how I just said I grill everything? I couldn’t wait to share more fun, grilling posts with you, to include grilling our dinner …