
DIY Mummy Treat Cups for Halloween
Want a fun way to hand out treats to kids this Halloween or for a Halloween Party? Check out our easy DIY Mummy Treat Cups …
Want a fun way to hand out treats to kids this Halloween or for a Halloween Party? Check out our easy DIY Mummy Treat Cups …
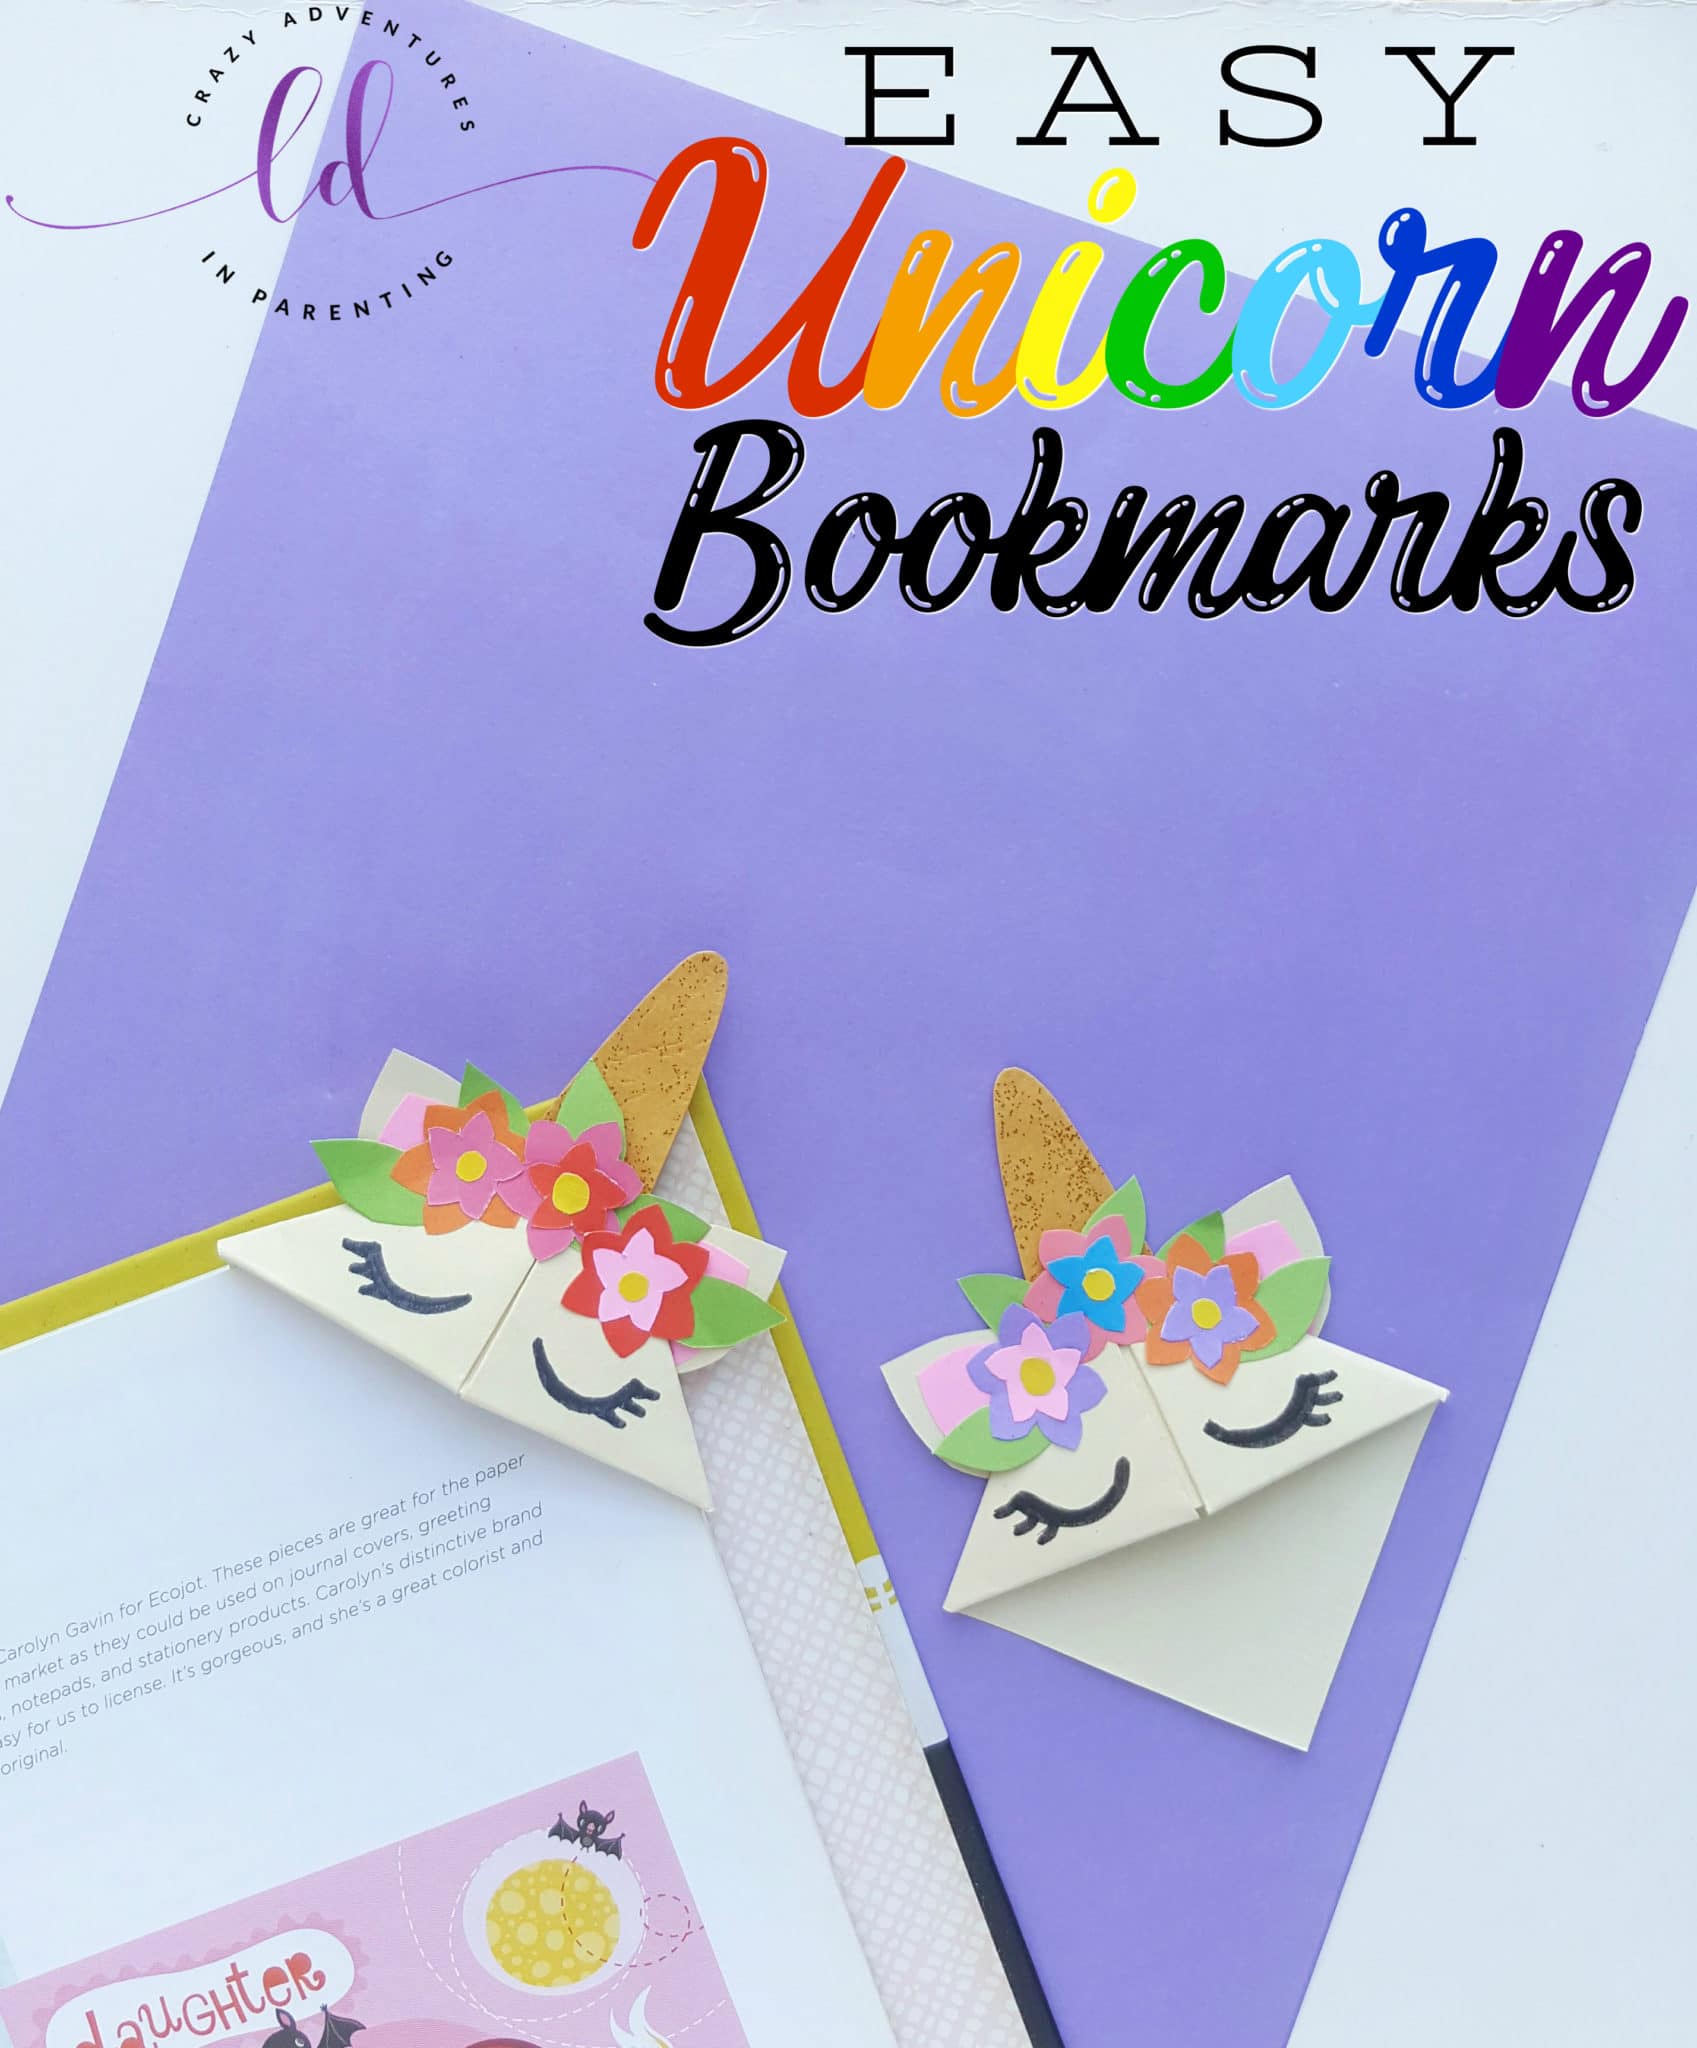
For a fun and easy way to mark your book pages, check out our tutorial to make easy DIY Origami Unicorn Corner Bookmarks for reading! …
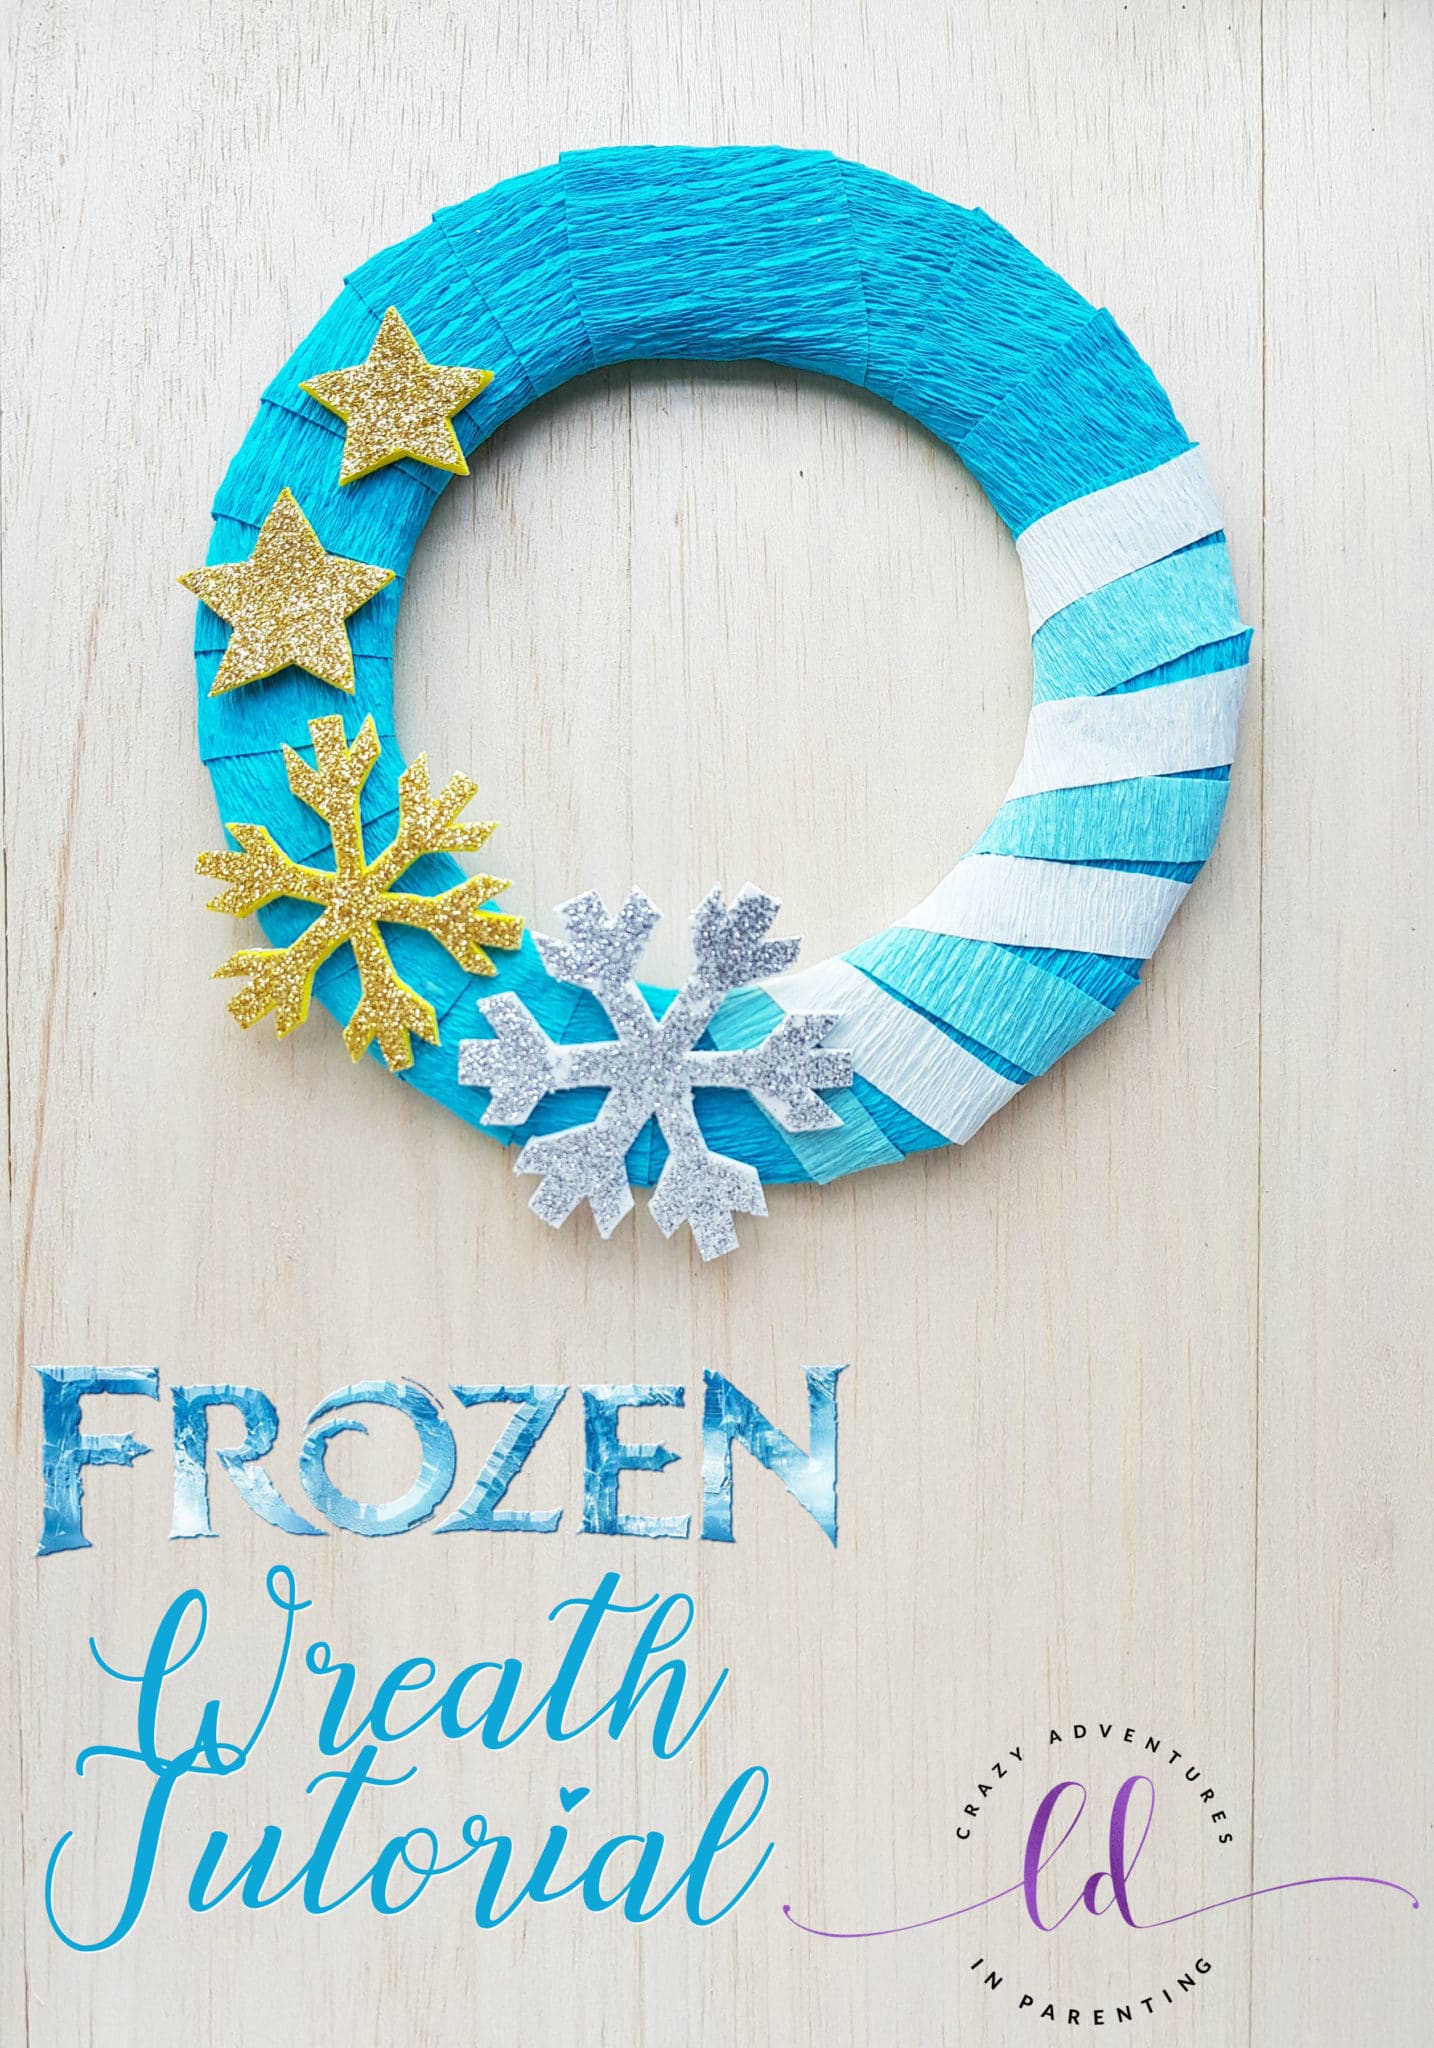
If you love Elsa, Anna, and Olaf and can’t get enough, this adorable and easy Frozen Wreath Craft might be a fun one to create …

Looking for an easy way to store cards for the holiday season and beyond? Check out this easy DIY Greeting Card Storage Box tutorial for …

If your kids are crafty and they love stuffed animals, check out Loopies by Alex Brands available at Walmart! Create your own stuffed animal with …

Rainbow fans rejoice! This easy to make DIY Macramé Rainbow Charm Craft can be made into a wall hanging, ornament, keychains, and more! DIY Macramé …

If you’re interested in building sweet memories with your kids, check out the new Wilton Cookie Creations Activity Kits, available in four different gender-neutral varieties! …

If you’re on the hunt for a fun Spring activity for your children, take a look at our Cereal Rainbow Craft! Made with fruity cereal, …

Do you want to learn how to make a unicorn notebook? Here are step-by-step instructions on how to make your own DIY unicorn notebook with …

This fluffy slime recipe is the best slime recipe to make made with shaving cream, liquid starch and no Borax. Want to find out how to make …

This adorable Disney Frozen Slime recipe is a really easy slime recipe to make made with glittery paint using Liquid Starch and no Borax. Want …

This Unicorn Slime recipe is a really easy slime recipe to make made with glittery metallic paint using Liquid Starch and no Borax. Want to find …